
To capture stunning 360-degree panoramas on your mobile, start by choosing the right app and cleaning your lens. Use a tripod for stability and adjust your camera settings for ideal exposure. Shoot during golden hour for perfect lighting, and rotate around a fixed point while overlapping each shot by 30-50%. Edit your panorama for seamless shifts and experiment with different perspectives to add depth. Don't forget to embrace creativity by breaking traditional rules and creating an immersive viewing experience. With these tips, you'll be well on your way to mastering the art of mobile panoramic photography. Dive deeper to reveal even more secrets for breathtaking results.
Choose the Right App
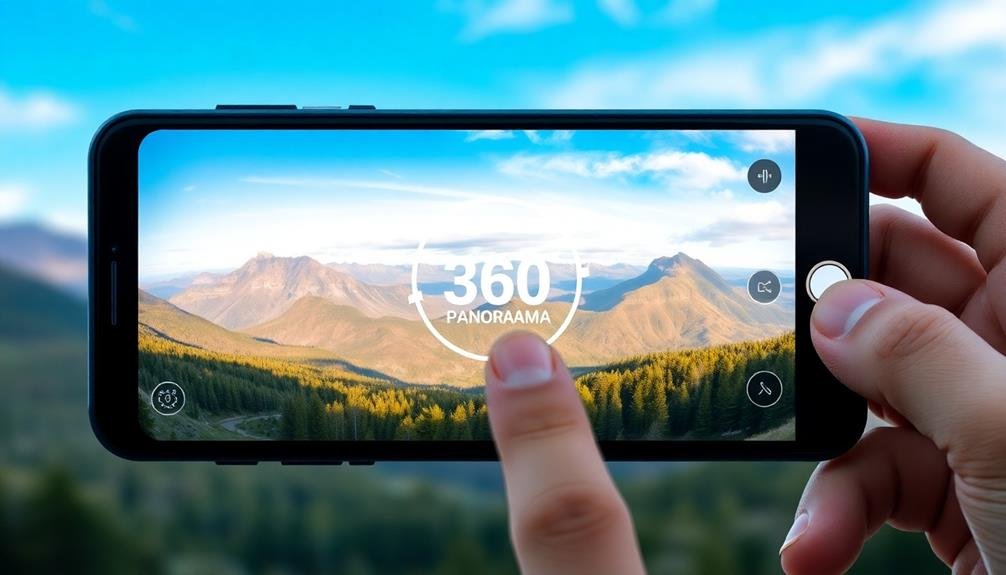
When it comes to capturing stunning 360-degree panoramas, choosing the right app can make or break your results. There's a wide variety of options available, but not all are created equal. Look for apps that offer features like automatic stitching, exposure blending, and perspective correction.
Popular choices include Google Street View, 360 Panorama, and Theta+. Google Street View is user-friendly and integrates seamlessly with Google Maps. 360 Panorama offers real-time preview and easy sharing options. Theta+ provides advanced editing tools and is compatible with Ricoh Theta cameras.
Consider your device's capabilities when selecting an app. Some apps may require more processing power or storage space. Also, check if the app supports your preferred output format, such as equirectangular images or interactive viewers.
Pay attention to user reviews and ratings. They can provide valuable insights into an app's performance and reliability.
Don't hesitate to try multiple apps to find the one that best suits your needs and shooting style. Remember, the right app will streamline your workflow and help you create impressive 360-degree panoramas with ease.
Clean Your Smartphone Lens

How often do you clean your smartphone lens? It's easy to overlook, but a dirty lens can greatly impact the quality of your 360-degree panoramas.
Before you start shooting, take a moment to inspect your phone's camera lens. Look for smudges, fingerprints, or dust particles that might've accumulated. These seemingly minor imperfections can cause blurry spots, unwanted lens flares, or overall haziness in your panoramic images.
To clean your lens, use a microfiber cloth specifically designed for camera lenses. Gently wipe the lens in a circular motion, being careful not to apply too much pressure.
If you're out in the field without a proper cleaning cloth, you can use a clean, soft fabric like the edge of your shirt. However, be cautious as some materials might scratch the lens.
For stubborn smudges, lightly breathe on the lens to create a small amount of moisture, then wipe it clean.
Don't forget to clean your lens regularly, especially before important shoots. A clean lens guarantees that you capture the sharpest, most detailed 360-degree panoramas possible, showcasing the full potential of your smartphone's camera.
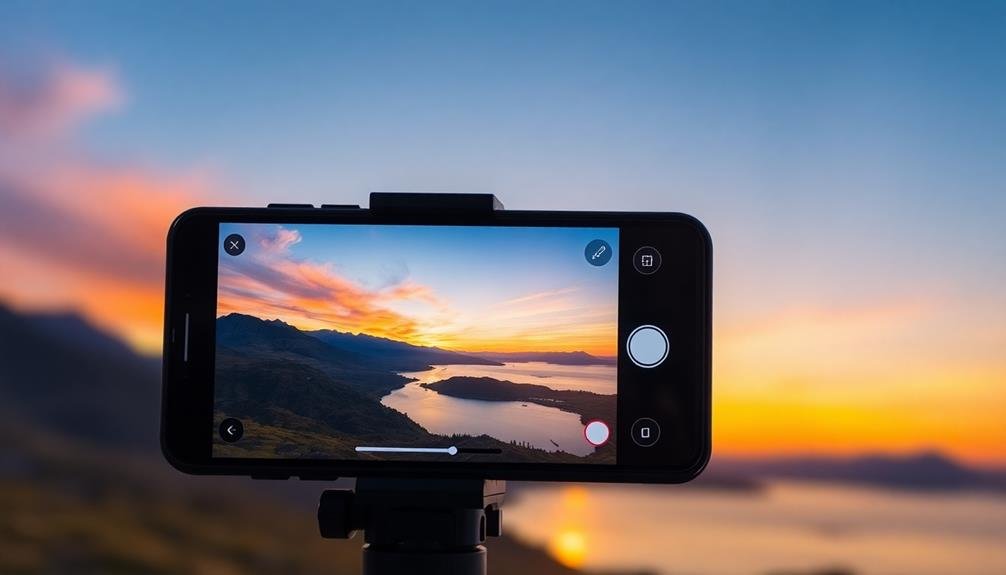
Use a Smartphone Tripod

A smartphone tripod's stability is essential for capturing crisp, professional-looking 360-degree panoramas. When you're rotating to capture multiple shots, even the slightest hand movement can lead to misaligned images and distorted final results. A tripod eliminates this risk, guaranteeing each frame is perfectly level and aligned.
Choose a lightweight, portable tripod that's easy to carry and set up. Look for models with flexible legs that can wrap around objects, giving you more positioning options. Confirm your tripod has a smartphone adapter that securely holds your device. Some tripods come with built-in remote controls, allowing you to trigger your camera without touching the phone.
When setting up your tripod, find a central location that provides an unobstructed view in all directions. Adjust the legs to confirm your phone is perfectly level. Use your camera app's grid feature to align the horizon. If your tripod has a ball head, lock it in place to prevent any movement during the capture process.
Remember to remove yourself from the scene before starting the panorama to avoid appearing in multiple frames. With a tripod, you'll achieve smoother, more professional 360-degree panoramas every time.
Set Optimal Camera Settings
To capture stunning 360-degree panoramas, you'll need to set your camera's ideal settings.
Start by adjusting the exposure and focus to guarantee consistent lighting and sharpness throughout the entire panorama.
Then enable HDR mode to capture a wider range of tones.
Adjust Exposure and Focus
Three key camera settings demand your attention when shooting 360-degree panoramas: exposure, focus, and white balance.
For exposure, aim for consistency across all frames. Use manual exposure mode to lock in your settings, preventing fluctuations as you rotate. Choose an exposure that balances highlights and shadows, as you'll capture a wide range of light conditions.
Focus is equally important. Set your focus to infinity or use hyperfocal distance to guarantee sharpness throughout the scene. For landscapes, this technique works well, but for closer subjects, you may need to adjust. If your phone allows, use manual focus to maintain consistency across all frames.
White balance affects color consistency in your panorama. Use a preset like "daylight" or "cloudy" instead of auto white balance to avoid color shifts between frames.
If you're shooting in RAW, you can fine-tune white balance during post-processing.
Enable HDR Mode
HDR mode's ability to capture a wider dynamic range makes it invaluable for 360-degree panoramas. When you enable HDR (High Dynamic Range) on your mobile device, you'll be able to capture more detail in both highlights and shadows, resulting in a more balanced and visually appealing image.
To use HDR effectively, start by locating the HDR option in your camera app's settings. Once enabled, your device will take multiple exposures of the same scene and combine them into a single image. This process helps preserve details that might otherwise be lost in very bright or dark areas of your panorama.
Keep in mind that HDR mode may increase processing time, so be prepared to hold your device steady for a few extra seconds. It's also worth noting that HDR can sometimes produce unnatural-looking results, especially in high-contrast scenes. To counter this, experiment with different HDR strengths if your device offers such options.
For the best results, use HDR in situations with challenging lighting conditions, such as landscapes with bright skies and dark foregrounds, or indoor scenes with bright windows.
Lock White Balance
Locking your camera's white balance guarantees consistency across your entire 360-degree panorama. It prevents color shifts between individual shots, assuring a seamless final image. To lock white balance, tap the screen and look for a "WB" or sun icon. Select a preset that matches your lighting conditions or use a custom setting.
For ideal results, consider the following white balance presets and their ideal use cases:
| Preset | Symbol | Best For |
|---|---|---|
| Auto | AWB | Mixed lighting |
| Daylight | Sun | Outdoor, sunny |
| Cloudy | Cloud | Overcast sky |
| Shade | House | Shaded areas |
| Tungsten | Bulb | Indoor, warm light |
Once you've chosen the appropriate white balance, maintain it throughout your shoot. If lighting conditions change dramatically, you may need to adjust and reshoot. Remember, consistency is key for a professional-looking panorama.
Don't forget to check your camera's other settings. Confirm your ISO is low to minimize noise, and set your focus to infinity for sharp distant subjects. With these adjustments, you'll capture stunning 360-degree panoramas that showcase the entire scene in true-to-life colors.
Find the Perfect Lighting
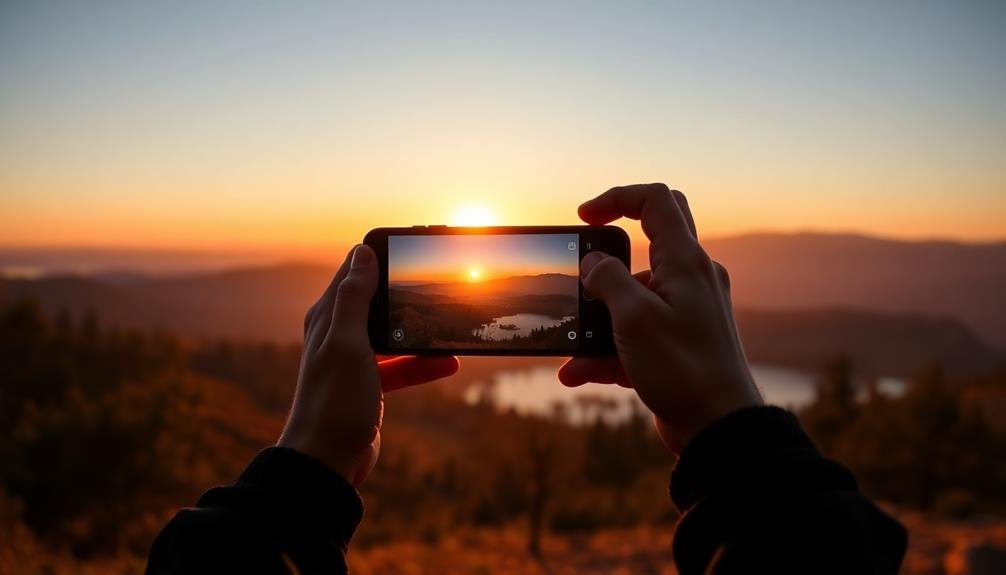
Lighting can make or break your 360-degree panorama, so timing is vital.
You'll often get the best results during the golden hour, just after sunrise or before sunset, when the soft, warm light enhances colors and textures.
To avoid harsh shadows that can ruin your shot, consider shooting on overcast days or using your camera's HDR mode to capture a wider range of light and dark areas.
Golden Hour Magic
When it comes to capturing breathtaking 360-degree panoramas, timing is everything. The golden hour, occurring shortly after sunrise or before sunset, offers unparalleled lighting conditions for your 360-degree shots. During this magical time, the sun's low position creates warm, soft light that bathes your surroundings in a golden glow.
To make the most of golden hour, plan ahead. Check the sunrise and sunset times for your location and arrive early to set up your equipment. As you shoot, pay attention to how the changing light affects different elements in your panorama. The warm hues can enhance landscapes, architecture, and even portraits within your 360-degree image.
Don't limit yourself to just one shot during golden hour. The light changes rapidly, so take multiple panoramas as the sun moves. This will give you a variety of options to choose from later.
Remember, the golden hour doesn't last long, so work efficiently. If you're shooting in urban areas, be aware of how the light interacts with buildings, creating long shadows and interesting reflections.
In natural settings, look for how the golden light accentuates textures and brings out vibrant colors in foliage and terrain.
Avoid Harsh Shadows
While golden hour offers ideal lighting conditions, harsh shadows can still pose challenges in 360-degree panoramas. To create stunning images, you'll need to be mindful of shadows throughout your shoot.
Start by surveying your location and identifying potential shadow-casting objects like buildings, trees, or even yourself. If possible, position yourself where your shadow won't be visible in the final image. You can also use the sun's position to your advantage by placing it behind large objects, effectively hiding harsh shadows.
When shooting in urban environments, try to find open spaces or wide streets that allow more even light distribution. If you can't avoid shadows entirely, consider using HDR (High Dynamic Range) mode on your mobile device. This feature captures multiple exposures and combines them, helping to balance out stark contrasts between light and dark areas.
In situations with unavoidable harsh shadows, embrace them as part of your composition. Use them to create interesting patterns or lead the viewer's eye through the panorama.
Use HDR Mode
In the domain of 360-degree panoramas, HDR mode can be your secret weapon for achieving perfect lighting. HDR, or High Dynamic Range, combines multiple exposures to capture a wider range of light and dark areas in your image. This technique is particularly useful for 360-degree shots, where you're likely to encounter varying light conditions across the entire scene.
When using HDR mode, your camera will take several photos at different exposures and merge them into a single, well-balanced image. This helps preserve details in both bright highlights and dark shadows, resulting in a more natural-looking panorama.
To make the most of HDR, keep your camera steady during the capture process, as any movement can cause ghosting or blurring in the final image.
Don't overdo it, though. While HDR can enhance your panoramas, excessive use can lead to unnatural-looking results. Use it judiciously, especially in high-contrast scenes where you're struggling to capture both bright and dark areas effectively.
Many smartphones now offer HDR modes specifically designed for panoramas, so explore your camera app's settings to find this feature. With practice, you'll learn to harness HDR's power to create stunning, well-lit 360-degree panoramas that truly showcase the entire scene.
Avoid Moving Objects
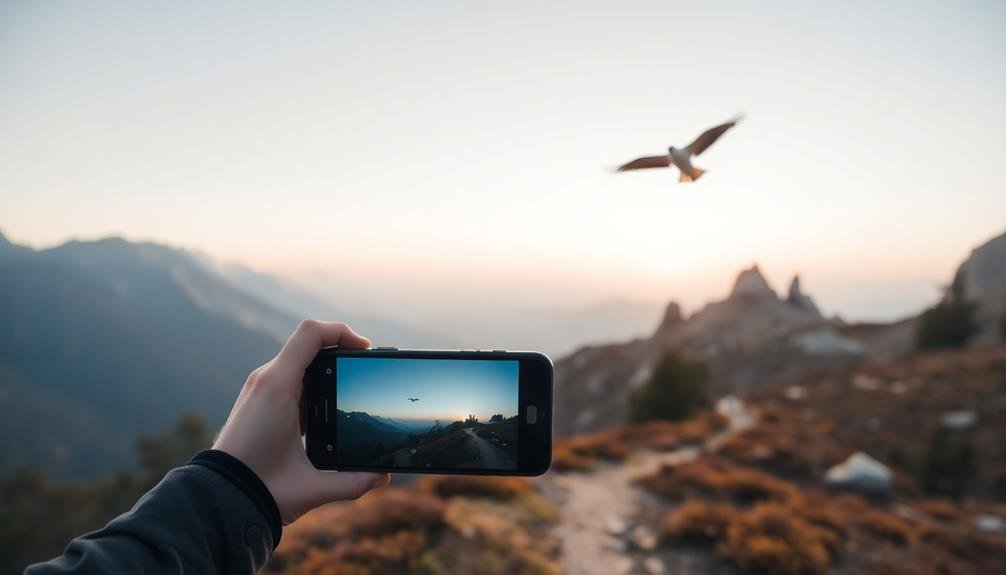
Capturing stunning 360-degree panoramas calls for careful attention to your surroundings. Moving objects can create unsightly distortions or ghosting effects in your final image. To avoid these issues, scout your location and time your shot carefully.
Look for moments when there's minimal movement in the scene, such as early morning or during lulls in pedestrian traffic.
If you can't avoid moving objects entirely, try to position them strategically. Place them near the edges of your frame where they're less likely to cause noticeable distortions.
Alternatively, you can embrace the movement and use it creatively to add a sense of dynamism to your panorama.
Here are some tips to minimize the impact of moving objects:
- Wait for gaps in traffic or pedestrian flow
- Use a faster shutter speed to freeze motion
- Shoot multiple panoramas and blend them in post-processing
- Choose locations with naturally still environments
Rotate Around a Fixed Point
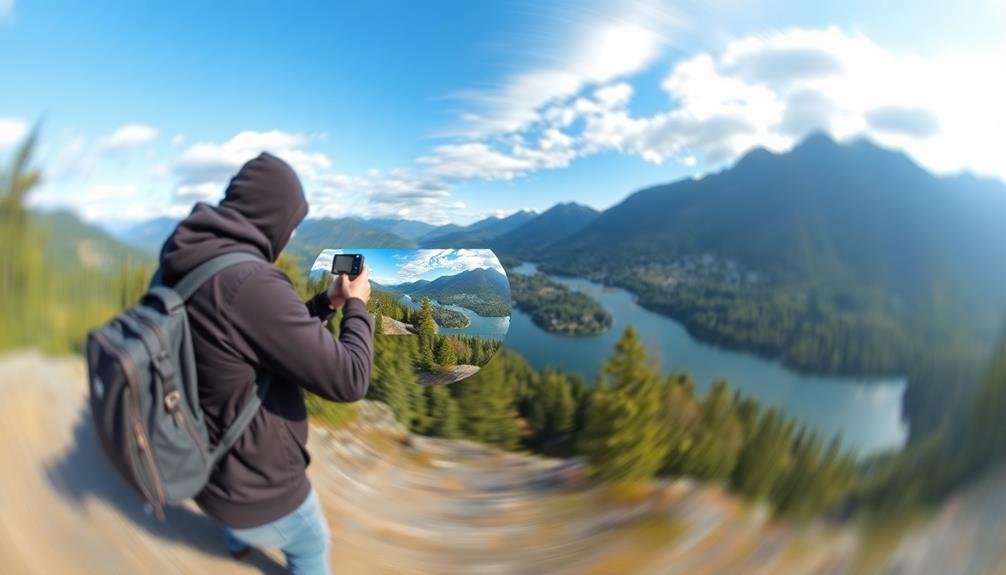
To achieve seamless 360-degree panoramas, you'll need to rotate around a fixed point. This technique guarantees that your camera maintains a consistent perspective throughout the capture process, reducing distortion and alignment issues in the final image.
Start by finding a stable position where you can comfortably turn in a full circle. Plant your feet firmly and keep them in place as you rotate. If you're using a tripod, make sure it's level and that its center column is directly above the pivot point.
As you turn, keep your camera at eye level and parallel to the ground. Imagine a vertical axis running through your body, and rotate around it like a human tripod. Maintain a steady pace as you capture each frame, overlapping each shot by about 30-40% to guarantee smooth stitching later.
If you're shooting handheld, try using your body as the pivot point. Keep your elbows tucked close to your body and rotate your torso smoothly. This technique helps minimize camera shake and maintains a more consistent rotation than moving your arms independently.
Overlap Each Shot Properly

Proper shot overlap forms the foundation of a seamless 360-degree panorama. When capturing your images, aim to overlap each shot by 30-50%. This guarantees that your panorama stitching software has enough information to blend the images smoothly.
Too little overlap can result in gaps or misalignments, while excessive overlap may lead to unnecessary processing time.
To achieve the best overlap:
- Use your phone's panorama guide or gridlines as a reference
- Identify a distinct feature in each frame and verify it appears in the next shot
- Move slowly and steadily between shots to maintain consistency
- Practice your technique to develop a feel for the right amount of overlap
Remember that different scenes may require varying degrees of overlap.
Complex environments with lots of detail or movement might benefit from greater overlap, while simpler scenes may need less. As you gain experience, you'll develop an intuition for the ideal amount of overlap in various situations.
Edit for Seamless Transitions

Once you've captured your 360-degree panorama shots, editing plays an essential role in creating seamless changes between images. Start by carefully aligning your shots in your chosen panorama software. Look for misalignments, particularly in areas with distinct features or straight lines, and adjust them manually if needed.
Pay close attention to exposure differences between frames. Use adjustment tools to balance brightness and contrast across all images, ensuring a smooth transition from one shot to the next.
Color correction is equally important; adjust white balance and saturation to maintain consistency throughout the panorama.
Address any ghosting or blurring caused by moving objects or slight camera movements. Many panorama software options offer deghosting tools to help eliminate these issues.
For stubborn problem areas, consider using content-aware tools to clone or heal imperfections.
Experiment With Different Perspectives
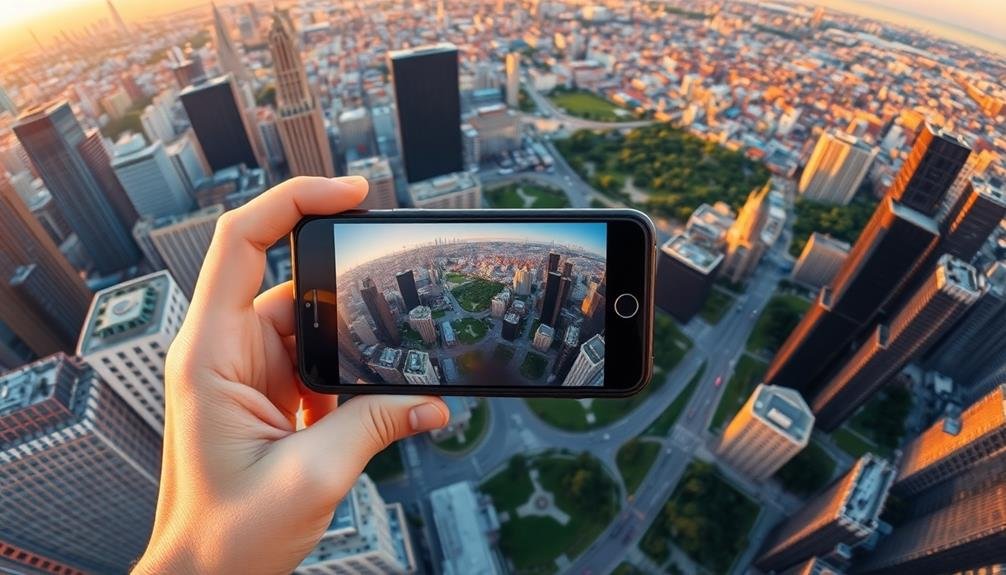
Experimenting with different perspectives can transform your 360-degree panoramas from ordinary to extraordinary. Don't limit yourself to eye-level shots; instead, explore various heights and angles to create unique and enchanting images.
Try positioning your camera low to the ground for an ant's-eye view or elevate it using a monopod for a bird's-eye perspective.
Consider these creative perspective options:
- Shoot from the center of a room or open space to capture a balanced, symmetrical view
- Place your camera near interesting foreground elements to add depth and context
- Capture reflections in water or mirrors for a surreal, doubled effect
- Experiment with tilted angles to create dynamic, off-kilter compositions
As you explore different perspectives, pay attention to how they affect the overall composition and mood of your panorama. Low angles can make subjects appear more imposing, while high angles can provide a sense of scale and vastness.
Don't be afraid to get creative and break traditional rules – sometimes the most unexpected angles yield the most stunning results. Remember, the goal is to offer viewers a fresh, immersive experience that goes beyond what they'd typically see with their own eyes.
Frequently Asked Questions
How Long Does It Take to Capture a Full 360-Degree Panorama?
Capturing a full 360-degree panorama typically takes you 30 seconds to 2 minutes. It'll depend on your movement speed, device capabilities, and scene complexity. You'll need to rotate slowly and steadily to guarantee a seamless result.
Can I Create 360-Degree Panoramas Underwater or in Extreme Weather Conditions?
You can create 360-degree panoramas underwater and in extreme weather, but you'll need specialized equipment. Waterproof cases for your phone or dedicated underwater cameras are essential. In harsh conditions, protect your gear and be mindful of safety.
What's the Best Way to Share 360-Degree Panoramas on Social Media?
You'll find several great options for sharing 360-degree panoramas on social media. Use Facebook's built-in 360 photo feature, upload to platforms like Kuula or 360Cities, or create short video versions for Instagram and TikTok.
Are There Any Copyright Issues When Capturing Public Spaces in Panoramas?
When capturing public spaces in panoramas, you're generally safe from copyright issues. However, you should be cautious of including trademarked logos or copyrighted artwork. It's best to avoid capturing identifiable individuals without their consent.
How Can I Add Sound or Music to My 360-Degree Panoramic Images?
You can't directly add sound to 360-degree panoramic images. However, you can create a video slideshow with your panoramas and add music or sound effects using video editing software or mobile apps. This creates an immersive audiovisual experience.
In Summary
You're now equipped to capture breathtaking 360-degree panoramas with your smartphone. Remember, practice makes perfect. Don't be afraid to experiment with different techniques and settings. As you refine your skills, you'll create immersive images that transport viewers to stunning locations. Share your panoramas on social media or print them for unique home decor. With these tips in your arsenal, you're ready to explore the world through a whole new lens. Happy shooting!


Leave a Reply