
To create stunning portrait lighting with your phone, focus on mastering natural light sources. Start by understanding the golden hour's warm tones and how to use window light for soft, flattering effects. Position your subject near windows, but not directly in front, for ideal illumination. Experiment with angles and reflectors to enhance depth and fill shadows. During golden hour, adjust your camera settings for lower light conditions. Don't forget to explore dramatic shadow effects and artificial light sources for unique looks. With practice, you'll elevate your portrait photography without expensive equipment. The key to revealing professional-quality shots is just a few techniques away.
Understanding Natural Light Sources

Light is the foundation of great portrait photography, and you don't need expensive equipment to harness its power. Your smartphone can capture stunning portraits when you understand how to use natural light sources effectively.
Start by observing the sun's position and intensity throughout the day. Soft, diffused light during golden hour (just after sunrise or before sunset) creates warm, flattering tones for portraits.
Midday sunlight can be harsh, causing unflattering shadows, but you can use it creatively for high-contrast shots or silhouettes.
Overcast days provide even, soft lighting that's ideal for portraits. Clouds act as a natural diffuser, eliminating harsh shadows and creating a flattering, uniform light across your subject's face.
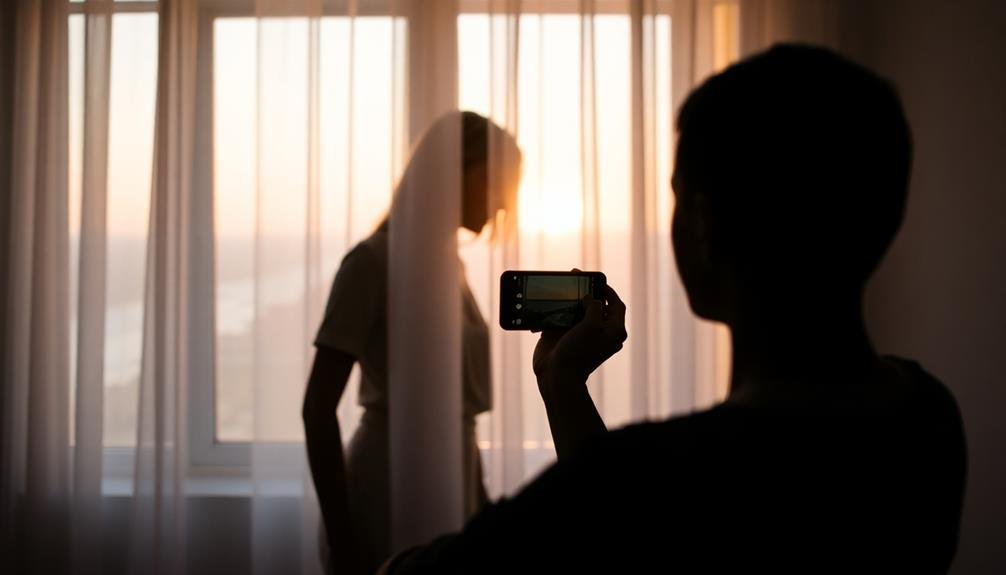
When shooting indoors, position your subject near a window for beautiful, directional light. Side-lighting adds depth and dimension to facial features, while front-lighting provides even illumination.
Experiment with different angles to find the most flattering light for your subject.
Be aware of reflective surfaces like white walls or sidewalks, which can bounce light onto your subject, filling in shadows and adding a subtle glow.
Mastering Window Light Portraits
To master window light portraits with your phone, you'll need to focus on three key aspects.
First, locate soft, diffused light coming through a window for flattering illumination.
Next, position your subject strategically in relation to the window to achieve the desired lighting effect.
Find Soft Light
Mastery of soft light is essential for creating stunning window portraits with your phone. Soft light is diffused and creates gentle shadows, resulting in flattering images that smooth out skin imperfections and create a dreamy atmosphere.
To find soft light, look for large, indirect light sources. North-facing windows are ideal, as they provide consistent, even illumination throughout the day. If you're working with a south-facing window, try shooting on an overcast day or hanging a sheer curtain to diffuse harsh sunlight.
Position your subject close to the window, but not in direct sunlight. The light should wrap around their face, creating subtle shadows that enhance facial features. Experiment with different angles to find the most flattering light for your subject.
If you can't find a suitable window, create your own soft light source. Use a large reflector or white foam board to bounce light onto your subject's face. Alternatively, try shooting in open shade outdoors, where the sky acts as a massive softbox.
Position Your Subject
Positioning your subject correctly is essential for creating stunning window light portraits with your phone. Start by placing your subject near a window, but not directly in front of it. This allows the soft, diffused light to illuminate their face without causing harsh shadows or squinting. Angle your subject slightly towards the window to create depth and dimension in the portrait.
Consider the background when positioning your subject. Look for clean, uncluttered areas that won't distract from the main focus. If possible, use a plain wall or hang a simple backdrop to create a professional look. Remember to maintain some distance between your subject and the background to achieve a pleasing depth of field.
Experiment with different poses to find the most flattering angle for your subject. Here are three key positioning tips:
- Have your subject turn their body at a 45-degree angle to the camera.
- Ask them to lean slightly forward to create a more engaging posture.
- Guide their chin down and forward to define the jawline and avoid unflattering angles.
Control Light Intensity
Controlling light intensity is essential for achieving stunning window light portraits with your phone. You'll need to master this skill to create the perfect balance of light and shadow on your subject's face.
Start by observing the natural light coming through the window. If it's too harsh, diffuse it by hanging a sheer curtain or placing a white sheet over the window. This will soften the light and reduce harsh shadows.
For darker scenes, move your subject closer to the window to increase light intensity.
Use your phone's exposure compensation feature to fine-tune the brightness. Tap on your subject's face and slide the exposure bar up or down to adjust. If your phone has a pro mode, experiment with ISO and shutter speed settings for more control.
Consider using reflectors to bounce light back onto your subject. A white foam board or even a white shirt can work wonders in filling in shadows. Position the reflector opposite the window to create a more balanced lighting setup.
Don't forget about your phone's flash. In some cases, a subtle fill flash can help illuminate shadowy areas without overpowering the natural light.
Harnessing Golden Hour Magic

To capture the enchanting glow of golden hour, you'll need to time your shoot precisely, typically an hour before sunset or after sunrise.
Position your subject to maximize the warm, soft light by placing them facing the sun for a flattering front-lit effect, or with their back to the sun for dramatic rim lighting.
You'll want to adjust your phone's camera settings to account for the lower light conditions, potentially lowering the ISO and slowing the shutter speed to maintain image quality.
Timing Golden Hour Perfectly
Everyone knows the allure of golden hour, but capturing its magic requires perfect timing. To harness this enchanting light for your phone portraits, you'll need to plan ahead and be ready to act quickly.
Golden hour typically occurs twice a day: just after sunrise and right before sunset. These fleeting moments offer soft, warm light that can transform your photos into stunning works of art.
To time golden hour perfectly, use these strategies:
- Download a golden hour calculator app
- Scout your location in advance
- Arrive at least 30 minutes early
By using a golden hour app, you'll know exactly when the magic light will appear in your area.
Scouting your location beforehand allows you to visualize potential shots and set up quickly. Arriving early gives you time to prepare your subject and adjust your phone's settings.
Positioning Your Subject Effectively
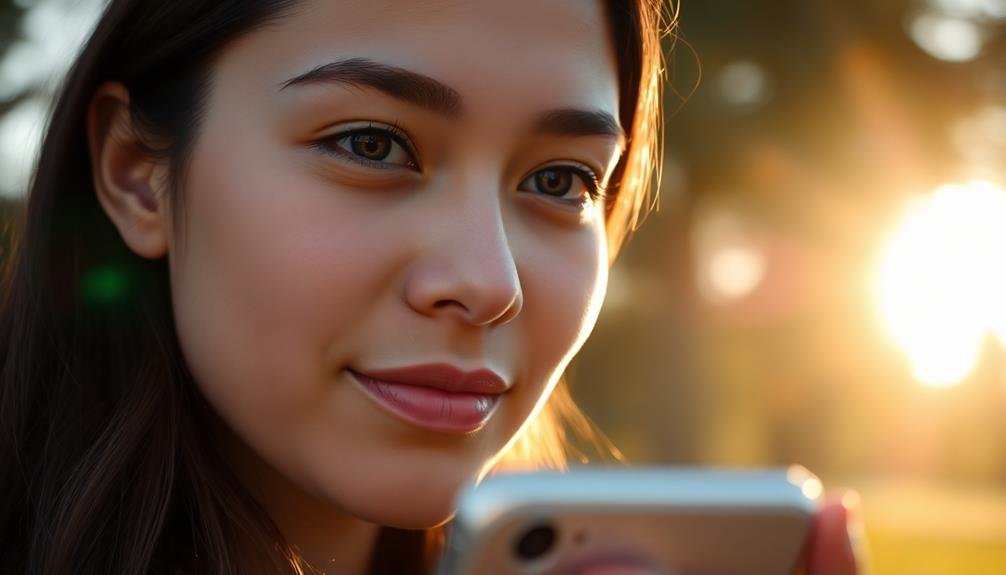
With golden hour's magical light at your fingertips, positioning your subject becomes essential for capturing stunning portraits. Start by placing your subject facing the sun at a slight angle, allowing the warm light to gently illuminate their face. This creates a soft, flattering glow that enhances features and minimizes imperfections.
Experiment with different angles to achieve varied effects. Position your subject with their back to the sun for a dramatic backlit silhouette, or try side lighting for added depth and dimension. Don't forget to take into account the background; look for interesting textures or colors that complement your subject without overpowering them.
Here's a quick guide to subject positioning during golden hour:
| Position | Effect | Best for |
|---|---|---|
| Facing sun | Soft glow | Flattering portraits |
| Back to sun | Dramatic silhouette | Creative shots |
| Side-lit | Added depth | Moody portraits |
Remember to adjust your camera settings accordingly. Use portrait mode if available, and think about using the HDR feature to balance bright backgrounds with your subject. By mastering subject positioning during golden hour, you'll elevate your smartphone portraits to a professional level.
Adjusting Camera Settings Accordingly
During golden hour, adjusting your phone's camera settings is essential to capture the magic of this fleeting light. Start by lowering your camera's ISO to minimize noise and preserve the soft, warm tones characteristic of this time.
Next, adjust your white balance to "cloudy" or "shade" to enhance the golden hues. Finally, experiment with exposure compensation, slightly underexposing your shots to maintain detail in the highlights.
To make the most of golden hour lighting:
- Use portrait mode to create a shallow depth of field, separating your subject from the background.
- Enable HDR to capture a wider range of tones and details in high-contrast scenes.
- Lock your focus and exposure on your subject's face to guarantee proper lighting and sharpness.
Don't forget to use the gridlines feature to compose your shots according to the rule of thirds. This will help you create balanced and visually appealing portraits.
As you shoot, pay attention to the changing light and adjust your settings accordingly. Remember, golden hour light shifts quickly, so be prepared to adapt your approach as the sun's position changes.
With these techniques, you'll be able to capture stunning, professional-looking portraits using just your phone.
Creating Dramatic Shadow Effects

Dramatic shadow effects can transform an ordinary portrait into a fascinating work of art. To create these effects with your phone, you'll need to understand how light and shadow interact.
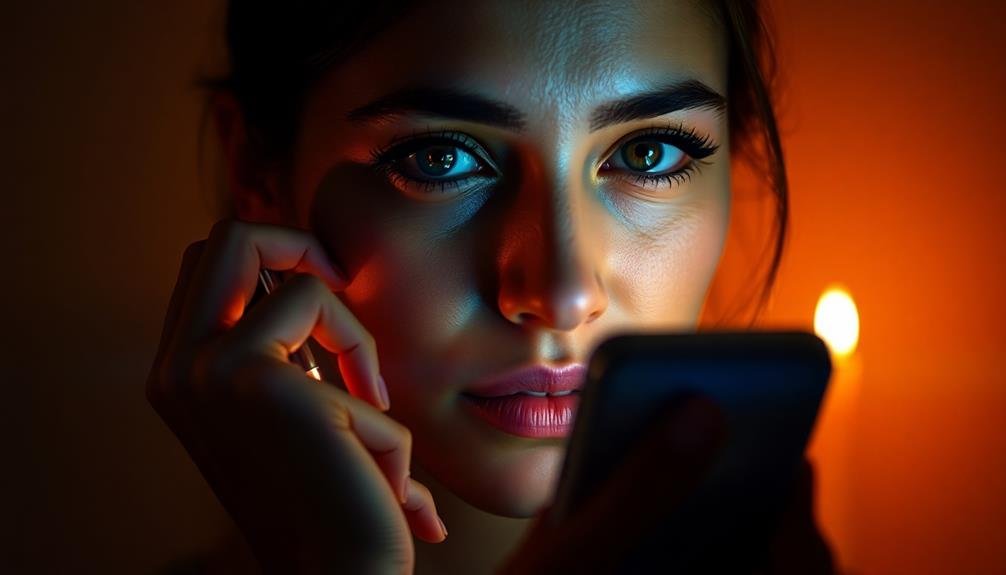
Start by positioning your subject near a strong light source, like a window or a lamp. The key is to have the light coming from one side, creating a distinct shadow on the opposite side of the face.
Experiment with the angle between your subject and the light source. A 45-degree angle often produces the most flattering results, but don't be afraid to try more extreme angles for dramatic effects.
You can also use objects to cast interesting shadows on your subject's face. Try placing a plant or a patterned screen between the light source and your subject.
To enhance the shadows, adjust your phone's exposure settings. Slightly underexpose the image to make the shadows deeper and more pronounced.
You can also use editing apps to boost contrast and darken shadows post-shoot. Remember, the goal is to create depth and dimension, so don't be afraid to push the boundaries and create bold, eye-catching portraits with your phone.
Utilizing Reflectors for Fill Light
While dramatic shadows can create stunning portraits, sometimes you'll want to soften those harsh contrasts. That's where reflectors come in handy. These simple tools bounce light back onto your subject, filling in shadows and creating a more balanced, flattering look.
You don't need expensive equipment; a white piece of cardboard or even a light-colored wall can serve as an effective reflector.
To use a reflector effectively, position it opposite your main light source. Adjust its angle to direct the reflected light onto your subject's face, paying attention to how it affects the overall lighting. Experiment with different distances and angles to achieve the desired effect.
Here are three types of reflectors you can use for fill light:
- Silver reflectors: Provide bright, cool-toned light
- Gold reflectors: Add warmth to skin tones
- White reflectors: Offer soft, natural-looking fill light
Experimenting With Artificial Light Sources
Your phone's built-in flash isn't the only artificial light source at your disposal. In fact, you can get creative with various household items to enhance your portrait lighting.
Try using desk lamps, flashlights, or even strings of LED lights to add unique effects to your shots. Experiment with different angles and distances to achieve the desired look. Place a lamp to the side of your subject for dramatic side lighting, or position it behind them for a striking backlit effect.
You can also use multiple light sources to create more complex lighting setups. Don't forget to adjust your phone's camera settings to accommodate the artificial light. Adjust the exposure and white balance to guarantee accurate colors and proper lighting.
If you're using warm-toned lights, try setting your white balance to "tungsten" for more natural-looking skin tones. Consider using colored gels or translucent materials over your light sources to add interesting hues or soften the light.
This can create a mood or atmosphere that enhances your portrait. Remember, the key is to experiment and find what works best for your specific shot and subject.
Editing Techniques for Enhanced Lighting
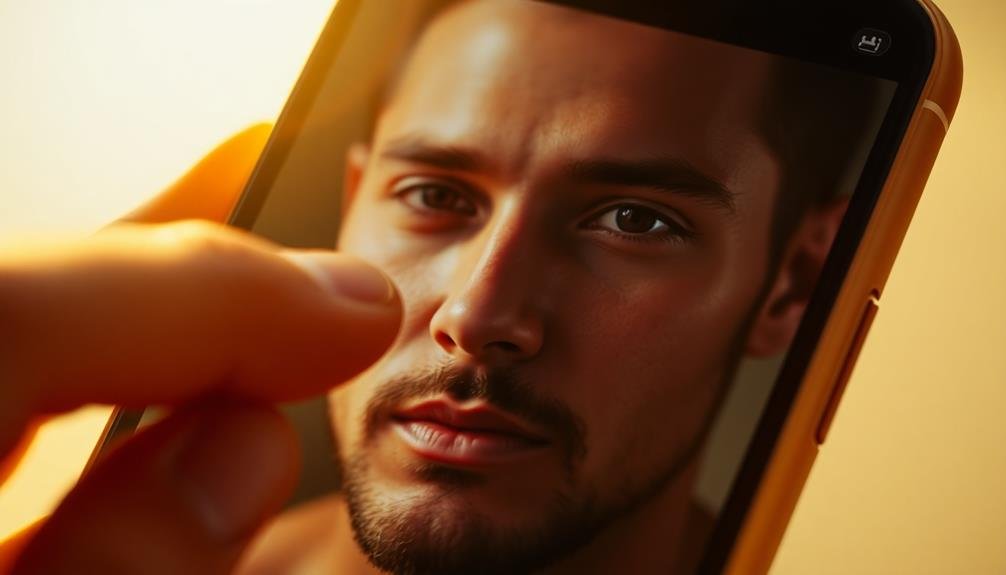
Once you've captured your portrait, editing can take your lighting to the next level. Most smartphone photo editing apps offer powerful tools to enhance lighting and create stunning effects.
Start by adjusting the exposure and contrast to bring out the details in both highlights and shadows. Then, use the highlights and shadows sliders to fine-tune the lighting balance across your image.
For more advanced editing, consider using selective adjustments. These allow you to target specific areas of your photo, such as brightening the subject's face or darkening the background to create depth.
Don't forget about color temperature adjustments, which can dramatically alter the mood of your portrait.
Here are three key editing techniques to enhance lighting in your portraits:
- Use the dodge and burn tools to selectively lighten or darken areas
- Apply a subtle vignette to draw attention to your subject
- Experiment with gradient filters to simulate directional lighting
Common Lighting Mistakes to Avoid
Despite the powerful capabilities of modern smartphones, even experienced photographers can fall prey to common lighting pitfalls when shooting portraits. One of the most frequent mistakes is relying too heavily on your phone's flash, which can create harsh shadows and unflattering highlights. Instead, try using natural light or diffused artificial light sources for softer, more flattering results.
Another error to avoid is positioning your subject in direct sunlight, which can cause squinting and harsh shadows. Opt for shaded areas or shoot during the golden hour for more even lighting.
Don't forget to take into account the background lighting as well; a bright background can leave your subject underexposed.
Be wary of mixed lighting sources, as they can create unwanted color casts. Stick to one primary light source when possible.
Also, avoid placing your subject too close to walls, as this can create unflattering shadows. Instead, move them a few feet away to create depth and dimension.
Lastly, don't neglect the importance of white balance. Incorrect white balance settings can result in unnatural skin tones, so always adjust this setting based on your lighting conditions.
Frequently Asked Questions
Can I Use My Phone's Built-In Flash for Portrait Lighting?
You can use your phone's built-in flash for portrait lighting, but it's not ideal. It often creates harsh shadows and unflattering results. Instead, try using natural light or investing in a small external light source for better portraits.
How Do I Achieve a Soft-Focus Effect in Phone Portraits?
To achieve a soft-focus effect in phone portraits, you'll want to use portrait mode if available. Alternatively, try placing a thin, translucent material over your lens or editing the photo afterward using a blur filter in your favorite app.
What Accessories Are Essential for Phone Portrait Lighting?
You'll need a few key accessories for phone portrait lighting. Get a clip-on LED light or ring light for even illumination. Don't forget a small tripod for stability and a diffuser to soften harsh light.
Are There Specific Camera Apps for Better Portrait Lighting Control?
You'll find several camera apps offering enhanced portrait lighting control. Try VSCO, Snapseed, or ProCam for manual exposure adjustments. Lightroom Mobile and FiLMiC Pro also provide advanced lighting features. Experiment with different apps to find your favorite.
How Can I Create a Studio-Like Setup for Phone Portraits at Home?
You can create a studio-like setup at home by using a plain backdrop, positioning a large window as your main light source, and adding reflectors or DIY light modifiers. Don't forget to experiment with angles and poses.
In Summary
You've now got the tools to create stunning portrait lighting with just your phone. Remember, it's all about experimenting and finding what works best for you. Don't be afraid to try new techniques, play with shadows, and push your creativity. With practice, you'll develop an eye for great lighting in any situation. Keep exploring, and soon you'll be capturing professional-looking portraits that'll wow your audience. Happy shooting!


Leave a Reply