
To make snow landscapes pop on your phone, focus on lighting and composition. Use natural light during golden hours for soft, warm illumination, and adjust exposure settings to prevent overexposure. Apply the rule of thirds and incorporate leading lines to create dynamic compositions. Capture unique textures and patterns in the snow, and use macro mode for intricate details. Adjust white balance to avoid blue or gray tones, and look for pops of color to create striking contrasts. In post-processing, fine-tune exposure, contrast, and sharpness to enhance depth and texture. With these techniques, you'll be on your way to creating stunning winter wonderland shots.
Lighting and Exposure Techniques
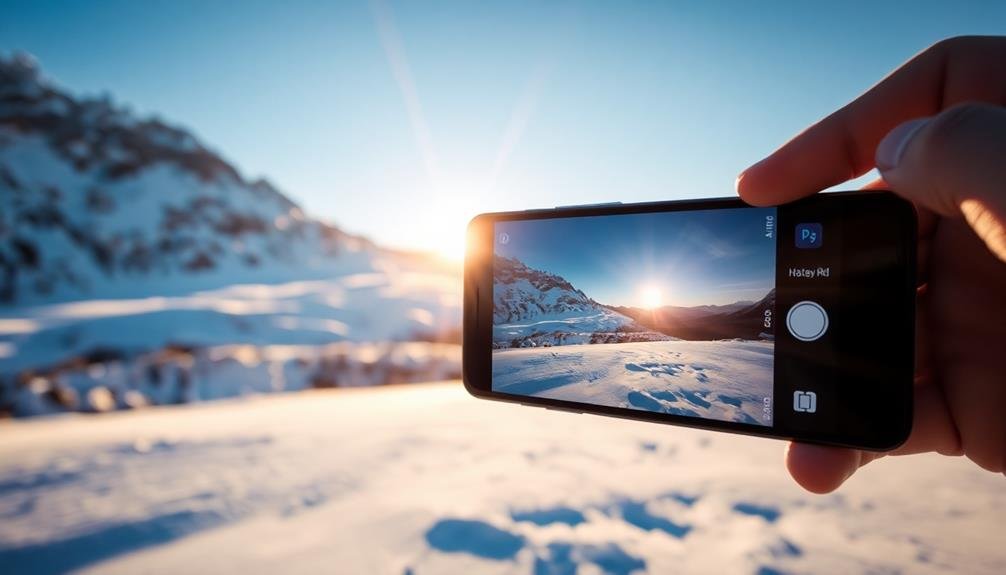
Often, capturing stunning snow landscapes on your phone requires mastering lighting and exposure techniques. Start by adjusting your phone's exposure settings to prevent overexposure. Snow reflects a lot of light, which can trick your camera's sensor into underexposing the image. To combat this, increase exposure compensation by +1 or +2 stops.
Embrace natural light, especially during the golden hours of sunrise and sunset. These times offer soft, warm light that enhances the texture and depth of snowy scenes.
For midday shots, use the HDR mode to balance bright snow with darker elements like trees or buildings. Pay attention to the direction of light. Side-lighting can create dramatic shadows and highlight the texture of snow, while backlighting can produce ethereal, glowing effects.
If you're shooting in overcast conditions, use this diffused light to capture subtle details and colors in the snow. Experiment with your phone's manual mode to fine-tune white balance. Snow often appears blue in photos, so adjust the white balance towards warmer tones for a more natural look.
Composition for Snowy Scenes
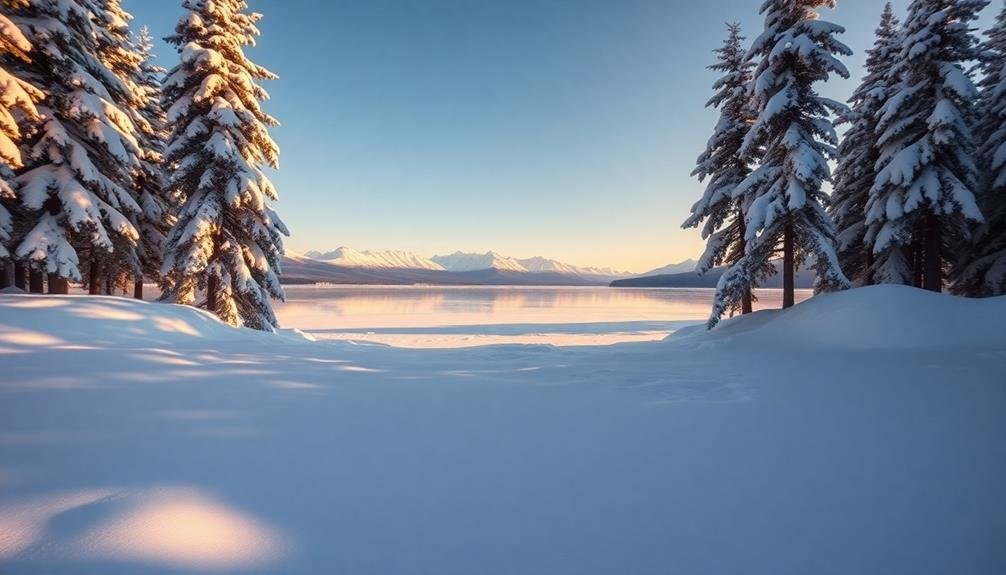
Composition plays an essential role in capturing eye-catching snow landscapes on your phone. When framing your shot, look for strong contrasts between white snow and darker elements like trees, rocks, or buildings. These contrasts create visual interest and depth in your images.
Consider using the rule of thirds to place key elements off-center, creating a more dynamic composition. Place the horizon line along the upper or lower third of the frame, depending on whether you want to emphasize the sky or the snowy landscape.
Leading lines are particularly effective in snow scenes. Use tracks in the snow, fences, or tree lines to guide the viewer's eye through the image. Incorporate foreground elements like snow-covered branches or icicles to add depth and create a sense of scale.
Don't forget to look for unique patterns and textures in the snow. Capture abstract designs created by wind-blown snow or the intricate details of individual snowflakes.
For a fresh perspective, try shooting from low angles or experiment with reflections in icy surfaces.
Capturing Texture and Detail
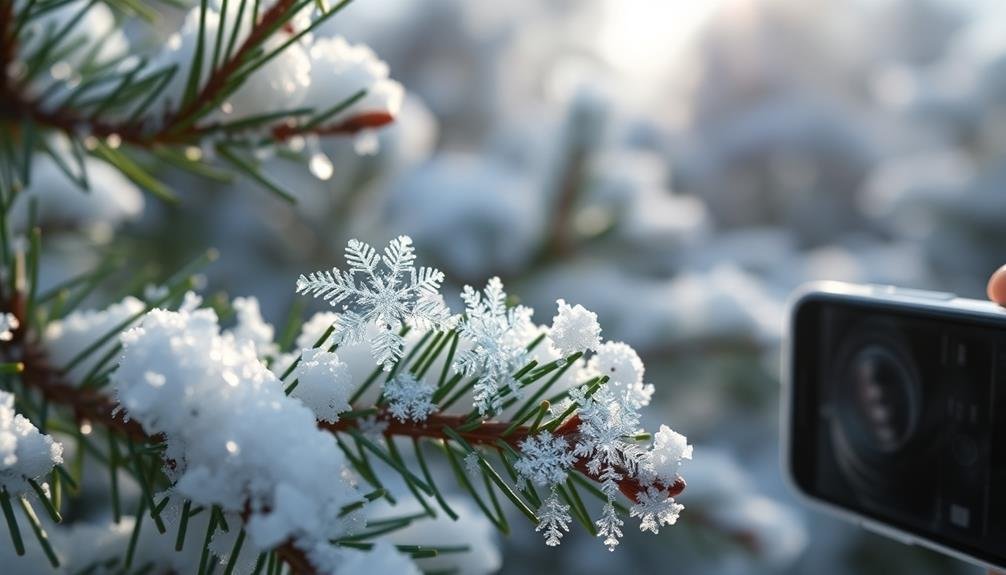
While composition sets the stage for your snow landscape, capturing texture and detail brings your images to life. To achieve this, focus on the unique characteristics of snow. Look for patterns in snowdrifts, individual snowflakes on surfaces, or the way snow clings to tree branches.
Use your phone's macro mode or get close to your subject to highlight intricate details. Experiment with different angles to capture how light interacts with the snow's surface, creating shadows and highlights that emphasize texture.
Adjust your camera settings to prevent overexposure. Snow's brightness can trick your phone's sensor, so use exposure compensation to darken the image slightly. This will preserve details and prevent a washed-out look.
Consider the time of day for ideal textures. Early morning or late afternoon light creates long shadows that accentuate the snow's contours. Cloudy days can provide soft, even lighting that reveals subtle textures.
Don't forget to clean your phone's lens before shooting. Snow and moisture can create unwanted smudges that affect image clarity.
Color Balance in Winter Landscapes
Snow landscapes may appear monochromatic at first glance, but they're often filled with subtle hues that can enhance your photos. To capture these nuances, you'll need to pay attention to color balance. Start by adjusting your phone's white balance settings. Auto white balance can sometimes make snow look too blue or gray, so try using the "cloudy" or "shade" preset for warmer tones.
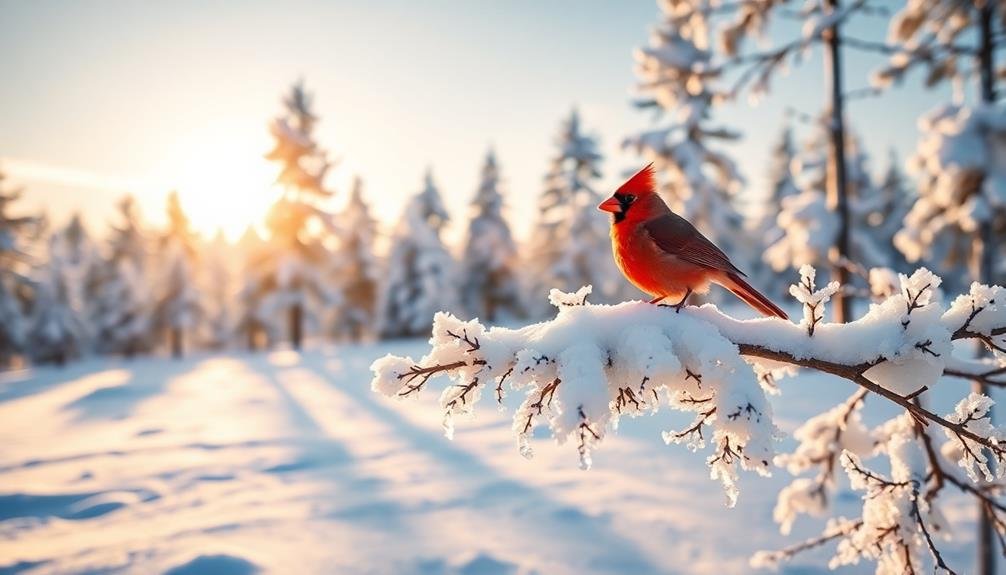
Look for pops of color in your scene, such as red berries, evergreen trees, or colorful winter clothing. These elements can create striking contrasts against the white snow.
During golden hour, the warm light can cast beautiful orange and pink hues across snowy landscapes. To emphasize these colors, slightly increase the warmth in your editing app.
Don't be afraid to experiment with your phone's HDR mode, which can help balance the bright snow with darker elements in your composition.
If your scene lacks color, consider converting your image to black and white, emphasizing the stark contrasts and textures of the winter landscape.
Post-Processing Snow Photos

Once you've captured your snowy scenes, post-processing can elevate your photos to the next level. Start by adjusting the exposure to enhance the snow's brightness without losing detail. Increase contrast to make the snow stand out against darker elements. Fine-tune the white balance to remove any unwanted color casts, ensuring the snow appears pure white.
Next, focus on sharpening and clarity. Boost these settings slightly to bring out the texture in snowflakes and icy surfaces. Be careful not to overdo it, as this can create a noisy or artificial look. Consider using selective editing tools to enhance specific areas of your image without affecting others.
| Adjustment | Purpose | Tip |
|---|---|---|
| Exposure | Brighten snow | Avoid overexposure |
| Contrast | Enhance depth | Increase gradually |
| White Balance | Correct color | Aim for neutral tones |
Frequently Asked Questions
How Do I Protect My Phone From Cold Weather While Taking Snow Photos?
To protect your phone from cold weather while taking snow photos, keep it close to your body when not in use. Use touchscreen-compatible gloves, limit exposure time, and consider using a waterproof case. Avoid sudden temperature changes to prevent condensation.
What Are the Best Weather Apps for Predicting Ideal Snow Photography Conditions?
You'll want to try apps like Dark Sky, AccuWeather, or Snow Forecast. They'll give you detailed predictions for snowfall, cloud cover, and lighting conditions. Don't forget to check local weather apps for more accurate regional forecasts.
Can I Use Filters or Lens Attachments for Better Snow Landscape Photos?
You can absolutely use filters and lens attachments to enhance your snow landscape photos. Try a polarizing filter to reduce glare and deepen blue skies. Wide-angle lenses capture expansive scenes, while macro attachments highlight intricate snow details.
How Do I Prevent Lens Fog When Moving Between Warm and Cold Environments?
To prevent lens fog, you'll want to acclimate your camera gradually. Keep it in your bag when moving between temperatures. Use a lens cloth to wipe away moisture, and consider using anti-fog wipes or sprays on your lens.
What's the Best Time of Day to Capture Snow Landscapes on a Phone?
You'll capture stunning snow landscapes on your phone during the "golden hours" – just after sunrise or before sunset. The low, warm light creates long shadows and enhances textures, making snow scenes more dramatic and visually appealing.
In Summary
You've now got the tools to make your snow landscapes truly shine on your phone. Remember to play with lighting, compose thoughtfully, and focus on capturing those intricate textures. Don't forget to adjust your color balance for that crisp winter feel. With a bit of post-processing magic, you'll transform your snowy shots into stunning masterpieces. So bundle up, head out, and start creating those eye-catching winter wonderland photos that'll make everyone stop scrolling!


Leave a Reply