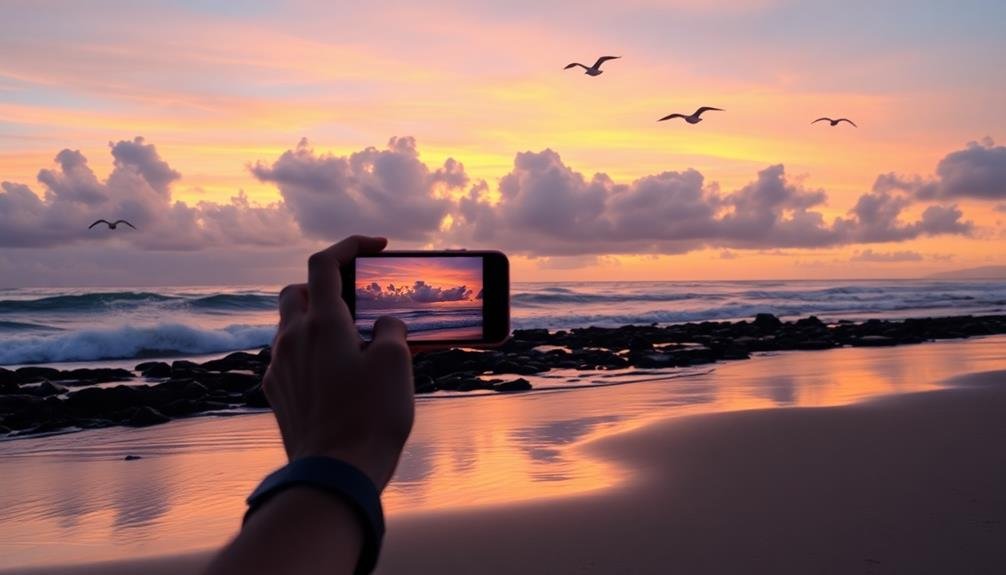
To capture stunning seaside shots with your mobile phone, timing is essential. Aim for golden hours—just after sunrise or before sunset—for soft, warm light. Master composition techniques like the rule of thirds and leading lines to guide the viewer's eye. Incorporate foreground elements like rocks or driftwood to add depth. Experiment with different angles and perspectives for unique shots. Don't shy away from challenging weather; stormy skies can create dramatic scenes. Use HDR mode for high-contrast landscapes and try long exposure techniques for dreamy water effects. With these pro tips, you'll elevate your mobile seaside photography to new heights. The shore's endless possibilities await your lens.
Choosing the Right Time
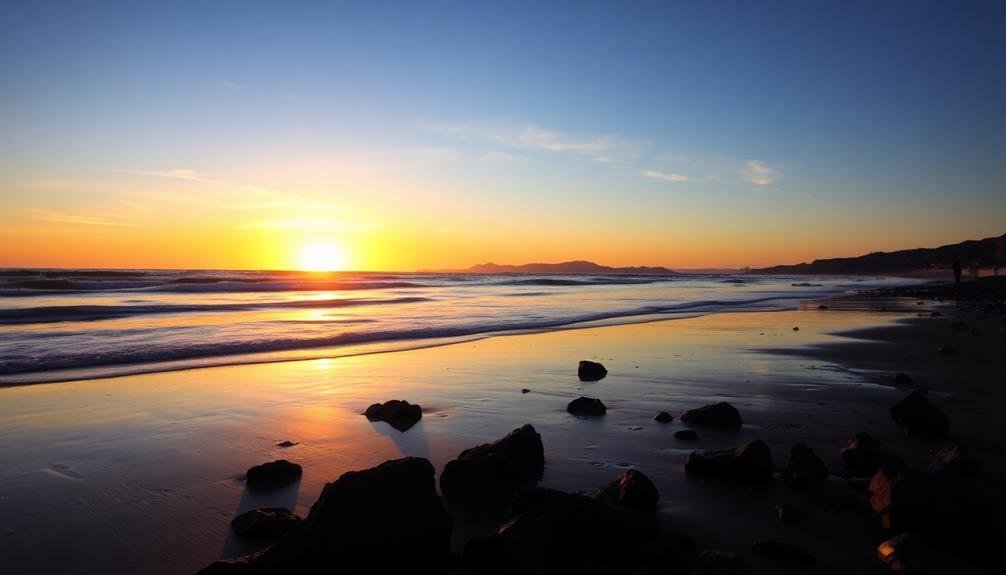
Timing is essential for capturing stunning landscape photos with your mobile phone. The quality of light dramatically affects your images, so aim to shoot during the golden hours—just after sunrise or before sunset. During these times, the sun's low angle creates warm, soft light that enhances colors and textures in your landscapes.
For coastal scenes, consider the tide schedule. Low tide can reveal interesting rock formations or tidal pools, while high tide might offer dramatic waves crashing against cliffs. Overcast days can be ideal for capturing moody seascapes with even lighting and soft shadows.
Don't overlook the potential of night photography. With modern smartphone cameras, you can capture starry skies or moonlit beaches. Use a tripod or stable surface to keep your phone steady during long exposures.
Weather conditions also play a vital role. Stormy skies can add drama to your shots, while clear days are perfect for capturing vibrant colors.
Check the forecast and plan accordingly. Remember, unexpected weather changes can lead to unique photo opportunities, so be prepared to adapt your plans if conditions shift.
Mastering Composition Techniques
Mastering composition techniques can elevate your mobile landscape photography from good to great.
Start by applying the Rule of Thirds, which involves mentally dividing your frame into a 3×3 grid and placing key elements along these lines or at their intersections.
You'll also want to incorporate Leading Lines, using natural or man-made elements to guide the viewer's eye through the image and towards the main subject.
Rule of Thirds
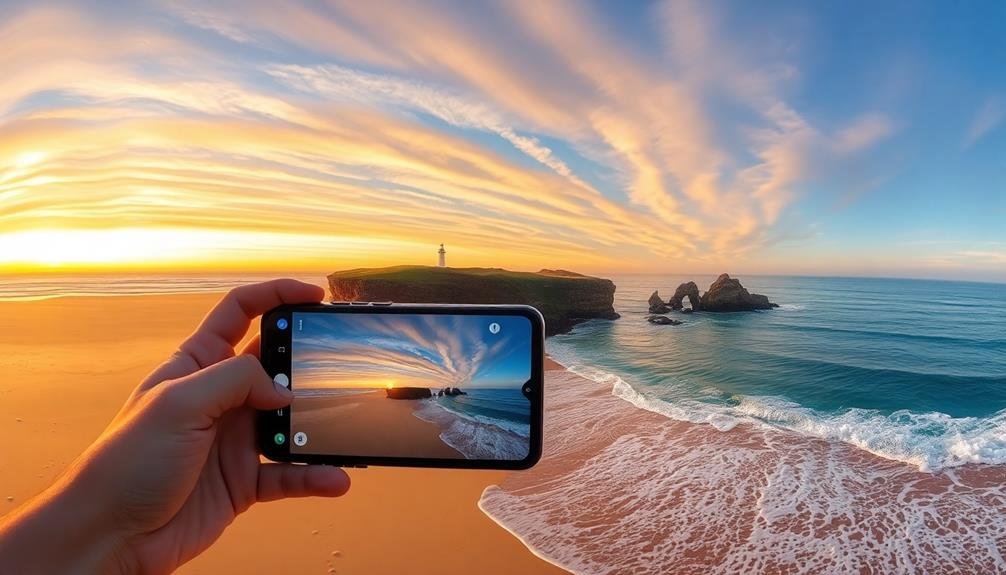
One of the most powerful composition techniques in mobile phone landscape photography is the Rule of Thirds. This principle involves dividing your frame into a 3×3 grid and placing key elements along these lines or at their intersections. It's a simple yet effective way to create balanced and visually appealing images.
To apply the Rule of Thirds, activate your phone's grid feature in the camera settings. As you frame your seaside shot, position the horizon along either the top or bottom horizontal line. Place interesting elements, like a lighthouse or a lone figure, at the grid's intersections. This creates a more dynamic composition than centering everything.
Don't be afraid to break this rule occasionally for creative effect. However, mastering it will greatly improve your landscape photos.
When capturing expansive beach scenes, try aligning the shoreline with the bottom third line. For dramatic skies, position the horizon on the lower third to emphasize the clouds.
Leading Lines Techniques
Leading lines are a powerful compositional tool that can dramatically enhance your mobile landscape photography. These lines guide the viewer's eye through the image, creating depth and drawing attention to your main subject.
To use leading lines effectively, look for natural or man-made elements that form paths, such as roads, fences, or shorelines. When composing your shot, position these lines to start from the bottom corners of your frame and converge towards the center or your focal point. This technique creates a sense of movement and perspective.
Don't limit yourself to straight lines; curves and S-shapes can add dynamic interest to your images. In seaside landscapes, you'll find numerous opportunities for leading lines. Try capturing the gentle curve of waves lapping at the shore, or use a pier stretching into the distance.
For added impact, experiment with different angles. Get low to emphasize the foreground or shoot from an elevated position to showcase the line's full trajectory. Remember to use your phone's gridlines to align the leading lines with key points in your composition.
This will help create a balanced and visually appealing image that draws viewers into your seaside scene.
Utilizing Leading Lines
When you're out capturing landscapes with your mobile phone, don't overlook the power of leading lines. These visual elements guide the viewer's eye through your image, creating depth and drawing attention to your focal point.
Look for natural lines in your environment, such as roads, fences, or coastlines, and use them to your advantage.
To effectively utilize leading lines in your mobile landscape photography:
- Position yourself so the lines lead towards your main subject
- Experiment with different angles to find the most compelling composition
- Use diagonal lines for a more dynamic and energetic feel
- Incorporate curved lines to add a sense of flow and grace
- Combine multiple leading lines to create a more complex and interesting image
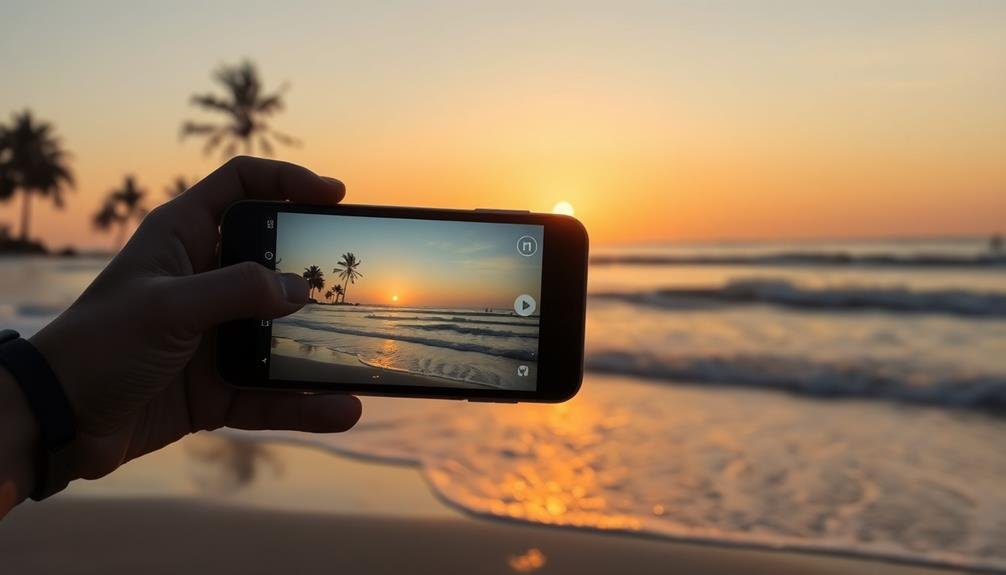
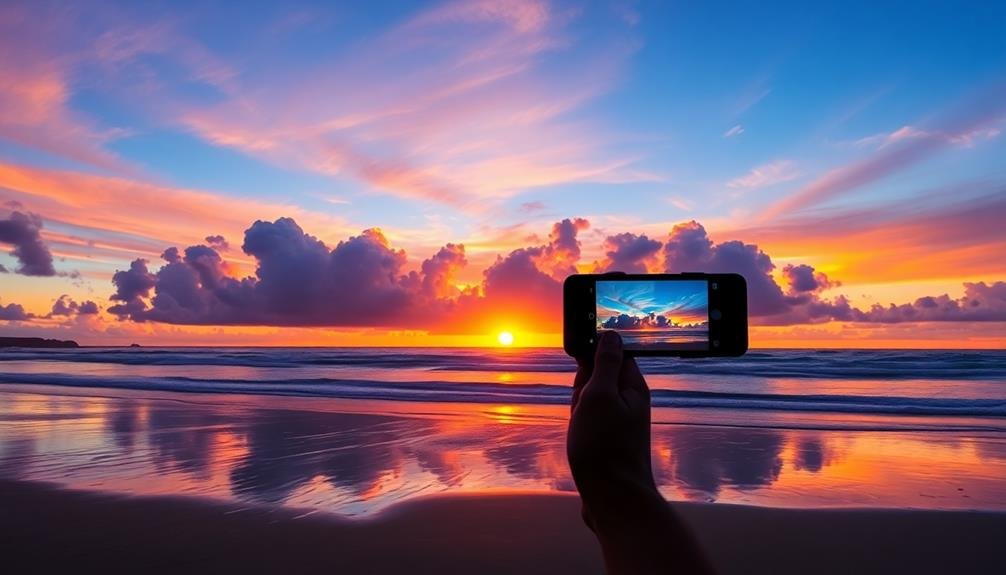
Capturing Golden Hour Magic
To capture golden hour magic, you'll need to master the art of timing.
The warm, soft light during this period can transform your landscape shots, creating a mesmerizing glow and long shadows.
You can enhance these effects by adjusting your phone's exposure and white balance settings to accentuate the golden tones and create a more dramatic atmosphere in your images.
Timing Is Everything
Many photographers consider golden hour the crown jewel of natural lighting. This magical time occurs twice daily, just after sunrise and before sunset. To capture its essence, you'll need to plan ahead and be ready to act quickly. The warm, soft light during these periods can transform ordinary scenes into extraordinary images.
To make the most of golden hour photography:
- Check sunrise and sunset times for your location
- Arrive at least 30 minutes early to set up
- Use apps like PhotoPills or The Photographer's Ephemeris to predict light direction
- Experiment with different compositions as the light changes
- Be patient and wait for the perfect moment
During golden hour, you'll notice long shadows, enhanced textures, and a warm color palette. These elements can add depth and drama to your landscapes.
Pay attention to how the light interacts with your subject, whether it's illuminating a beach, casting shadows across sand dunes, or creating a golden reflection on water.
Warm Light Techniques
Several techniques can help you capture the magic of golden hour with your mobile phone.
First, activate your phone's HDR mode to balance the high contrast between bright skies and darker foregrounds. This feature guarantees you don't lose details in shadows or highlights.
Next, adjust your exposure compensation slightly towards underexposure to preserve the warm colors and prevent overexposed skies.
Use your phone's grid feature to compose your shots following the rule of thirds. Place the horizon along one of the horizontal lines and position interesting elements at the intersections.
Experiment with different angles; try getting low to the ground or finding elevated vantage points for unique perspectives.
To enhance the warm tones, use your phone's white balance settings. Choose the "cloudy" or "shade" preset to add a golden glow to your images.
If your phone has a pro mode, manually adjust the white balance temperature towards warmer tones.
Leveraging Foreground Elements
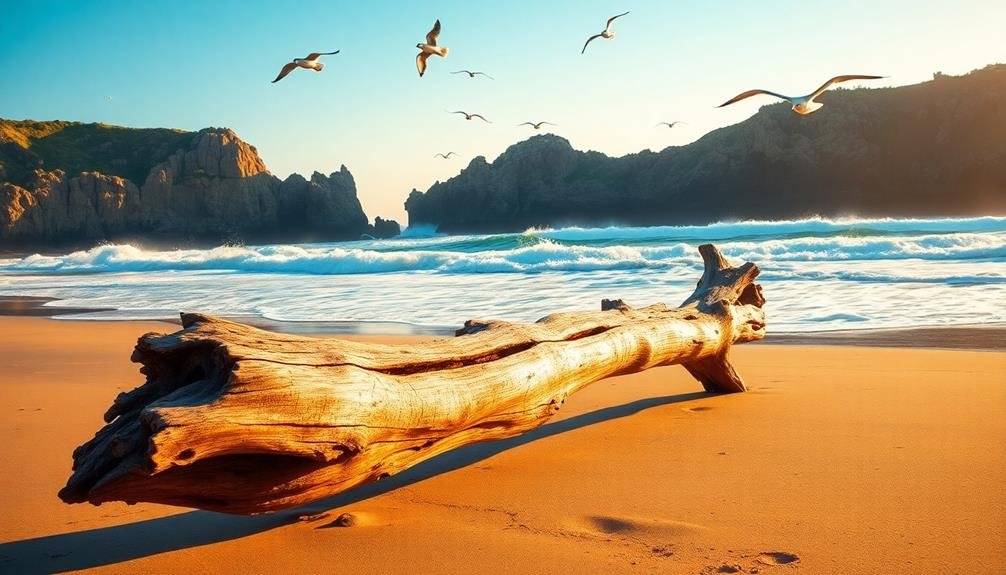
Frequently overlooked, foreground elements can dramatically enhance your mobile phone landscape photography. These objects in the front of your frame add depth, context, and visual interest to your seaside shots.
When you're composing your image, look for rocks, driftwood, seashells, or even footprints in the sand to incorporate into your foreground.
To effectively leverage foreground elements:
- Get low: Crouch down or even lie on the ground to emphasize the foreground.
- Use leading lines: Find elements that guide the viewer's eye into the scene.
- Focus carefully: Guarantee both foreground and background are sharp.
- Balance the composition: Don't let foreground elements overpower the main subject.
- Experiment with different angles: Move around to find the most compelling arrangement.
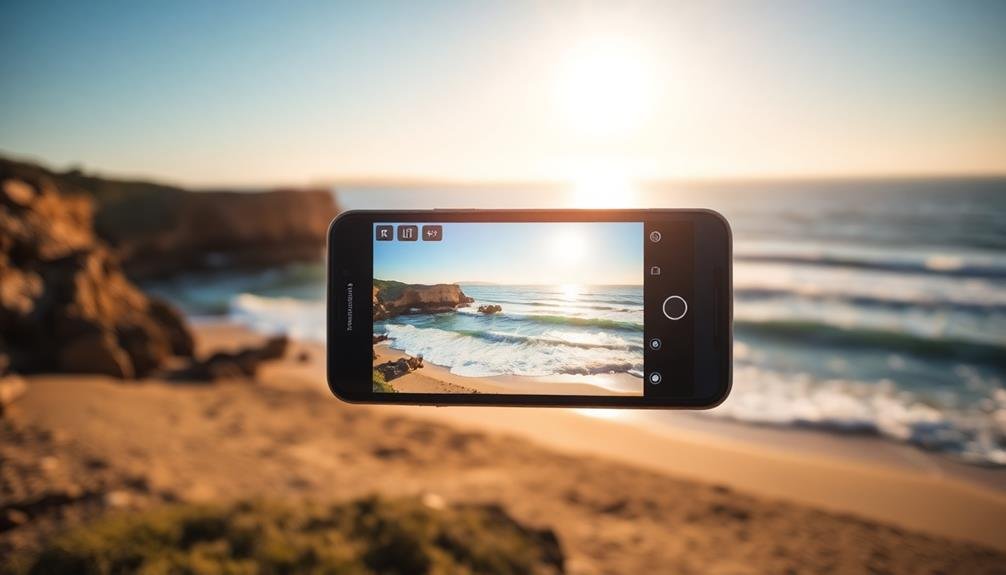
Understanding Mobile Camera Settings
The modern smartphone packs a powerful camera with an array of settings that can elevate your landscape photography. To make the most of these features, familiarize yourself with your phone's camera app.
Start by exploring the HDR (High Dynamic Range) mode, which balances light and dark areas in high-contrast scenes. This is particularly useful for capturing sunsets or scenes with bright skies and shadowy foregrounds.
Next, learn to adjust exposure compensation. Most phones allow you to tap the screen and slide up or down to brighten or darken the image. For landscapes, you'll often want to slightly underexpose to preserve detail in bright skies.
Don't forget to experiment with your phone's manual or "pro" mode if available. Here, you can adjust ISO, shutter speed, and white balance. Lower ISO values (100-400) are ideal for landscapes, reducing noise in your images.
For moving elements like waves or clouds, try slower shutter speeds to create a sense of motion. Finally, shoot in RAW format if your phone supports it. This captures more data, giving you greater flexibility when editing your photos later.
Experimenting With Exposure
Now that you've got a handle on your phone's camera settings, it's time to play with exposure. Exposure determines how light or dark your image appears, and it's essential for capturing stunning seaside landscapes.
Most mobile phones allow you to adjust exposure by tapping on the screen and sliding a bar up or down. Experiment with different exposures to achieve the desired mood and highlight specific elements in your scene.
When shooting seaside landscapes, consider these exposure techniques:
- Underexpose slightly to preserve details in bright skies
- Overexpose to create a dreamy, ethereal look for misty scenes
- Use HDR mode for high-contrast scenes with bright skies and dark foregrounds
- Bracket your shots by taking multiple exposures of the same scene
- Experiment with long exposures for silky water effects (using a tripod or support)
Embracing HDR Mode
HDR mode is a photographer's secret weapon for capturing stunning seaside landscapes. It allows you to balance the bright sky and darker foreground elements, creating a more balanced and dynamic image. When you're facing high-contrast scenes, like a sunset over the ocean or a rocky coastline, HDR can help you retain details in both highlights and shadows.
To use HDR effectively, start by enabling it in your phone's camera settings. Hold your device steady or use a tripod for best results, as HDR combines multiple exposures. Frame your shot carefully, ensuring you've got interesting elements in both the foreground and background. When you press the shutter, your phone will capture several images at different exposures and merge them automatically.
Be mindful of moving subjects, as HDR can create ghosting effects. It's best suited for static scenes. Experiment with HDR in various lighting conditions to understand its impact.
While it can be a powerful tool, don't overuse it – sometimes a naturally high-contrast image can be more impactful. Post-processing HDR shots can further enhance their quality, allowing you to fine-tune the balance between highlights and shadows for a truly breathtaking seaside landscape.
Enhancing With Mobile Editing Apps
After capturing your landscape shots, you'll find a wealth of mobile editing apps to refine your images.
Popular options like Snapseed, VSCO, and Adobe Lightroom Mobile offer essential adjustment tools for tweaking exposure, contrast, and color balance.
These apps also provide creative filters and effects, allowing you to add artistic flair to your landscape photographs with just a few taps.
Popular Editing App Options
Smartphone photographers frequently turn to mobile editing apps to enhance their landscape shots. These apps offer powerful tools to adjust colors, contrast, and composition, helping you transform ordinary photos into stunning visuals.
While there are numerous options available, some popular editing apps stand out for their user-friendly interfaces and robust features.
Snapseed, developed by Google, is a versatile app that provides professional-grade editing tools for free. Adobe Lightroom Mobile offers advanced color grading and presets, making it a favorite among seasoned photographers. VSCO is known for its film-like filters and minimalist design, perfect for achieving a vintage look. For those who prefer an all-in-one solution, Enlight combines photo editing with creative tools like double exposure and artistic effects.
Here are some key features to look for in mobile editing apps:
- Intuitive interface for easy navigation
- Precise control over exposure, contrast, and color
- Non-destructive editing to preserve original images
- Advanced tools like selective adjustments and healing brushes
- The ability to save and apply custom presets
Essential Adjustment Techniques
Once you've captured your landscape shot, mastering a few essential adjustment techniques can dramatically improve your image quality.
Start by adjusting the exposure to guarantee your image isn't too bright or dark. Use the highlights and shadows sliders to bring out detail in both light and dark areas of your photo.
Next, fine-tune the contrast to add depth and dimension to your landscape. Adjust the white balance to correct any color casts and guarantee your scene looks natural. Boost the saturation slightly to make colors pop, but be careful not to overdo it.
Sharpen your image to enhance details, especially in elements like rocks, trees, or buildings. Use the clarity slider to add mid-tone contrast, which can make your landscape appear more defined.
If your photo has a slightly crooked horizon, use the straighten tool to level it.
Creative Filter Applications
With the rise of powerful mobile editing apps, creative filter applications have become a game-changer for landscape photographers. These apps offer a wide range of filters and effects that can transform your seaside shots from ordinary to extraordinary.
When applying filters, it's essential to strike a balance between enhancing the image and maintaining its natural beauty. Experiment with different filter combinations to find the perfect look for your landscape.
Don't be afraid to adjust the filter intensity to achieve a subtle, realistic effect. Remember, the goal is to enhance your image, not overpower it.
Some popular mobile editing apps for creative filter applications include:
- Snapseed
- VSCO
- Adobe Lightroom Mobile
- Enlight
- Afterlight
These apps offer a variety of pre-set filters and custom editing tools to help you achieve your desired look. When using filters, pay attention to how they affect the colors, contrast, and mood of your seaside landscape.
Consider the time of day and lighting conditions when selecting a filter to complement the natural ambiance of the scene. With practice, you'll develop an eye for which filters work best for different types of landscapes and lighting situations.
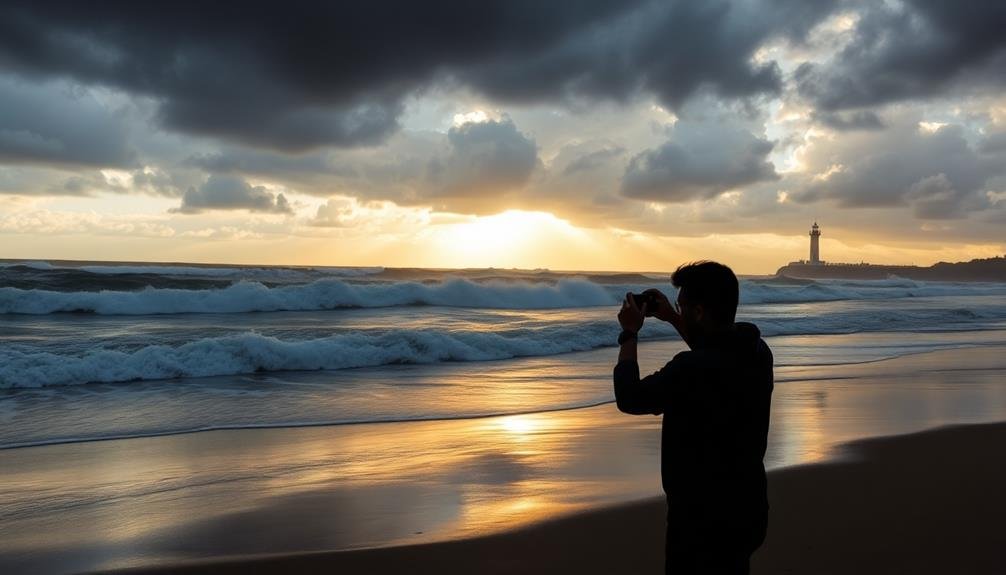
Creating Dramatic Silhouettes
Three key elements make silhouettes in mobile photography truly dramatic: lighting, subject placement, and composition. To capture striking silhouettes, you'll need to position your subject between your camera and a bright light source, typically the sun during golden hour.
Shoot towards the light, exposing for the sky rather than your subject. This will darken the foreground, creating a bold contrast.
For subject placement, choose objects with distinct, recognizable shapes. People, trees, or architectural elements work well. Position them off-center using the rule of thirds for a more dynamic composition.
Confirm your subject is completely backlit to maintain clean, crisp outlines.
Composition is essential for impactful silhouettes. Look for interesting sky conditions, like colorful sunsets or dramatic cloud formations, to serve as your background.
Experiment with different angles and perspectives to find the most compelling arrangement. Try getting low to the ground or shooting from an elevated position to add depth and interest to your scene.
Don't forget to tap on your phone's screen to adjust exposure, guaranteeing you preserve the sky's details while keeping your subject dark.
With practice, you'll master the art of creating enchanting silhouettes that tell powerful visual stories.
Handling Challenging Weather Conditions
Challenging weather conditions can create unique opportunities for stunning landscape photos with your mobile phone.
You'll find that stormy seas, foggy beaches, and windy days offer dramatic elements to capture in your images.
Capturing Stormy Seas
Stormy seas offer a dramatic backdrop for breathtaking mobile photography, but they also present unique challenges. To capture the raw power and beauty of turbulent waters, you'll need to adapt your technique and prioritize safety. Always keep a safe distance from the water's edge and never turn your back on the ocean.
When shooting stormy seas, focus on capturing the movement and energy of the waves. Use a faster shutter speed to freeze dramatic splashes or experiment with longer exposures to create a misty, ethereal effect. Don't forget to protect your phone from water and sand with a waterproof case.
Here are some key tips for capturing stormy seas:
- Look for interesting foreground elements like rocks or driftwood
- Use leading lines to draw the viewer's eye into the scene
- Experiment with different angles to emphasize the height of the waves
- Pay attention to the sky and incorporate dramatic cloud formations
- Try black and white editing to enhance the mood and contrast
Remember to adjust your camera settings for the low light conditions often associated with stormy weather. Increase your ISO if necessary, but be mindful of noise in your images.
With practice and patience, you'll be able to capture the awe-inspiring power of stormy seas using just your mobile phone.
Foggy Beach Photography
A veil of mist transforms beaches into ethereal landscapes, perfect for capturing moody and atmospheric shots with your mobile phone. To make the most of foggy conditions, arrive early when the mist is thickest.
Use your phone's HDR mode to balance the bright sky with darker foreground elements. Adjust your exposure compensation to prevent overexposure, as fog can trick your camera's light meter.
Focus on creating depth in your images by including foreground elements like rocks, driftwood, or seagrass. These objects will add interest and help guide the viewer's eye through the scene.
Experiment with silhouettes by positioning dark subjects against the lighter foggy background. Try shooting in black and white to enhance the moody atmosphere and emphasize textures and shapes.
Don't forget to protect your phone from moisture. Use a waterproof case or keep a microfiber cloth handy to wipe away condensation. Clean your lens frequently to avoid water droplets ruining your shots.
Windy Day Techniques
Wind's persistent gusts can turn a simple beach photo session into a challenging adventure. To capture stunning windy beach shots with your mobile phone, embrace the dynamic conditions. Use the wind to your advantage by focusing on elements that showcase its power, like windswept sand or billowing clothing.
Stabilize your phone to prevent camera shake. Brace yourself against a sturdy object or use a mini tripod for sharper images. Opt for faster shutter speeds to freeze motion, or experiment with slower speeds for artistic blur effects. Protect your device from sand and spray with a waterproof case.
Consider these windy day photography techniques:
- Capture flying kites or wind surfers for action-packed shots
- Frame windblown hair or clothing for dramatic portraits
- Photograph wind-sculpted sand patterns for abstract compositions
- Use long exposures to blur moving clouds or waves
- Include wind indicators like flags or bent trees for context
Remember to clean your lens frequently, as wind-blown particles can compromise image quality.
Adjust your camera settings to compensate for changing light conditions, and don't forget to protect yourself from the elements. With these tips, you'll create enchanting windy beach landscapes that truly capture the essence of coastal weather.
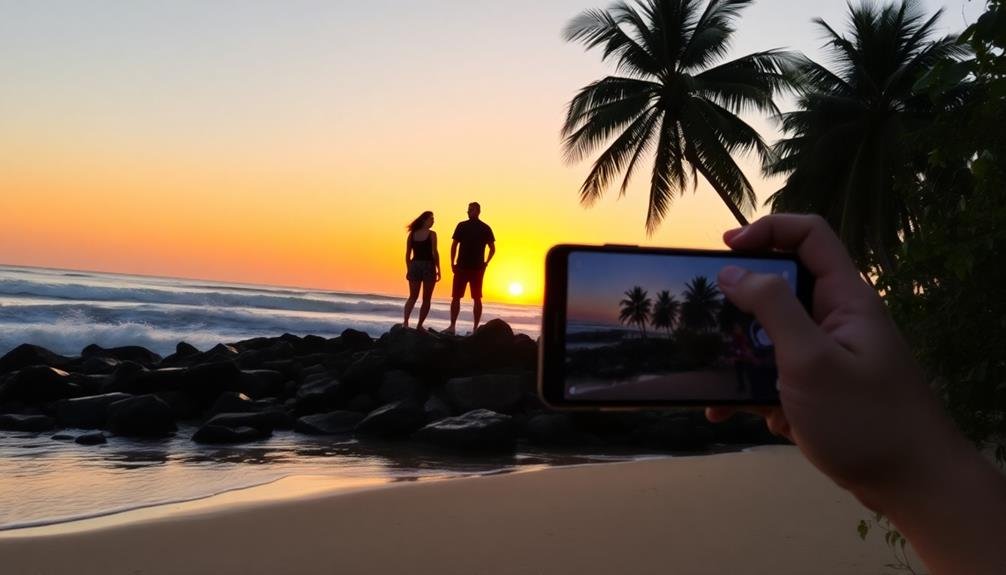
Incorporating Human Elements
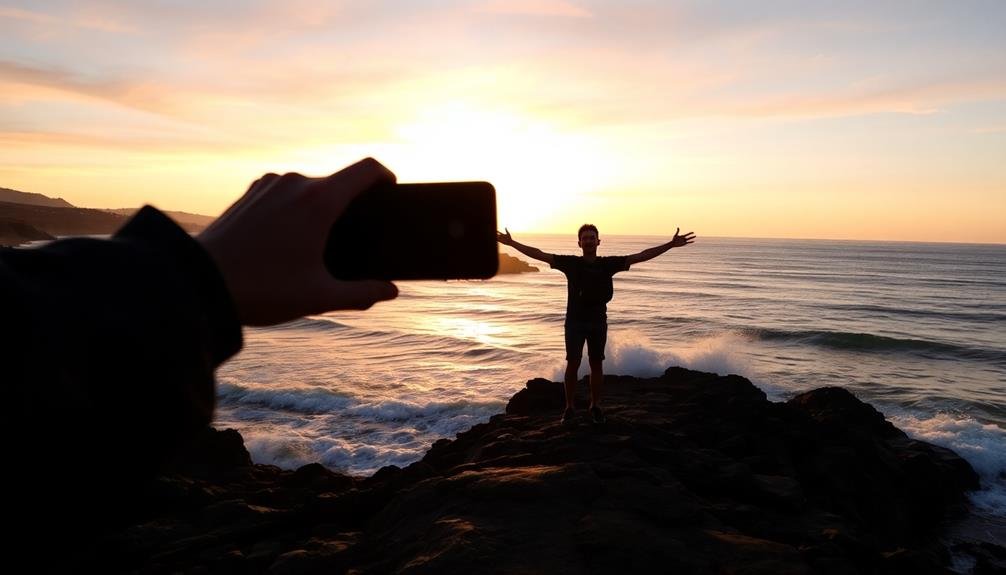
Why limit your landscape photos to nature alone when human elements can add depth and scale to your compositions? Including people in your seaside shots can create a sense of perspective and evoke emotion. To effectively incorporate human elements, try positioning a person or group at a distance, allowing them to serve as a focal point while showcasing the vastness of the landscape.
Experiment with silhouettes by placing subjects between your camera and the sun, especially during golden hour. This technique creates striking contrasts and adds mystery to your images.
Don't be afraid to capture candid moments of beachgoers enjoying the scenery; these natural interactions can bring your photos to life.
Consider using human-made structures like piers, lighthouses, or boats to add interest to your compositions. These elements can provide leading lines or frame your shots, guiding the viewer's eye through the image.
When including people, pay attention to their positioning and gestures. A person gazing out at the horizon or pointing towards a distant object can create a narrative within your photo, inviting viewers to imagine themselves in the scene.
Exploring Long Exposure Techniques
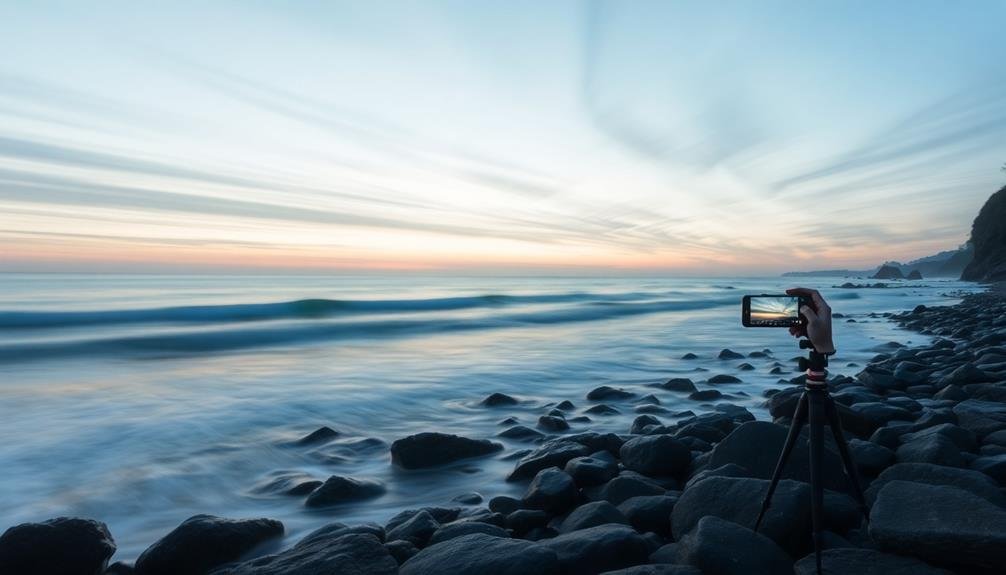
Long exposure techniques can transform your seaside landscapes into ethereal masterpieces. With your mobile phone, you can capture the smooth, silky water and dreamy clouds that are hallmarks of long exposure photography.
To achieve this effect, you'll need a few essential tools: a sturdy tripod, a mobile phone adapter, and a long exposure app.
Start by setting up your phone on the tripod and framing your shot. Choose a composition that includes moving elements like waves or clouds. Use your long exposure app to set the shutter speed, typically between 1 and 30 seconds. Experiment with different durations to find the perfect balance between motion blur and detail.
Here are some key tips for successful long exposure seaside shots:
- Use manual focus to guarantee sharpness
- Adjust ISO and exposure compensation for best results
- Shoot during golden hour or blue hour for dramatic lighting
- Include static elements like rocks or piers for contrast
- Try light painting techniques to add interest
Remember to keep your phone steady throughout the exposure.
With practice, you'll be able to create stunning, professional-looking seaside landscapes that stand out from typical snapshots.
Maximizing Panorama Mode
Panorama mode is a powerful tool in your mobile photography arsenal, allowing you to capture sweeping vistas and expansive landscapes. To maximize its potential, start by holding your phone vertically for taller scenes or horizontally for wider shots. Keep your movements slow and steady as you pan, maintaining a consistent speed and direction.
Before shooting, scout your location and plan your composition. Look for strong foreground elements to anchor your image and lead the viewer's eye through the scene. Pay attention to the lighting conditions, as panoramas can be challenging in high-contrast situations.
Here's a quick guide to common panorama issues and solutions:
| Issue | Solution |
|---|---|
| Misaligned shots | Use visual guides on screen |
| Distorted objects | Avoid close subjects |
| Exposure differences | Lock exposure before panning |
| Blurry images | Use a phone tripod or stabilizer |
Remember to experiment with different angles and perspectives. Try capturing panoramas from low to the ground or from an elevated position for unique views. Don't forget to clean your lens before shooting to guarantee crisp, clear images. With practice, you'll master the art of panoramic mobile photography, creating stunning wide-angle shots that truly capture the essence of your landscape.
Frequently Asked Questions
How Do I Protect My Phone From Sand and Saltwater Damage?
To protect your phone from sand and saltwater damage, you'll want to use a waterproof case, keep it in a sealed bag when not in use, and avoid direct contact with water. Clean it with fresh water if exposed.
What Accessories Are Essential for Mobile Landscape Photography at the Beach?
You'll need a tripod for stability, a lens cleaning kit, and a waterproof case to protect your phone. Don't forget a portable charger, wide-angle lens attachment, and ND filters for creative shots in bright sunlight.
How Can I Prevent Lens Flare When Shooting Towards the Sun?
To prevent lens flare when shooting towards the sun, you'll want to use a lens hood or your hand to shade the lens. Try repositioning yourself or adjusting your angle to minimize direct sunlight hitting the lens.
Are There Specific Mobile Apps for Planning Seaside Photo Shoots?
Yes, there are! You'll find apps like The Photographer's Ephemeris, PhotoPills, and Tide Charts that help you plan seaside shoots. They'll show you sun positions, tide times, and other useful info for capturing perfect coastal photos.
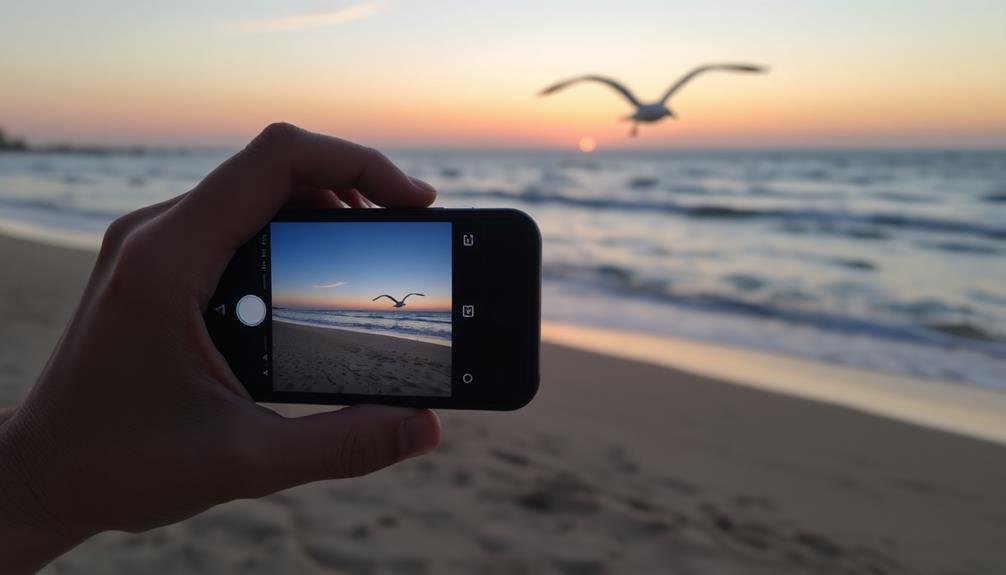
How Do I Capture Moving Subjects Like Seagulls or Surfers Effectively?
To capture moving subjects effectively, you'll want to use burst mode or sport mode on your phone. Focus on anticipating movement, use a fast shutter speed, and try panning to create a sense of motion.
In Summary
You've now got a toolkit of seaside photography techniques at your fingertips. Remember, timing is everything, so plan your shots around golden hour. Use leading lines and foreground elements to create depth, and don't shy away from challenging weather. Experiment with long exposures and panoramas to capture the sea's essence. Most importantly, keep practicing. With these tips and your trusty phone, you'll be shooting stunning seaside landscapes in no time.


Leave a Reply