Simple phone photos become visually striking through thoughtful composition techniques. You can use the rule of thirds to balance your image, employ leading lines to guide the viewer's eye, and utilize negative space to enhance focus. Symmetry, patterns, and framing within the frame add visual interest, while contrasting colors create eye-catching compositions. Golden hour lighting can provide a warm, flattering glow to your subjects. Adopting a minimalist approach helps emphasize your main subject by eliminating distractions. By mastering these elements, you'll elevate your phone photography from ordinary to extraordinary. The key lies in understanding how to harness these principles effectively.
Rule of Thirds
The rule of thirds is a fundamental composition technique in photography. It involves dividing your image into a 3×3 grid and placing key elements along these lines or at their intersections. This creates a more balanced and visually appealing composition than simply centering your subject.
To apply this rule, imagine two horizontal and two vertical lines crossing your phone screen. Many camera apps even offer a grid overlay to help you visualize these lines. As you frame your shot, position important elements along these lines or at their intersections. For example, place a horizon on the upper or lower horizontal line, or a tree trunk on a vertical line.
You'll find that off-center compositions often create more dynamic and interesting images. They guide the viewer's eye through the photo and create a sense of space and movement.
However, don't feel constrained by this rule. It's a guideline, not a strict law. Sometimes, breaking the rule of thirds can lead to striking compositions, especially when you want to emphasize symmetry or create tension in your image.
Leading Lines

Leading lines are a powerful compositional tool that can dramatically enhance your phone photography. They're visual elements that guide the viewer's eye through the image, creating depth and directing attention to your main subject. You'll find leading lines everywhere: roads, railway tracks, fences, or even natural formations like rivers and tree lines.
To use leading lines effectively, position them so they lead towards your focal point. This creates a sense of movement and draws the viewer into the scene. You can use straight lines for a bold, direct approach or curved lines for a more subtle, organic feel. Don't forget to experiment with different angles and perspectives to find the most impactful composition.
Here's a quick guide to common types of leading lines:
| Type | Description | Best Used For |
|---|---|---|
| Straight | Direct, bold | Urban scenes, architecture |
| Curved | Subtle, flowing | Natural landscapes, portraits |
| Converging | Create depth | Roads, train tracks, buildings |
Negative Space

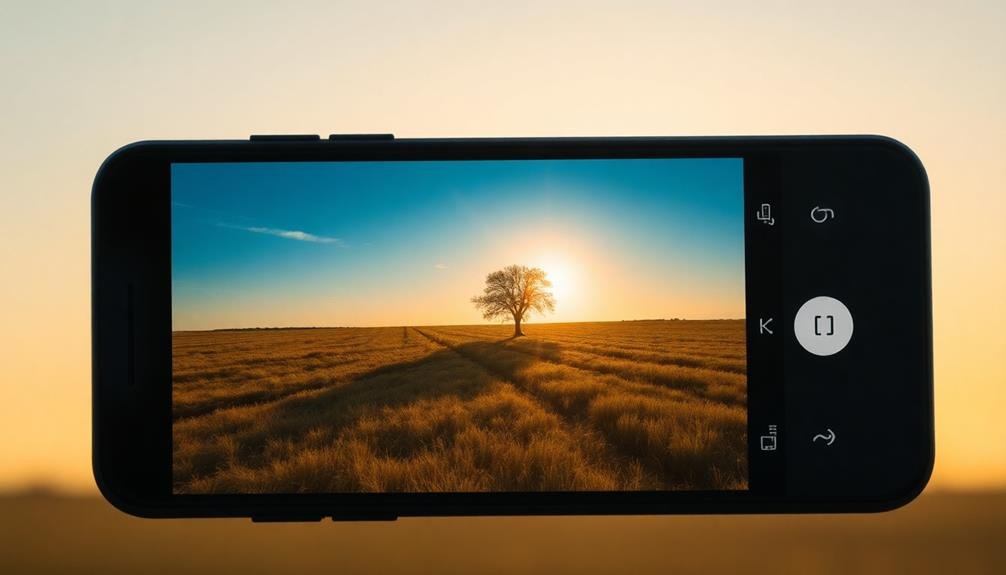
Negative space, often overlooked, is a powerful tool in phone photography. It's the empty area surrounding your main subject, and when used effectively, it can dramatically enhance your images. By incorporating ample negative space, you'll create a sense of balance and draw attention to your focal point.
To use negative space, frame your subject off-center and leave a large portion of the frame empty. This technique works particularly well with minimalist compositions, such as a single tree against a vast sky or a lone figure on a beach. The emptiness amplifies the impact of your subject, creating a visually striking contrast.
Don't be afraid to experiment with different ratios of negative space to subject. You might find that an image with 80% negative space is more compelling than one with only 50%.
When shooting, consider the color and texture of the negative space. A plain blue sky or a smooth white wall can serve as an excellent backdrop.
Symmetry and Patterns
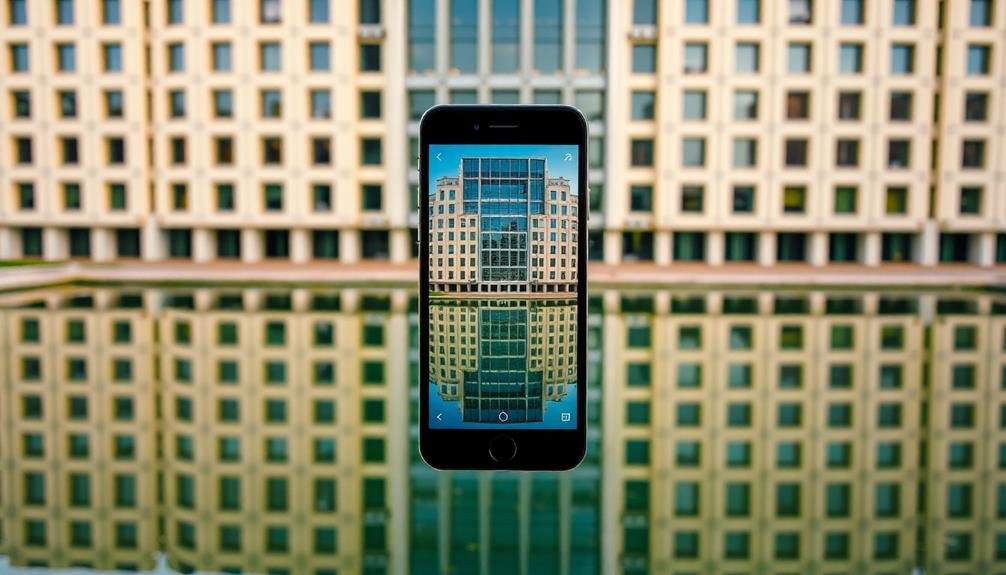
Amid the chaos of everyday life, symmetry and patterns offer a sense of order and visual appeal that can elevate your phone photography. By seeking out and capturing these elements, you'll create visually striking images that draw the viewer's eye and evoke a sense of harmony.
To incorporate symmetry and patterns into your phone photos, try these techniques:
- Look for reflections in water, glass, or polished surfaces to create mirror-like symmetry.
- Capture architectural details like repeating windows, columns, or tiles.
- Frame your subject in the center of natural arches or doorways for radial symmetry.
- Seek out patterns in nature, such as leaves, petals, or ripples in sand.
When composing your shot, use your phone's grid feature to align elements precisely. Experiment with different angles to emphasize symmetry or highlight patterns.
Don't be afraid to get close to your subject or use your phone's zoom feature to isolate interesting details. Remember, symmetry doesn't always have to be perfect – slight imperfections can add character and intrigue to your images.
Framing Within the Frame
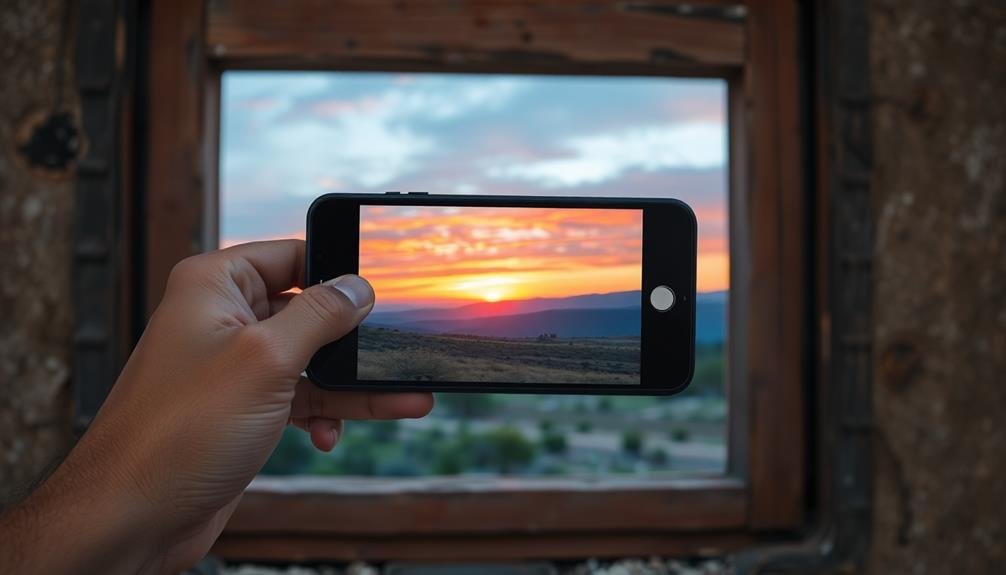
Through the art of framing within the frame, you can add depth and visual interest to your phone photos. This technique involves using elements within the scene to create a natural border around your main subject. Look for archways, windows, doorways, or even tree branches that can act as a frame. By positioning your subject within these natural frames, you'll draw the viewer's eye directly to the focal point of your image.
When using this technique, pay attention to the shapes and lines created by the frame. Experiment with different angles to find the most visually appealing composition. You can also play with symmetry or asymmetry within the frame to create balance or tension in your photo.
Don't be afraid to get creative – even man-made objects like fences or street signs can serve as effective frames.
Remember that framing doesn't always have to be complete. Partial frames can be just as effective in guiding the viewer's eye. By mastering this technique, you'll add a professional touch to your phone photography, creating images that are both visually striking and compositionally strong.
Contrasting Colors
Contrasting colors can breathe life into your phone photos, creating eye-catching compositions that pop off the screen. When you're out shooting, look for scenes with naturally opposing hues. The color wheel is your friend here; colors opposite each other, like blue and orange or purple and yellow, create striking contrasts.
You'll often find these pairings in nature, architecture, or urban settings.
To make the most of contrasting colors in your phone photography:
- Use your camera's HDR mode to capture a wider range of tones and colors
- Experiment with different lighting conditions to enhance color contrasts
- Look for complementary color schemes in your surroundings
- Edit your photos to subtly boost color saturation and contrast
Don't be afraid to get creative with your compositions. Sometimes, a small splash of contrasting color against a mainly monochromatic background can make for a powerful image.
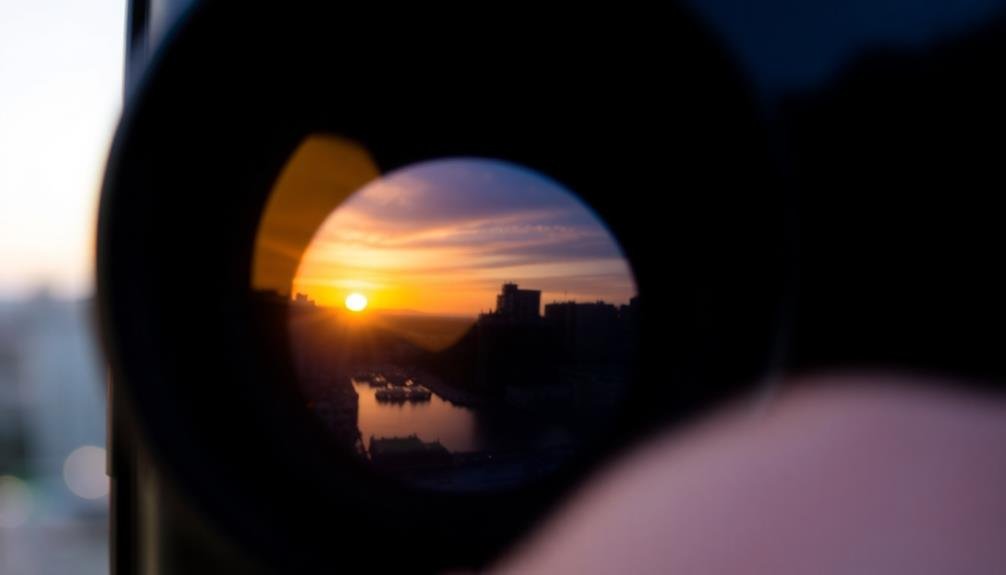
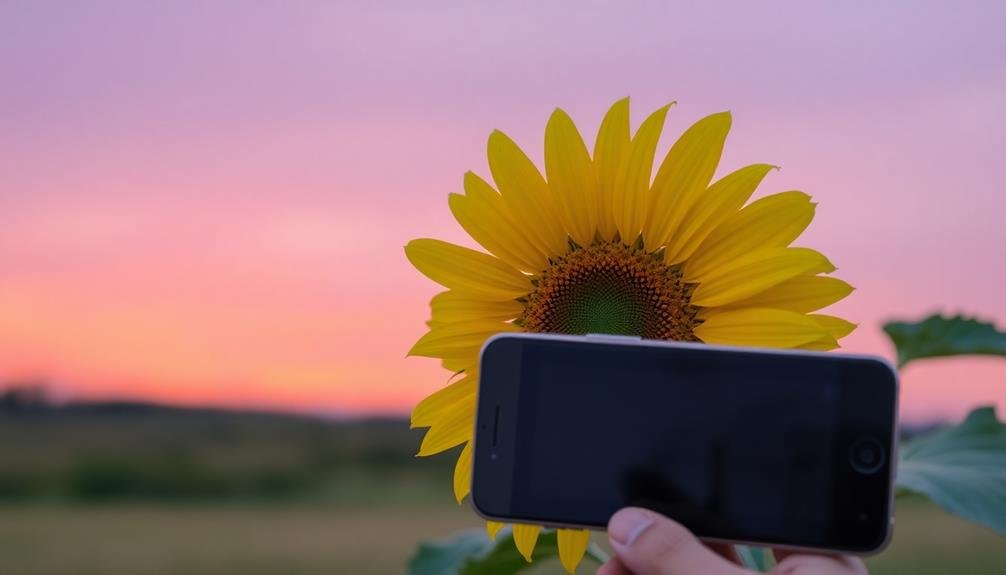
Golden Hour Lighting
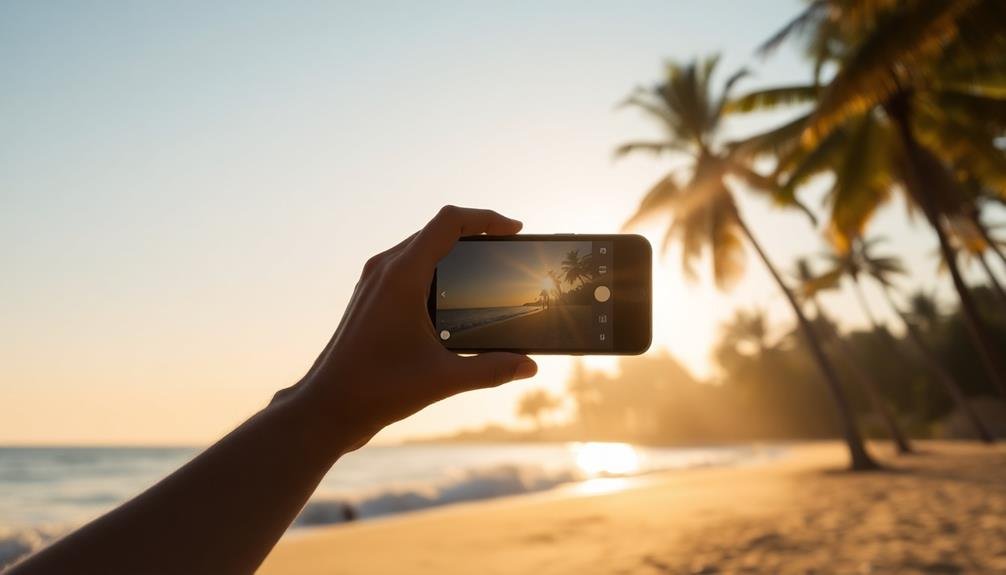
As the day winds down, golden hour lighting emerges as a photographer's secret weapon for stunning phone photos. This magical time occurs shortly after sunrise or before sunset when the sun is low on the horizon, casting a warm, golden glow across the landscape.
You'll notice softer shadows, enhanced textures, and a rich, warm color palette that can transform ordinary scenes into extraordinary images.
To make the most of golden hour, plan your shoots in advance. Check the sunrise and sunset times for your location, and aim to be ready about 30 minutes before.
Look for subjects that will benefit from the warm light, such as landscapes, architecture, or portraits. Position yourself so the light falls on your subject from the side or behind for dramatic effects. Experiment with backlighting to create silhouettes or capture lens flares for added interest.
Don't be afraid to adjust your phone's exposure settings. You might need to underexpose slightly to preserve the golden tones and prevent blown-out highlights.
Minimalist Approach

Embrace the "less is more" philosophy to create powerful minimalist phone photos.
Focus on essential elements, stripping away distractions to highlight your subject's true essence.
Use clean composition techniques like negative space, symmetry, and leading lines to guide the viewer's eye and create a visually striking impact.
Less Is More
A minimalist approach can elevate your phone photography to new heights. By focusing on simplicity and clean compositions, you'll create images that are both striking and memorable. The "less is more" philosophy encourages you to strip away unnecessary elements, allowing the subject to shine through.
When applying this concept to your phone photography, consider these key principles:
- Negative space: Use empty areas to draw attention to your subject and create a sense of balance.
- Single focal point: Choose one main element as the star of your image, eliminating distractions.
- Limited color palette: Stick to a few complementary colors or even experiment with monochrome shots.
- Minimal editing: Enhance your images subtly, avoiding over-processing that can detract from the simplicity.
Focus on Essential Elements
Once you've embraced the "less is more" philosophy, it's time to zero in on the essential elements of your composition. Identify the key subject or focal point of your image and eliminate distractions. Ask yourself: What's the main story you're trying to tell? What single element captures the essence of your scene?
To focus on essentials, use negative space strategically. This empty area around your subject draws attention to the main element and creates a sense of balance. Experiment with different angles and perspectives to isolate your subject from cluttered backgrounds. Try getting closer or using the rule of thirds to position your focal point off-center for added visual interest.
Consider the interplay of light and shadow to emphasize your subject. Use natural light sources or adjust exposure settings to create contrast and depth. Pay attention to lines, shapes, and patterns that guide the viewer's eye to the essential elements.
Simplify your color palette by focusing on complementary or monochromatic schemes. Remember, each element in your frame should serve a purpose. If it doesn't contribute to your story or composition, leave it out.
Clean Composition Techniques
Minimalism is the key to creating clean, powerful compositions in phone photography. By stripping away unnecessary elements, you'll draw attention to your subject and create visually striking images.
Embrace negative space, using empty areas to frame your subject and create a sense of balance. Remember, less is often more when it comes to impactful photography.
To achieve clean compositions, focus on these techniques:
- Rule of thirds: Divide your frame into a 3×3 grid and place your subject along the lines or at their intersections.
- Leading lines: Use natural or man-made lines to guide the viewer's eye through the image.
- Symmetry and patterns: Look for repeating elements or mirror images to create visually pleasing compositions.
- Simplify the background: Remove distracting elements by changing your angle or using a shallow depth of field.
Frequently Asked Questions
How Can I Make My Smartphone Photos Look More Professional?
You can make your smartphone photos more professional by using natural light, composing carefully, focusing on interesting subjects, and experimenting with angles. Don't forget to clean your lens and use editing apps to enhance your images.
What Are the Best Smartphone Camera Apps for Enhancing Photo Quality?
You'll find great options in Snapseed, VSCO, and Lightroom Mobile. They offer powerful editing tools, filters, and adjustments. ProCamera and Halide are excellent for manual controls. Don't forget Adobe Photoshop Express for quick touch-ups and enhancements.
How Do I Capture Motion Blur in Smartphone Photography?
To capture motion blur on your smartphone, you'll want to use a slow shutter speed. Try a dedicated camera app that allows manual control. Pan your phone smoothly with the moving subject to create a sense of movement.
Can Smartphone Cameras Produce Bokeh Effects Like DSLR Cameras?
Yes, you can achieve bokeh effects with smartphone cameras. Many modern phones have portrait modes that simulate shallow depth of field. You'll get the best results when there's distance between your subject and the background.
What Accessories Can Improve the Quality of Smartphone Photography?
You can enhance your smartphone photography with various accessories. Try clip-on lenses for different focal lengths, a sturdy tripod for stability, a portable light for better illumination, and a remote shutter for shake-free shots.
In Summary
You've now got the tools to transform your everyday phone photos into visually striking images. Remember, it's not about having the fanciest equipment; it's about training your eye to see the world differently. By applying these simple techniques, you'll capture moments that truly stand out. Don't be afraid to experiment and break the rules sometimes. With practice, you'll develop your own unique style. Now go out there and start shooting!


Leave a Reply