To capture stunning night photos with your phone, start by activating Night Mode for enhanced light capture. Adjust ISO sensitivity to brighten images, and lower shutter speed for more light exposure. Use manual focus to avoid autofocus issues in low light. Enable RAW format for better post-processing flexibility. Experiment with white balance settings to achieve desired color tones. Utilize HDR mode to balance light and dark areas, and customize exposure compensation for peak brightness. Employ burst mode to increase your chances of getting sharp images. Finally, don't forget to stabilize your phone using a tripod or steady surface. These techniques will elevate your night photography game.
Activate Night Mode

One of the most essential steps in night photography with your phone is activating Night Mode. This feature, available on most modern smartphones, allows your camera to capture more light in low-light conditions. To activate Night Mode, open your camera app and look for a moon icon or a specific "Night" option in the shooting modes.
When you enable Night Mode, your phone's camera will use longer exposure times and advanced computational photography techniques to produce brighter, clearer images in dark environments.
It'll automatically adjust settings like ISO, shutter speed, and white balance to optimize your shot.
Keep in mind that Night Mode works best when your phone is steady. Use a tripod or prop your device against a stable surface for the best results. Some phones may even prompt you to hold still for a few seconds while capturing the image.
While Night Mode is powerful, it's not always the best choice. In scenes with moving subjects or when you want to capture the mood of low light, you might prefer to use manual settings instead.
Adjust ISO Sensitivity

After activating Night Mode, the next essential step is adjusting your phone's ISO sensitivity. ISO determines your camera's light sensitivity, with higher values allowing for brighter images in low-light conditions. However, increasing ISO also introduces more digital noise, potentially reducing image quality.
Start with a lower ISO setting, around 100-400, and gradually increase it if your images are too dark. Most modern smartphones can handle ISO values up to 3200 or even 6400 without significant quality loss. Experiment with different settings to find the sweet spot that balances brightness and noise levels for your specific scene.
Keep in mind that your phone's Night Mode may automatically adjust ISO, but you can often override these settings manually. Look for an ISO option in your camera app's advanced or pro settings.
If you're shooting in extremely dark conditions, don't hesitate to push the ISO higher, as a slightly noisy image is better than an underexposed one. Remember, you can always reduce noise in post-processing, but you can't recover details from an overly dark photo.
Lower Shutter Speed

Lowering your shutter speed can make a world of difference in night photography with your phone. It allows more light to hit the sensor, resulting in brighter images in low-light conditions. Most phone cameras automatically adjust shutter speed, but you can often override this in Pro or Manual mode.
Start with a shutter speed of 1/30th of a second and experiment from there. Remember, slower shutter speeds may introduce motion blur, so it's essential to keep your phone steady. Use a tripod or rest your phone on a stable surface for the best results. If you're shooting handheld, try not to go below 1/15th of a second to minimize camera shake.
| Shutter Speed | Effect | Best For |
|---|---|---|
| 1/30s – 1/15s | Brighter images, slight motion blur | Static scenes, handheld |
| 1/8s – 1s | Very bright, significant motion blur | Light trails, waterfalls |
| 2s – 30s | Extremely bright, star trails | Astrophotography, light painting |
Be aware that longer exposures can lead to overexposure in areas with bright light sources. To counteract this, you may need to adjust your ISO or aperture settings. Experiment with different shutter speeds to achieve the desired effect and mood in your night photos.
Use Manual Focus
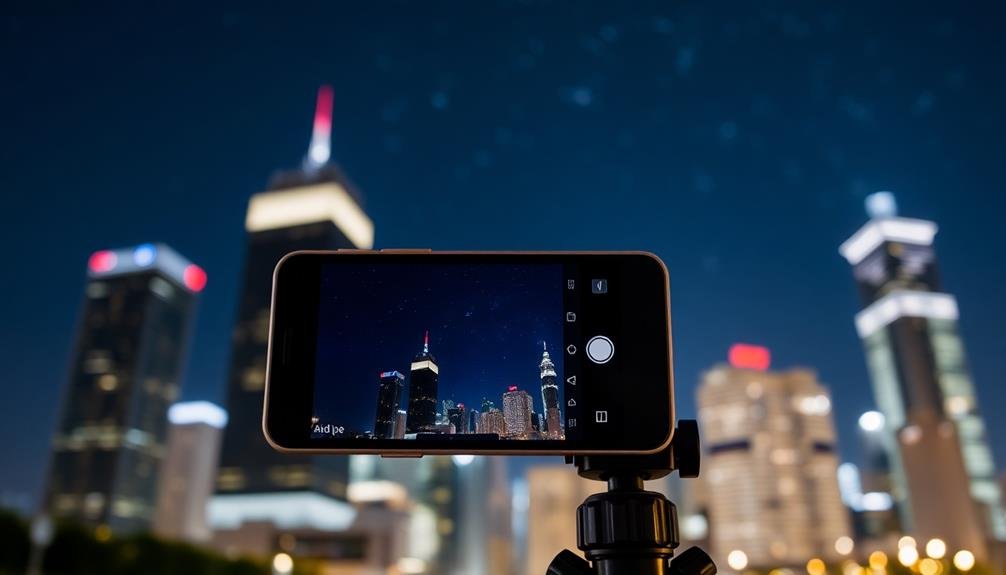
When shooting night scenes with your phone camera, switch to manual focus mode to prevent autofocus from hunting in low light conditions.
You'll have more control over your images by manually adjusting the focus distance to suit your subject.
This technique is particularly useful for capturing sharp cityscapes, star trails, or light paintings where precise focus is essential.
Avoid Autofocus Hunting
Although autofocus can be a handy feature in well-lit conditions, it often struggles in low-light environments. When shooting night photography with your phone, you'll want to avoid autofocus hunting, which can result in blurry or out-of-focus images. This occurs when your camera's autofocus system repeatedly searches for a focal point, unable to lock onto a subject in the dark.
To prevent this issue, switch to manual focus mode if your phone camera app supports it. You'll have full control over what's in focus, ensuring sharp images even in challenging lighting situations.
If manual focus isn't available, try tapping on the brightest area of your composition or a high-contrast edge to help your camera find a focal point. Alternatively, use the flashlight on another phone to briefly illuminate your subject, allowing your camera to focus before you take the shot.
Remember that once you've achieved focus, avoid moving your phone or changing the composition, as this may require refocusing.
Adjust Focus Distance
Manual focus is a game-changer for night photography with your phone. It allows you to precisely control where your camera focuses, avoiding the frustration of autofocus hunting in low light. To use manual focus, look for a focus slider or tap-to-focus option in your camera app's pro mode.
When adjusting focus distance, consider the following:
| Subject Distance | Focus Technique | Example Scenario |
|---|---|---|
| Close-up | Focus on edges | Lit-up flowers |
| Mid-range | Use light source | Street lamps |
| Far | Set to infinity | Starry sky |
| Mixed | Focus stacking | Cityscape |
For close-up subjects, focus on the edges or brightest parts. Mid-range subjects benefit from focusing on a light source within the scene. For distant subjects like stars or cityscapes, set focus to infinity. If you're capturing a scene with both near and far elements, try focus stacking by taking multiple shots at different focus points.
Enable RAW Format
Release your phone camera's full potential by enabling RAW format for night photography. RAW files capture all the data from your camera's sensor, giving you more flexibility in post-processing.
Unlike JPEG, which compresses and processes the image in-camera, RAW preserves details in shadows and highlights, essential for night scenes.
To enable RAW, check your phone's camera settings. Most modern smartphones offer this option, sometimes labeled as "Pro" or "Manual" mode. Once activated, you'll have greater control over exposure, white balance, and noise reduction during editing.
When shooting in RAW, you'll need more storage space and a compatible editing app. Popular choices include Lightroom Mobile, Snapseed, or VSCO.
These apps allow you to adjust exposure, recover shadow details, and reduce noise without degrading image quality.
Reduce Camera Shake
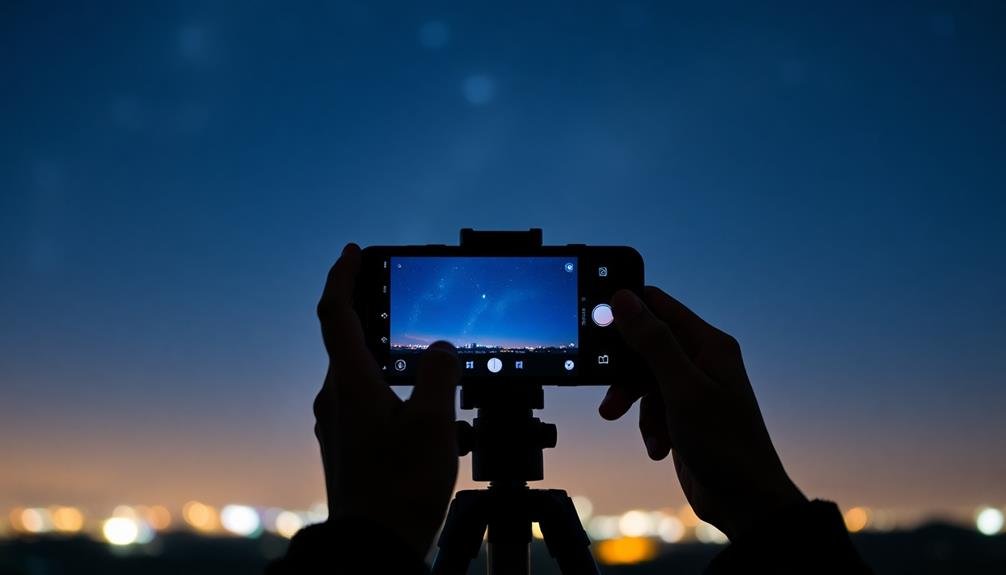
To reduce camera shake in night photography, you'll need to focus on stabilizing your phone.
Start by using a stable support like a tripod or resting your device on a solid surface.
Next, enable your phone's built-in image stabilization feature to minimize movement during exposure.
Use Stable Phone Support
Stability is essential for capturing sharp night photos with your phone camera. Even the slightest movement can result in blurry images, especially in low-light conditions. To guarantee your phone remains steady, invest in a reliable tripod designed for smartphones.
These compact and lightweight accessories provide a stable platform for your device, allowing you to shoot long exposures without camera shake.
If you don't have a tripod, improvise with everyday objects. Prop your phone against a wall, place it on a flat surface, or use a makeshift stand like a stack of books.
When using these alternatives, verify your phone is secure and won't slip during the exposure.
For added stability, consider using a remote shutter release or your phone's timer function. This prevents the subtle shake caused by pressing the on-screen shutter button.
Many phone cameras also offer voice-activated shutter options, allowing you to trigger the shot hands-free.
When holding your phone, adopt a stable stance. Keep your elbows close to your body, brace yourself against a solid object, and hold your breath while taking the shot.
These techniques minimize body movement and improve your chances of capturing crisp night photos.
Enable Image Stabilization
Image stabilization stands out as an important feature in modern smartphone cameras for reducing camera shake. When you're shooting at night, even the slightest movement can blur your photos. That's why it's vital to enable your phone's built-in image stabilization feature.
Most smartphones offer optical image stabilization (OIS) or electronic image stabilization (EIS). OIS uses hardware components to physically move the lens or sensor, while EIS uses software algorithms to compensate for motion. To activate these features, head to your camera app's settings and look for options like "stabilization" or "steady shot."
For best results, combine image stabilization with other techniques. Hold your phone with both hands, tucking your elbows into your body for added support. Take a deep breath and exhale slowly as you press the shutter button. If your phone has a voice-activated shutter or timer function, use it to minimize hand contact.
Remember that image stabilization isn't foolproof. In extremely low light or when capturing long exposures, it's still best to use a tripod or stable surface.
However, for most nighttime snapshots, enabling image stabilization can greatly improve your photo quality by reducing blur and preserving detail.
Set Timer Delay
When it comes to reducing camera shake, setting a timer delay on your phone's camera can be a game-changer. This simple technique allows you to press the shutter button and then remove your hand from the device before the image is captured. Even the slightest movement can blur your night photos, so this hands-off approach greatly improves sharpness.
Most smartphone cameras offer timer options ranging from 2 to 10 seconds. For night photography, a 3 or 5-second delay usually works best. It gives you enough time to stabilize the phone without waiting too long for the shot.
To use this feature, first compose your shot and verify your phone is secure. If you're using a tripod or resting it on a stable surface, even better. Then, activate the timer in your camera app's settings.
Once you've set the timer, tap the shutter button and carefully remove your hand. Stay still until you hear the shutter sound or see the screen flash, indicating the photo has been taken.
This method is especially useful for long exposures or when shooting in low-light conditions where every bit of stability counts.
Experiment With White Balance
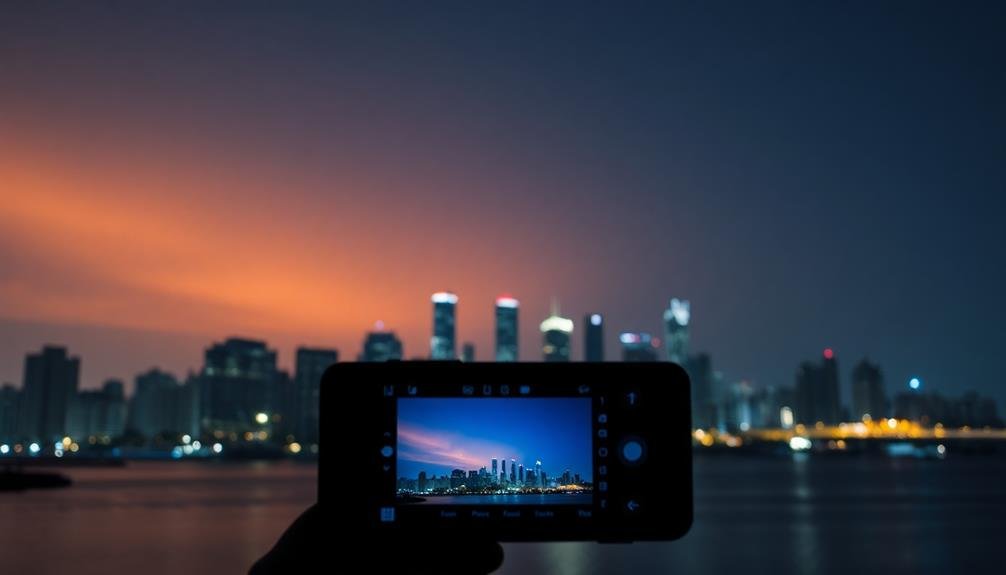
Diving into white balance settings can dramatically transform your night photos. Your phone's auto white balance might struggle in low light, leading to unnatural color casts. To counter this, experiment with different white balance presets.
Try the 'tungsten' or 'incandescent' setting for city scenes with artificial lighting, as it can neutralize the orange glow of streetlights. For moonlit landscapes, the 'daylight' or 'cloudy' preset often works well, preserving the cool, natural tones of nighttime.
Don't be afraid to manually adjust your white balance. Many advanced camera apps allow you to set a custom color temperature. Cooler temperatures (measured in Kelvin) will add a blue tint, while warmer ones introduce orange hues. This control lets you fine-tune the mood of your image.
For a creative twist, intentionally use "incorrect" white balance to create atmospheric effects. A warm setting can make a cityscape feel cozy, while a cool tone can enhance the eerie ambiance of a foggy night scene.
Utilize HDR for Contrast
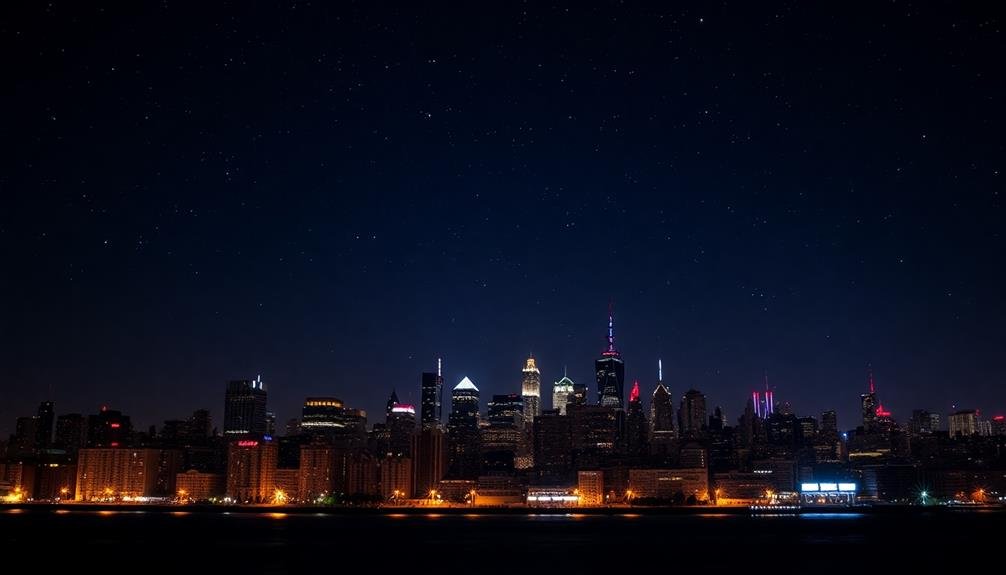
HDR mode can be your secret weapon for capturing stunning night scenes with your phone camera.
By balancing light and dark areas, you'll prevent overexposed highlights and underexposed shadows, resulting in a more dynamic image.
This technique allows you to capture rich details in both bright city lights and shadowy areas, creating a well-balanced and visually striking photograph.
Balancing Light and Dark
Balancing light and dark areas in night photography can be challenging, especially with phone cameras. To achieve the right balance, you'll need to pay attention to your phone's exposure settings and use some creative techniques.
Start by tapping on different areas of your screen to adjust the exposure. Focus on the brightest parts of the scene to prevent overexposure, then use the exposure slider to bring out details in darker areas.
If your phone has a manual mode, experiment with lowering the ISO and increasing the shutter speed to capture more light without introducing noise.
Consider using exposure bracketing if your phone supports it. This technique takes multiple shots at different exposures, allowing you to combine them later for a well-balanced image.
Additionally, try using artificial light sources strategically to illuminate dark areas. A small LED light or even another phone's flashlight can help fill in shadows.
Remember to use HDR mode judiciously. While it can help balance extreme contrasts, it may also reduce the dramatic effect of night scenes.
Experiment with both HDR on and off to see which produces the best results for your specific shot.
Capturing Rich Details
Capturing rich details in night photography requires more than just balancing light and dark areas. You'll need to utilize High Dynamic Range (HDR) to enhance contrast and bring out intricate textures often lost in low-light conditions.
HDR combines multiple exposures to create a single image with a broader range of tones, resulting in photos that more closely resemble what your eyes see.
To make the most of HDR for night photography:
- Enable your phone's HDR mode or use a third-party HDR app
- Keep your phone steady or use a tripod for best results
- Experiment with different HDR strengths to find the right balance
- Be mindful of moving subjects, as HDR can create ghosting effects
When using HDR, focus on scenes with high contrast, such as cityscapes with bright lights and dark shadows. This technique can help you capture details in both the highlights and shadows that might otherwise be lost.
Customize Exposure Compensation
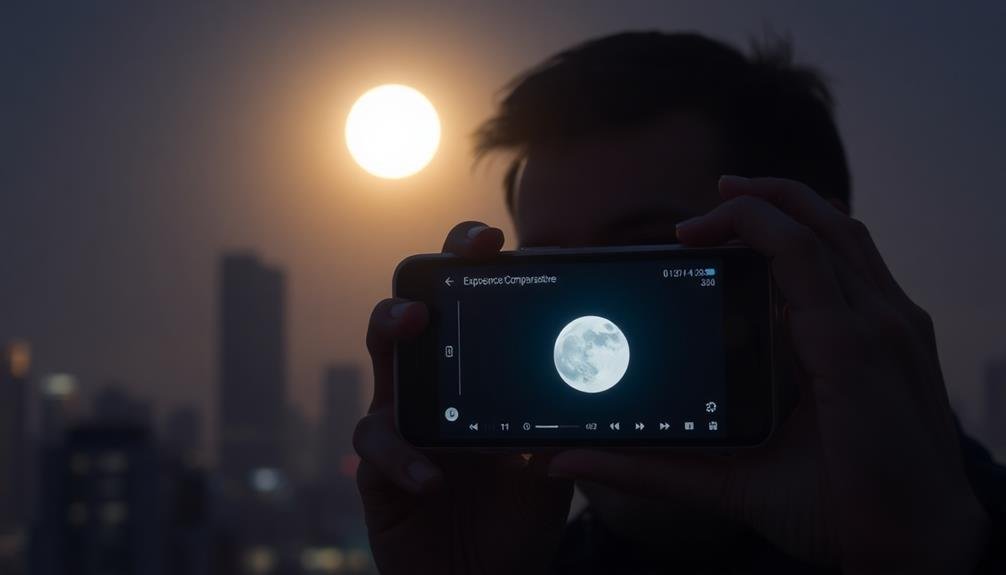
Fine-tune your night shots by mastering exposure compensation on your phone camera. This feature allows you to adjust the brightness of your images before taking them, giving you more control over the final result.
In low-light situations, you'll often find that your phone's auto-exposure settings can miss the mark, either underexposing or overexposing the scene.
To use exposure compensation, look for a +/- symbol in your camera app. Slide this control to increase or decrease exposure. For night photography, you'll typically want to increase exposure slightly, moving the slider towards the + side. This can help bring out details in dark areas without blowing out highlights.
However, be cautious not to overdo it, as excessive brightening can introduce noise and reduce image quality.
Experiment with different exposure compensation levels for various night scenes. Urban landscapes with bright lights might require less compensation, while starry skies or dimly lit natural settings may benefit from more.
Always check your results and adjust accordingly. Remember, it's easier to brighten a slightly underexposed image in post-processing than to recover details from an overexposed one.
Employ Burst Mode
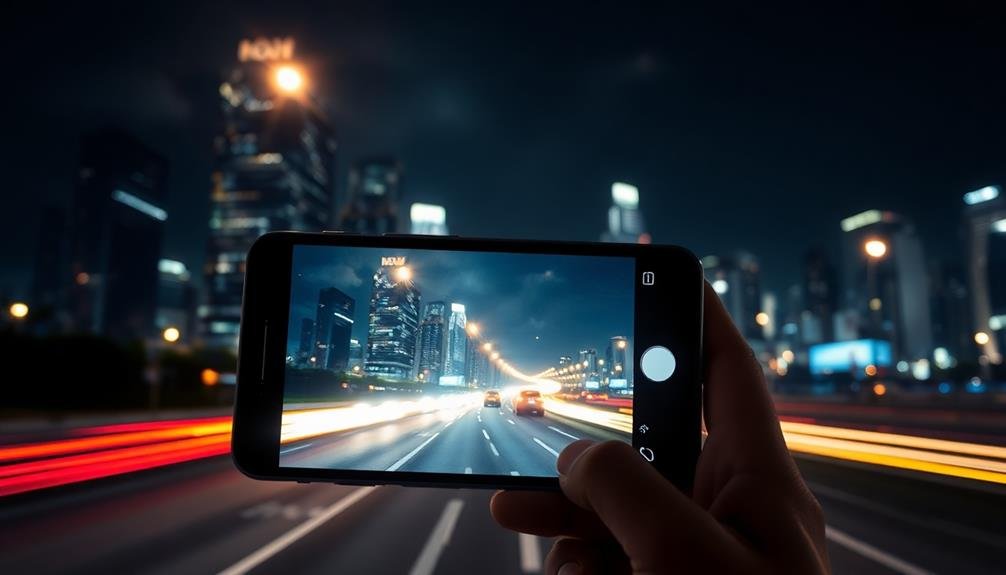
Burst mode is a powerful tool for night photography with your phone camera. It allows you to capture multiple shots in quick succession, increasing your chances of getting a sharp, well-exposed image in challenging low-light conditions.
When you're shooting handheld at night, even the slightest movement can cause blur. By using burst mode, you're effectively hedging your bets.
To employ burst mode effectively for night photography:
- Enable burst mode in your camera app settings
- Hold your phone steady and press the shutter button
- Keep the button pressed to capture a series of images
- Review the burst and select the sharpest, best-exposed shot
Burst mode is particularly useful for capturing moving subjects at night, such as city traffic or stars. It can help you freeze motion and reduce noise in your images.
Remember, though, that burst mode can quickly fill up your phone's storage, so be selective about when you use it. After capturing a burst, take the time to review and delete unnecessary shots to free up space.
With practice, you'll find burst mode to be an invaluable technique for improving your night photography results.
Frequently Asked Questions
Can I Use Flash for Night Photography With My Phone Camera?
You can use flash for night photography with your phone, but it's often not ideal. It can create harsh shadows and overexpose nearby subjects. Instead, try using your phone's night mode or manual settings for better results.
How Do I Capture Star Trails Using My Smartphone?
To capture star trails with your smartphone, you'll need a tripod and a long exposure app. Set your phone to manual mode, use a low ISO, and expose for 15-30 minutes. Stack multiple images for better results.
What Apps Are Best for Editing Night Photos Taken on Phones?
You'll want to try popular apps like Snapseed, Lightroom Mobile, or VSCO for editing night photos. They offer powerful tools to adjust exposure, reduce noise, and enhance details. Experiment with different apps to find your favorite workflow.
Are External Lenses Helpful for Night Photography With Smartphones?
You'll find external lenses can be helpful for night photography with smartphones. They'll enhance your phone's capabilities, allowing you to capture wider angles or zoom in further. However, they're not essential for great night shots.
How Can I Protect My Phone From Condensation During Night Shoots?
You can protect your phone from condensation during night shoots by using a waterproof case or bag. Keep silica gel packets nearby, avoid sudden temperature changes, and wipe your device regularly. Don't forget to bring a microfiber cloth.
In Summary
You've now got the tools to capture stunning night shots with your phone. Don't be afraid to experiment with these settings and find what works best for different scenes. Remember, practice makes perfect. The more you shoot at night, the better you'll become at adjusting your camera on the fly. So grab your phone, head out after dark, and start capturing the magic of the night. Happy shooting!



Leave a Reply