You can capture stunning night sky images with just your smartphone and a few key tools. Start by finding a dark location away from light pollution and checking weather conditions for clear skies. Use a tripod for stability and enable manual mode in your camera app to control ISO and shutter speed. For the Milky Way, try ISO 1600 and 15-30 second exposures. When shooting the moon, use lower ISO and faster shutter speeds to avoid overexposure. Experiment with composition techniques like the Rule of Thirds and including foreground elements. With these tips, you'll be on your way to creating impressive mobile astrophotography—but there's much more to explore in the celestial domain.
Essential Equipment for Mobile Astrophotography
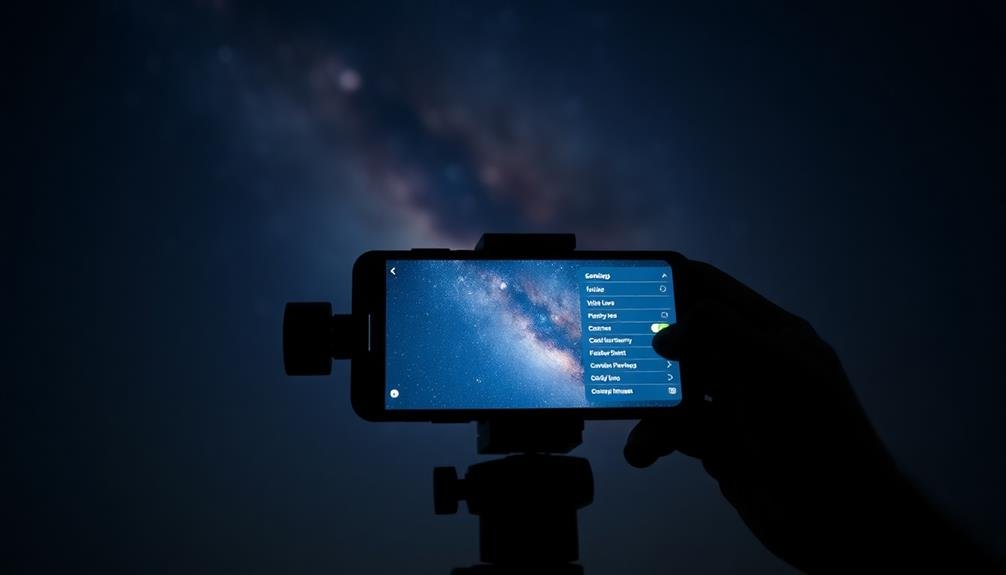
A few key pieces of equipment can transform your smartphone into a powerful tool for astrophotography. First, you'll need a sturdy tripod to keep your phone stable during long exposures. Look for a lightweight, portable option with adjustable legs for uneven terrain.
Next, invest in a smartphone adapter that securely attaches your device to the tripod, ensuring it doesn't slip during shooting.
To enhance your phone's capabilities, consider a clip-on lens. Wide-angle lenses are ideal for capturing expansive night skies, while telephoto lenses can help you zoom in on celestial objects.
A Bluetooth remote shutter is essential for reducing camera shake when taking photos. It allows you to trigger the camera without touching your phone.
For advanced mobile astrophotography, a star tracker can make a significant difference. This motorized mount compensates for Earth's rotation, allowing for longer exposures without star trails.
Finally, don't forget a red light headlamp to preserve your night vision while setting up and adjusting your equipment in the dark.
With these tools, you'll be well-equipped to capture stunning images of the night sky using just your smartphone.
Choosing the Perfect Location
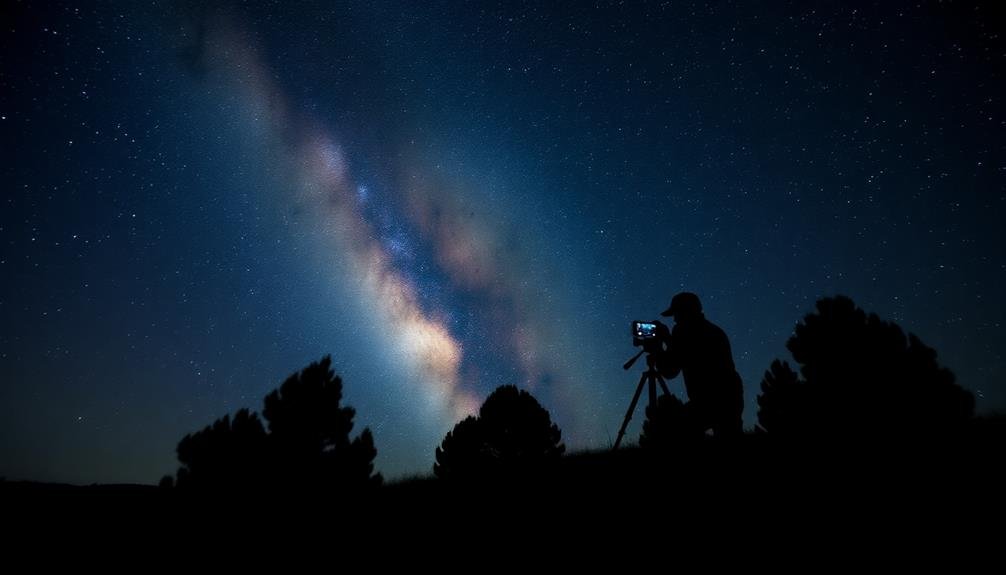
Selecting the right location is essential for successful mobile astrophotography. You'll want to find a spot away from light pollution to capture the night sky in all its glory. Look for areas with minimal artificial lighting, such as rural regions, national parks, or designated dark sky reserves.
Remember that higher elevations often provide clearer views, so consider heading to a nearby hill or mountain if possible.
When scouting locations, keep in mind that the best astrophotography spots offer:
- Unobstructed views of the horizon
- Minimal light pollution
- Safe and legal access during nighttime hours
- Protection from wind and other weather elements
- Interesting foreground elements for composition
Plan your shoot around the lunar cycle, as a full moon can wash out fainter stars. New moon nights are ideal for capturing the Milky Way and other celestial objects.
Use apps like Dark Sky Finder or Light Pollution Map to identify promising locations near you. Don't forget to check the weather forecast and choose a clear night for your adventure.
Understanding Weather Conditions
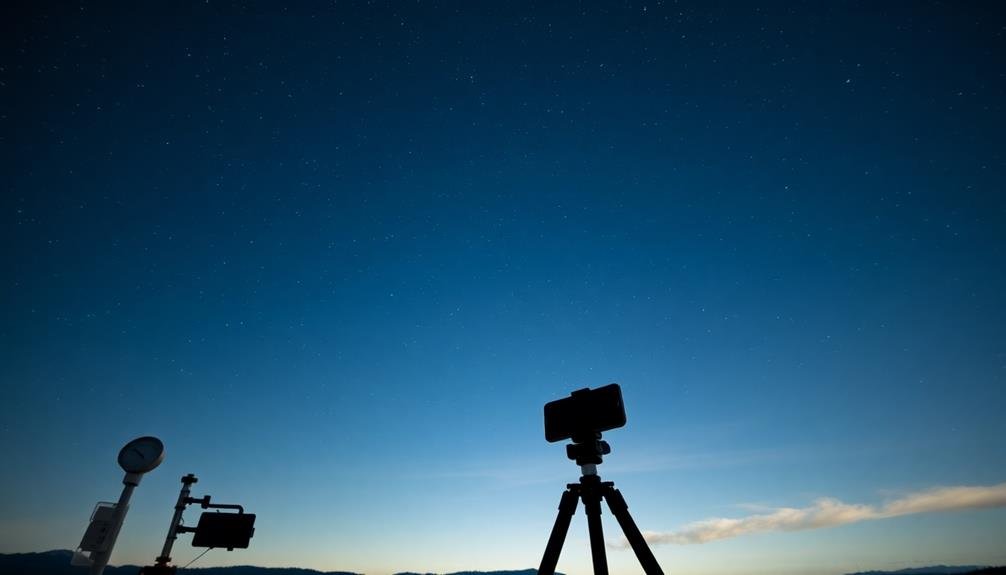
How does weather impact your mobile astrophotography? Clear skies are essential for capturing stunning celestial images. You'll need to monitor weather conditions closely to guarantee ideal shooting conditions.
Cloud cover is your biggest enemy. Even thin, high-altitude clouds can obscure stars and diminish image quality. Check satellite imagery and weather forecasts to predict cloud patterns. Humidity also affects visibility, causing haze and reducing contrast. Aim for nights with low humidity levels for the sharpest shots.
Consider these additional weather factors:
| Factor | Impact | Mitigation |
|---|---|---|
| Wind | Camera shake | Use tripod, shoot in bursts |
| Temperature | Lens fogging | Bring lens warmers |
| Moon phase | Light pollution | Plan around new moon |
Air pollution and light pollution can greatly impact image quality. Check air quality indexes and avoid shooting near urban areas or during periods of high pollution. Atmospheric turbulence, caused by temperature differentials, can blur star images. Wait for stable air conditions, typically a few hours after sunset.
Best Times for Stargazing
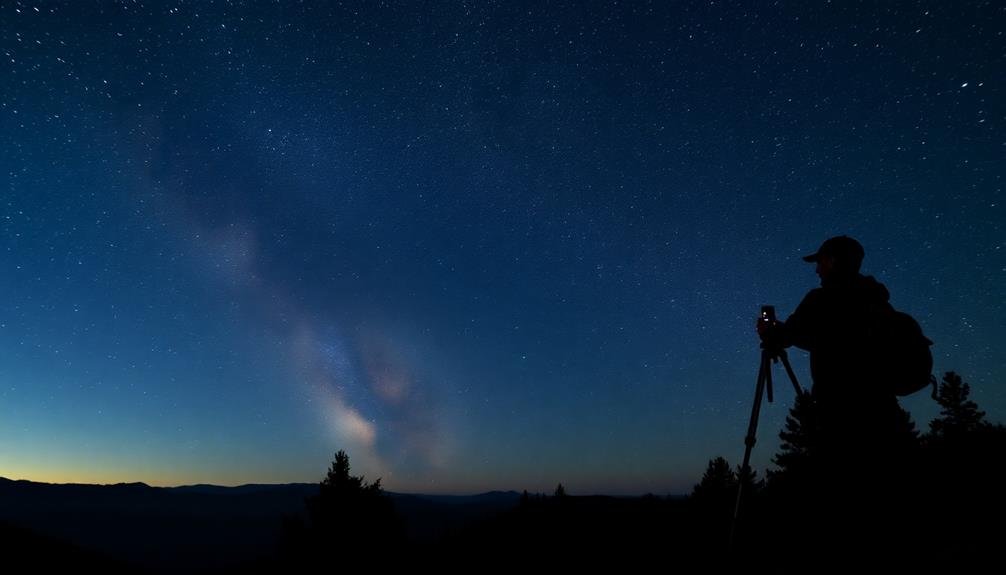
To capture stunning celestial images with your mobile device, you'll want to plan your stargazing sessions strategically.
Consider aligning your outings with seasonal events like meteor showers or planet alignments, and aim for nights when the moon is less visible to maximize star visibility.
You'll also find the best results by seeking out dark sky locations, away from city lights and light pollution.
Seasonal Celestial Events
The night sky's ever-changing canvas offers a wealth of photographic opportunities throughout the year. Each season brings unique celestial events that you can capture with your smartphone.
In spring, you'll find the Lyrid meteor shower and the Eta Aquarids, perfect for long-exposure shots. Summer nights provide excellent conditions for photographing the Milky Way's core and the Perseid meteor shower.
As autumn arrives, you can focus on capturing the Orionid meteor shower and the Andromeda galaxy. Winter brings the Geminid meteor shower and stunning views of the Orion Nebula.
Don't forget about lunar events like supermoons and eclipses, which occur throughout the year and make for dramatic photographs.
To make the most of these seasonal events:
- Research upcoming celestial phenomena in advance
- Use astronomy apps to locate specific objects in the sky
- Adjust your camera settings for each unique event
- Experiment with different compositions and foregrounds
- Share your best shots on social media to connect with fellow astrophotographers
Moon Phases Matter
When you're planning your next stargazing session, don't forget to check the moon's phase. The moon's brightness greatly impacts your ability to see stars and other celestial objects. For best stargazing, aim for nights with a new moon or when the moon is below the horizon. During these times, the sky is darkest, allowing fainter stars and deep-sky objects to shine through.
The week before and after a new moon offers excellent viewing conditions. As the moon waxes towards full, it becomes increasingly bright, washing out dimmer stars and galaxies. If you're targeting the Milky Way, plan your outing during a new moon in summer when it's most visible in the night sky.
However, don't completely discount nights with a visible moon. A crescent moon can add interest to your astrophotography without overpowering other celestial objects.
Full moons, while not ideal for stargazing, present opportunities to capture detailed lunar landscapes. Remember, each phase of the moon reveals different features on its surface, offering unique photographic possibilities.
Dark Sky Locations
Just as important as timing your shots with the moon's phases is choosing the right location for stargazing and astrophotography. Dark sky locations, far from light pollution, offer the best conditions for capturing celestial objects.
You'll want to find areas away from cities and towns, ideally in rural or wilderness settings. To find the perfect dark sky spot, consider using apps like Dark Sky Finder or Light Pollution Map. These tools help you locate areas with minimal artificial light interference.
Once you've found a suitable location, plan your visit during the new moon phase for ideal darkness.
Here are some tips for successful dark sky photography:
- Arrive before sunset to set up and familiarize yourself with the area
- Bring a red light flashlight to preserve your night vision
- Dress warmly, as temperatures can drop considerably at night
- Pack snacks and water to stay comfortable during long sessions
- Inform someone of your location for safety reasons
Camera App Settings
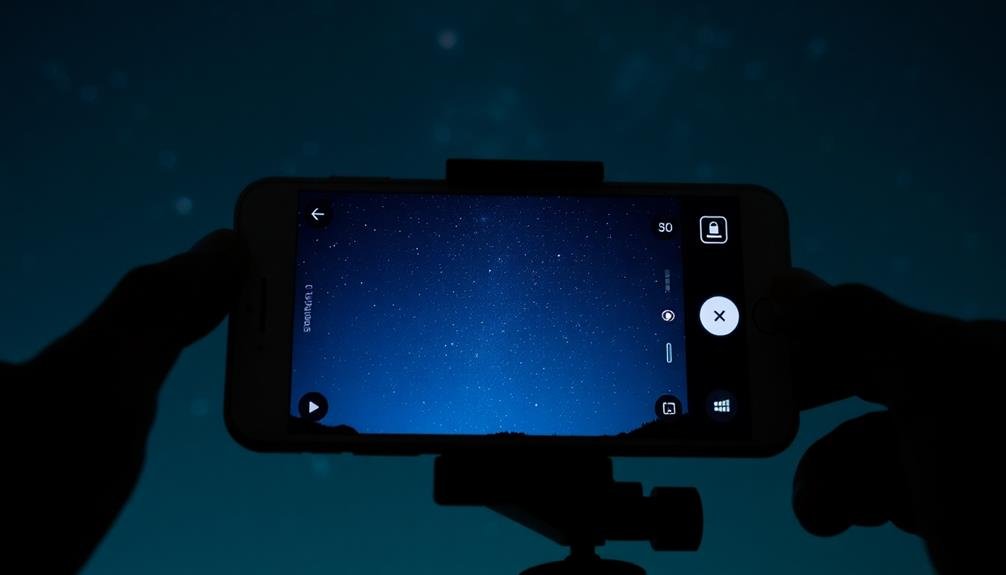
Selecting the right camera app settings is crucial for capturing stunning astrophotography shots with your smartphone. Start by enabling manual mode, which gives you full control over your camera's settings. Set your ISO between 800 and 3200, depending on your phone's capabilities and the darkness of your location. Higher ISO values increase light sensitivity but also introduce more noise.
Next, adjust your shutter speed. For star trails, use longer exposures of 15 to 30 seconds. For pinpoint stars, follow the 500 rule: divide 500 by your lens's focal length to determine the maximum exposure time. Set your focus to infinity and disable autofocus to guarantee sharp stars.
If your phone supports RAW format, enable it for maximum editing flexibility later. Turn off HDR and flash, as they'll interfere with long exposures. Activate your phone's built-in timer or use a Bluetooth remote to minimize camera shake when triggering the shutter.
Experiment with different apps that offer advanced features like stacking multiple exposures or noise reduction. Remember to adjust white balance to capture the true colors of the night sky, typically using the tungsten or custom setting.
Focusing in the Dark
With your camera settings dialed in, you'll need to tackle one of the biggest challenges in mobile astrophotography: focusing in the dark. It's essential to get sharp, crisp images of the stars, and manual focus is your best friend here. Most smartphone cameras struggle with autofocus in low light, so you'll need to take control.
Start by finding the brightest star or planet in the sky. Tap on it to set your focus point, then use your camera app's manual focus slider to fine-tune. Zoom in digitally to confirm you're getting the sharpest possible focus. If your phone has a focus peaking feature, use it to highlight the areas in focus.
Here are some additional tips for focusing in the dark:
- Use a bright flashlight to illuminate a distant object and focus on it
- Try focusing on the edge of the moon if it's visible
- Use a star-finding app to locate bright stars like Sirius or Vega
- Focus on street lights or other distant light sources if available
- Take multiple shots at slightly different focus points to confirm you get a sharp image
Composition Techniques for Night Skies
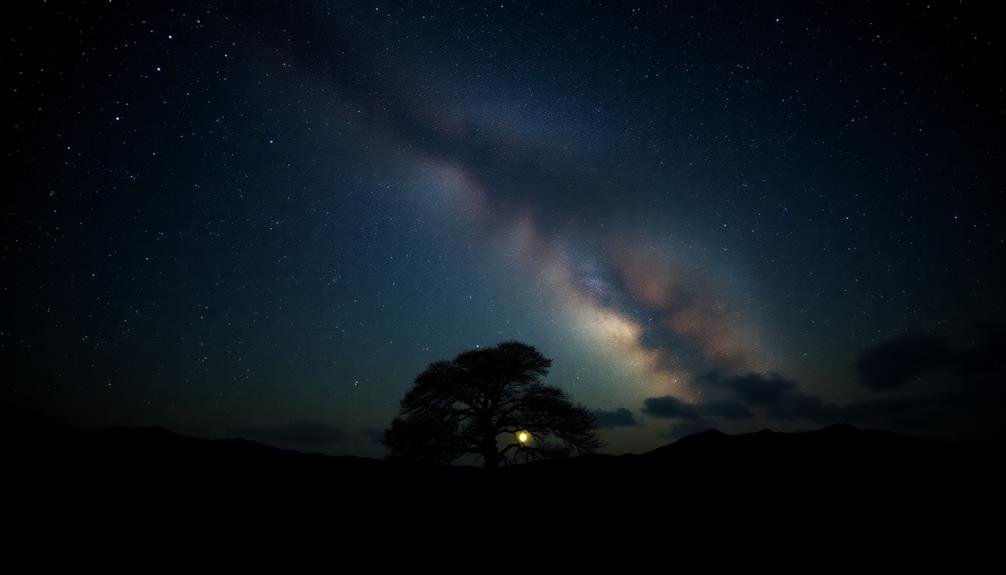
When composing night sky shots, you'll want to apply key techniques to create visually striking images.
Start by utilizing the Rule of Thirds to balance your celestial subjects with the landscape.
You can enhance depth by framing stars with foreground elements or by incorporating leading lines to guide the viewer's eye through your composition.
Rule of Thirds
The rule of thirds is a fundamental composition technique that can dramatically enhance your nighttime mobile astrophotography. Imagine your phone's screen divided into a 3×3 grid, creating nine equal sections. Instead of centering your subject, place key elements along these lines or at their intersections. This creates a more balanced and visually appealing image.
When capturing the night sky, you can use the rule of thirds to add interest and depth to your shots. Place the horizon on the lower third line to emphasize the starry sky, or on the upper third to highlight foreground elements. Position prominent celestial objects, like the Milky Way or a bright planet, along the vertical lines or at their intersections.
Here are some tips to effectively apply the rule of thirds in mobile astrophotography:
- Use your phone's built-in grid feature to guide composition
- Experiment with different placements of key elements
- Include foreground elements for added depth and scale
- Try off-center compositions for more dynamic images
- Don't be afraid to break the rule when it feels right
Framing With Foreground
Framing your night sky shots with interesting foreground elements can transform an ordinary astrophotograph into a fascinating visual story. To achieve this, look for unique landmarks, structures, or natural features that can anchor your composition. Trees, mountains, rock formations, or even man-made structures like old barns or lighthouses can add depth and context to your starry scenes.
When selecting your foreground, consider how it'll interact with the night sky. Silhouettes work particularly well, creating dramatic contrasts against the starlit backdrop. You can also experiment with subtle lighting techniques to illuminate the foreground gently, ensuring it doesn't overpower the celestial elements.
Position your foreground elements strategically within the frame. They can serve as leading lines, guiding the viewer's eye towards the stars or Milky Way. Alternatively, use them to frame the sky, creating a natural window effect.
Don't forget to maintain a balance between the foreground and the sky – aim for a ratio that complements both elements without overshadowing either.
Lastly, experiment with different perspectives and angles. Get low to the ground for a unique viewpoint, or find elevated positions to capture sweeping landscapes beneath the starry expanse.
Leading Lines Technique
In the domain of astrophotography, leading lines serve as powerful compositional tools to guide your viewer's gaze through the image. When shooting night skies with your mobile device, look for natural or man-made elements that create strong lines pointing towards your focal point, typically the stars or Milky Way.
To effectively use leading lines in your mobile astrophotography:
- Find paths, roads, or fences that lead into the distance
- Use tree lines or mountain ridges to direct attention upward
- Incorporate rivers or shorelines that curve through the frame
- Utilize architectural elements like bridges or piers
- Look for patterns in rock formations or desert landscapes
Position your camera to align these lines with the celestial objects you're capturing. This technique adds depth and draws the viewer's eye from the foreground to the background, creating a more engaging and dynamic composition.
Experiment with different angles and perspectives to find the most compelling arrangement of leading lines. Remember, the goal is to create a visual journey that connects the terrestrial elements with the celestial wonders above, enhancing the overall impact of your astrophotography shot.
Long Exposure Photography Basics
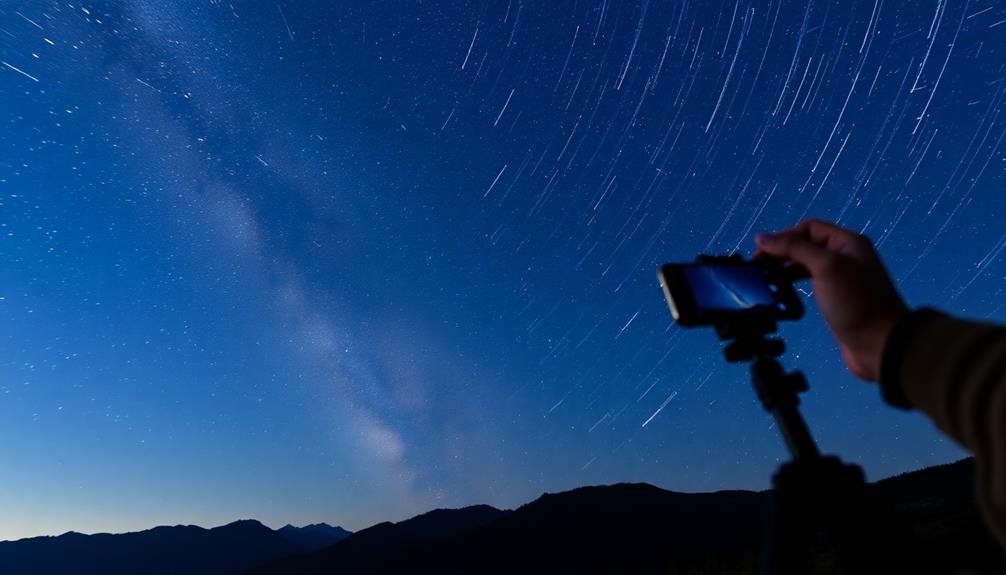
Long exposure photography's allure lies in its ability to capture celestial wonders invisible to the naked eye. With your smartphone, you can reveal this potential to create stunning astrophotography.
To begin, you'll need a tripod or stable surface to keep your phone perfectly still during extended exposures. Most modern smartphones offer a "Night" or "Pro" mode that allows for longer shutter speeds. If yours doesn't, download a third-party app like NightCap or ProCam.
Set your ISO as low as possible to reduce noise, and adjust your shutter speed between 10-30 seconds, depending on your subject. Focus manually on a bright star or planet, then lock your focus. Use the timer or a Bluetooth remote to avoid camera shake when triggering the shutter.
Experiment with different exposure times to capture star trails or pinpoint stars.
Capturing Star Trails
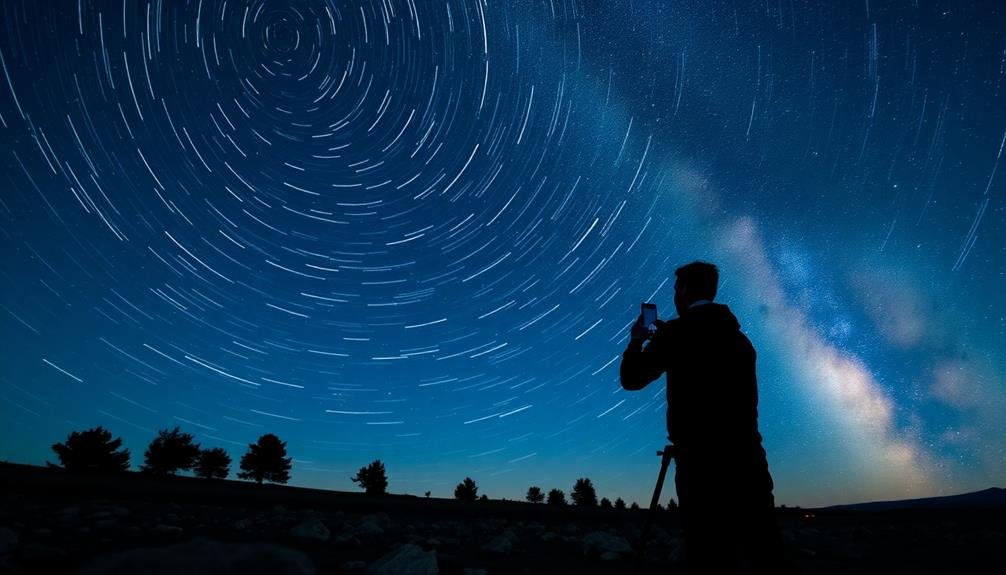
Star trails offer a mesmerizing glimpse into Earth's rotation, transforming pinpoint stars into sweeping arcs of light across the night sky. To capture this stunning effect with your smartphone, you'll need to use a long exposure app and a sturdy tripod.
Set your phone to manual mode and adjust the ISO to a low setting, around 100-400, to reduce noise. Choose a long exposure time, typically 30 minutes to an hour, depending on the desired trail length.
Find a dark location away from light pollution and compose your shot with an interesting foreground element. Once you've started the exposure, don't touch your phone until it's finished. During post-processing, you can enhance the star trails' visibility and color.
Here are some tips to improve your star trail photography:
- Use a remote shutter or timer to avoid camera shake
- Focus manually on a bright star or distant light
- Keep your phone's lens clean and free from condensation
- Choose clear nights with minimal cloud cover
- Experiment with different exposure times for varied effects
Editing Astrophotography Images on Smartphone
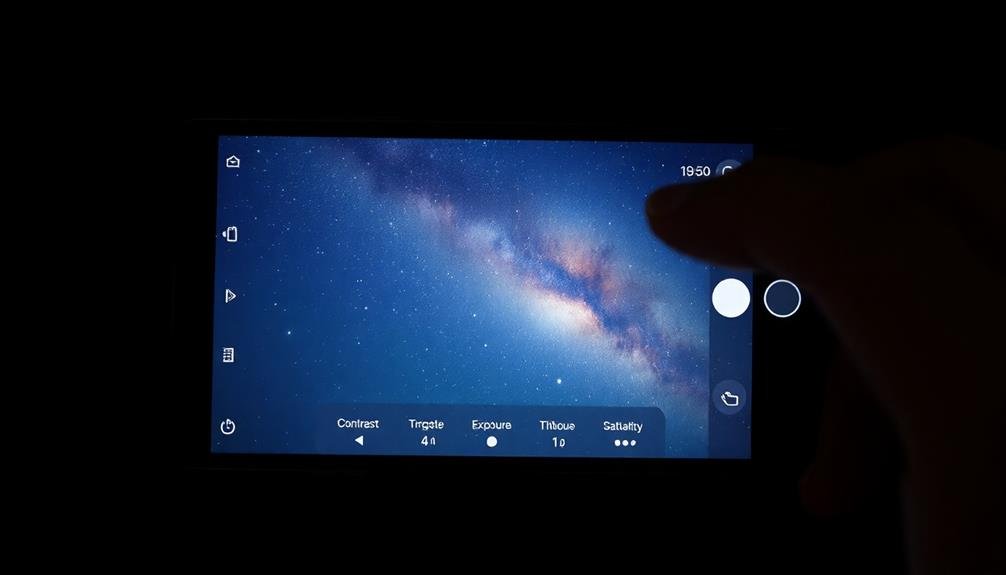
Post-processing magic can transform your raw astrophotography shots into stunning celestial masterpieces. Start by downloading a capable photo editing app like Snapseed, Lightroom Mobile, or VSCO. These apps offer powerful tools tailored for astrophotography.
Begin by adjusting the exposure and contrast to bring out faint stars and nebulae. Increase the shadows slightly to reveal more detail in darker areas. Carefully boost the highlights to make stars pop without overexposing them. Use the clarity slider to enhance the sharpness of celestial objects.
Next, fine-tune the color balance. Reduce any light pollution by adjusting the white balance towards cooler tones. Enhance the natural colors of nebulae and galaxies by gently increasing saturation. Apply noise reduction to smooth out graininess, but be careful not to lose star detail.
For advanced editing, use selective adjustments to brighten specific areas or emphasize particular celestial objects. Experiment with curves to refine the overall tonal range.
Photographing the Milky Way

Capturing the majestic sweep of the Milky Way with your smartphone might seem challenging, but it's entirely possible with the right techniques.
To photograph our galaxy, you'll need to find a dark sky location away from light pollution. Plan your shoot during a new moon phase for ideal darkness. Use a tripod or stable surface to keep your phone steady during long exposures.
Set your camera app to manual mode and adjust these settings:
- ISO: Start at 1600 and adjust as needed
- Shutter speed: 15-30 seconds
- Focus: Set to infinity
- White balance: Auto or daylight
Experiment with different compositions, including foreground elements to add depth. Use the rule of thirds to place the galactic core off-center for a more dynamic image.
Don't forget to enable your phone's night mode if available.
Post-processing is essential for bringing out the Milky Way's details. Use apps like Snapseed or Lightroom Mobile to adjust contrast, clarity, and color balance.
Reduce noise and sharpen selectively to enhance the stars without introducing artifacts. With practice and patience, you'll soon be capturing stunning Milky Way shots with your smartphone.
Moon Photography Tips
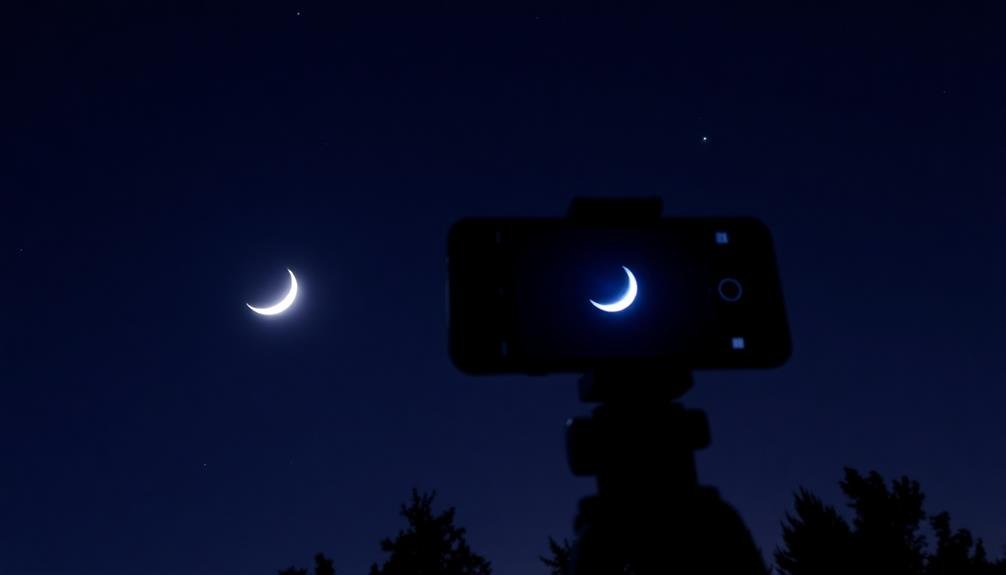
While the Milky Way offers a grand celestial vista, the moon presents a more accessible target for mobile astrophotography. To capture stunning lunar shots, you'll need to master a few key techniques.
First, use a tripod or stable surface to minimize camera shake. Enable your phone's night mode or pro mode for manual control over settings. Set a low ISO (100-400) to reduce noise and a faster shutter speed (1/60 to 1/250) to prevent overexposure.
Focus manually on the moon's surface by tapping the screen and adjusting the focus slider. Experiment with exposure compensation to balance the bright lunar surface with the dark sky. For close-ups, use your phone's zoom feature or attach a telephoto lens.
Try shooting during different lunar phases for varied results. The crescent moon often yields dramatic shots, while a full moon reveals detailed surface features.
Don't forget to reflect on composition. Include foreground elements like trees or buildings to add context and scale.
Dealing With Light Pollution
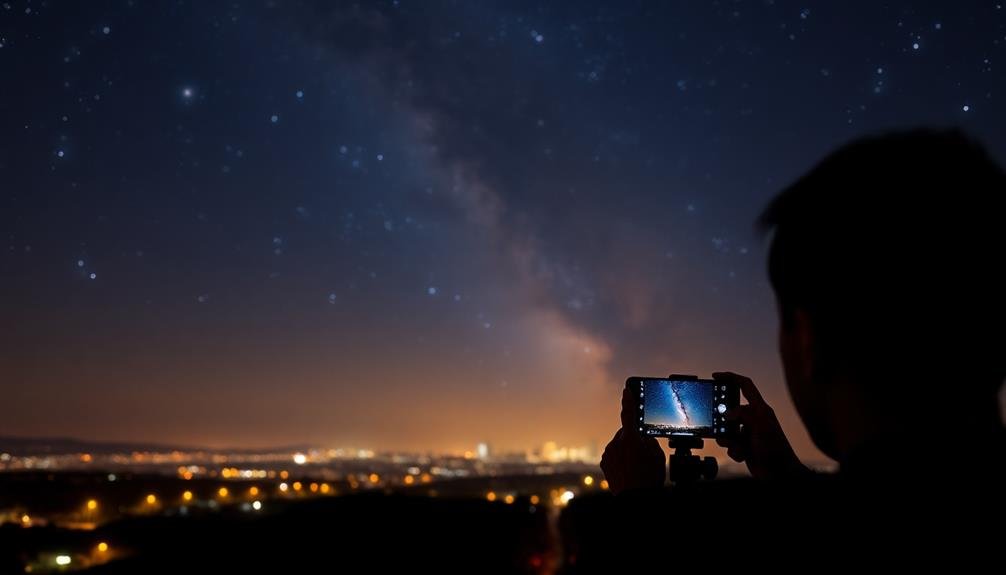
Light pollution poses one of the biggest challenges for mobile astrophotographers. It can wash out the night sky, making it difficult to capture celestial objects. However, you don't need to give up on your stargazing dreams just yet. There are several techniques you can use to minimize the effects of light pollution and improve your mobile astrophotography results.
First, try to find a dark sky location away from city lights. Use apps like Dark Sky Finder to locate suitable spots. If you can't travel far, look for local parks or elevated areas with less light interference.
When shooting, use manual camera settings to control exposure and ISO. Experiment with longer exposures to capture more light from stars, but be cautious of star trails. Consider using a light pollution filter designed for smartphone cameras to reduce the orange glow often seen in urban night skies.
Here are some additional tips to help you deal with light pollution:
- Shoot on clear, moonless nights for ideal visibility
- Use your phone's night mode or a dedicated astrophotography app
- Stack multiple exposures to enhance detail and reduce noise
- Edit your photos to adjust contrast and bring out faint stars
- Practice patience and persistence – astrophotography takes time to master
Smartphone Accessories for Astrophotography
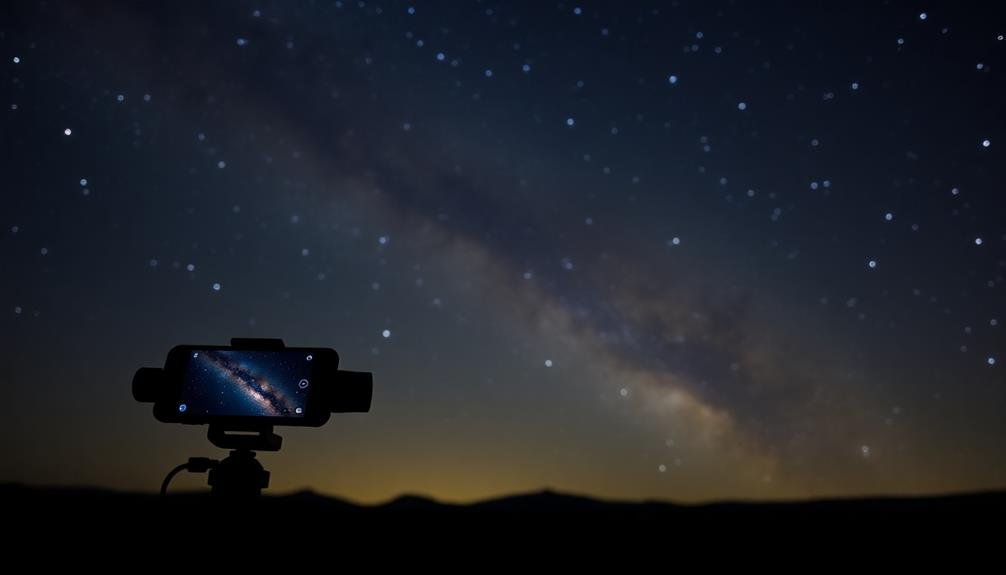
To enhance your mobile astrophotography, you'll need the right accessories.
Essential adapters and mounts allow you to attach your smartphone to telescopes or tripods for stable, long-exposure shots.
You can also expand your smartphone's capabilities with clip-on lenses, offering wider fields of view or increased magnification for capturing celestial objects.
Essential Adapters and Mounts
Equipped with the right adapters and mounts, your smartphone can transform into a powerful astrophotography tool. These accessories are essential for stabilizing your device and aligning it with telescopes or binoculars, enabling you to capture stunning images of celestial objects.
A smartphone adapter is vital for attaching your phone to a telescope or binoculars. Look for universal adapters that fit various phone models and eyepiece sizes. Tripod mounts are equally important, providing stability for long-exposure shots and time-lapse videos.
Reflect on investing in a sturdy tripod with adjustable legs for uneven terrain. For more advanced setups, explore equatorial mounts that compensate for Earth's rotation, allowing you to track stars and planets. Don't forget about ball heads, which offer flexibility in positioning your phone at various angles.
Here are some key adapters and mounts to take into account:
- Universal smartphone adapter for telescopes and binoculars
- Tripod mount with adjustable grip for different phone sizes
- Lightweight travel tripod with flexible legs
- Equatorial mount for tracking celestial objects
- Ball head for versatile angle adjustments
Smartphone Camera Lens Options
While adapters and mounts are key for stability, smartphone camera lenses can greatly enhance your astrophotography capabilities. These attachable lenses expand your phone's optical reach, allowing you to capture more detailed celestial images.
Wide-angle lenses are ideal for capturing expansive night sky scenes, including the Milky Way. They'll help you fit more of the starry expanse into a single frame.
For closer views of the moon or planets, consider a telephoto lens. These lenses offer greater magnification, bringing distant objects into clearer focus.
Macro lenses, though not typically used for astrophotography, can be useful for capturing detailed shots of the moon's surface when paired with a telescope.
Fisheye lenses provide an ultra-wide field of view, perfect for creative shots of star trails or the aurora borealis.
When choosing lenses, opt for high-quality glass to minimize distortion and maximize light transmission. Some popular brands include Moment, Olloclip, and ShiftCam.
Frequently Asked Questions
How Do I Prevent Condensation on My Smartphone Lens During Night Shoots?
You can prevent condensation on your smartphone lens during night shoots by using silica gel packets, keeping your phone warm, or applying anti-fog solutions. Don't forget to acclimate your device to outdoor temperatures before shooting.
Can I Use Filters for Astrophotography With My Smartphone?
Yes, you can use filters for smartphone astrophotography. They'll help reduce light pollution and enhance celestial objects. Try clip-on filters designed for mobile devices, like neutral density or light pollution filters. Experiment to find what works best for your setup.
What's the Best Way to Clean My Smartphone Camera Before Stargazing?
To clean your smartphone camera before stargazing, you'll want to use a microfiber cloth to gently wipe the lens. Don't use harsh chemicals or abrasive materials. If needed, lightly dampen the cloth with distilled water for stubborn smudges.
How Can I Track Celestial Objects Using My Smartphone for Astrophotography?
You can track celestial objects using your smartphone by downloading astronomy apps like Stellarium or Sky Map. They'll use your phone's GPS and sensors to identify stars and planets. Point your camera where the app indicates for stunning astrophotography shots.
Are There Any Safety Concerns When Doing Mobile Astrophotography in Remote Areas?
When doing mobile astrophotography in remote areas, you'll want to prioritize your safety. Always tell someone where you're going, bring a friend if possible, pack essential supplies, and be aware of your surroundings. Don't forget a flashlight!
In Summary
You're now equipped to capture stunning celestial images with your smartphone. Remember to experiment with different settings, locations, and techniques. Don't be discouraged if your first attempts aren't perfect; practice makes progress. As you hone your skills, you'll find yourself creating breathtaking shots of the night sky. So grab your phone, head outside, and start shooting the stars. The universe is waiting for you to explore and document its beauty.



Leave a Reply