Light painting can transform your night photos into mesmerizing works of art. Try steel wool spinning for dazzling sparks, capture light trails from traffic, or illuminate landscapes with flashlights. Create intricate spirograph patterns using circular light designs, or craft floating orbs for an ethereal effect. Experiment with silhouettes against colorful backdrops, and explore physiograms for abstract masterpieces. Don't forget tube light wizardry for geometric shapes and zoom burst effects for radiating streaks. These techniques will elevate your night photography, adding depth and creativity to your images. Discover how each method can reveal new dimensions in your nocturnal shots.
Steel Wool Spinning
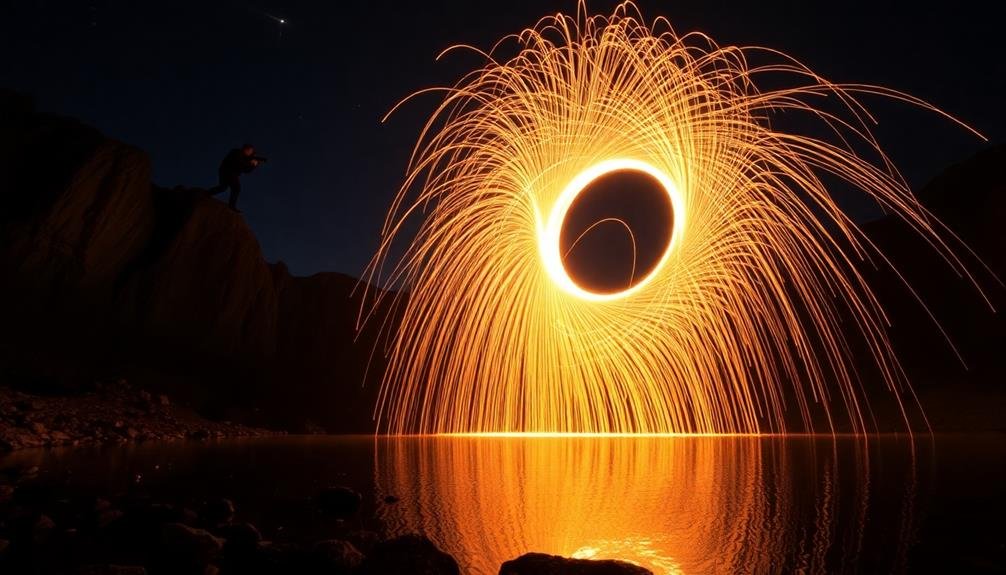
As darkness falls, steel wool spinning emerges as a mesmerizing light painting technique. You'll need fine-grade steel wool, a whisk or container to hold it, a long rope or chain, and a camera with manual settings.
Begin by stuffing the steel wool into the whisk or container, then securely attach it to your rope or chain.
Find a safe, open area away from flammable materials. Set your camera on a tripod and adjust the settings: use a low ISO (100-400), small aperture (f/8-f/16), and long exposure (15-30 seconds). Frame your shot, including an interesting background element if possible.
Light the steel wool and start spinning it in circles. The burning particles will create dazzling sparks and trails of light. Experiment with different spinning patterns: vertical circles, horizontal swings, or figure-eights. You can also try walking while spinning for unique effects.
Safety is essential. Wear protective clothing, gloves, and eyewear. Have water or a fire extinguisher nearby. Always check local regulations and obtain necessary permissions before attempting this technique in public areas.
Light Trails With Traffic
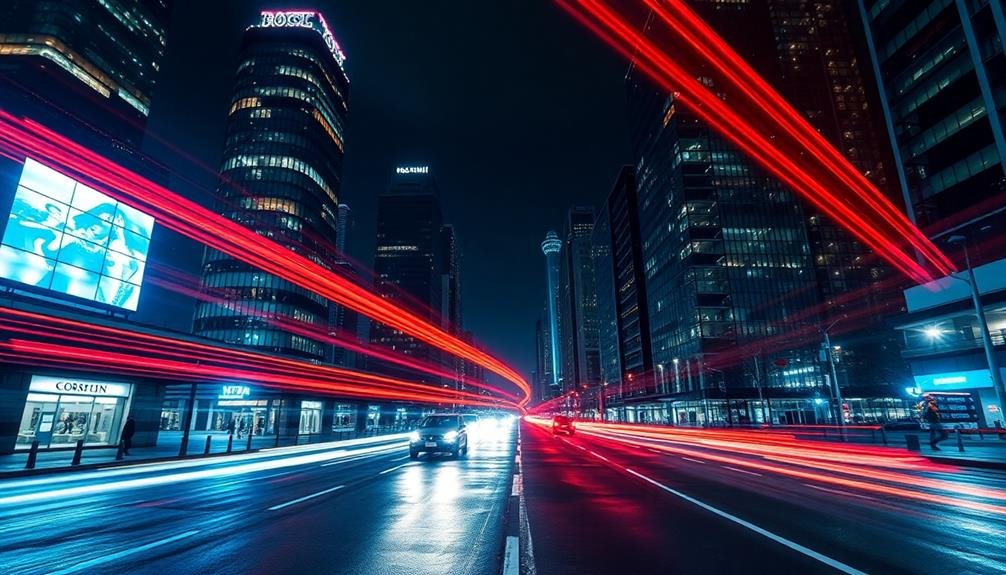
While steel wool spinning creates dazzling effects in controlled environments, urban settings offer their own canvas for light painting. Traffic light trails can transform ordinary cityscapes into mesmerizing streaks of color and motion.
To capture these stunning images, you'll need a camera with manual settings, a sturdy tripod, and a remote shutter release. Choose a location with a clear view of busy roads or intersections. Set your camera to manual mode, use a small aperture (f/8 to f/16), and select a low ISO (100-400). Experiment with shutter speeds between 10-30 seconds to achieve the desired effect. As vehicles pass, their lights will create continuous streaks across your frame.
Consider these tips to elevate your light trail photography:
- Incorporate architectural elements for added interest
- Shoot during blue hour for a balanced exposure
- Use neutral density filters for longer exposures
- Experiment with different focal lengths
- Combine multiple exposures in post-processing
With practice, you'll master the art of capturing light trails, turning ordinary traffic into extraordinary visual poetry.
Remember to prioritize safety when shooting near roadways and always obtain necessary permissions for your chosen locations.
Illuminated Landscapes
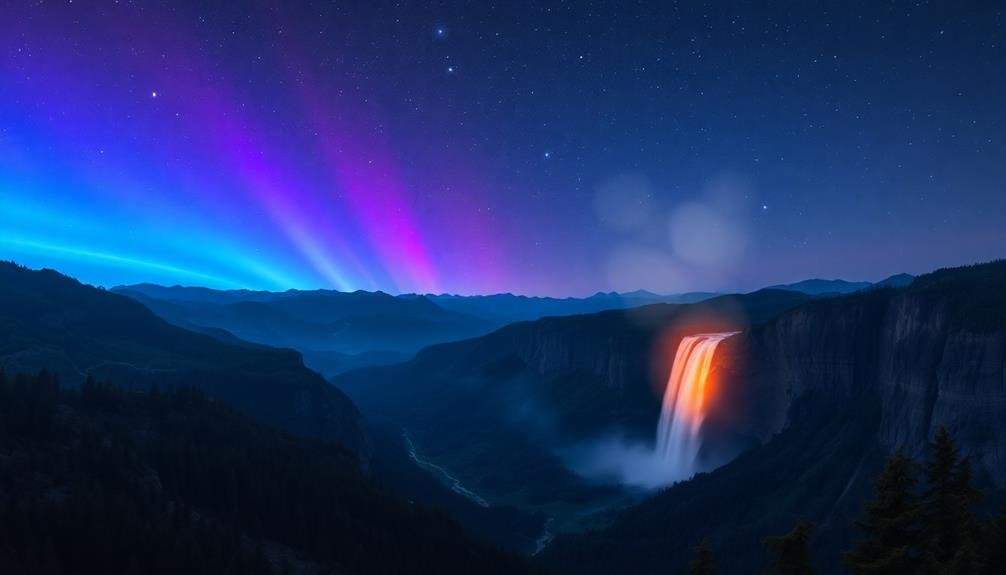
Illuminated landscapes offer enchanting opportunities for night photography.
You can capture moonlit mountain silhouettes, creating dramatic contrast between the dark peaks and the luminous sky.
Try photographing starry sky reflections in still lakes or ponds, or light up forest trails with strategically placed flashlights to craft mesmerizing woodland scenes.
Moonlit Mountain Silhouettes
Moonlit mountain silhouettes offer an enchanting canvas for light painting enthusiasts. To capture these mesmerizing scenes, you'll need to plan your shoot carefully. Choose a clear night when the moon is bright enough to illuminate the landscape but not so bright that it overpowers your light painting efforts.
Position yourself to capture the mountain's outline against the night sky, ensuring the moon is out of frame but still casting its glow on the scene.
Once you've set up your camera on a sturdy tripod, experiment with different light painting techniques to enhance the foreground. Use a flashlight or LED panel to selectively illuminate trees, rocks, or other interesting features. You can create stunning effects by:
- Tracing the mountain's outline with a narrow beam
- Painting "stars" in the foreground with a pinpoint light
- Illuminating mist or fog for an ethereal atmosphere
- Adding color gels to your light source for dramatic hues
- Creating light trails to lead the viewer's eye through the scene
Remember to use long exposures, typically 30 seconds or more, to capture both the moonlit silhouette and your light painting efforts.
Experiment with different apertures and ISO settings to achieve the perfect balance between the ambient moonlight and your added illumination.
Starry Sky Reflections
Starry sky reflections offer a mesmerizing twist on traditional light painting techniques. You'll capture the beauty of the night sky mirrored in still water, creating a stunning double image.
To achieve this effect, find a calm lake or pond on a clear night with minimal light pollution. Set up your camera on a sturdy tripod and compose your shot to include both the sky and its reflection. Use a wide-angle lens to capture more of the scene.
Set your camera to manual mode with a high ISO (1600-3200), wide aperture (f/2.8-f/4), and long exposure time (15-30 seconds). Focus on the stars using your camera's live view mode or by manually setting the focus to infinity. Take a test shot and adjust your settings as needed.
To enhance the reflection, you can use a small flashlight to gently illuminate the shoreline or add interest to the foreground. Experiment with different compositions, such as including silhouetted trees or rock formations.
You can also try capturing star trails by extending your exposure time to several minutes or even hours. Remember to use a remote shutter release or your camera's timer to avoid camera shake.
Glowing Forest Trails
Moving from the celestial to the terrestrial, let's explore the enchanting world of glowing forest trails. You'll transform ordinary woodland paths into mesmerizing, luminous landscapes using light painting techniques.
Start by scouting a suitable location during daylight hours, ensuring you're familiar with the terrain and have necessary permissions.
To create glowing forest trails, you'll need a powerful flashlight or LED panel, colored gels, and a camera with manual settings. Set your camera on a sturdy tripod and use a long exposure, typically 30 seconds to several minutes. As you paint the scene with light, move continuously to avoid hotspots and create an even, ethereal glow.
Consider these creative approaches to illuminate your forest trails:
- Use different colored gels to add depth and dimension
- Paint tree trunks from the side for a dramatic effect
- Backlight foliage to create striking silhouettes
- Incorporate reflective elements like water or dew
- Combine multiple light sources for complex scenes
Experiment with various patterns and movements to achieve your desired effect.
Remember to adjust your camera settings as needed, balancing ISO, aperture, and shutter speed for ideal results. With practice, you'll master the art of creating enchanting glowing forest trails that transport viewers to magical domains.
Spirograph Patterns
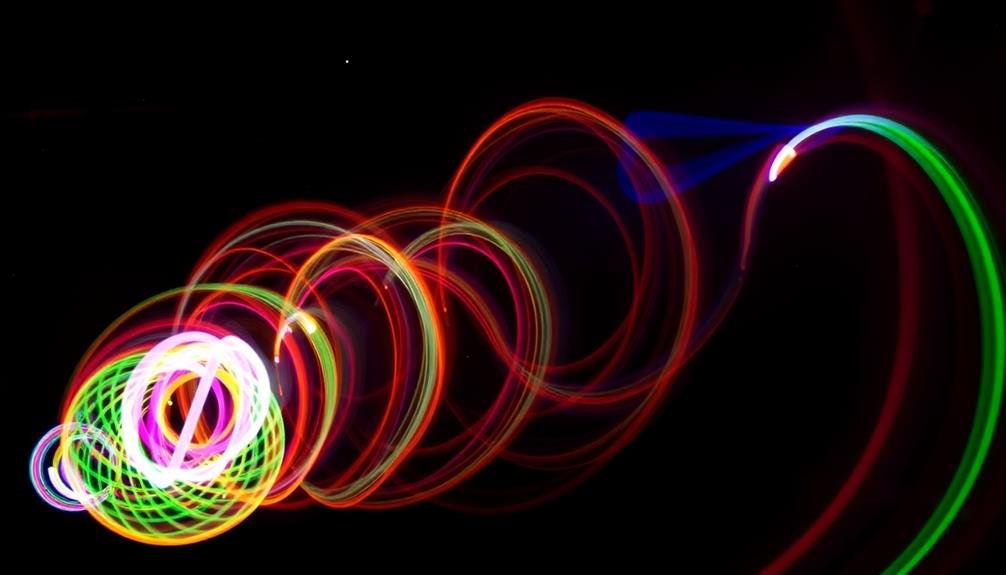
You'll love creating mesmerizing spirograph patterns in your night photos using circular light designs.
Try rotating your camera while capturing long exposures of stationary light sources to produce intricate, swirling compositions.
For even more striking results, experiment with multi-colored spiral effects by using different colored light sources or gels on your flashlights.
Circular Light Designs
Circular light designs, reminiscent of classic Spirograph patterns, can add a mesmerizing touch to your night photography. To create these enchanting shapes, you'll need a light source, such as an LED flashlight or a smartphone with a light painting app, and a sturdy tripod for your camera. Set your camera to manual mode with a long exposure time, typically between 10 to 30 seconds. Position yourself in the frame and start moving your light source in circular motions, varying the speed and direction to create intricate patterns.
Experiment with different techniques to achieve unique circular designs:
- Use multiple light sources of various colors for vibrant, layered effects
- Incorporate props like hula hoops or bicycle wheels for perfect circles
- Try spinning the light source on a string for consistent, symmetrical patterns
- Combine circular motions with linear movements for more complex designs
- Adjust your distance from the camera to alter the size of your light paintings
As you practice, you'll discover endless possibilities for creating stunning circular light designs.
Remember to keep your movements smooth and deliberate for the best results. With patience and creativity, you'll soon be capturing breathtaking night photos that showcase your mastery of this enchanting light painting technique.
Rotating Camera Techniques
Another fascinating technique for creating spirograph-like patterns involves rotating the camera itself. To achieve this effect, you'll need a sturdy tripod and a light source. Set your camera to a long exposure, typically between 10 to 30 seconds.
Attach your camera to the tripod and position it facing upwards towards the night sky. Choose a colorful light source, such as an LED flashlight or a smartphone with a color-changing app. Turn on the light and hold it steady above the camera lens.
As you start the exposure, begin rotating the tripod head smoothly and consistently. The movement will create mesmerizing circular patterns in your image. Experiment with different rotation speeds and light colors to produce unique designs.
You can also try varying the distance between the light source and the lens for diverse effects. For added complexity, use multiple light sources or change colors mid-rotation.
Remember to practice your timing and movement to achieve smooth, even patterns. Don't be afraid to try unconventional light sources or combine this technique with other light painting methods for truly jaw-dropping results.
Multi-Colored Spiral Effects
Building on the concept of circular patterns, multi-colored spiral effects can take your light painting to the next level. These intricate designs, often called Spirograph patterns, create mesmerizing swirls of color that'll captivate viewers. To achieve this effect, you'll need multiple light sources of different colors and a steady hand.
Start by setting your camera on a tripod with a long exposure time. Choose a dark location and begin moving your lights in circular motions, gradually changing the radius as you rotate. Experiment with different speeds and directions to create unique spiral shapes. You can use LED strips, glow sticks, or even smartphone apps designed for light painting.
Here's why multi-colored spiral effects are worth mastering:
- They add depth and complexity to your compositions
- They allow for endless creative possibilities
- They create a sense of motion in still images
- They can symbolize cosmic or natural phenomena
- They're visually striking and attention-grabbing
Remember to practice patience and precision when attempting these patterns. It may take several tries to get the perfect spiral, but the results are well worth the effort.
Don't be afraid to combine this technique with other light painting methods for even more stunning photos.
Floating Orbs
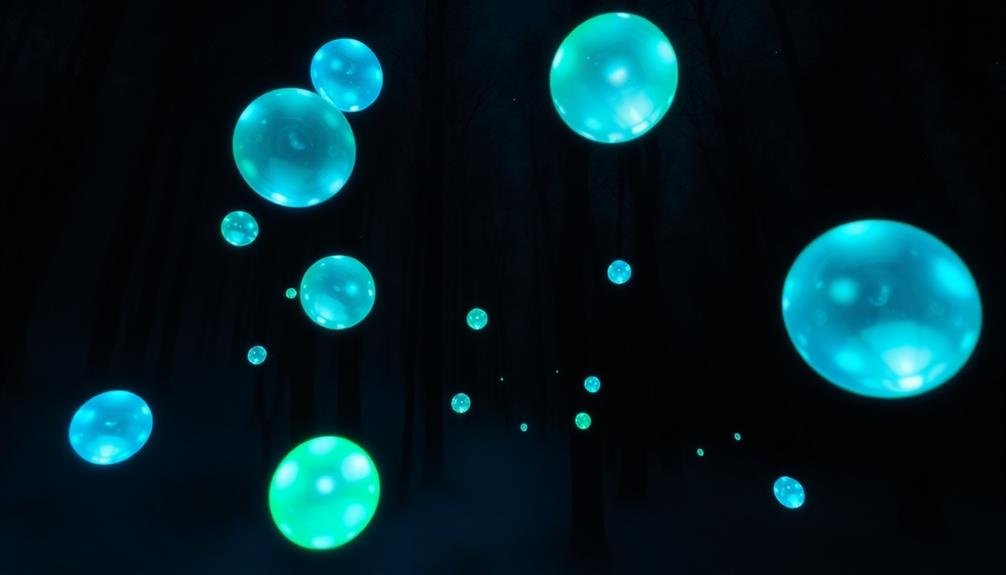
Mesmerizing spheres of light seemingly suspended in midair, floating orbs are an enchanting light painting technique. To create this effect, you'll need a small LED light or flashlight, string, and a steady hand.
Attach the light to the end of the string and set your camera to a long exposure, typically 10-30 seconds. Start by holding the string taut above your head, then release it slightly to create a pendulum motion. As the light swings, it'll trace a perfect circle in the air.
Practice controlling the speed and size of your orbs by adjusting the length of the string and the arc of the swing. For added complexity, try creating multiple orbs in a single frame or experiment with different colored lights.
To make your orbs appear to float, verify you're not visible in the frame while swinging the light. You can also combine this technique with other light painting methods to create surreal landscapes.
Remember to experiment with your camera's settings, adjusting ISO and aperture to achieve the desired brightness and clarity in your final image.
Light Writing and Drawing
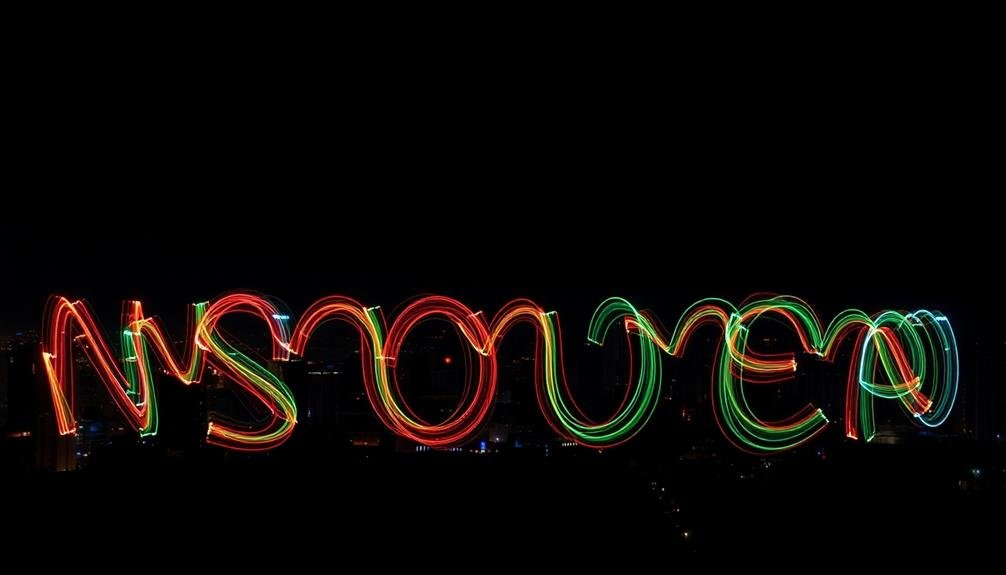
Light writing and drawing transform night photography into a canvas for your imagination. With a long exposure and a light source, you can create stunning images that blend reality with your artistic vision. You'll need a camera capable of manual settings, a tripod, and a light source like an LED flashlight or glow sticks.
To start, set your camera to manual mode with a low ISO, small aperture, and long exposure time. Frame your shot and focus before switching to manual focus. In complete darkness, use your light source to "draw" in the air. Move quickly for thin lines or slowly for thicker ones. Remember, you won't see your creation until after the exposure.
Here are some tips to elevate your light writing and drawing:
- Experiment with different colored lights for vibrant effects
- Use stencils to create precise shapes and letters
- Incorporate reflective surfaces for added depth
- Try writing backwards to appear correct in the final image
- Combine light writing with other light painting techniques
With practice, you'll master this technique and create enchanting images that push the boundaries of night photography. Don't be afraid to experiment and let your creativity shine through your light paintings.
Silhouettes With Colorful Backdrops
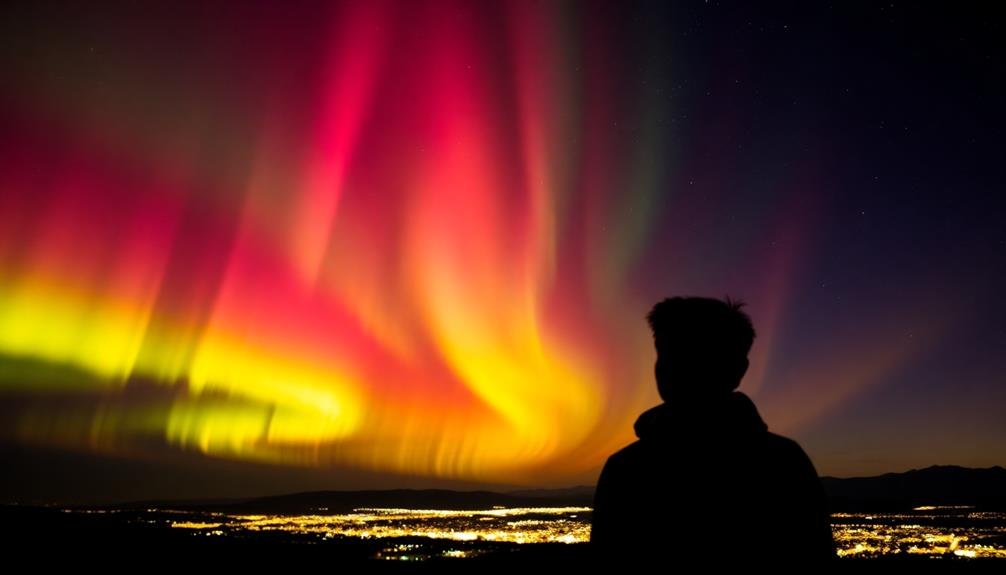
Silhouettes against colorful backdrops offer a striking contrast in night photography. To create this effect, position your subject between the camera and your light source. Ascertain the subject remains unlit while you focus on illuminating the background.
For vibrant backdrops, use colored gels on your light source or experiment with different colored LEDs. You can sweep a light across the frame or create patterns by moving it in specific shapes. Try using multiple colors to add depth and interest to your backdrop.
When composing your shot, pay attention to your subject's outline. Look for interesting shapes or poses that will create a compelling silhouette. It's often effective to place your subject off-center, following the rule of thirds for a more dynamic composition.
To capture sharp silhouettes, use a tripod and a remote shutter release. Set your camera to manual mode, choosing a low ISO and a narrow aperture for increased depth of field. Experiment with different shutter speeds to achieve the desired light effects in your backdrop.
Don't forget to reflect on the foreground. Adding elements like trees or rocks can create additional layers and depth in your image.
Physiograms for Abstract Art
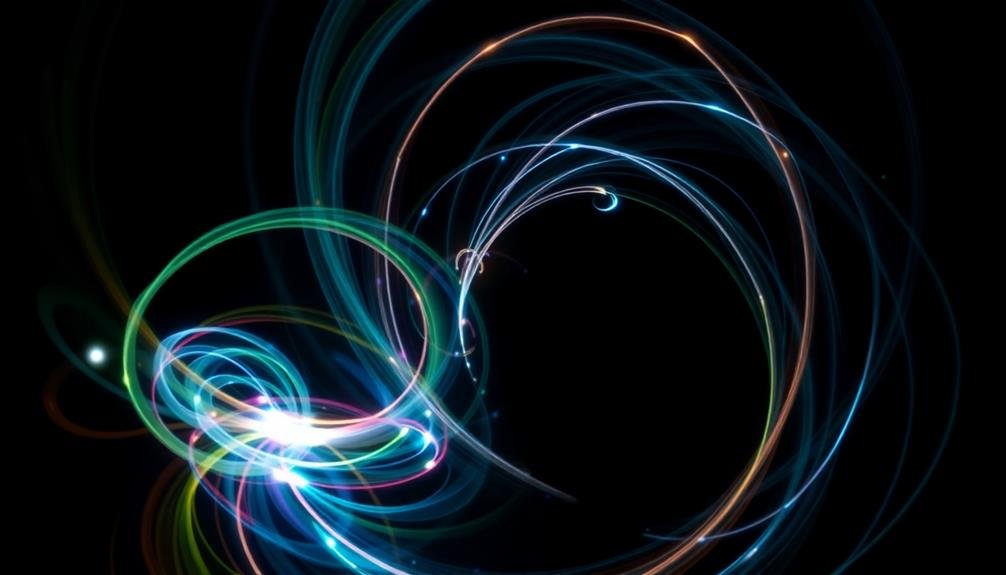
Physiograms offer a unique way to create abstract art through light painting.
You'll start by suspending a light source from a fixed point and setting your camera for a long exposure as you gently swing the light in circular motions.
Experiment with different colored lights and varying swing patterns to produce intricate, mesmerizing designs that resemble spirograph drawings.
Creating Circular Light Patterns
Spin your way into mesmerizing abstract art with circular light patterns, also known as physiograms. These enchanting designs are created by attaching a light source to a pendulum or string and letting it swing in the dark while your camera captures the movement with a long exposure.
To create stunning circular light patterns, you'll need:
- A DSLR or mirrorless camera with manual settings
- A sturdy tripod
- A small light source (LED, flashlight, or glow stick)
- String or a pendulum
- A dark location
Start by setting up your camera on the tripod and adjusting your settings for a long exposure (typically 10-30 seconds). Attach your light source to the string or pendulum, then position it above your camera frame.
Begin the exposure and set the pendulum in motion, allowing it to swing freely. Experiment with different swinging patterns, speeds, and light colors to create unique designs. You can also try adding multiple light sources or changing the length of the string for varied results.
Remember to keep your movements smooth and consistent for the best outcome. With practice, you'll master the art of circular light painting and produce stunning abstract images that'll leave viewers in awe.
Experimenting With Colors
Color's power to transform light paintings is truly remarkable. You can elevate your physiograms from simple white lines to vibrant, multi-hued masterpieces by incorporating different colored light sources.
Start with LED flashlights that offer multiple color options or use gels over your light source to achieve various hues.
Experiment with complementary colors to create striking contrasts in your compositions. Try pairing blue and orange, or red and green for eye-catching results.
You can also blend colors by using multiple light sources simultaneously or switching between colors mid-exposure.
For a psychedelic effect, try using RGB LED strips or programmable light wands that can cycle through colors automatically. This technique creates rainbow-like patterns that add depth and complexity to your physiograms.
Don't forget to take into account the background when choosing colors. A dark background will make bright colors pop, while a lighter background can create a softer, more ethereal look.
You can also use colored gels on your main light source to cast a colored glow on the entire scene, adding atmosphere to your composition.
Tube Light Wizardry
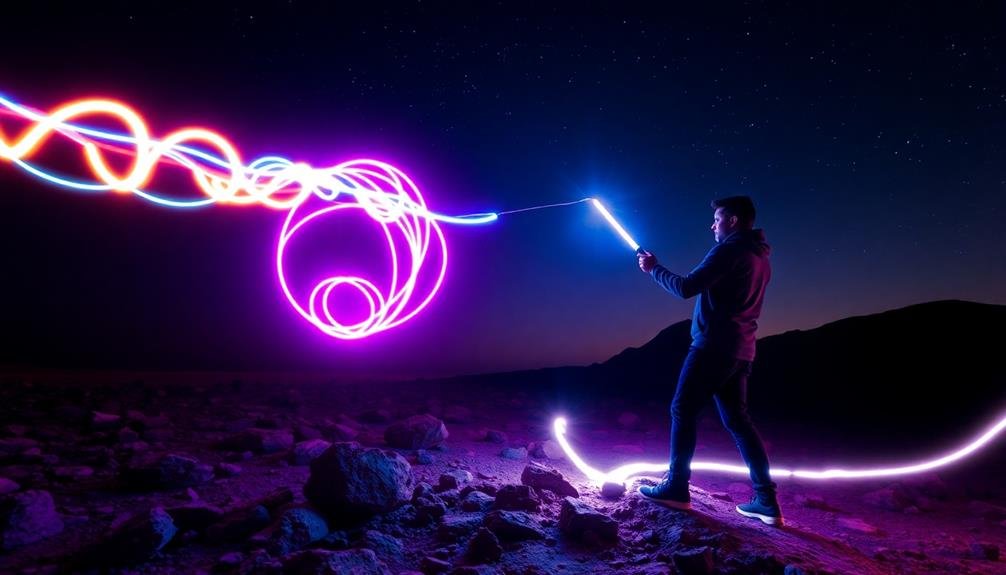
With tube lights, you can create mesmerizing shapes and patterns in your night photos. These versatile tools come in various colors and lengths, allowing you to experiment with different designs.
To get started, choose a dark location and set your camera on a tripod with a long exposure time. Move the tube lights in front of your camera while it's capturing the image. You can create circles, spirals, or even write words in the air. For best results, use a remote shutter release to avoid camera shake. Don't forget to wear dark clothing to minimize unwanted reflections.
Here are some tube light techniques to try:
- Orbit an object by spinning the light around it
- Create a tunnel effect by moving the light towards the camera
- Draw geometric shapes for a futuristic look
- Combine multiple colors for a rainbow effect
- Use different speeds to vary light intensity
Remember to adjust your camera settings based on the ambient light and desired effect. Start with a lower ISO and smaller aperture to maintain image quality.
With practice, you'll master the art of tube light wizardry and capture stunning night photographs that will leave viewers in awe.
Zoom Burst Effects
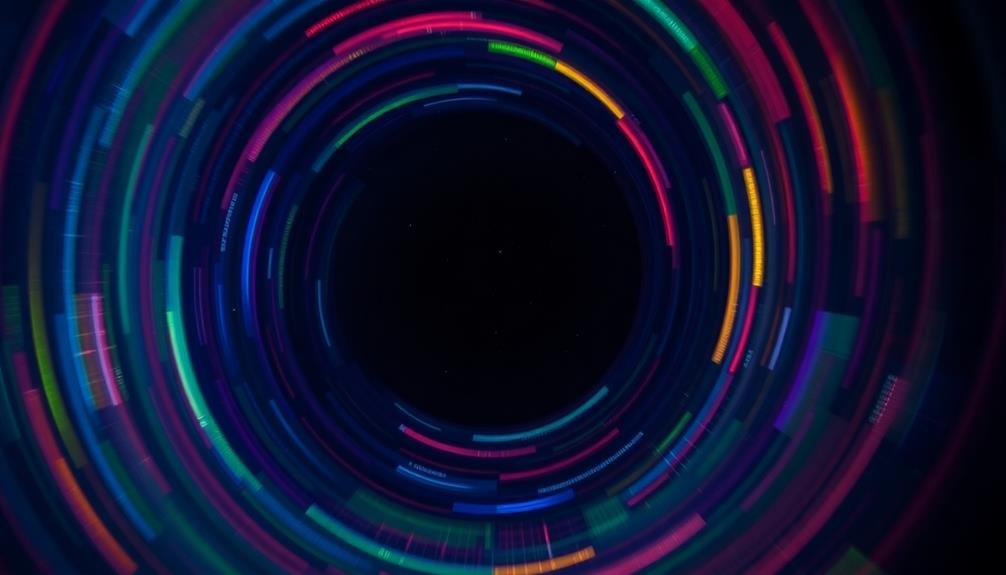
Dynamism takes center stage with zoom burst effects in light painting. You'll create mesmerizing streaks of light that appear to radiate from a central point. To achieve this effect, set your camera on a tripod and choose a slow shutter speed. As you release the shutter, smoothly zoom your lens in or out.
Experiment with different zoom speeds and directions. Zooming in creates a tunneling effect, while zooming out produces an explosive look. Try combining zoom bursts with stationary light sources for added complexity. You can also introduce colored gels or filters to your light source for vibrant results.
Here's a quick guide to zoom burst settings:
| Shutter Speed | Zoom Direction | Effect | Best For | Difficulty |
|---|---|---|---|---|
| 1-2 seconds | In | Tunnel | City lights | Easy |
| 3-5 seconds | Out | Starburst | Fireworks | Medium |
| 6-10 seconds | In then Out | Hourglass | Portraits | Hard |
| 10-30 seconds | Multiple | Abstract | Light painting | Advanced |
| Bulb mode | Varied | Creative chaos | Experimentation | Expert |
Remember to practice and fine-tune your technique. Zoom bursts can transform ordinary scenes into extraordinary, abstract masterpieces that captivate viewers and add a unique flair to your night photography portfolio.
Frequently Asked Questions
What Camera Settings Are Best for Capturing Light Paintings?
For capturing light paintings, you'll want to use manual mode with a low ISO (100-400), small aperture (f/8-f/16), and long exposure (10-30 seconds). Don't forget to use a tripod and remote shutter release for best results.
How Do You Focus in Low-Light Conditions for Light Painting?
You'll want to pre-focus in brighter conditions or use a small light to illuminate your subject. Switch to manual focus, use your camera's live view, and zoom in digitally to fine-tune. Don't forget your tripod!
Are There Any Safety Concerns When Doing Light Painting Photography?
You'll need to be cautious when light painting. Watch your step in dark areas, use safe light sources, and don't trespass. If you're near roads, wear reflective gear. Always have a buddy for safety.
What Are the Best Light Sources for Beginners in Light Painting?
For beginners in light painting, you'll find LED flashlights, glow sticks, and sparklers are great starting tools. They're easy to use and affordable. Don't forget your smartphone's flashlight—it's a versatile light source you already have handy.
Can Light Painting Be Done With a Smartphone Camera?
Yes, you can do light painting with a smartphone camera. You'll need a long exposure app and a stable surface. While not as versatile as DSLR cameras, smartphones offer a convenient way to experiment with light painting techniques.
In Summary
You've now got an arsenal of light painting techniques to transform your night photography. Don't be afraid to experiment and combine these tricks for truly unique results. Remember, practice makes perfect, so get out there and start creating! With patience and creativity, you'll soon be capturing jaw-dropping images that'll make viewers do a double-take. Keep pushing the boundaries of what's possible with light, and you'll develop a style that's all your own.



Leave a Reply