To capture stunning nighttime mobile time-lapses, start by choosing a visually interesting location with minimal light pollution. Secure your smartphone on a sturdy tripod to prevent camera shake. Manually adjust your camera settings, focusing on low ISO and longer exposure times. Utilize long exposure mode to capture light trails and create enchanting effects. Experiment with light painting techniques to add unique elements to your shots. For celestial scenes, try capturing star trails in dark, clear skies. Finally, edit and compile your footage to enhance the overall impact. These techniques will elevate your nighttime mobile photography, but there's always more to explore in this enchanting art form.
Choose the Right Location
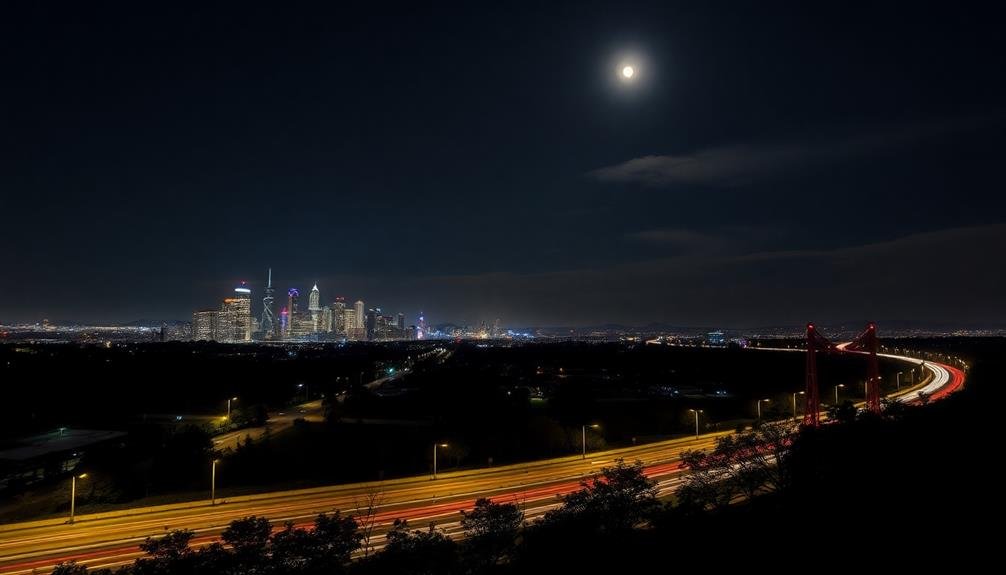
Location is key when it comes to nighttime mobile time-lapse photography. You'll want to scout areas that offer interesting visual elements and minimal light pollution.
Look for cityscapes with twinkling lights, star-filled skies, or landmarks that are well-lit at night. Consider spots with moving elements like traffic, clouds, or water to add dynamism to your time-lapse.
Safety should be your top priority. Verify you're in a secure area where you can set up your mobile device without risk. Avoid isolated locations or places with high crime rates.
If possible, bring a friend along for company and added security.
Check the weather forecast before heading out. Clear skies are ideal for capturing stars, while some cloud cover can add drama to urban scenes. Wind can be a problem, so look for sheltered spots to minimize camera shake.
Arrive early to set up and test your equipment. This gives you time to find the perfect angle and make adjustments before darkness falls.
Remember to respect private property and local regulations when choosing your location.
Secure Your Smartphone
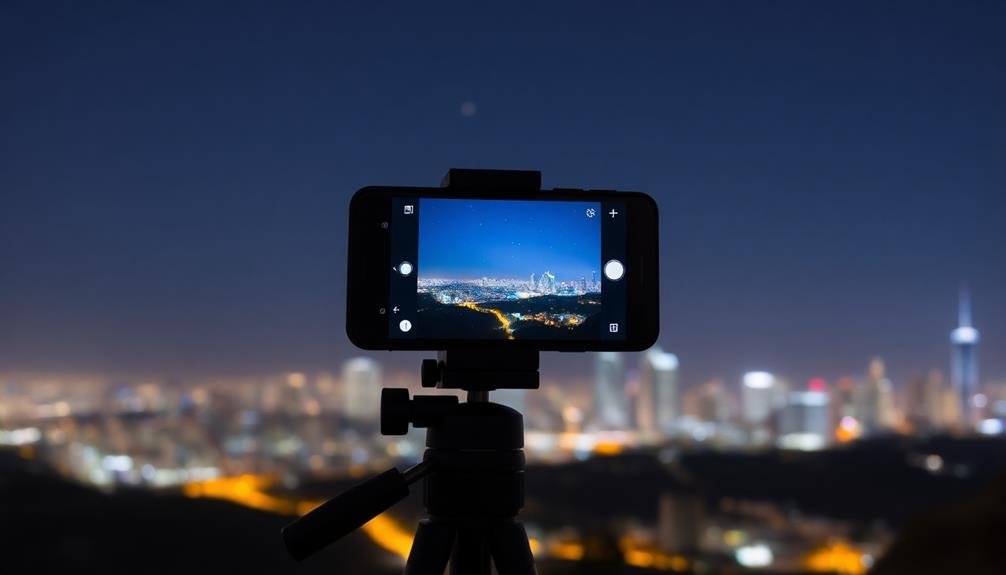
A sturdy foundation is essential for capturing sharp, stable time-lapse footage with your smartphone. Begin by investing in a reliable tripod designed for mobile devices. Look for one with adjustable legs and a smartphone-specific mount to guarantee versatility in various environments.
If you're on a budget, consider a mini tripod or a flexible, wrappable option that can secure your phone to different surfaces.
Once you've chosen your tripod, make certain your phone is securely attached. Double-check the clamp or mount to prevent any accidental drops. If you're shooting in windy conditions, add weight to your setup by hanging a bag from the tripod's center column. This will increase stability and reduce unwanted camera movement.
Don't forget to disable your phone's auto-lock feature and turn on "Do Not Disturb" mode to prevent interruptions during the shoot. If you're using an external battery pack, secure it to the tripod leg to avoid tension on the charging cable.
Adjust Camera Settings Manually
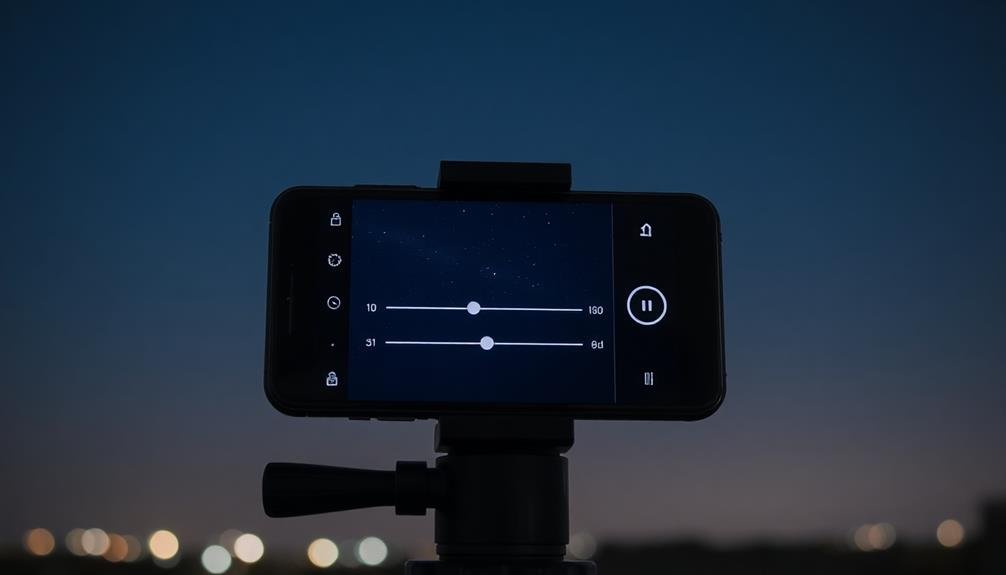
To capture stunning nighttime time-lapses, you'll need to adjust your camera settings manually.
Start by optimizing your ISO sensitivity to balance light capture and noise reduction, then set longer exposure times to allow more light into each frame.
Don't forget to switch to manual focus mode, ensuring your subject remains crisp throughout the sequence.
Optimize ISO Sensitivity
Mastering ISO sensitivity is essential for capturing stunning nighttime mobile time-lapses. You'll need to find the right balance between light sensitivity and image quality.
Start by setting your ISO to the lowest possible value that still allows for proper exposure. This will help minimize digital noise and preserve image detail.
Experiment with different ISO settings to determine the maximum value that produces acceptable results on your device. Many modern smartphones can handle ISO values up to 3200 or even 6400 without significant quality loss. However, you'll want to avoid pushing the ISO too high, as this can introduce excessive noise and reduce overall image sharpness.
Consider using the ISO Auto feature if your camera app offers it. This can help maintain consistent exposure throughout your time-lapse sequence, especially if lighting conditions change during the shoot. Set an upper ISO limit to prevent the camera from using excessively high values.
Remember that higher ISO settings will drain your battery faster, so plan accordingly for longer time-lapse sessions. If possible, use external lighting or choose scenes with some ambient light to keep your ISO lower and preserve battery life.
Set Longer Exposure Times
Longer exposure times are essential for capturing stunning nighttime mobile time-lapses. To achieve this, you'll need to manually adjust your camera settings.
Start by locating your phone's pro or manual mode, which allows you to control exposure time independently. For nighttime scenes, aim for exposure times between 1 and 4 seconds. This duration allows more light to reach the sensor, revealing details in dark areas and creating smooth light trails from moving objects.
Experiment with different exposure times to find the right balance for your specific scene. Remember that longer exposures can introduce motion blur, so it's vital to keep your phone stable. Use a tripod or stable surface to minimize camera shake.
If your phone doesn't offer manual control over exposure time, look for third-party apps that provide this functionality. As you increase exposure time, you may need to adjust other settings to compensate.
Reduce your ISO to prevent overexposure and maintain image quality. Also, consider using a smaller aperture (higher f-number) to keep more of the scene in focus. By mastering longer exposure times, you'll dramatically improve the quality of your nighttime mobile time-lapses.
Use Manual Focus Mode
While longer exposure times capture more light, manual focus guarantees your nighttime scenes remain sharp. Most smartphones default to autofocus, which can struggle in low-light conditions, leading to blurry or out-of-focus shots. Switch to manual focus mode in your camera app to take control.
To focus manually, tap on the brightest part of your scene, usually a light source or illuminated object. This sets the focus point for your entire time-lapse sequence. If there's no bright spot, use a flashlight to temporarily illuminate your subject, focus on it, then remove the light before starting your capture.
For landscape shots, focus on a distant object to achieve infinity focus. This confirms everything from the foreground to the background stays sharp.
Some apps offer focus peaking, which highlights in-focus areas, making it easier to verify your focus is correct.
Use Long Exposure Mode
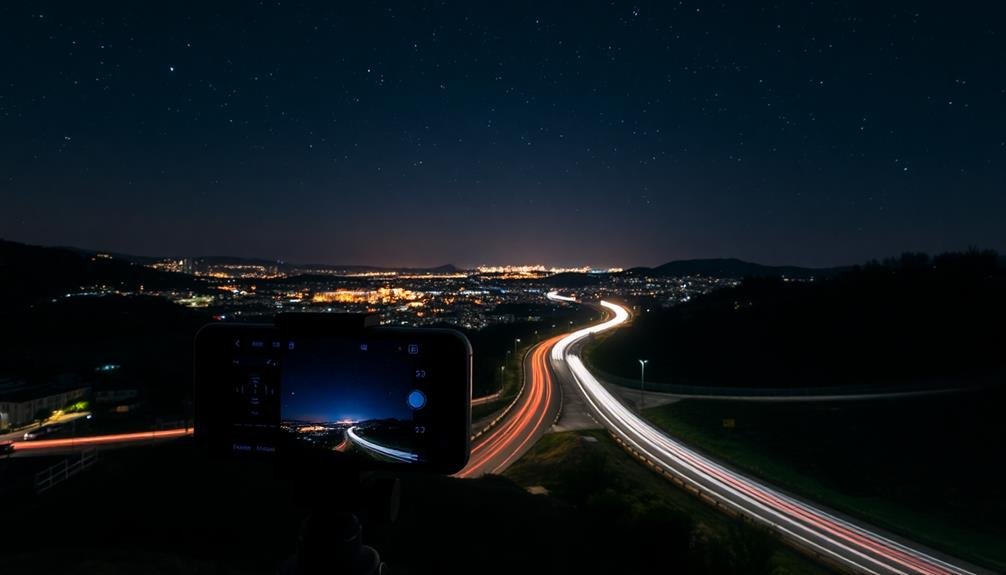
Long exposure mode is your secret weapon for nighttime mobile time-lapse photography.
You'll capture stunning light trails from moving vehicles and city lights, adding a dynamic element to your shots.
This technique also helps reduce noise in low-light conditions, resulting in cleaner, more professional-looking images.
Capture Light Trails Effectively
Light trail photography opens up a world of creative possibilities for your nighttime mobile time-lapses. To capture light trails effectively, you'll need to find a location with moving light sources, such as cars on a busy street or boats in a harbor.
Position your phone on a stable surface or tripod, guaranteeing it won't move during the extended exposure. Set your camera app to manual mode and adjust the ISO to a low setting, typically between 100-400. Choose a narrow aperture (high f-number) to increase depth of field and sharpness.
Experiment with shutter speeds between 10-30 seconds to achieve the desired light trail effect. The longer the exposure, the more pronounced the trails will be. Focus on a stationary object in your composition to maintain overall image sharpness.
Use the rule of thirds to create a balanced frame, placing the light trails along these lines. Consider including static elements like buildings or landscapes to provide context and contrast to the moving lights.
Remember to take multiple shots with varying settings to guarantee you capture the perfect light trail image for your time-lapse sequence.
Reduce Noise in Shots
Reducing noise in your nighttime mobile time-lapse shots can be achieved through the use of long exposure mode. This technique allows more light to enter the camera sensor, resulting in cleaner, less grainy images. To activate long exposure mode on most smartphones, you'll need to switch to Pro or Manual mode in your camera app.
Once in long exposure mode, adjust your shutter speed to between 1 and 30 seconds, depending on the available light and desired effect. Longer exposures will capture more light but may introduce motion blur. To minimize camera shake, use a tripod or stabilize your phone against a solid surface.
| Setting | Low Light | Very Dark |
|---|---|---|
| ISO | 100-400 | 400-800 |
| Shutter Speed | 1-5 seconds | 10-30 seconds |
| Aperture | f/1.8-f/2.8 | f/1.8-f/2.2 |
Additionally, reduce noise by lowering your ISO setting. While higher ISO values brighten your image, they also introduce more noise. Experiment with different combinations of shutter speed and ISO to find the right balance between brightness and noise reduction for your specific scene and lighting conditions.
Experiment With Light Painting
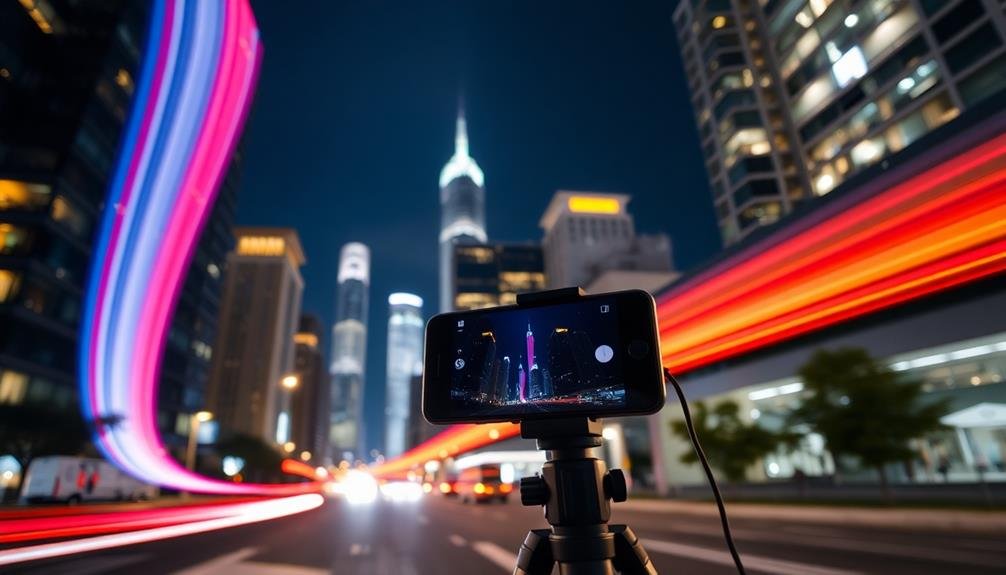
While capturing stunning nighttime time-lapses, you can add an extra layer of creativity by experimenting with light painting. This technique involves using light sources to "paint" patterns or illuminate subjects during long exposures.
To incorporate light painting into your mobile time-lapse, set up your phone on a stable tripod and use the manual mode in your camera app. Choose a light source like a flashlight, LED strip, or even glow sticks. As your phone captures frames, move the light in various patterns or highlight specific elements in the scene.
You can create swirling designs, outline objects, or add bursts of color to the composition. Remember to move quickly to avoid appearing in the frame yourself. Experiment with different light colors and intensities to achieve diverse effects.
Try combining light painting with other elements like star trails or cityscapes for more dynamic results. You can also use light painting to reveal hidden details in dark areas of your scene.
Capture Star Trails
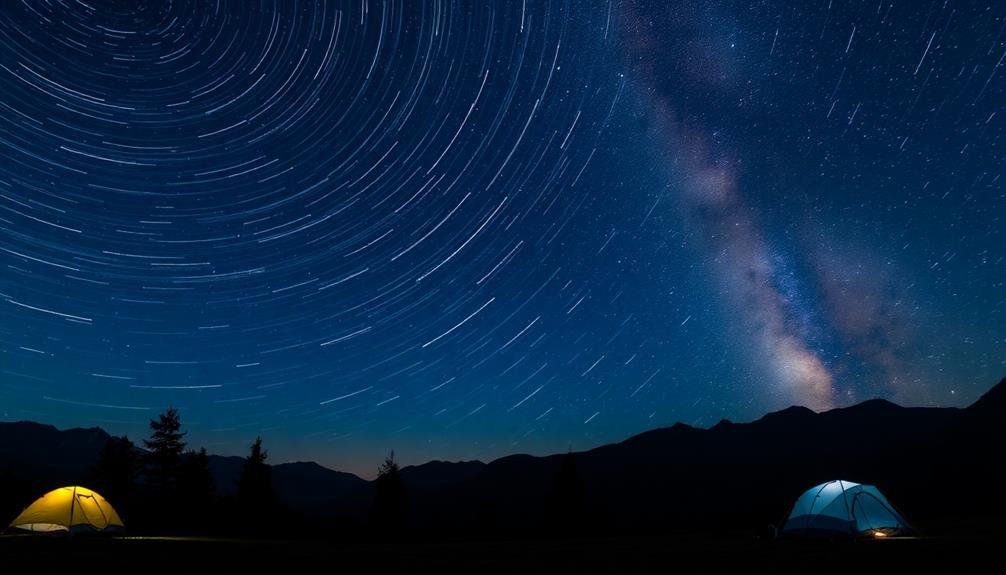
Star trails offer a mesmerizing way to showcase the Earth's rotation in your nighttime mobile time-lapses. To capture this effect, you'll need to set up your mobile device for an extended shoot, typically lasting several hours.
Start by finding a dark location away from light pollution and securing your phone on a sturdy tripod.
Use a dedicated long-exposure or time-lapse app that allows for manual control over settings. Set your ISO low (around 100-400) to reduce noise, and choose a wide aperture (lowest f-number) to let in more light. Experiment with exposure times between 20-30 seconds per frame. You'll want to capture hundreds of images over the course of the night.
Aim your camera at the North Star (Polaris) for circular star trails, or point it in any other direction for arched trails. Make certain your phone's battery is fully charged or connect it to a power bank.
Once you've collected all your images, use a star trail stacking software to combine them into a single, stunning photograph. Remember to enable your phone's airplane mode to prevent interruptions and conserve battery life during the shoot.
Edit and Compile Your Footage
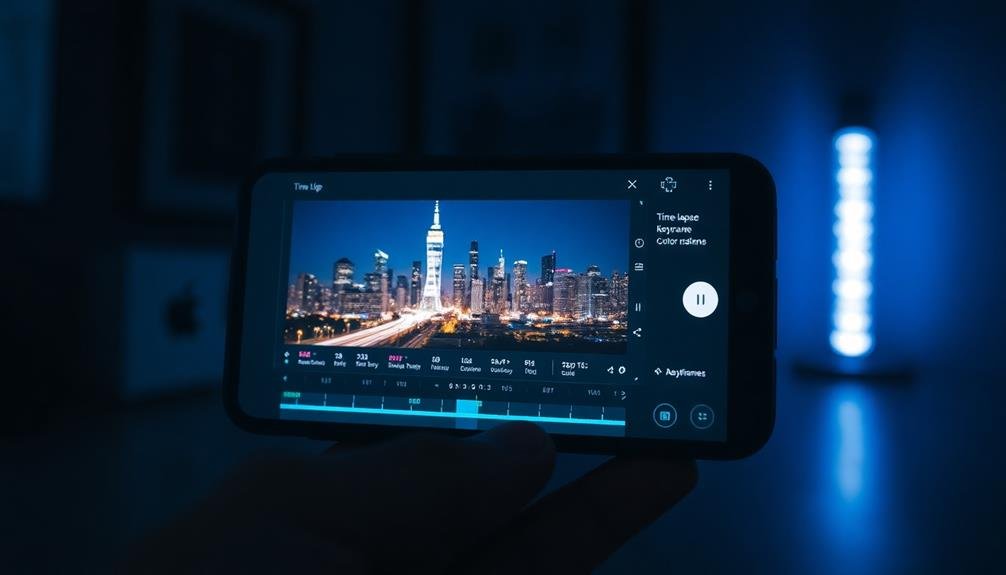
The editing process is where your nighttime mobile time-lapse truly comes to life. After capturing your footage, you'll need to compile and refine it to create a stunning final product. Start by transferring your images to your computer or a mobile editing app. Choose software that supports time-lapse compilation, such as Adobe Premiere Pro, LRTimelapse, or smartphone apps like Lapse It.
When editing, focus on these key aspects:
- Adjust exposure and color balance for consistency
- Stabilize shaky footage
- Remove any unwanted frames or flickers
- Add music or ambient sound to enhance the mood
Pay attention to the overall flow of your time-lapse. You might want to experiment with different frame rates to achieve the desired effect. For star trails, aim for a slower frame rate to emphasize the celestial movement. For cityscapes or traffic, a faster frame rate can create a more dynamic feel.
Don't be afraid to get creative with your edits. Try incorporating transitions, zooms, or pans to add visual interest.
Frequently Asked Questions
How Can I Prevent Battery Drain During Long Nighttime Time-Lapse Sessions?
To prevent battery drain during long nighttime time-lapse sessions, you'll want to use an external battery pack. Lower your screen brightness, turn off Wi-Fi and Bluetooth, and use airplane mode. Consider using a dedicated time-lapse app for efficiency.
What Apps Are Best for Mobile Time-Lapse Photography?
For mobile time-lapse photography, you'll find great options in Hyperlapse, Lapse It, and Time Lapse Camera. They offer user-friendly interfaces, customizable settings, and high-quality output. Don't forget to try your phone's native camera app too.
How Do I Avoid Lens Condensation in Cold Nighttime Conditions?
To avoid lens condensation in cold nighttime conditions, you'll want to keep your camera warm. Use hand warmers, insulate your lens, and let your gear gradually adjust to the temperature. Don't breathe on the lens, and pack silica gel packets.
Can I Use Filters for Nighttime Mobile Time-Lapse Photography?
Yes, you can use filters for nighttime mobile time-lapse photography. They'll help reduce glare, manage light pollution, and enhance colors. Try neutral density filters to slow shutter speed or polarizing filters to boost contrast and saturation in your shots.
How Do I Calculate the Ideal Interval Between Shots for Night Time-Lapses?
You'll want to contemplate the length of your final video and the duration of your shoot. Divide the shoot time by desired clip length to get your interval. Adjust for celestial movements or traffic flow if needed.
In Summary
You've now got the tools to create stunning nighttime mobile time-lapses. Remember, practice makes perfect. Don't be afraid to experiment with different locations, settings, and techniques. As you refine your skills, you'll capture increasingly breathtaking footage. Whether you're shooting cityscapes, star trails, or light paintings, your smartphone can produce professional-quality results. So get out there, embrace the night, and let your creativity shine through your time-lapse masterpieces.



Leave a Reply