To capture stunning close-up nature photos on your mobile, start by finding interesting subjects with unique textures or colors. Use natural light effectively, shooting during golden hours for soft illumination. Stabilize your smartphone to guarantee sharp images, and keep your lens clean for crisp results. Focus manually for precision, and consider using macro lens attachments for extreme close-ups. Adjust your camera settings for best exposure and color balance. After shooting, edit your photos to enhance their visual impact. Practice patience and persistence, as great shots often require multiple attempts. These tips are just the beginning of your journey into the fascinating world of mobile macro photography.
Find the Right Subject
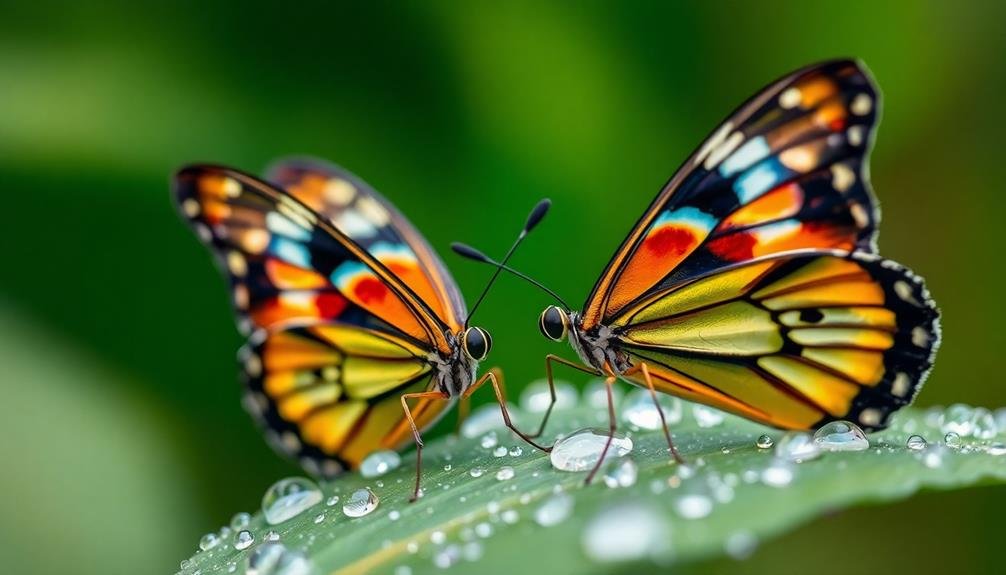
How do you capture stunning close-up nature photos on your mobile device? It all starts with finding the right subject. Look for objects that have interesting textures, patterns, or colors. Flowers, leaves, insects, and small animals make excellent subjects for close-up photography.
When choosing your subject, consider its size and location. Make certain it's accessible and that you can get close enough without disturbing it. Pay attention to lighting conditions; soft, diffused light often works best for close-ups. Early morning or late afternoon light can create beautiful, warm tones.
Search for subjects that tell a story or evoke emotion. A dewdrop on a leaf, a butterfly emerging from its chrysalis, or a ladybug climbing a blade of grass can all make compelling images. Don't overlook common objects; even everyday items can become extraordinary when viewed up close.
Be patient and observant. Nature is constantly changing, so take your time to explore and discover unique subjects. Remember, the best close-up photos often come from unexpected sources, so keep your eyes open and your camera ready.
Use Natural Light Effectively
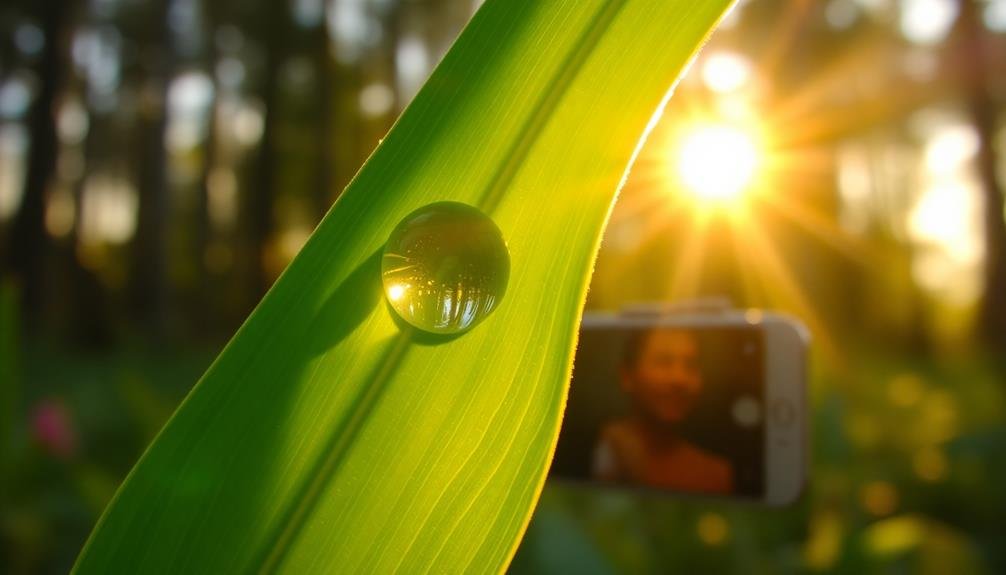
Natural light is your best friend when it comes to close-up nature photography on mobile devices. It's free, abundant, and can create stunning effects when used correctly. To make the most of natural light, try shooting during the golden hours – just after sunrise or before sunset. These times offer soft, warm light that enhances colors and textures in your subjects.
When shooting, position yourself so that the light falls on your subject at an angle. This creates depth and brings out details. Avoid harsh midday sun, as it can create unflattering shadows and wash out colors. If you must shoot in bright light, use a diffuser or find a shaded area to soften the light.
Experiment with different lighting situations to create unique effects:
- Backlighting to create silhouettes or highlight translucent subjects
- Side lighting to emphasize texture and form
- Overcast days for soft, even light that's perfect for delicate subjects
- Dappled light through leaves for a magical, fairy-tale effect
Stabilize Your Smartphone
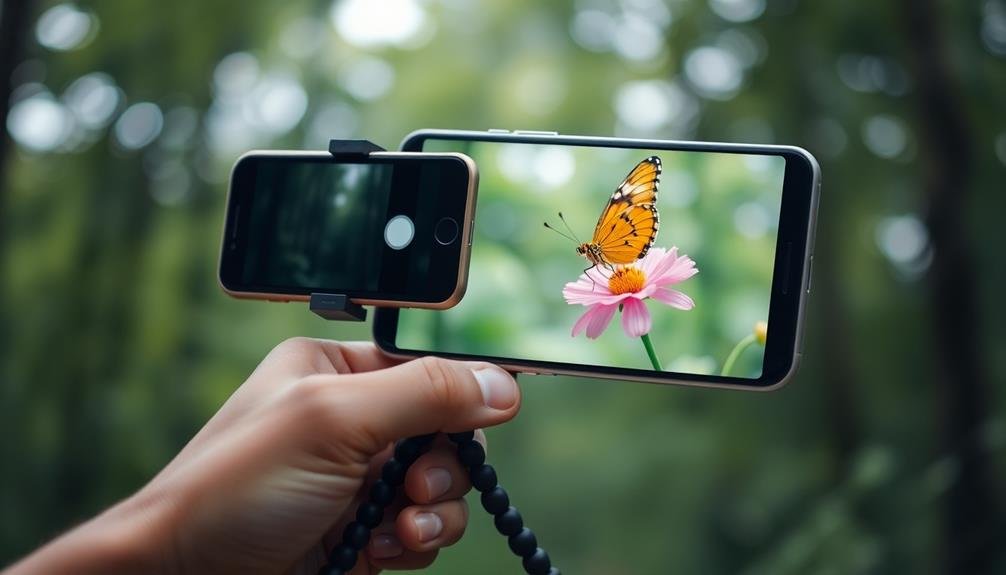
While natural light plays a key role in capturing stunning close-ups, your efforts can be undone by camera shake. To prevent blurry images, it's essential to stabilize your smartphone. Start by holding your device with both hands, keeping your elbows close to your body for added support. If possible, lean against a tree or rock to further reduce movement.
Consider investing in a smartphone tripod or grip for maximum stability. These accessories come in various sizes and styles, from pocket-sized flexible tripods to more robust options for challenging terrains. If you don't have a tripod, improvise by resting your phone on a stable surface like a rock or log.
Utilize your smartphone's built-in stabilization features, such as optical image stabilization (OIS) or electronic image stabilization (EIS). These technologies help counteract minor movements and vibrations. Additionally, use your phone's timer or voice activation feature to trigger the shutter without touching the screen, eliminating the risk of shake from pressing the capture button.
When shooting in low light conditions, be extra vigilant about stabilization, as longer exposure times increase the likelihood of blur.
Clean Your Camera Lens
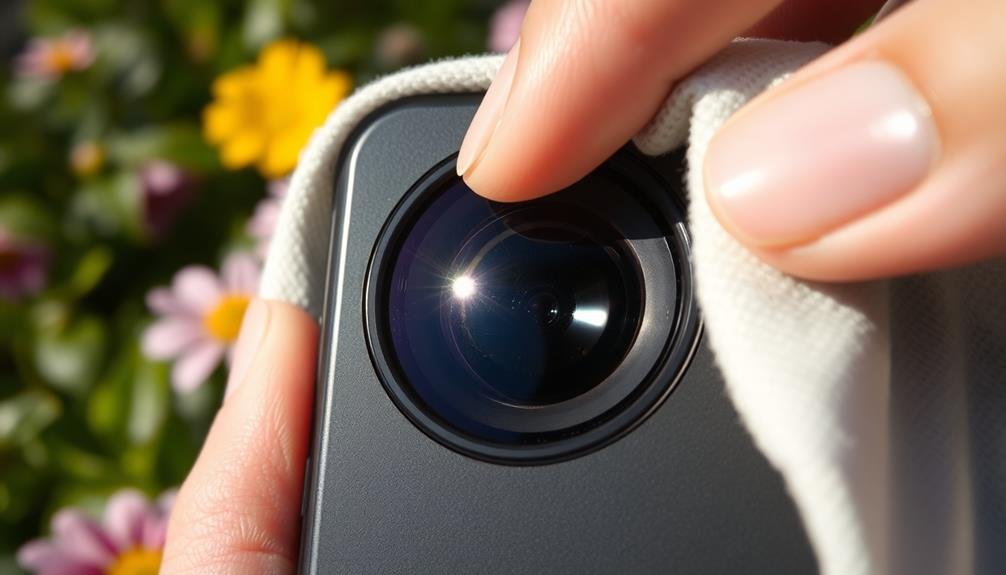
Keeping your smartphone's camera lens clean is essential for capturing crisp, clear nature close-ups.
You'll want to remove any smudges or dirt that can blur your images and diminish detail.
Make it a habit to gently wipe your lens with a microfiber cloth before each photo session to guarantee peak image quality.
Remove Smudges and Dirt
One often overlooked aspect of mobile photography is the cleanliness of your camera lens. Smudges and dirt can greatly impact the quality of your close-up nature shots, creating unwanted blurriness or distorted colors.
To guarantee your lens is spotless, you'll need to clean it regularly. Start by gently blowing away loose particles with a blower or your breath. Then, use a microfiber cloth to wipe the lens in a circular motion, starting from the center and moving outward. For stubborn smudges, slightly dampen the cloth with lens cleaning solution or distilled water. Be careful not to use too much liquid, as it could seep into your phone's crevices.
To maintain a clean lens and protect it from future smudges, follow these tips:
- Keep your phone in a dedicated pocket, away from keys and loose change
- Use a lens cap or protective case when not in use
- Avoid touching the lens with your fingers
- Clean your lens before and after each photo session
Use Microfiber Cloth Regularly
Throughout your photography journey, regularly using a microfiber cloth to clean your camera lens is essential for maintaining image quality. Dust, fingerprints, and smudges can greatly impact your close-up nature shots, reducing sharpness and creating unwanted artifacts. Keep a small microfiber cloth in your camera bag or pocket, and make it a habit to gently wipe your lens before each photo session.
When cleaning, use circular motions from the center outward to effectively remove debris without scratching the lens. Don't apply excessive pressure; let the cloth's fibers do the work. For stubborn smudges, lightly breathe on the lens to create a small amount of moisture before wiping. Remember to clean both the front and back elements of your mobile phone's camera lens.
| Cleaning Frequency | Benefits | Best Practices |
|---|---|---|
| Before each shoot | Sharper images | Use gentle pressure |
| Weekly maintenance | Reduced artifacts | Circular motions |
| After outdoor use | Improved clarity | Clean both elements |
| When visibly dirty | Consistent quality | Store cloth separately |
Focus Manually for Precision
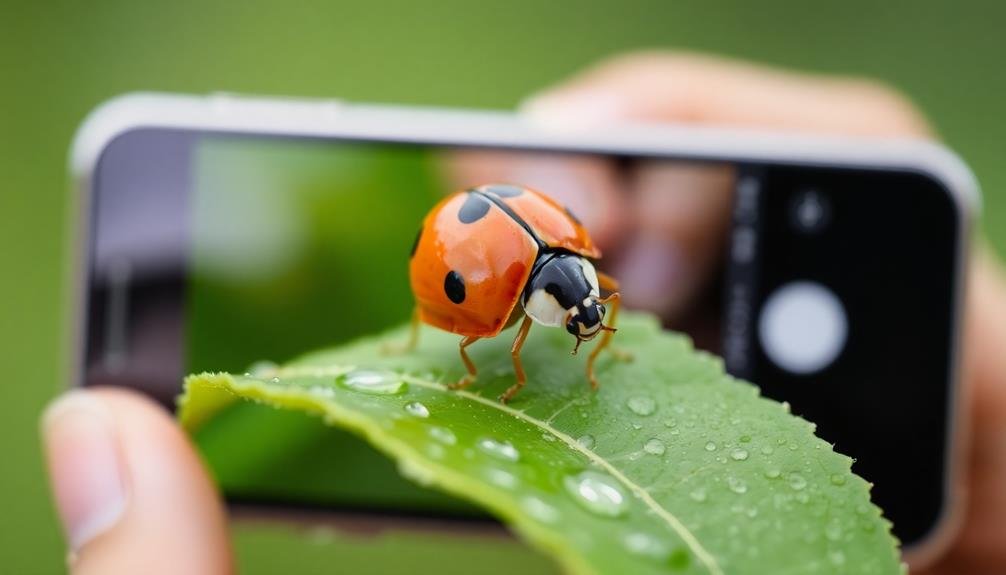
To achieve razor-sharp focus in close-up nature photography, switch your smartphone camera to manual focus mode. This technique gives you precise control over the focal point, guaranteeing your subject stands out crisp and clear.
When you're shooting tiny details in nature, even the slightest focus shift can make or break your image.
Once you've enabled manual focus, follow these steps to capture stunning close-ups:
- Position your phone close to the subject, maintaining a stable stance.
- Tap the screen to set your focus point on the most important part of your subject.
- Use the focus slider to fine-tune the sharpness, moving it slowly until the details pop.
- Take multiple shots at slightly different focus points to confirm you've nailed the perfect focus.
Experiment With Composition Techniques
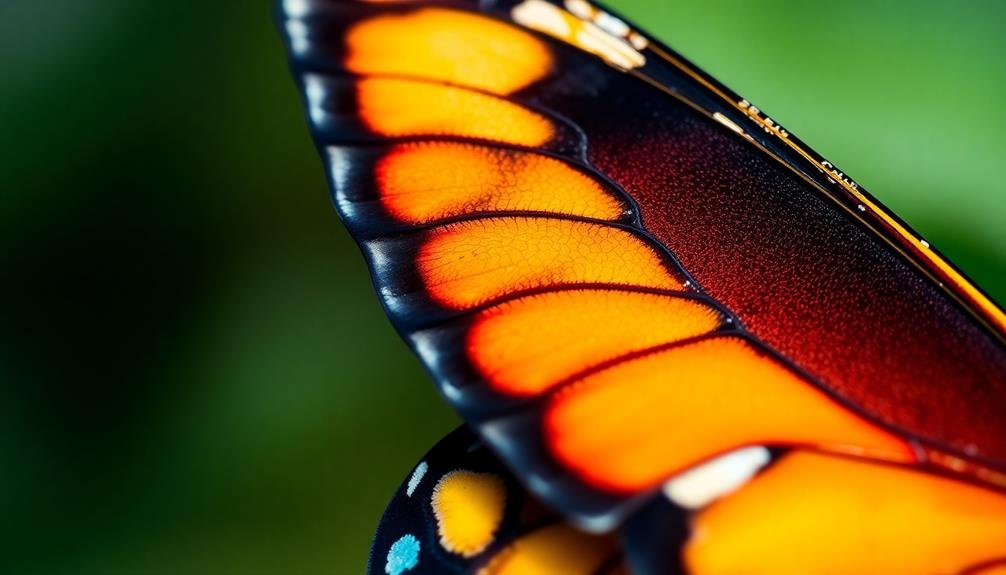
With close-up nature photography, composition becomes even more essential. You'll need to experiment with various techniques to create enchanting images. Try the rule of thirds by placing your subject off-center, aligning it with imaginary grid lines that divide your frame into nine equal parts. This can create a more dynamic and visually appealing shot.
Consider symmetry and patterns in nature. Many plants and insects have intricate, symmetrical designs that can make for striking compositions. Frame these subjects centrally to highlight their natural balance.
Alternatively, look for leading lines in stems, petals, or leaf veins to guide the viewer's eye through the image.
Don't be afraid to play with negative space. Sometimes, isolating your subject against a simple background can create a powerful impact. Use depth of field to your advantage, blurring the background to make your subject pop.
Experiment with unusual angles. Get low to the ground for a bug's-eye view, or shoot from above to capture patterns in leaves or flowers.
Try macro shots of water droplets or dew, which can act as natural magnifying glasses for tiny subjects beneath them.
Explore Macro Lens Attachments
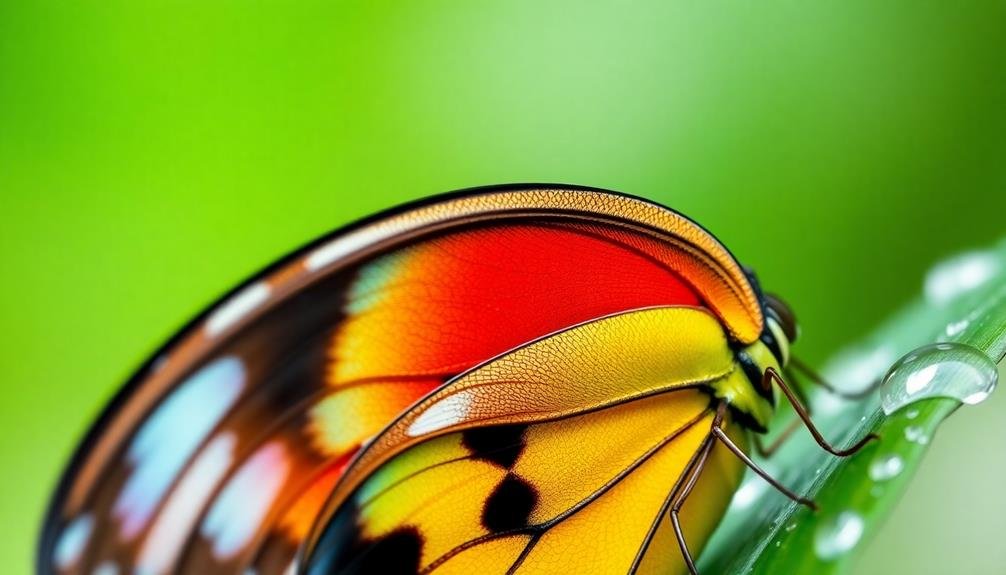
When exploring macro lens attachments for your mobile device, you'll find options ranging from budget-friendly to high-end premium lenses.
It's essential to check the compatibility of any attachment with your specific phone model before purchasing.
Once you've selected a suitable lens, follow the manufacturer's installation instructions carefully to guarantee peak performance and image quality.
Affordable vs. Premium Options
Macro lens attachments for smartphones come in a wide range of prices and quality levels. You'll find options from budget-friendly clip-on lenses to high-end professional-grade attachments.
While affordable options can provide decent results, premium lenses often offer superior image quality and durability.
When considering affordable options, you'll typically encounter plastic lenses that clip onto your phone. These can produce good results for casual photographers and beginners. However, they may suffer from issues like chromatic aberration or distortion around the edges of your images.
Premium macro lens attachments, on the other hand, often feature multi-element glass designs and sturdy construction. They'll provide sharper images, better color accuracy, and reduced distortion. However, they come at a higher price point and may require specific mounting systems.
To help you visualize the differences, imagine:
- A crisp, detailed image of a butterfly's wing scales
- A slightly blurry shot of a flower's stamen with fringing around the edges
- A tack-sharp close-up of a water droplet on a leaf
- A softly focused image of an insect's compound eye
Ultimately, your choice depends on your budget, photography goals, and desired image quality.
Compatibility and Installation Tips
Once you've chosen a macro lens attachment that fits your needs and budget, it's time to evaluate compatibility and installation.
First, check if the lens is compatible with your specific smartphone model. Many manufacturers provide lists of supported devices, so consult these before purchasing.
For clip-on lenses, verify your phone case isn't too thick, as it may prevent proper attachment. Consider using a case-friendly lens or removing your case when shooting.
If you've opted for a screw-on lens, confirm that it matches your phone's thread size.
When installing, clean both your phone's camera lens and the macro attachment to prevent dust or fingerprints from affecting image quality.
Carefully align the lens with your phone's camera, confirming it's centered and securely attached.
Some lenses come with companion apps that optimize settings for macro photography. Download these if available, as they can enhance your shooting experience.
Adjust Camera Settings
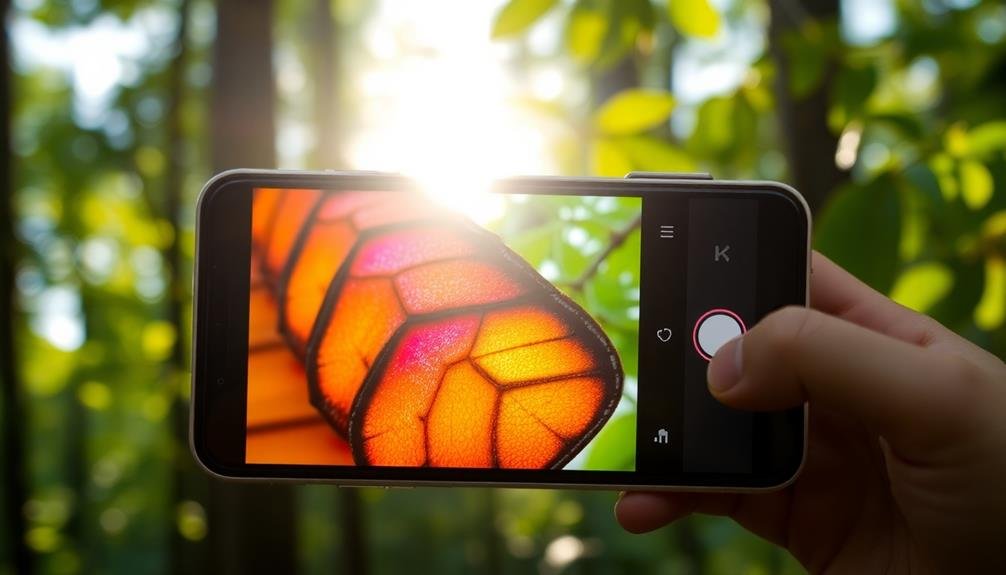
How can you make the most of your smartphone's camera settings for stunning close-up nature shots? Start by exploring your camera app's manual or pro mode, which gives you greater control over various settings.
Adjust the focus manually to guarantee your subject is sharp, especially when capturing tiny details. Experiment with exposure compensation to fine-tune the brightness of your image, particularly in challenging lighting conditions.
For macro photography, enable your phone's macro mode if available. If not, try using a clip-on macro lens attachment.
When composing your shot, pay attention to these key elements:
- Focus point: Make sure the most important part of your subject is tack-sharp
- Background: Create a pleasing bokeh effect by increasing the distance between subject and background
- Lighting: Use natural light when possible, or experiment with your phone's flash for creative effects
- Composition: Apply the rule of thirds or try unconventional angles for more dynamic shots
Don't forget to adjust your white balance to capture accurate colors, especially when photographing flowers or insects.
Edit for Maximum Impact
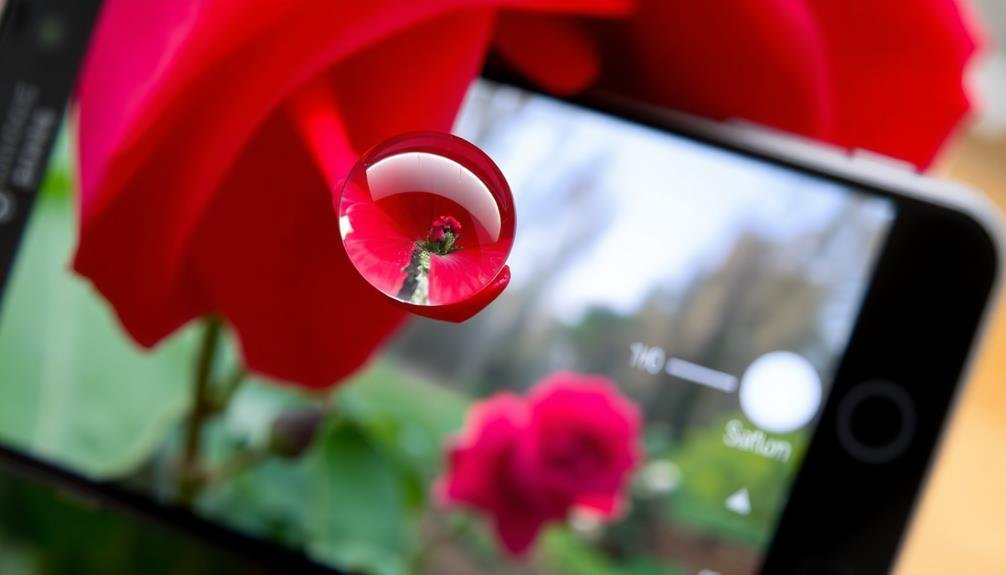
Once you've captured your close-up nature shots, it's time to enhance them through editing.
You'll want to crop your images to focus on the most visually striking elements, then adjust contrast and saturation to make colors pop.
Crop for Visual Impact
Cropping is a powerful tool in your mobile photography arsenal. It allows you to refine your close-up nature shots, eliminating distractions and focusing on the most compelling elements.
When cropping, consider the rule of thirds, placing key features along intersecting lines for a more balanced composition. Don't be afraid to experiment with different crop ratios to find what works best for your subject.
To crop for maximum visual impact:
- Isolate the main subject: Zoom in on intricate details like a butterfly's wing patterns or the delicate veins of a leaf.
- Remove distracting elements: Cut out busy backgrounds or unwanted objects that draw attention away from your focal point.
- Create tension or symmetry: Crop asymmetrically to add visual interest, or symmetrically for a sense of balance and harmony.
- Guide the viewer's eye: Use leading lines or negative space to direct attention to the most important parts of your image.
Adjust Contrast and Saturation
After capturing your close-up nature shots, adjusting contrast and saturation can dramatically enhance their visual impact. Most mobile photo editing apps offer these basic adjustments, allowing you to fine-tune your images with precision.
Start by adjusting the contrast. Increase it slightly to make your subject pop against the background, but be careful not to overdo it. Too much contrast can result in loss of detail in both highlights and shadows.
Next, tweak the saturation to bring out the natural colors of your subject. For flowers and vibrant insects, a slight boost in saturation can make colors more vivid. However, for more subtle subjects like leaves or bark, a gentler touch may be more appropriate.
Remember that these adjustments should enhance, not overpower, your image. Aim for a natural look that draws attention to your subject without appearing artificial.
As you experiment, pay attention to how these changes affect the overall mood and feeling of your photo. Don't be afraid to make multiple versions, comparing them side by side to determine which best captures your vision.
Fine-Tune Color Balance
While adjusting contrast and saturation can greatly improve your close-up nature photos, fine-tuning the color balance can take your images to the next level. Most mobile photo editing apps offer color balance tools that allow you to adjust the warmth, tint, and individual color channels of your images.
To fine-tune color balance effectively:
- Identify the dominant colors in your image and consider how you want them to appear.
- Use the temperature slider to adjust the overall warmth or coolness of the photo.
- Tweak the tint to correct any unwanted green or magenta casts.
- Adjust individual color channels (red, green, blue) for precise control.
Start with subtle adjustments and gradually increase intensity as needed. Pay attention to how changes in one color affect others. For instance, increasing blue might make greens appear more teal. Aim for natural-looking results that enhance the subject's beauty without appearing artificial.
Remember that color balance can dramatically impact the mood and atmosphere of your close-up nature photos. Warmer tones can create a sense of coziness or sunset ambiance, while cooler tones might evoke a crisp, fresh feeling.
Experiment with different color balances to find the perfect look for each unique image.
Practice Patience and Persistence
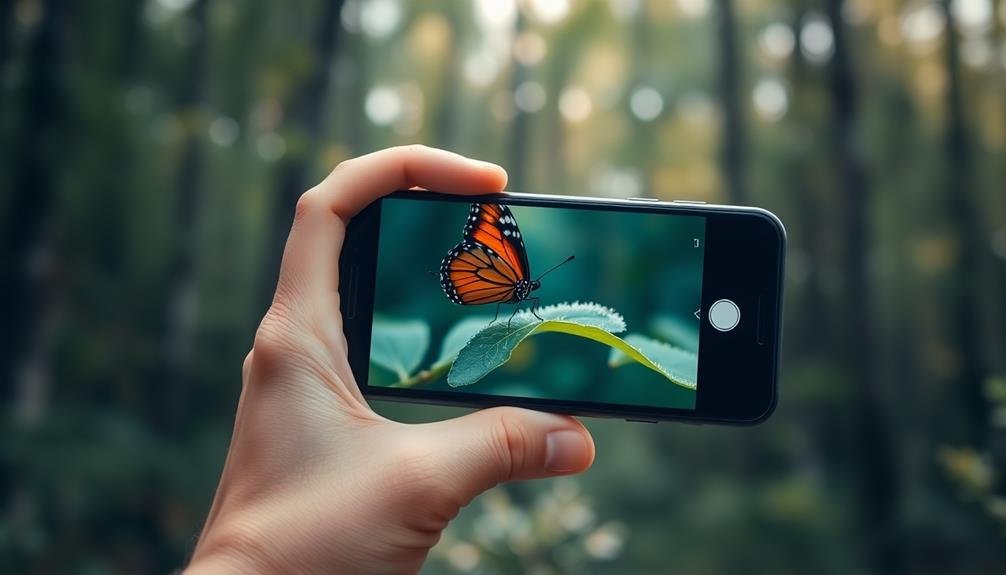
Mastering close-up nature photography on your mobile device demands unwavering patience and persistence. Nature doesn't always cooperate, and you'll often find yourself waiting for the perfect moment. Don't rush your shots; instead, take your time to observe your subject and its surroundings.
Be prepared to return to the same location multiple times. Lighting conditions, weather, and animal behavior can vary greatly from day to day. You might need several attempts to capture the image you're envisioning. When photographing insects or small animals, move slowly and deliberately to avoid startling them.
Practice holding your phone steady for extended periods. This skill is essential for capturing sharp images, especially in low light conditions. Consider using a small tripod or leaning against a stable surface for added stability.
Experiment with different angles and compositions. Don't be afraid to get low to the ground or contort yourself into unusual positions to find the perfect perspective.
The more you practice, the more natural these techniques will become. Remember, every great shot is the result of countless attempts and failures. Embrace the learning process and keep pushing yourself to improve.
Frequently Asked Questions
How Do I Protect My Smartphone From Damage While Taking Nature Photos?
You should invest in a waterproof case to shield your phone from moisture. Use a lanyard to prevent drops, and keep your device in a padded bag when not in use. Don't forget to clean the lens regularly.
What Are the Best Weather Conditions for Close-Up Nature Photography?
You'll get the best close-up nature shots in calm, overcast conditions. Soft, diffused light enhances details without harsh shadows. Early morning or late afternoon's gentle light is ideal. Avoid windy days that can blur delicate subjects.
Can I Use Filters for Mobile Close-Up Nature Photography?
Yes, you can use filters for mobile close-up nature photography. They'll enhance colors, reduce glare, and create special effects. Clip-on lenses or filter apps are great options. Experiment with different filters to find what works best for your shots.
How Do I Photograph Small, Moving Subjects Like Insects?
To photograph small, moving insects, you'll need patience and quick reflexes. Use burst mode to capture multiple shots, set a fast shutter speed, and get close without disturbing them. Practice tracking their movements and anticipating their actions.
What Apps Are Recommended for Editing Close-Up Nature Photos on Mobile?
You'll find Snapseed and VSCO excellent for editing close-up nature photos on mobile. They offer powerful tools for adjusting exposure, contrast, and colors. Adobe Lightroom Mobile's also great if you're looking for more advanced editing features.
In Summary
You've now got the tools to capture breathtaking close-up nature photos with your smartphone. Remember, it's all about finding the right subject, mastering light, and nailing your focus. Don't forget to stabilize your device and keep that lens clean. With practice and persistence, you'll be amazed at the stunning macro shots you can achieve. So get out there, explore nature's tiny wonders, and let your creativity shine through your mobile photography.



Leave a Reply