To capture stunning macro shots with your smartphone, start by understanding your device's close-up capabilities. Choose the right macro lens or attachment for enhanced magnification. Master manual focus techniques and use stabilization methods to guarantee sharp images. Optimize lighting with diffusers or artificial sources to highlight details. Apply composition rules like the rule of thirds and experiment with unique angles. Control depth of field by adjusting distance and using focus stacking. Select compelling subjects with interesting textures or colors. Finally, refine your images through post-processing to enhance contrast and clarity. Dive deeper to reveal the full potential of mobile macro photography.
Understanding Smartphone Macro Capabilities
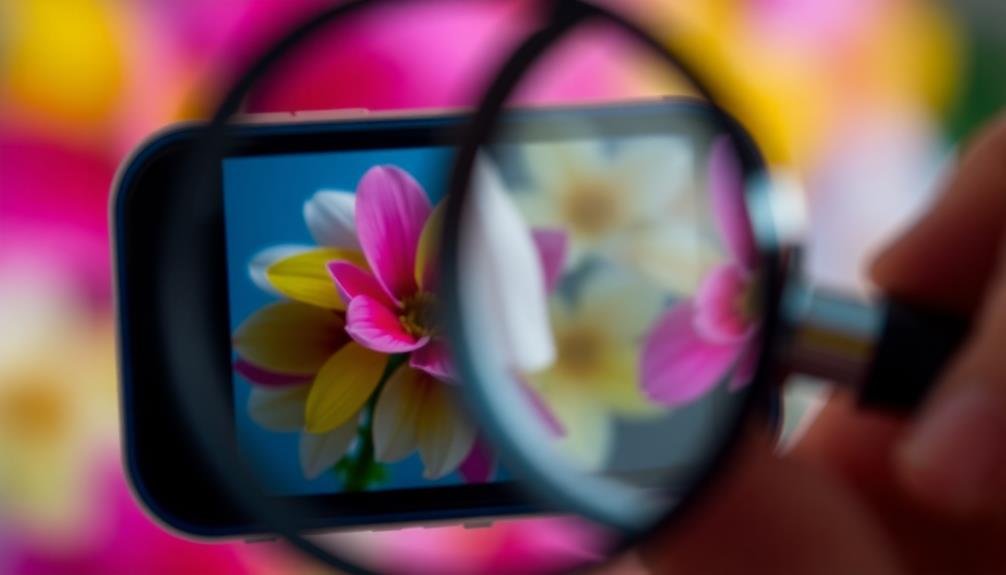
Plunge into the world of smartphone macro photography by first understanding your device's capabilities. Most modern smartphones come equipped with dedicated macro lenses or modes, allowing you to capture stunning close-up shots. Check your camera app for a macro option, usually represented by a flower icon.
If your phone lacks a specific macro mode, don't worry. You can still achieve impressive results using your main camera lens. Get as close to your subject as possible while maintaining focus. Some phones allow manual focus adjustment, which can be essential for macro shots.
Pay attention to your smartphone's minimum focusing distance. This varies between devices but typically ranges from 2 to 10 centimeters. Experiment to find your phone's sweet spot for the sharpest close-ups.
Consider investing in clip-on macro lenses for even greater magnification. These affordable accessories can transform your smartphone into a powerful macro tool, revealing intricate details invisible to the naked eye.
Choosing the Right Macro Lens
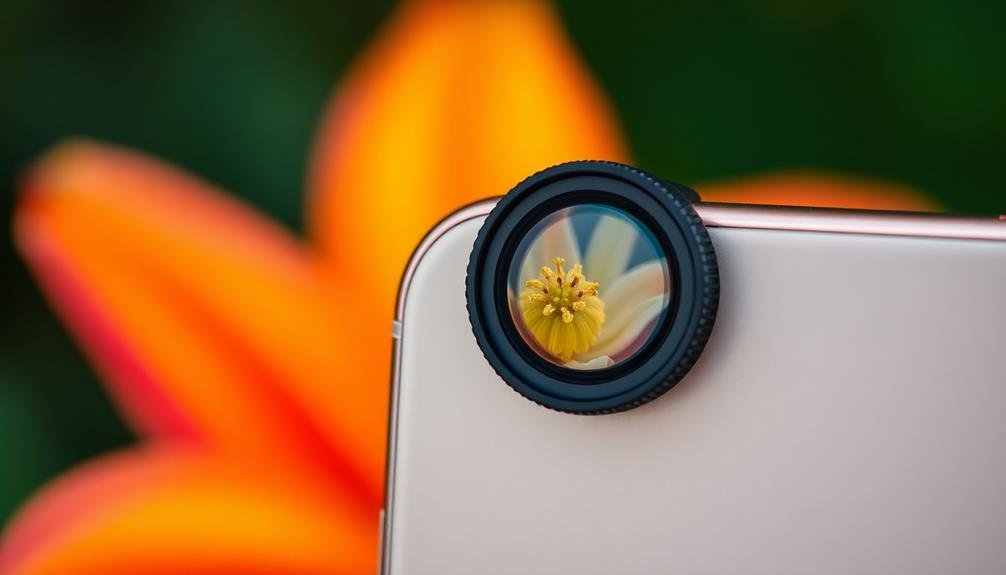
When selecting a macro lens for your smartphone, you'll need to decide between clip-on attachments and your device's built-in macro capabilities.
Consider the magnification power and focal length that best suit your shooting needs.
Confirm the lens you choose is compatible with your specific smartphone model to maximize its effectiveness.
Clip-On Vs Built-In Lenses
Smartphones often come with built-in macro capabilities, but clip-on lenses can greatly enhance your close-up photography. Built-in macro lenses offer convenience and seamless integration with your phone's camera app. They're always available and don't require additional equipment. However, they may have limitations in magnification and image quality.
Clip-on lenses, on the other hand, provide greater versatility and often superior image quality. They allow you to achieve higher magnification levels and can be swapped out for different effects. While they require carrying extra gear, the improved results can be worth it for serious mobile macro photographers.
| Feature | Built-In Lenses | Clip-On Lenses |
|---|---|---|
| Convenience | High | Moderate |
| Image Quality | Good | Excellent |
| Magnification | Limited | Variable |
When choosing between built-in and clip-on lenses, consider your priorities. If you value simplicity and quick shots, stick with your phone's built-in macro capabilities. For more control and higher-quality results, invest in a good clip-on macro lens. Experiment with both options to find what works best for your style and subjects. Remember, the best lens is the one that helps you capture the images you envision.
Magnification and Focal Length
Understanding magnification and focal length is essential when choosing the right macro lens for your mobile photography.
Magnification refers to how large the subject appears in your image compared to its actual size. A 1x magnification means the subject is life-sized on your sensor, while 2x makes it appear twice as large. For mobile macro, look for lenses offering 10x to 25x magnification for impressive close-ups.
Focal length affects your working distance and depth of field. Shorter focal lengths require you to get closer to your subject but offer a wider field of view. Longer focal lengths allow you to shoot from further away but narrow your composition. For mobile macro, focal lengths between 12mm and 25mm are common.
When selecting a macro lens, consider your subjects and shooting style. If you're photographing shy insects, a longer focal length lets you maintain distance. For stationary objects, a shorter focal length can create more dramatic compositions.
Don't forget about minimum focusing distance – the closest point at which your lens can focus. This parameter is vital for achieving sharp, detailed macro shots with your mobile device.
Compatibility With Smartphones
Selecting the right macro lens for your smartphone can make or break your mobile macro photography experience. When choosing a macro lens, you'll need to take into account your phone's specific model and camera setup. Many manufacturers offer universal clip-on lenses, but they may not fit perfectly on every device.
Look for lenses designed explicitly for your phone brand or model to guarantee peak compatibility and image quality.
Check the lens's attachment mechanism. Some use magnetic mounts, while others clip onto your phone. Magnetic options often require a metal ring adhered to your device, which can be inconvenient if you frequently change cases.
Clip-on lenses are more versatile but may interfere with screen protectors or thick cases.
Reflect on the lens's working distance, which affects how close you'll need to get to your subject. Some macro lenses require you to be just a few centimeters away, while others allow for more comfortable shooting distances.
Mastering Focus in Macro Mode
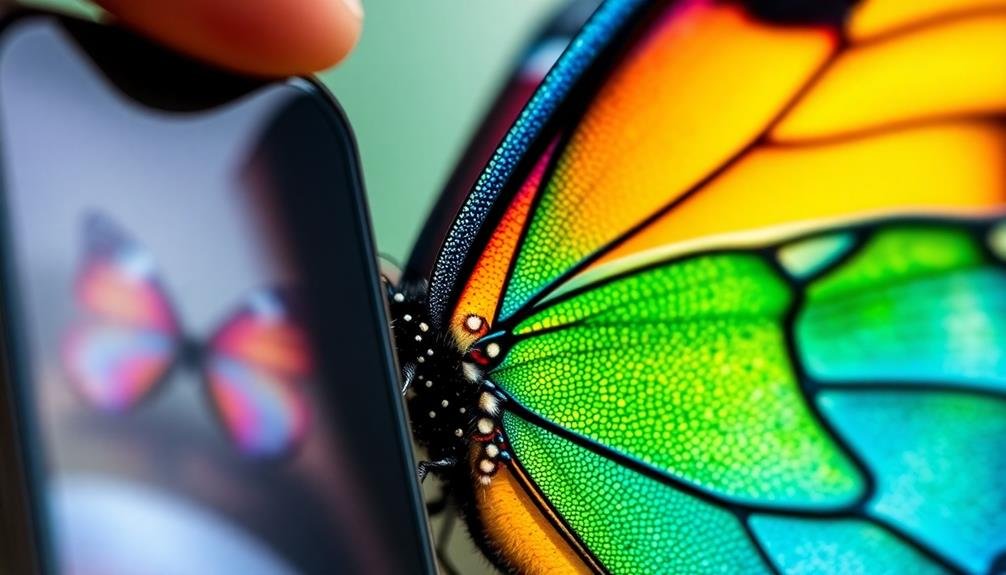
When shooting macro on your mobile device, mastering focus is essential for sharp, detailed images.
You'll want to experiment with manual focus techniques to precisely control your focal point and achieve the desired depth of field.
Additionally, consider exploring focus stacking, which allows you to combine multiple shots at different focus points to create an image with extended depth of field.
Manual Focus Techniques
For macro photography on mobile devices, mastering manual focus is essential. Most smartphones offer manual focus options, allowing you to fine-tune your focal point. To access this feature, look for the "Pro" or "Manual" mode in your camera app. Once activated, you'll typically see a focus slider or wheel on your screen.
To effectively use manual focus:
- Stabilize your phone using a tripod or steady surface to minimize camera shake.
- Tap the area of interest on your screen to set an initial focus point.
- Use the focus slider to adjust precision, moving it slowly until your subject appears sharp.
- Zoom in on your preview to check for fine details and make further adjustments if needed.
Remember that macro subjects often have a very shallow depth of field. Even slight movements can throw your image out of focus, so patience is key.
Practice focusing on different parts of your subject to see how it affects the overall composition. Don't be afraid to take multiple shots with slightly different focus points. This technique, known as focus stacking, can be combined later in post-processing to create an image with extended depth of field.
Focus Stacking Benefits
Mastering focus stacking can elevate your macro photography to new heights. This technique involves capturing multiple images at different focus points and combining them to create a single, sharp image with extended depth of field.
It's particularly useful in macro photography, where you're often dealing with extremely shallow depths of field.
By using focus stacking, you'll overcome the limitations of a single shot's focus range. You'll be able to capture intricate details from the foreground to the background, ensuring every part of your subject is tack-sharp.
This is especially beneficial when photographing insects, flowers, or small objects with complex textures.
Focus stacking also allows you to use wider apertures, which lets in more light and can produce a more pleasing bokeh in out-of-focus areas.
You'll have greater creative control over your final image, as you can choose which areas to keep in focus and which to blur.
While it requires more time and effort than a single shot, the results are worth it.
You'll produce images with stunning clarity and depth that stand out from typical macro shots.
Optimal Lighting for Close-Up Shots
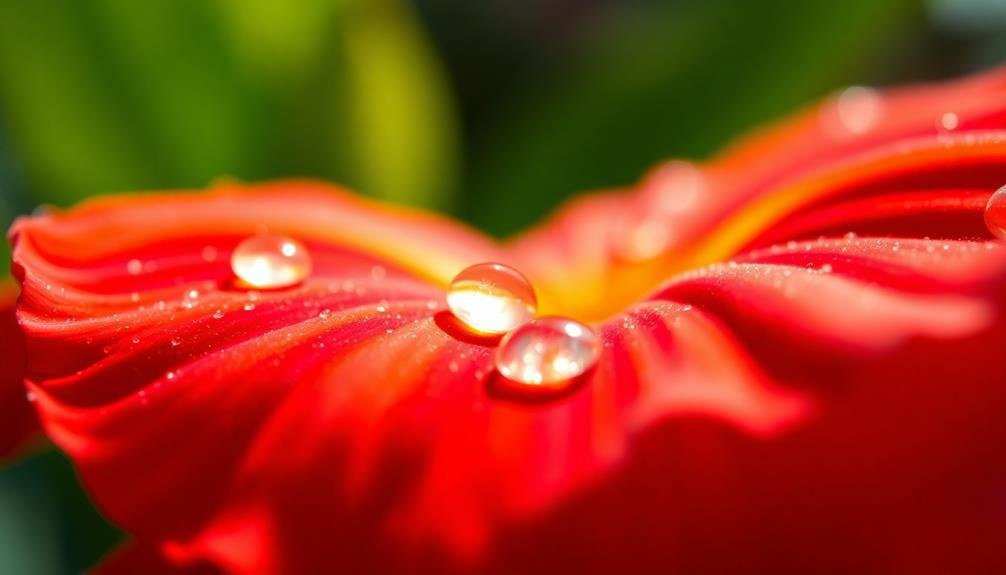
With close-up shots, lighting can make or break your image. When working with macro photography on your mobile device, you'll need to pay extra attention to how light interacts with your subject.
Natural light is often your best friend, but it's not always available or sufficient. To achieve ideal lighting for your close-up shots, consider these techniques:
- Diffuse harsh light: Use a makeshift diffuser like a piece of white paper or a thin cloth to soften direct sunlight and reduce harsh shadows.
- Experiment with angles: Rotate around your subject to find the most flattering light direction, which can reveal textures and details.
- Utilize reflectors: Create a simple reflector using aluminum foil or a white card to bounce light onto shadowy areas.
- Try artificial lighting: For more control, invest in a small LED light panel or ring light designed for mobile photography.
Composition Techniques for Macro Photography
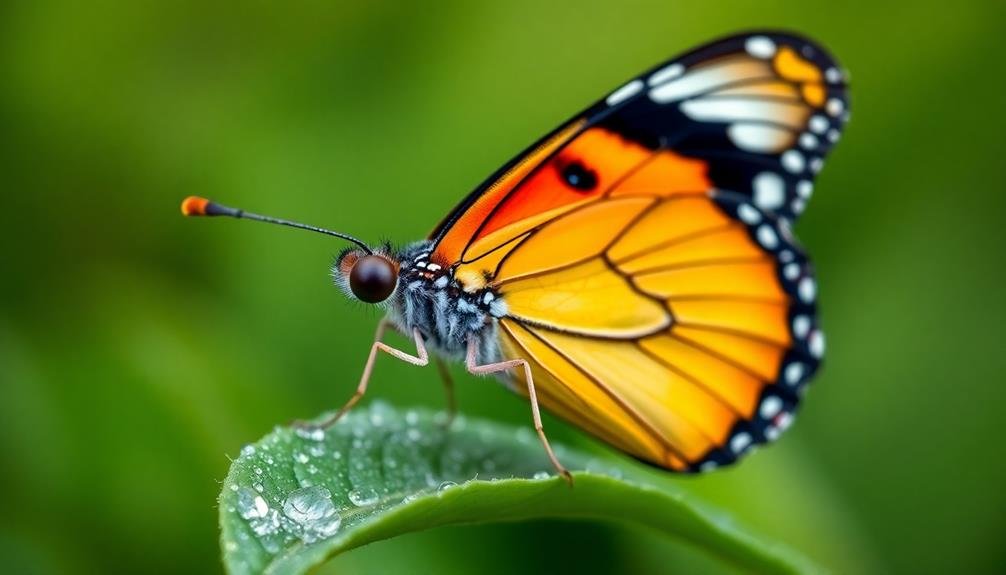
While lighting sets the stage for your macro shots, composition brings your subject to life. When framing your close-up, apply the rule of thirds by placing your main subject at one of the intersecting points. This creates a more dynamic and visually appealing image than centering the subject.
Don't be afraid to get creative with angles. Try shooting from below, above, or at eye level with your subject to add depth and interest. Use leading lines to draw the viewer's eye towards the focal point, whether it's the veins of a leaf or the intricate patterns on an insect's wing.
Consider the background carefully. A clean, uncluttered backdrop can make your subject pop, while a complementary background can add context and depth. Remember, in macro photography, even small movements can dramatically change your composition.
Here's a quick guide to composition elements:
| Element | Purpose | Example |
|---|---|---|
| Rule of Thirds | Balance | Flower off-center |
| Leading Lines | Direct eye | Stem to bloom |
| Negative Space | Emphasize subject | Insect on plain leaf |
Experiment with these techniques to create stunning macro compositions that capture the intricate beauty of your subjects.
Controlling Depth of Field
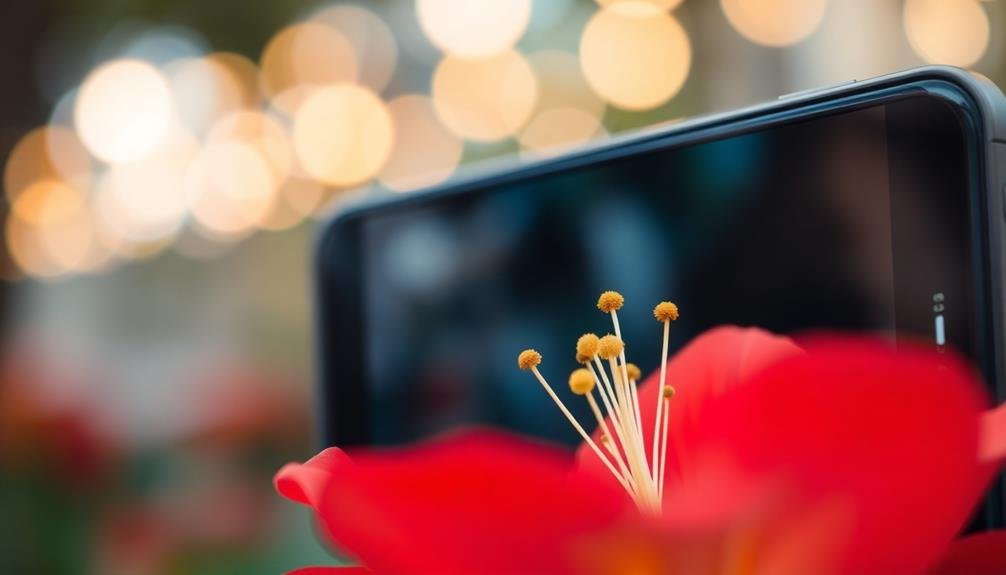
Depth of field plays an essential role in macro photography, especially when using mobile devices.
With limited sensor size and fixed apertures, smartphones often struggle to achieve the shallow depth of field that's characteristic of professional macro shots.
However, you can still manipulate depth of field to create stunning close-ups.
To control depth of field on your mobile device:
- Use distance to your advantage: Move closer to your subject to decrease depth of field, or further away to increase it.
- Employ focus stacking: Take multiple shots at different focus points and combine them in post-processing for greater overall sharpness.
- Utilize portrait mode: Some phones' portrait modes can simulate a shallower depth of field, even in macro shots.
- Experiment with add-on lenses: Clip-on macro lenses can help achieve a narrower depth of field and greater magnification.
Stabilizing Your Smartphone Camera
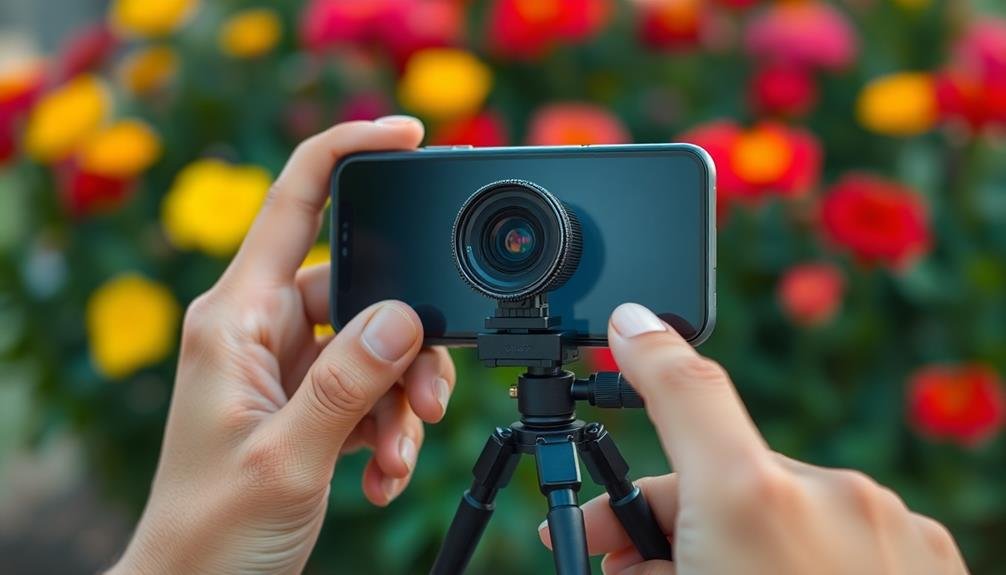
When shooting macro with your smartphone, stability is essential for sharp images.
You'll want to explore using tripods with smartphone mounts to keep your device perfectly still during shots.
If you don't have a tripod handy, try some DIY stabilization techniques like propping your phone against a stable object or using a makeshift stand.
Tripods and Smartphone Mounts
Once you've mastered the basics of smartphone macro photography, it's time to take your shots to the next level with proper stabilization. Tripods and smartphone mounts are essential tools for achieving crystal-clear macro images. These accessories eliminate camera shake, allowing you to capture even the tiniest details with remarkable precision.
When choosing a tripod and mount for your smartphone, consider the following factors:
- Portability: Opt for a lightweight, compact tripod that's easy to carry on your photography adventures.
- Stability: Look for a sturdy base with adjustable legs to guarantee your setup remains steady on various surfaces.
- Flexibility: Choose a mount that offers multiple angles and rotations for creative compositions.
- Compatibility: Confirm the mount fits your specific smartphone model and case.
Invest in a quality tripod and mount combo to release your smartphone's full macro potential. With your device securely stabilized, you'll be able to experiment with longer exposure times, focus stacking, and even remote shooting.
Don't forget to use your phone's timer or voice commands to minimize vibrations when triggering the shutter.
DIY Stabilization Techniques
While tripods and mounts offer excellent stability, you don't always need to invest in specialized equipment. There are several DIY techniques you can use to stabilize your smartphone for macro photography.
First, try the "body brace" method. Press your elbows against your body, holding the phone with both hands. This creates a stable triangle, reducing camera shake. For added stability, lean against a wall or tree while shooting.
Another technique is the "string monopod." Tie a string to your phone case, then step on the other end. Pull the string taut to create tension, which helps steady your shot. This works well for low-angle macro photos.
Use everyday objects as makeshift supports. Rest your phone on a table, stack of books, or even a bean bag for a stable platform. When outdoors, utilize rocks, fences, or tree branches to prop up your device.
For smoother handheld shots, try the "burst mode" technique. Take multiple photos in quick succession, increasing your chances of capturing a sharp image. You can also use your phone's timer function to avoid shake from pressing the shutter button.
Selecting Compelling Macro Subjects
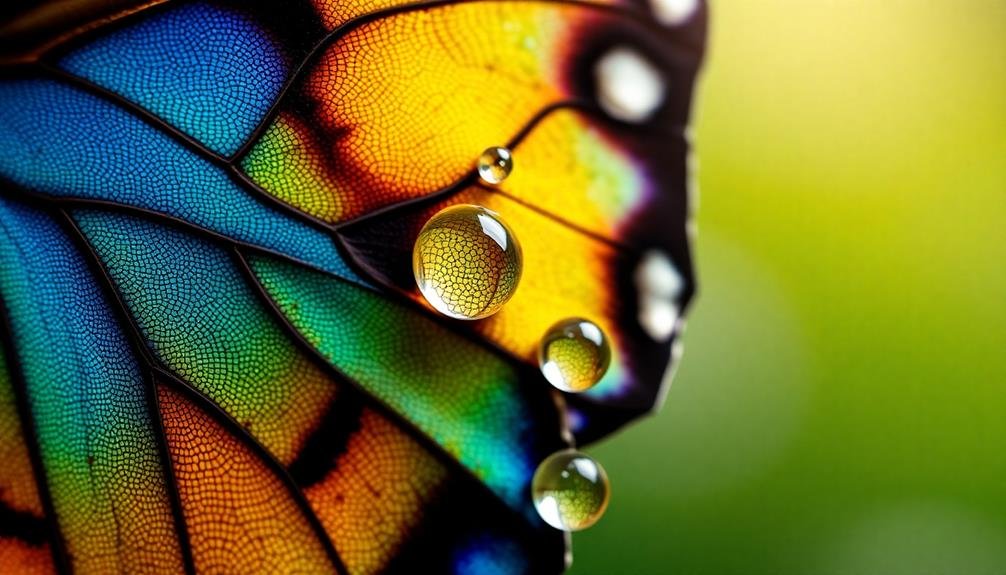
After mastering the technical aspects of macro photography, your next challenge is finding engaging subjects.
Look beyond the obvious and train your eye to spot intriguing details in everyday objects. Nature offers a wealth of macro opportunities, from dewdrops on leaves to the intricate patterns on butterfly wings.
Don't overlook man-made items either; textures of fabric, circuit boards, or even food can yield fascinating close-up images.
When selecting your macro subjects, consider these key factors:
- Texture: Seek out surfaces with interesting patterns or contrasts that become more apparent up close.
- Color: Vibrant hues or subtle gradients can create visually striking macro shots.
- Shape: Look for unique forms or geometries that reveal themselves at a microscopic level.
- Story: Choose subjects that evoke emotion or curiosity in the viewer.
Post-Processing Macro Images
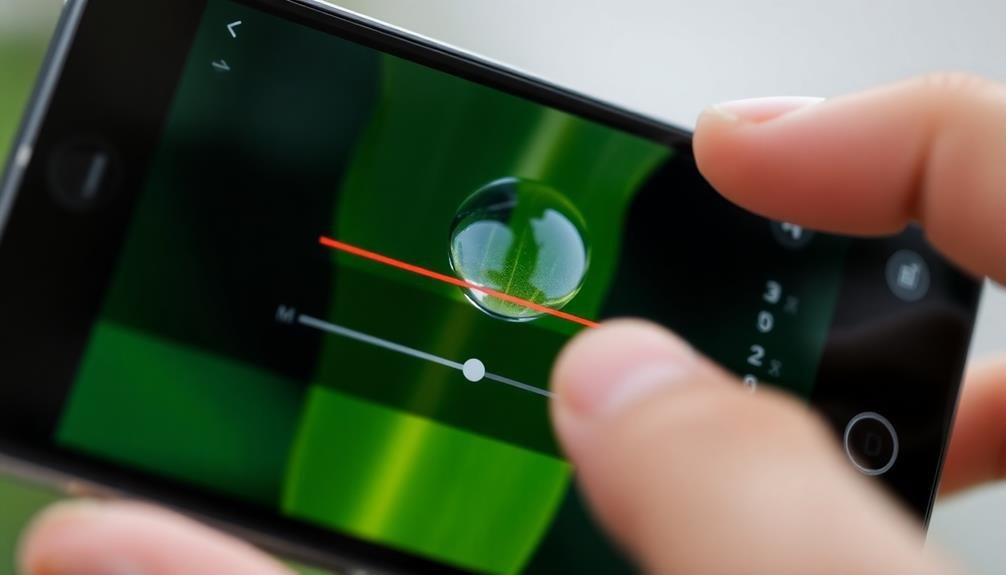
Capturing the perfect macro shot is just the beginning. Post-processing can elevate your images from good to extraordinary. Start by adjusting the exposure and contrast to bring out the intricate details of your subject. Use the highlights and shadows sliders to recover lost information in bright or dark areas.
Next, focus on sharpening your image. Be careful not to overdo it, as this can introduce unwanted noise. Instead, use selective sharpening to enhance key areas while maintaining a natural look. Color correction is essential in macro photography. Adjust the white balance to accurately represent the subject's true colors, and use saturation and vibrance tools sparingly to enhance the overall impact.
Here's a quick guide to common post-processing adjustments for macro images:
| Adjustment | Purpose | Tips |
|---|---|---|
| Exposure | Brighten or darken image | Maintain detail in highlights |
| Contrast | Enhance texture and depth | Use sparingly to avoid flatness |
| Sharpening | Improve detail clarity | Apply selectively to key areas |
| White Balance | Correct color temperature | Match the actual scene colors |
| Cropping | Refine composition | Follow the rule of thirds |
Overcoming Common Macro Challenges
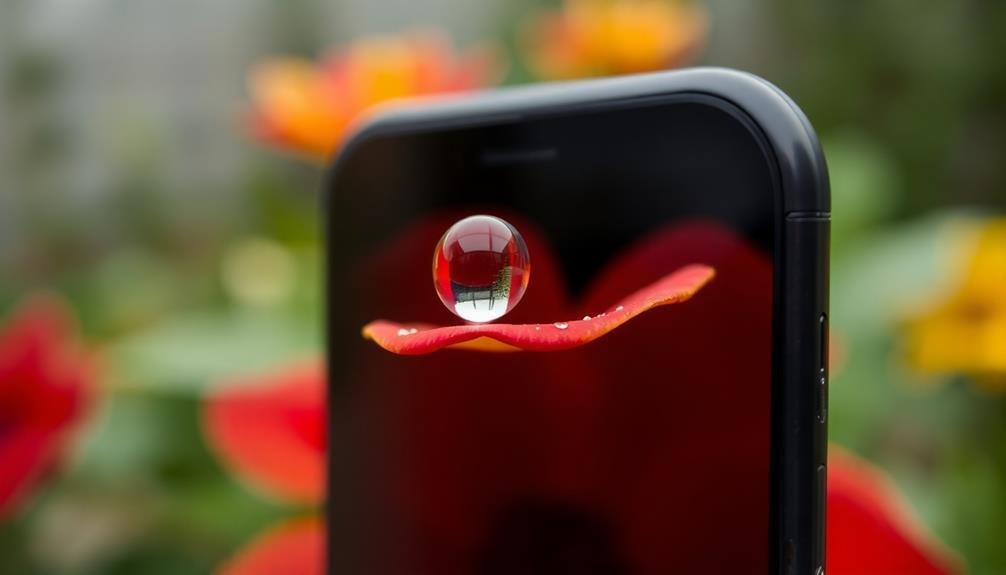
Despite its rewarding nature, macro photography presents unique challenges that can frustrate even experienced shooters. When using your mobile device for close-up shots, you'll need to overcome issues like camera shake, limited depth of field, and inadequate lighting. To master these challenges, focus on stability, proper technique, and creative problem-solving.
To improve your macro photography skills, consider these key strategies:
- Use a tripod or stabilizing accessory to minimize camera shake and guarantee sharp images.
- Experiment with manual focus to precisely control your focal point and achieve the desired level of detail.
- Leverage natural light or invest in a portable LED light to illuminate your subject effectively.
- Practice patience and persistence, as capturing the perfect macro shot often requires multiple attempts.
Don't let focusing difficulties discourage you. Instead, try focus stacking techniques to increase your depth of field. If your subject is moving, adjust your shutter speed or use burst mode to capture crisp images.
Remember that wind can be a significant obstacle for outdoor macro shots, so use wind blockers or choose calm days for your sessions. By addressing these common challenges head-on, you'll elevate your mobile macro photography to new heights.
Exploring Creative Macro Effects
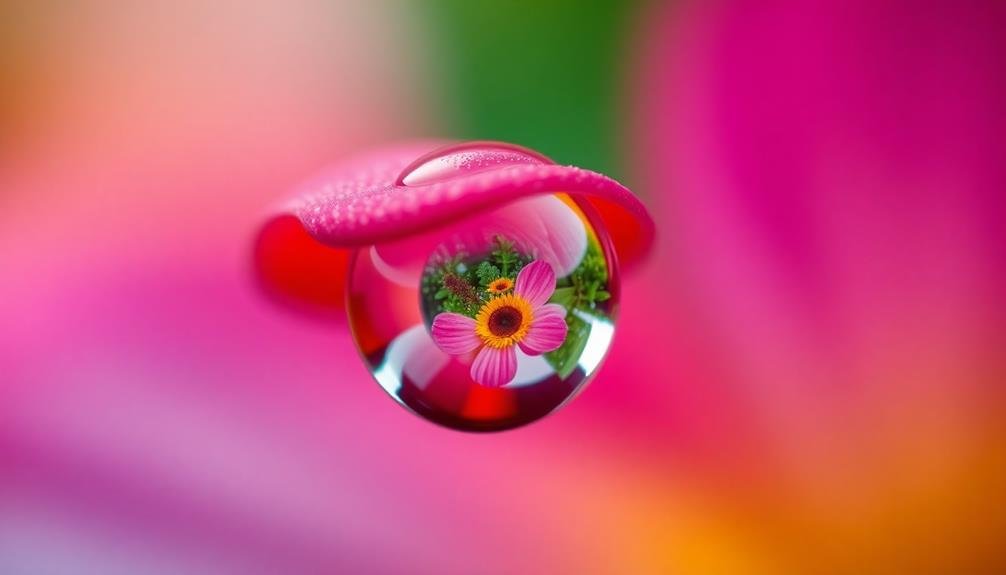
Ready to take your mobile macro photography to the next level? Explore these creative macro effects to add flair to your close-up shots.
Try using water droplets as natural magnifying lenses, placing them on colorful surfaces or flowers to create unique distortions. Experiment with backlighting by positioning your subject between the camera and a light source, creating stunning silhouettes or highlighting translucent edges.
Play with reflections by incorporating mirrors or shiny surfaces into your compositions. This can double your subject or create intriguing symmetry. Use household items like plastic wrap or glass to add texture and distortion to your images.
Don't shy away from intentional blur – try capturing motion in your macro shots by slightly moving the camera during exposure.
Explore the world of abstract macro by focusing on patterns, textures, and colors rather than identifiable subjects. This approach can yield striking, thought-provoking images.
Maximizing Smartphone Camera Settings
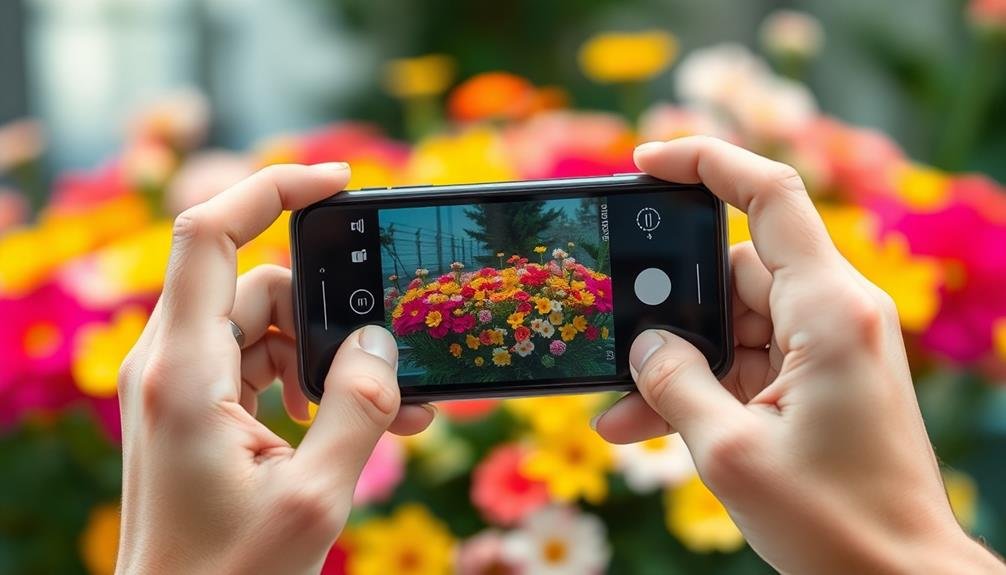
Most smartphones today come equipped with powerful cameras capable of capturing stunning macro shots. To maximize your device's potential, you'll need to explore your camera settings. Start by enabling HDR mode, which helps balance exposure in high-contrast scenes. Next, switch to manual focus if available, allowing you to precisely control your focal point.
For the best results, follow these key steps:
- Adjust ISO: Keep it low (100-400) to minimize noise, especially in well-lit conditions.
- Set shutter speed: Use faster speeds (1/125 or higher) to freeze motion and avoid blur.
- Fine-tune white balance: Match it to your lighting conditions for accurate colors.
- Enable grid lines: Use the rule of thirds to compose visually appealing shots.
Don't forget to clean your lens regularly to guarantee sharp, clear images. Experiment with your phone's native camera app, but also consider third-party apps that offer more advanced controls.
Some smartphones have a dedicated macro mode; if yours doesn't, try using the telephoto lens (if available) and moving closer to your subject. Remember, practice makes perfect, so keep shooting and refining your technique.
Macro Photography in Different Environments
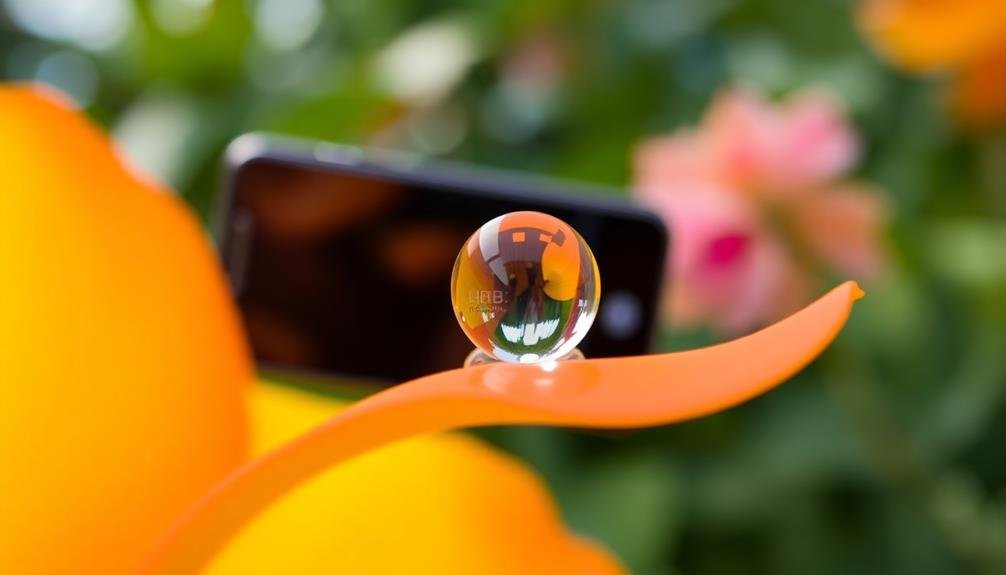
In light of the diverse environments you might encounter, adapting your macro photography techniques is essential.
For outdoor shoots, natural light is your best friend. Position yourself to use soft, diffused light for even illumination. In bright sunlight, create shade using your body or a small diffuser to prevent harsh shadows. When shooting in windy conditions, use a higher shutter speed to freeze motion and consider using a small clamp to stabilize your subject.
For indoor macro photography, you'll often need to supplement lighting. Use a small LED panel or ring light to illuminate your subject evenly. Experiment with different angles to capture intriguing textures and reflections.
In low-light situations, stabilize your smartphone using a mini tripod or lean against a stable surface to minimize camera shake.
When photographing in wet environments, be mindful of water droplets on your lens. Use a microfiber cloth to keep your lens clean and dry.
For underwater macro shots, invest in a waterproof case and use the volume buttons as a shutter release to maintain stability. Remember to adjust your white balance settings to compensate for the blue cast in underwater scenes.
Building a Portable Macro Studio
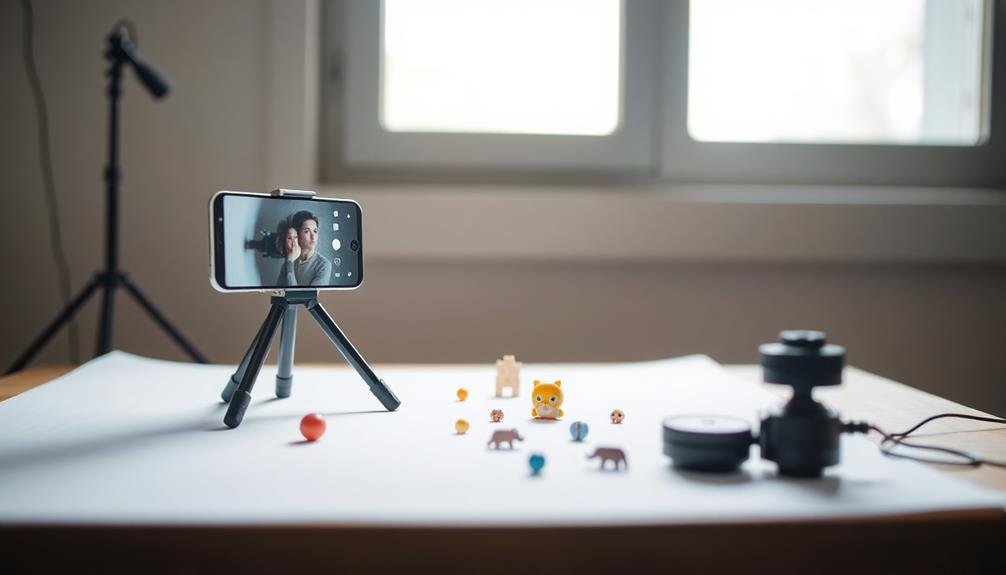
Creating a portable macro studio for your mobile photography can enhance your shots dramatically.
For light diffusion on-the-go, consider using small collapsible softboxes or even DIY solutions like translucent plastic sheets.
Compact backdrop options include miniature gradient cards, textured papers, or even natural elements like leaves and flowers that you can easily carry in your pocket or camera bag.
Portable Light Diffusion Techniques
A photographer's portable macro studio is essential for achieving professional-looking close-up shots in the field. When it comes to light diffusion, you'll need versatile tools that can adapt to various environments.
Portable diffusers come in many forms, from collapsible softboxes to translucent panels. They're vital for softening harsh sunlight or artificial light sources, creating a more even and flattering illumination for your macro subjects.
To make the most of portable light diffusion techniques, consider these key points:
- Use a collapsible reflector with multiple surfaces (white, silver, gold) to bounce light and fill shadows.
- Invest in a small, foldable softbox that attaches to your smartphone's LED flash for softer, more diffused lighting.
- Experiment with DIY options like translucent fabric or paper to create custom diffusers for unique lighting effects.
- Master the art of positioning your diffusers to control light direction and intensity, enhancing texture and depth in your macro shots.
Compact Backdrop Solutions
While light control is essential for macro photography, the background can make or break your shot. Creating a portable macro studio allows you to control your backdrop and elevate your mobile macro photography.
Start with a collapsible light tent, which folds flat for easy transport and provides a clean, evenly lit environment for small subjects.
For more flexibility, carry a selection of small backdrop materials. Colorful cardstock, textured fabrics, or even natural elements like leaves can serve as interesting backgrounds. Cut these to size for easy packing. You can also use a small clipboard to hold paper backdrops steady.
Don't forget about depth. Position your subject away from the backdrop to create a pleasing bokeh effect. If you're shooting outdoors, use a piece of translucent plastic or fabric behind your subject to soften busy backgrounds.
For product shots or consistent series, invest in a mini-lightbox designed for smartphones. These often come with LED lighting and interchangeable backdrops, giving you a complete studio setup that fits in your bag.
With these compact solutions, you'll be ready to create stunning macro shots anywhere, anytime.
Frequently Asked Questions
Can Macro Photography Damage My Smartphone's Camera Over Time?
No, macro photography won't damage your smartphone's camera over time. You're safe to explore close-up shots without worry. Just be careful not to scratch your lens or expose it to extreme conditions while shooting.
How Do I Clean Macro Lenses Without Scratching Them?
To clean macro lenses without scratching, you'll want to use a microfiber cloth and gentle circular motions. Don't apply pressure. For stubborn spots, use a lens cleaning solution. Always blow off dust first to avoid scratching.
Are There Any Safety Concerns When Photographing Small Insects or Animals?
When photographing small insects or animals, you'll need to be cautious. Don't disturb their habitats or stress them. Keep a safe distance, use zoom lenses, and avoid flash. Be aware of potentially dangerous species in your area.
What's the Best Way to Share Macro Photos on Social Media?
You'll want to choose platforms that showcase details well. Use Instagram for square crops, Pinterest for vertical shots, and Flickr for full-resolution images. Don't forget to add relevant hashtags and engage with other macro photographers.
How Can I Turn My Macro Photography Hobby Into a Profitable Business?
You can turn your macro photography hobby into a profitable business by offering services like product photography, selling prints, teaching workshops, creating stock images, and licensing your work. Build a strong portfolio and market yourself online and locally.
In Summary
You've now got the tools to master close-up magic with your smartphone. Remember, practice makes perfect. Experiment with different lenses, lighting setups, and compositions. Don't be afraid to get creative with your subjects and angles. Keep exploring various environments and settings on your device. With these tips in your arsenal, you'll be capturing stunning macro shots that rival those of professional cameras. So get out there and start shooting!



Leave a Reply