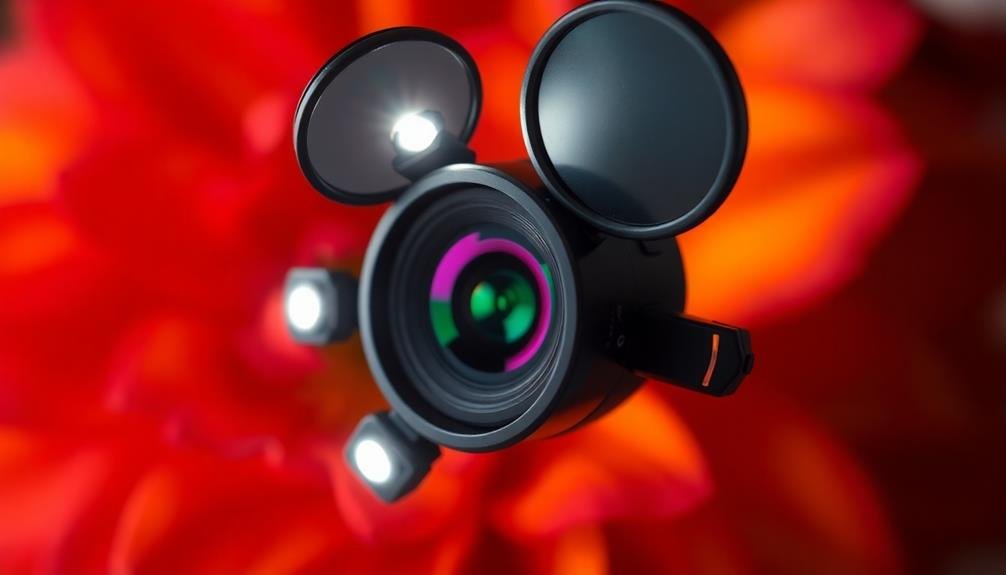
To illuminate your close-ups for mobile macro photography, you'll need some essential gear like a clip-on macro lens, tripod, and portable LED light. Master natural light techniques by using diffusion methods and positioning your subject most effectively. Get creative with DIY lighting solutions: make a ring light from LED strips, craft a softbox from a cardboard box, or use household items as reflectors. Experiment with colored lighting effects using cellophane or gels. Try backlighting for translucent subjects and light painting for unique effects. With these DIY tricks, you'll transform your macro shots from amateur to pro-level. Dive deeper to access even more lighting secrets.
Essential Gear for Mobile Macro
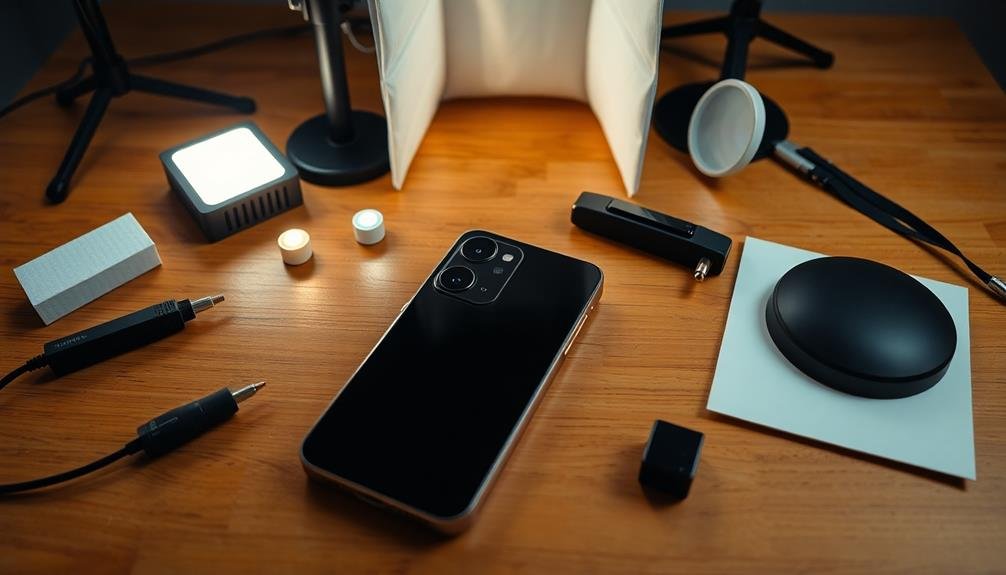
In light of the growing popularity of mobile macro photography, having the right gear is essential for capturing stunning close-up shots. Your smartphone is the foundation, but you'll need additional equipment to elevate your macro game.
Start with a clip-on macro lens, which allows you to focus on subjects much closer than your phone's built-in camera. Look for lenses with at least 10x magnification for true macro results.
Next, invest in a sturdy tripod or smartphone grip to minimize camera shake. This is vital for sharp images, especially in low-light conditions.
Don't forget about lighting – a small, portable LED light or ring light can make a world of difference in illuminating your subjects. For more control, consider a flexible arm or clamp to position your light source precisely.
A remote shutter release or Bluetooth remote can help you avoid touching your phone and causing vibrations during shooting.
Finally, pack some basic tools like tweezers, a small brush, and a microfiber cloth to manipulate and clean your subjects.
With this gear, you'll be well-equipped to capture breathtaking macro shots on your mobile device.
Natural Light Techniques
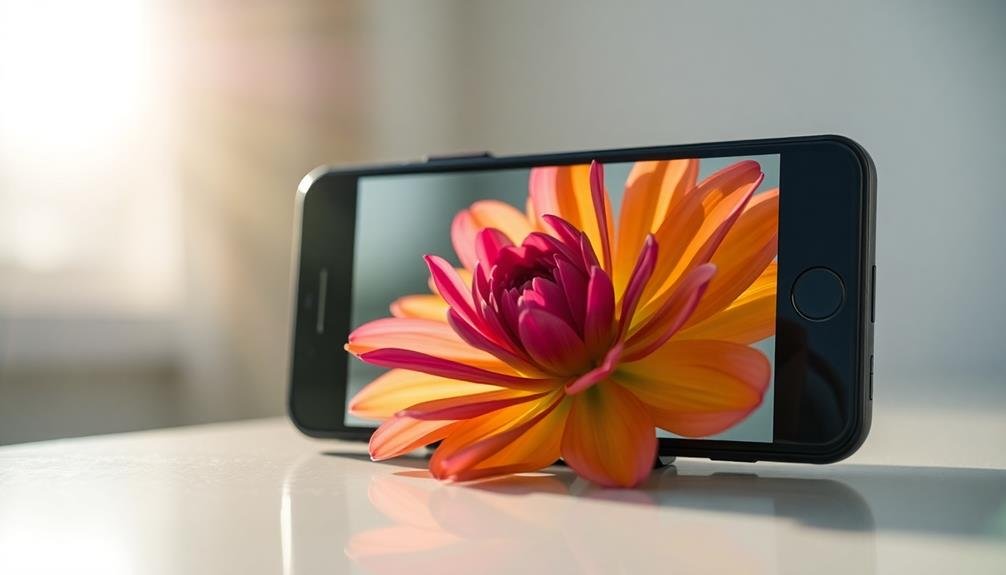
You'll find window light diffusion an excellent starting point for natural macro lighting, softening harsh shadows and creating even illumination.
When shooting outdoors, take advantage of overcast days, which provide a natural diffuser and eliminate strong contrasts.
For a warm, golden glow that enhances textures and colors, time your macro shots during the golden hour just after sunrise or before sunset.
Window Light Diffusion
Window light offers a soft, natural glow for macro photography, but it can sometimes be too harsh or uneven. To diffuse this light and create a more flattering effect for your close-up subjects, you'll need to get creative with household items.
Start by placing a thin white curtain or sheet over the window to soften the incoming light. This creates a larger, more even light source that wraps around your subject beautifully. If you don't have a curtain handy, try taping white tissue paper or parchment paper directly to the window pane.
For more control, use a white foam board or poster board as a reflector. Position it opposite the window to bounce light back onto your subject, filling in shadows and creating a balanced look. You can also cut a hole in the center of the board and shoot through it for a DIY ring light effect.
If the light is still too intense, try moving your subject further away from the window or adjusting the angle. Experiment with different distances and positions to find the perfect balance of soft, diffused light for your macro shots.
Outdoor Overcast Advantages
Overcast days provide an ideal natural lighting scenario for outdoor macro photography. You'll find that the soft, diffused light created by cloud cover eliminates harsh shadows and reduces contrast, allowing you to capture intricate details in your subjects without blown-out highlights or lost information in dark areas.
When shooting on an overcast day, you won't need to worry about constantly adjusting your camera settings to compensate for changing light conditions. The consistent illumination lets you focus on composition and capturing the perfect moment.
You'll also have more flexibility in choosing your shooting angles without battling directional sunlight.
To make the most of overcast conditions, position your subject to face the brightest part of the sky. This subtle directional light can add depth to your images.
If you're photographing reflective subjects like water droplets or shiny insects, the soft light will help prevent unwanted glare.
Don't be afraid to bump up your ISO slightly if needed, as the even lighting allows for a bit more noise without compromising image quality.
Remember to use a tripod or stabilize your smartphone to guarantee sharp images, especially in lower light situations.
Golden Hour Glow
Often referred to as the "magic hour," the golden hour presents a unique opportunity for stunning macro photography. This fleeting period occurs shortly after sunrise or before sunset when the sun is low on the horizon, casting a warm, golden light across your subjects.
To make the most of this natural lighting phenomenon, you'll need to plan ahead and be ready to shoot quickly. Position yourself so that the sun is behind your subject, creating a beautiful backlit effect. This technique can highlight delicate details and add a dreamy, ethereal quality to your macro shots.
You can also experiment with side-lighting to create interesting shadows and textures. For even more control, use a small reflector or a piece of white cardboard to bounce light back onto your subject, filling in shadows and adding depth.
Don't forget to adjust your white balance to capture the warm tones accurately. If you're using a smartphone, try using the HDR mode to balance the bright background with your subject.
LED Panel Hacks
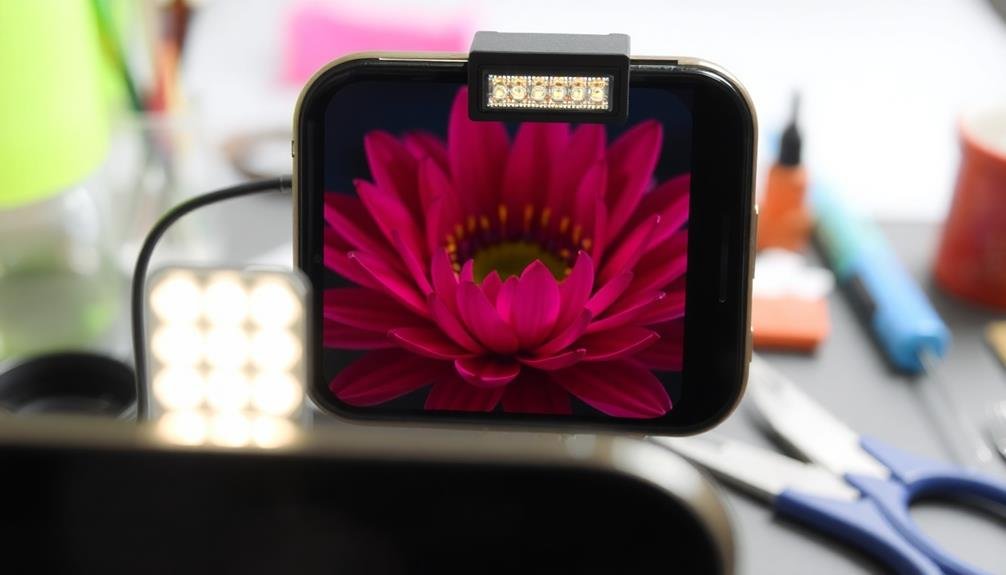
Three clever hacks can transform your LED panel into a versatile macro lighting tool.
First, create a DIY diffuser by cutting a sheet of white parchment paper to fit your LED panel. Secure it with small binder clips for a softer, more even light that reduces harsh shadows on your macro subjects.
Next, experiment with colored gels. Cut small squares from transparent colored cellophane and attach them to your LED panel using double-sided tape. This allows you to add creative color effects or adjust the light's temperature for different moods in your macro shots.
Lastly, craft a DIY snoot to direct light precisely where you need it. Use black cardboard to create a cone-shaped attachment that fits over your LED panel. This narrows the light beam, allowing you to highlight specific areas of your subject while keeping the background darker.
Don't forget to adjust your LED panel's intensity to match your lighting needs.
Reflector Tricks for Smartphones
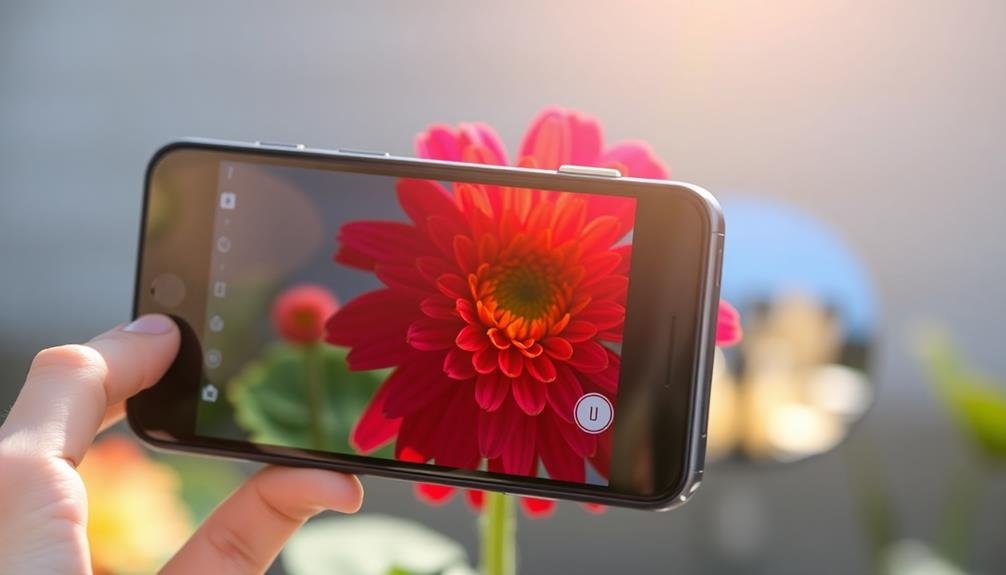
You can easily create DIY smartphone light reflectors using common household items like aluminum foil, white cardboard, or small mirrors.
Experiment with positioning these reflectors around your subject to bounce light and fill in shadows, enhancing your macro shots.
Try different angles and distances to find the ideal setup for your specific lighting conditions and subject matter.
DIY Smartphone Light Reflectors
Countless smartphone photographers overlook the power of simple light reflectors in macro photography. You can easily create your own DIY reflectors to enhance your close-up shots without breaking the bank. Start with common household items like aluminum foil, white paper, or even small mirrors. Cut these materials into various shapes and sizes to suit your needs.
For a basic reflector, fold a piece of cardboard and cover one side with aluminum foil. This creates a versatile tool that can bounce light onto your subject from different angles. If you need softer light, use white paper instead of foil. For more precise control, make a set of small reflectors using rigid cardboard or foam board as a base.
Don't forget to experiment with different colors. Gold-tinted foil can add warmth to your images, while silver foil provides a cooler tone. You can even use colored paper to introduce subtle hues to your macro shots.
When using these DIY reflectors, position them carefully to direct light onto your subject's shadows, creating a more balanced and professional-looking image. With practice, you'll master the art of manipulating light to achieve stunning smartphone macro photographs.
Positioning for Best Results
Mastering the art of reflector positioning is essential for achieving stunning smartphone macro shots. You'll want to experiment with different angles and distances to find the ideal balance of light and shadow.
Start by placing your DIY reflector opposite your main light source, whether it's natural sunlight or artificial lighting. This will help fill in shadows and create a more evenly lit subject.
For softer lighting, position your reflector farther from the subject. To increase contrast and create dramatic highlights, move it closer. Don't be afraid to try unconventional angles – sometimes, reflecting light from below or from the side can produce unexpected and intriguing results.
When working with multiple reflectors, use them to sculpt the light around your subject. Place one reflector to bounce light onto the main area of interest, and use others to illuminate specific details or create depth.
Remember to adjust your reflectors as you change your shooting angle or as the light shifts throughout the day. Pay attention to unwanted reflections or hot spots, and reposition your reflectors accordingly.
With practice, you'll develop an intuitive sense of how to place your reflectors for optimal results in any lighting situation.
DIY Ring Light Solutions
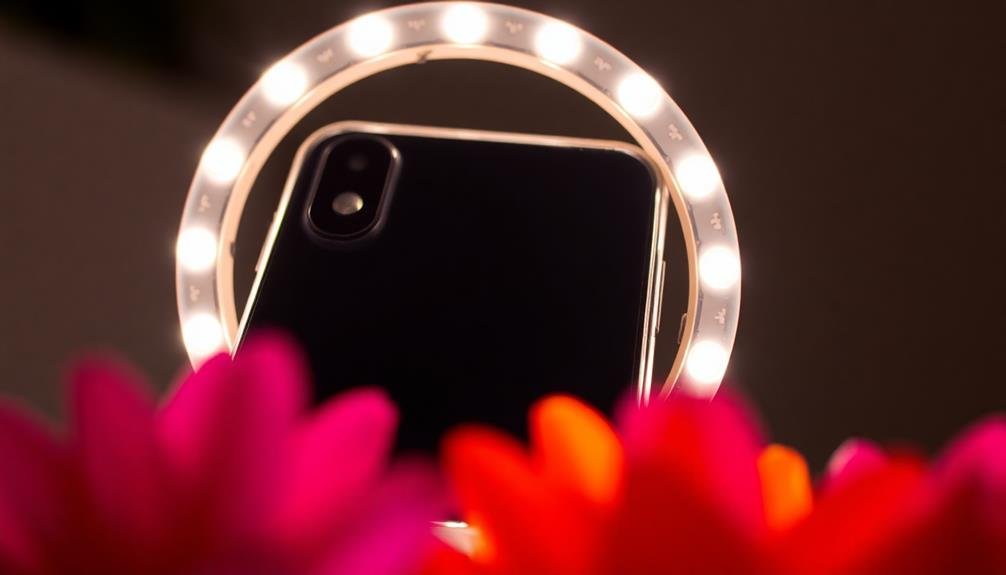
Ring lights are a game-changer for macro photography, offering even illumination and attractive circular catchlights. You can create your own DIY ring light for your smartphone without breaking the bank.
Start with a flexible LED strip light, which you can easily find online or at hardware stores. Cut it to size, ensuring it fits around your phone's camera lens. Attach the strip to a thin, circular cardboard or plastic frame that you've cut to fit your phone.
To power your DIY ring light, use a small portable battery pack. Connect the LED strip to the battery pack using thin wires, and secure everything with adhesive or hot glue. For diffusion, cut a circular piece of parchment paper or white plastic and place it over the LEDs. This softens the light, reducing harsh shadows.
You can also create a makeshift ring light using a clear plastic cup. Cut out the bottom, slide it over your phone's camera, and line the inside with aluminum foil. Place small LED lights or battery-operated tea lights around the rim.
This method provides a cost-effective solution for achieving that coveted ring light effect in your macro shots.
Diffusion Methods for Harsh Light
When shooting macro photos with your mobile device, harsh lighting can ruin your shot.
You'll find several household items that can serve as effective diffusers, including tissue paper, white plastic bags, or even a plain white T-shirt.
Household Materials as Diffusers
Harsh light can be the bane of macro photography, but your household is full of potential solutions. Common items can effectively diffuse light, softening shadows and creating more pleasing images. You'll find that these everyday materials can transform your macro shots by spreading light evenly across your subject.
White tissue paper is an excellent diffuser. It's thin enough to let light through while scattering it effectively. Simply place a sheet between your light source and the subject. For a sturdier option, try white printer paper or parchment paper from your kitchen.
Here are three more household items you can use as diffusers:
- White plastic shopping bags
- Frosted shower curtains
- White bed sheets or pillowcases
These materials work well because they're translucent and scatter light without greatly altering its color. Experiment with different thicknesses and layers to achieve the desired effect.
You can also create a DIY softbox by cutting a hole in a cardboard box and covering it with your chosen diffuser material. This setup allows you to control the direction and intensity of light, giving you more creative control over your macro shots.
DIY Softbox Techniques
Softbox wizardry can transform your macro photography, especially when dealing with harsh light. You can create a DIY softbox using common household items to diffuse and soften your light source.
Start with a small cardboard box and cut out one side, replacing it with white tissue paper or parchment paper. This creates a larger, softer light source that wraps around your subject.
For a more portable option, craft a mini softbox using a small plastic container. Cut out the bottom and cover it with diffusion material. Attach this to your phone's flash or a small LED light for instant soft illumination.
You can also experiment with different materials like frosted shower curtains or white pillowcases for varied effects.
To further control your light, create barn doors using black cardboard or foam board. These attachments allow you to shape the light and prevent unwanted spill.
For added flexibility, construct a collapsible softbox using wire hangers and white fabric. This design folds flat for easy storage and transportation.
Remember to adjust your camera settings to compensate for the reduced light intensity when using these DIY softboxes.
Light-Scattering Surface Hacks
In addition to softboxes, you can employ various light-scattering surface hacks to tame harsh light in your macro photography.
These DIY diffusion methods help create a softer, more flattering light for your close-up subjects. You'll find that everyday household items can serve as excellent light-scattering tools.
One popular technique is using translucent materials as diffusers. Place a sheet of parchment paper, wax paper, or a white plastic bag between your light source and the subject. This simple barrier softens the light, reducing harsh shadows and creating a more even illumination.
For more versatile light-scattering options, try these creative hacks:
- Repurpose a white shower curtain or bedsheet as a large diffusion panel
- Create a mini-reflector using aluminum foil wrapped around cardboard
- Use a white Styrofoam cup with the bottom cut out as a directional diffuser
Experiment with different materials and distances to achieve the desired effect.
Remember, the closer your diffuser is to the light source, the softer the light will become.
Colored Lighting Effects
Colored lighting effects can transform your macro photography, adding depth, mood, and visual interest to your shots. You can easily create these effects using everyday items and your smartphone's flashlight.
Try placing colored cellophane or translucent candy wrappers over your phone's light to cast a vibrant hue on your subject. Experiment with different colors to evoke various moods or complement your subject's natural tones.
For a more professional look, invest in small, portable LED lights with color-changing capabilities. These allow you to fine-tune your lighting color and intensity on the spot. You can also use colored gels designed for photography, cutting them to fit over your light source.
Don't limit yourself to a single color. Combine two or more hues to create contrast and depth in your macro images. For instance, use a cool blue light as your main source and a warm orange as a fill light to create a striking complementary color scheme.
Remember to adjust your camera's white balance settings when using colored lighting to guarantee accurate color reproduction.
With practice, you'll master the art of using colored light to enhance your macro photography and create stunning, eye-catching images.
Improvised Light Boxes
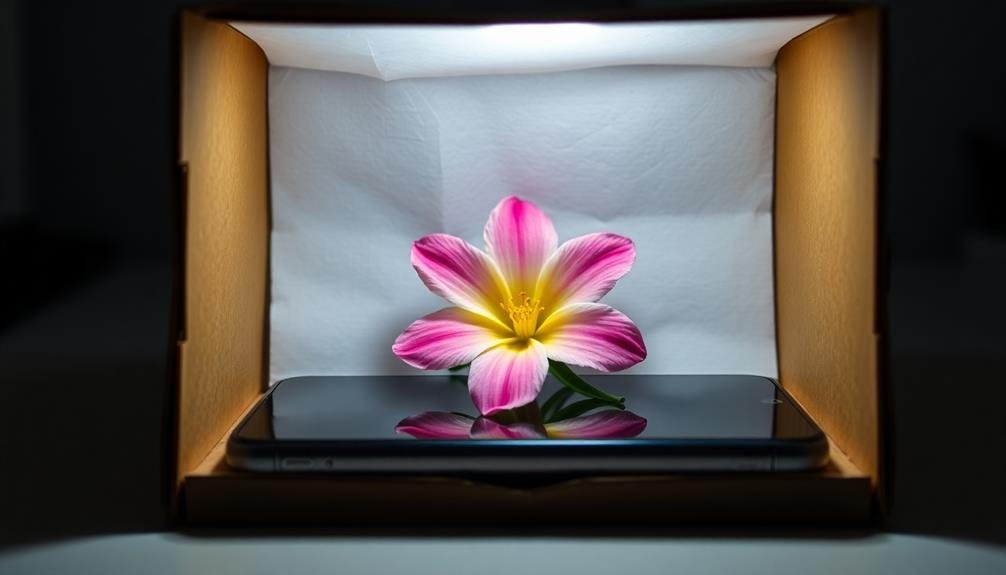
While colored lighting adds flair to your macro shots, creating a controlled environment can elevate your photography even further.
Enter the improvised light box, a simple yet effective tool for achieving professional-looking macro images. You can easily craft one using everyday items found around your home.
To create your DIY light box, you'll need a cardboard box, white tissue paper, and a light source. Cut out large windows on three sides of the box, leaving the top intact. Cover these openings with tissue paper to diffuse the light. Place your subject inside the box and position your light source outside, shining through the tissue paper.
Here's why improvised light boxes are so effective:
- They provide soft, even lighting that wraps around your subject
- They eliminate harsh shadows and reduce unwanted reflections
- They create a clean, distraction-free background for your macro shots
Experiment with different box sizes and shapes to accommodate various subjects. You can also try using colored tissue paper or adding small props inside the box to create unique backgrounds.
With your improvised light box, you'll have greater control over your lighting, resulting in stunning macro photographs right from your mobile device.
Backlighting Techniques for Translucent Subjects
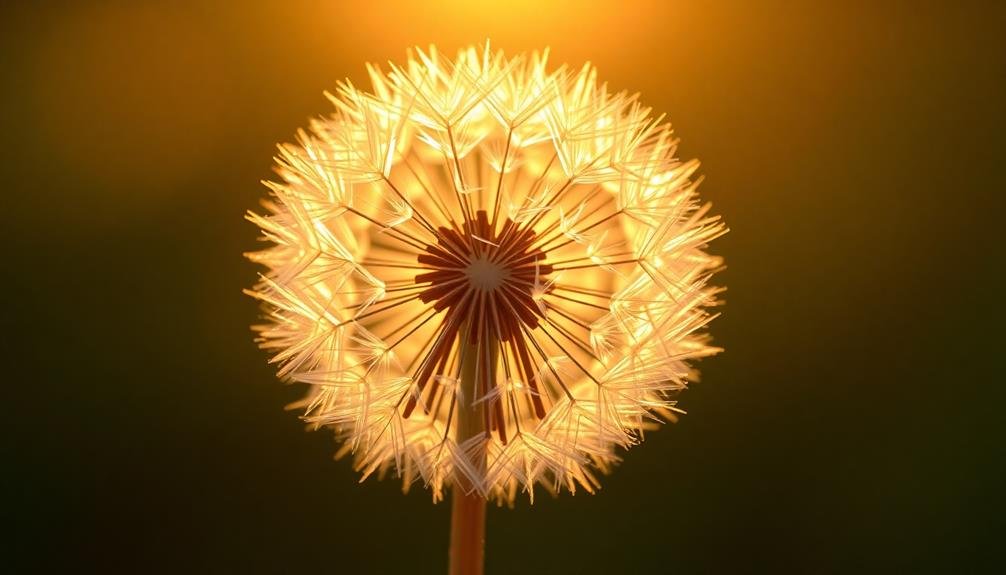
Illuminating translucent subjects from behind can create stunning, ethereal effects in your macro photography. To achieve this look, you'll need a light source and a translucent subject. Position your light behind the subject, experimenting with distance and angle to find the perfect balance of illumination and shadow.
For mobile macro photography, you can use your phone's flashlight or a small LED light as your backlight source. Place a diffuser between the light and your subject to soften the illumination and reduce harsh highlights. White tissue paper or a thin piece of fabric works well for this purpose.
Here's a quick guide to common translucent subjects and their backlighting requirements:
| Subject | Light Intensity | Diffusion | Distance | Best Time |
|---|---|---|---|---|
| Leaves | Medium | Moderate | 6-12 in | Midday |
| Petals | Low | Heavy | 3-6 in | Morning |
| Insects | High | Light | 1-3 in | Evening |
| Crystals | Medium-High | None | 2-4 in | Any |
| Water | Low-Medium | Moderate | 4-8 in | Sunset |
Experiment with different subjects and lighting setups to discover unique textures and patterns. You'll be amazed at the intricate details and vibrant colors that emerge when you master backlighting techniques for your mobile macro photography.
Using Household Items as Modifiers
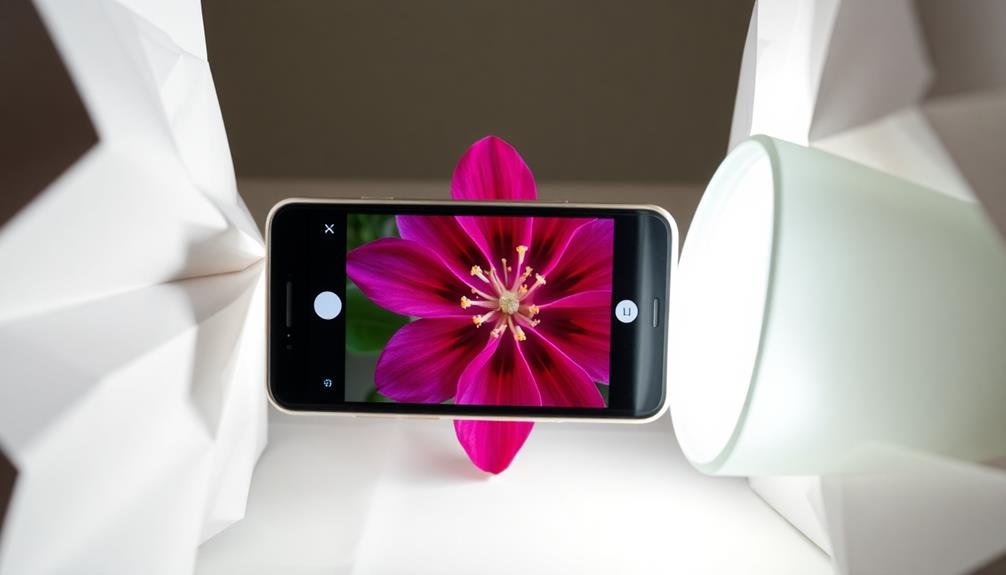
Professional lighting equipment isn't necessary for stunning macro shots with your mobile device. You can create impressive lighting effects using everyday items from around your home.
These DIY modifiers can help you control light, soften shadows, and add creative flair to your close-up photography.
White paper or cardstock makes an excellent reflector to bounce light onto your subject. Simply position it opposite your light source to fill in shadows and create more even illumination.
For a softer light, try using a white plastic bag or tissue paper as a diffuser. Place it between your light source and the subject to reduce harsh highlights and create a more flattering glow.
Here are three unconventional household items you can use as lighting modifiers:
- Aluminum foil: Crumple it for a textured reflection or smooth it out for a mirror-like effect
- CD cases: Use the clear plastic as a makeshift prism to create interesting light patterns
- Kitchen colander: Place it between your light source and subject for a unique dappled effect
Experiment with different materials and positions to achieve the desired lighting for your macro shots.
You'll be surprised at how creative you can get with items you already have on hand.
Light Painting in Macro
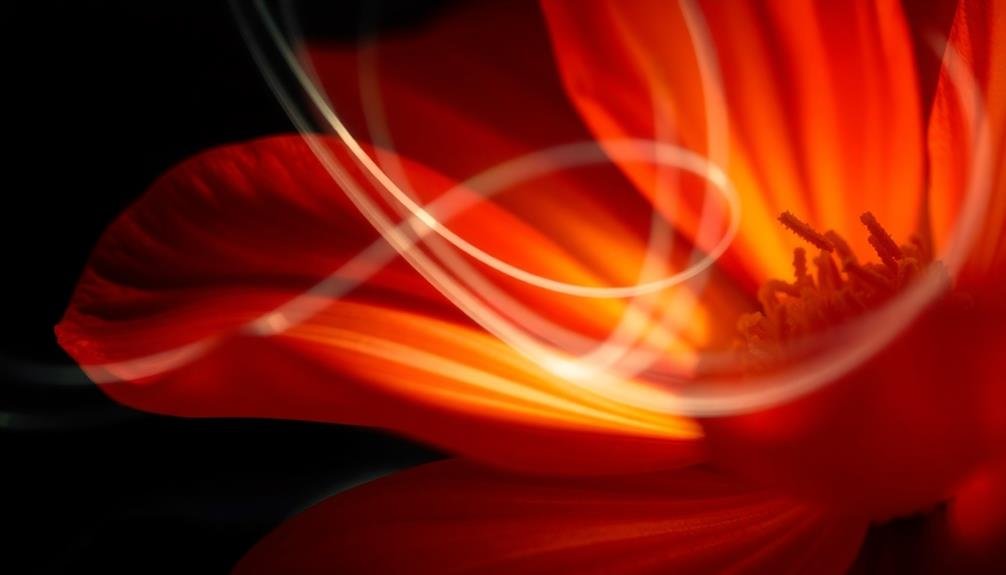
Light painting adds a magical touch to macro photography, allowing you to create stunning visual effects with your mobile device. To get started, you'll need a small light source like a mini LED flashlight or even your phone's built-in light.
Set your camera app to manual mode and use a longer exposure time, typically between 1-10 seconds.
Position your macro subject in a dark environment and start the exposure. Move your light source around the subject, illuminating specific areas you want to highlight. Experiment with different patterns, speeds, and distances to achieve various effects. You can create ethereal glows, sharp highlights, or colorful streaks by using colored gels or filters on your light source.
For more precise control, try using a thin optical fiber or light wand to paint intricate details on small subjects.
Don't forget to stabilize your phone using a tripod or makeshift stand to avoid camera shake during the long exposure.
With practice, you'll be able to create otherworldly macro images that combine sharp details with creative lighting effects, all using your mobile device and some simple tools.
Balancing Flash With Ambient Light
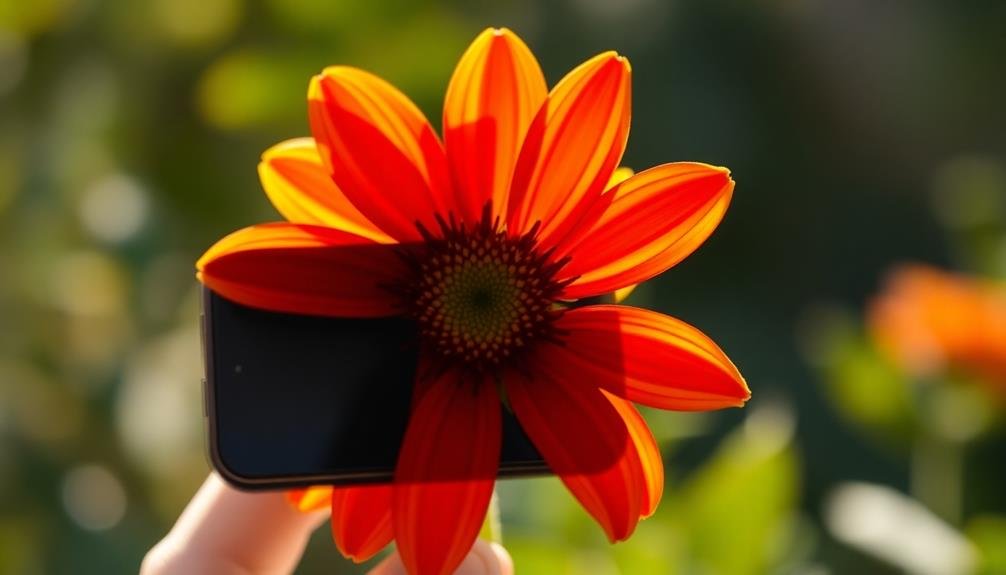
While light painting offers creative effects, balancing flash with ambient light is a key skill for mobile macro photography in various lighting conditions. Your phone's built-in flash can be harsh, so you'll need to soften and control it.
Start by adjusting your camera app's flash intensity if possible. If not, try covering the flash with a small piece of tissue paper or a white sticker to diffuse the light.
Next, consider the ambient light in your scene. You'll want to find a balance between the flash and the natural light to create a well-exposed image. Here are three tips to help you achieve this balance:
- Use exposure compensation to adjust the overall brightness of your shot.
- Experiment with different flash intensities to complement the ambient light.
- Try positioning your subject in areas with softer natural light.
Remember that the closer you're to your subject, the more powerful your flash will appear. You may need to reduce its intensity or diffuse it further for extremely close-up shots.
With practice, you'll develop an intuitive sense of how to balance flash and ambient light for stunning mobile macro photography.
Frequently Asked Questions
How Can I Prevent Camera Shake When Shooting Handheld Macro Photos?
To prevent camera shake in handheld macro shots, you'll want to stabilize your camera. Use a tripod, increase shutter speed, employ image stabilization, brace yourself against a solid object, or try burst mode to capture multiple images.
What's the Best Focus Stacking Technique for Mobile Macro Photography?
For mobile macro focus stacking, you'll want to use a tripod and shoot multiple images at different focus points. Then, use a stacking app like Helicon Focus or Photoshop to blend the shots into one sharp image.
How Do I Clean Tiny Subjects Without Damaging Them Before Shooting?
To clean tiny subjects safely, you'll want to use gentle tools. Try a soft brush, compressed air, or a microfiber cloth. Be careful not to apply pressure. For delicate items, consider using tweezers to remove debris carefully.
Are There Any Apps Specifically Designed for Mobile Macro Photography?
Yes, there are apps designed for mobile macro photography. You'll find options like Camera+ 2, ProCam, and Magnifier+ that offer advanced focus control, exposure adjustments, and digital magnification. These apps can enhance your close-up shots considerably.
How Can I Achieve a Completely Black Background in Outdoor Macro Shots?
To get a black background in outdoor macro shots, you'll need to control your lighting. Use a fast shutter speed, small aperture, and low ISO. Position your subject in front of a shadowy area, and consider using a flash.
In Summary
You've now got a toolkit of DIY mobile macro lighting tricks at your fingertips. Whether you're using natural light, LED panels, reflectors, or homemade ring lights, you can create stunning close-ups with your smartphone. Don't forget to experiment with backlighting, household modifiers, and light painting techniques. By mastering these methods and balancing flash with ambient light, you'll elevate your macro photography to new heights. Keep practicing, and you'll soon be capturing breathtaking details in the miniature world around you.



Leave a Reply