Master your smartphone's macro mode to capture stunning close-ups. Invest in external macro lenses for enhanced magnification and image quality. Optimize lighting using natural sources or small LED panels to highlight intricate details. Stabilize your shots with tripods or steady hands to guarantee sharp focus. Focus on composition techniques like the rule of thirds and leading lines to create visually appealing images. Edit your photos to enhance contrast, sharpness, and color vibrancy. Experiment with unusual subjects like fabric textures, water droplets, or miniature figurines to release your creativity. These pro tips will elevate your mobile macro photography to new heights.
Master Your Smartphone's Macro Mode
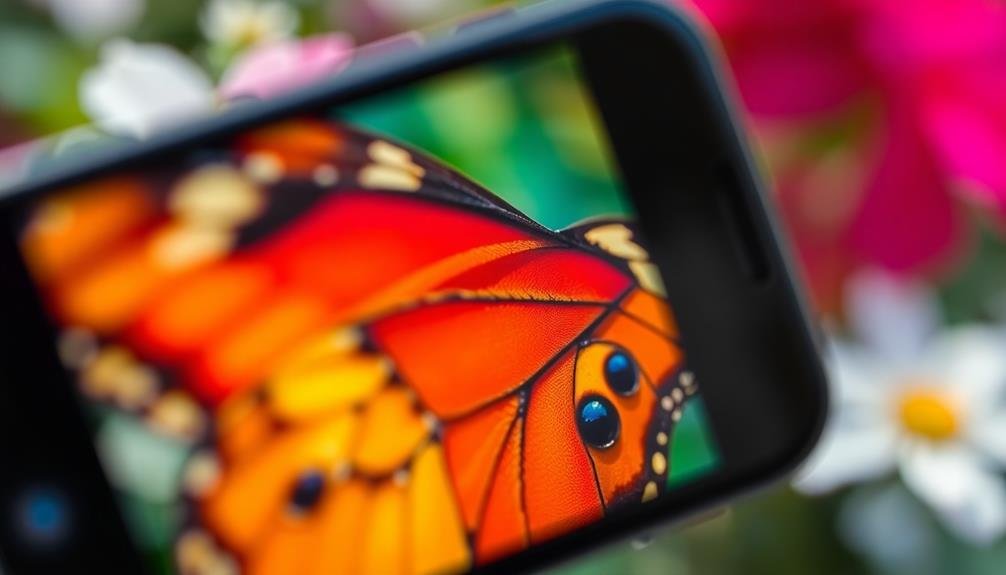
The key to successful mobile macro photography lies in mastering your smartphone's macro mode. This specialized setting allows you to capture incredibly detailed close-up shots of small subjects. To access it, open your camera app and look for a flower icon or "macro" option in the settings.
Once you've activated macro mode, you'll need to get close to your subject—typically within a few centimeters. Hold your phone steady and tap the screen to focus on the area you want to highlight. Many smartphones offer focus peaking, which outlines sharp areas in color, helping you achieve precise focus.
Experiment with different angles and compositions to find the most interesting perspective. Don't be afraid to get low or shoot from unusual positions.
Pay attention to lighting; natural light often works best, but you can use a small LED light for additional illumination if needed.
Remember that macro mode usually has a shallow depth of field, so only a small portion of your image will be in focus. Use this creatively to draw attention to specific details.
With practice, you'll soon be capturing stunning close-ups that reveal a hidden world of intricate textures and patterns.
Invest in External Macro Lenses
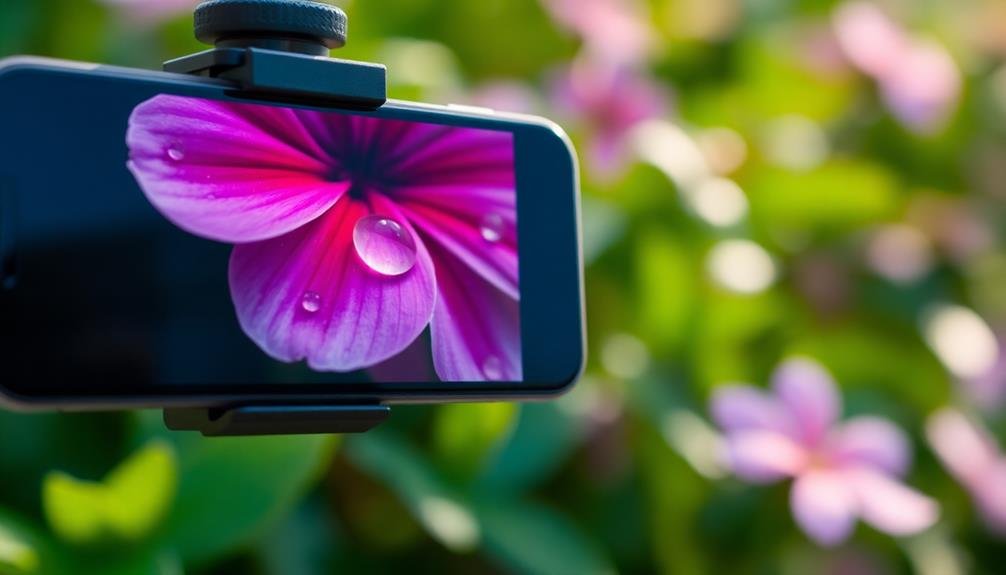
While your smartphone's built-in macro mode can produce impressive results, investing in external macro lenses can take your mobile macro photography to the next level.
These attachable lenses offer greater magnification and improved image quality, allowing you to capture even the tiniest details with stunning clarity.
When choosing an external macro lens, consider factors like magnification power, compatibility with your device, and overall build quality.
Clip-on lenses are versatile and easy to use, while more advanced systems may require a specialized phone case.
Don't forget to research customer reviews and compare sample images before making your purchase.
Once you've got your new macro lens, experiment with different subjects and lighting conditions to maximize its potential.
Here are some tips to help you get started:
- Clean your lens regularly to avoid dust and smudges
- Use a tripod or stabilizer for sharper images
- Experiment with different angles and compositions
- Focus on textures and patterns in nature
- Try capturing water droplets or small insects
With practice and the right external macro lens, you'll be amazed at the intricate world of details you can reveal through your smartphone's camera.
Optimize Lighting for Tiny Subjects
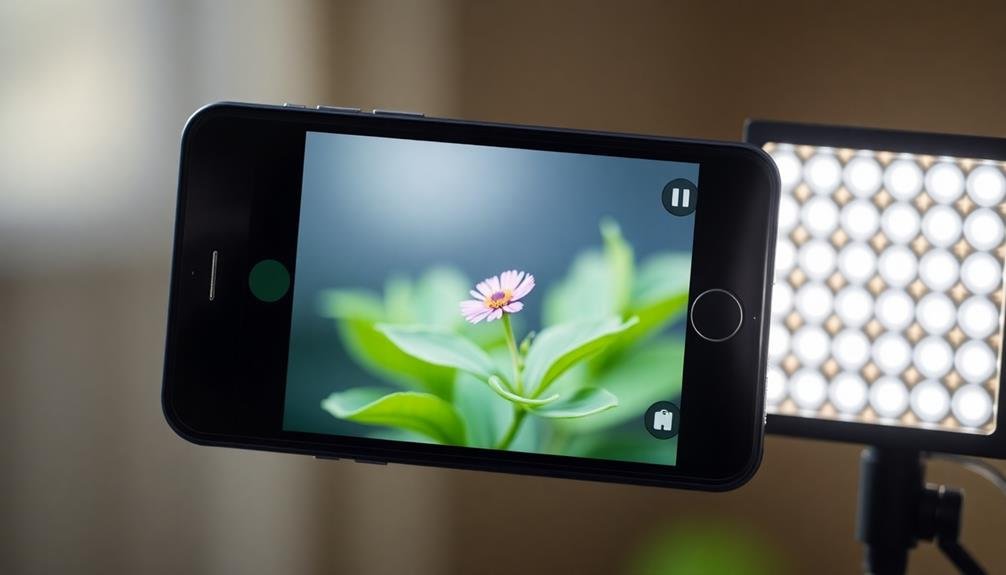
Proper lighting is essential when capturing tiny subjects in macro photography. You'll need to be creative and resourceful to illuminate your miniature subjects effectively. Natural light can work wonders, but it's not always available or sufficient. Consider using a small LED light panel or a ring light that attaches to your phone. These provide consistent, even lighting that can dramatically improve your macro shots.
When working with artificial light, experiment with different angles to create depth and texture. Side lighting can emphasize details and create interesting shadows, while front lighting helps reveal colors and patterns. Don't be afraid to use reflectors or diffusers to soften harsh light and minimize unwanted shadows.
For translucent subjects like flower petals or insect wings, try backlighting to create a stunning glow effect. You can achieve this by positioning your subject between your camera and a light source. Remember to adjust your phone's exposure settings to compensate for the bright background.
Lastly, pay attention to the color temperature of your light sources. Warm light can enhance natural subjects, while cooler tones might be better for inorganic objects. Use your phone's white balance settings to fine-tune the overall color cast of your images.
Stabilize Your Shot
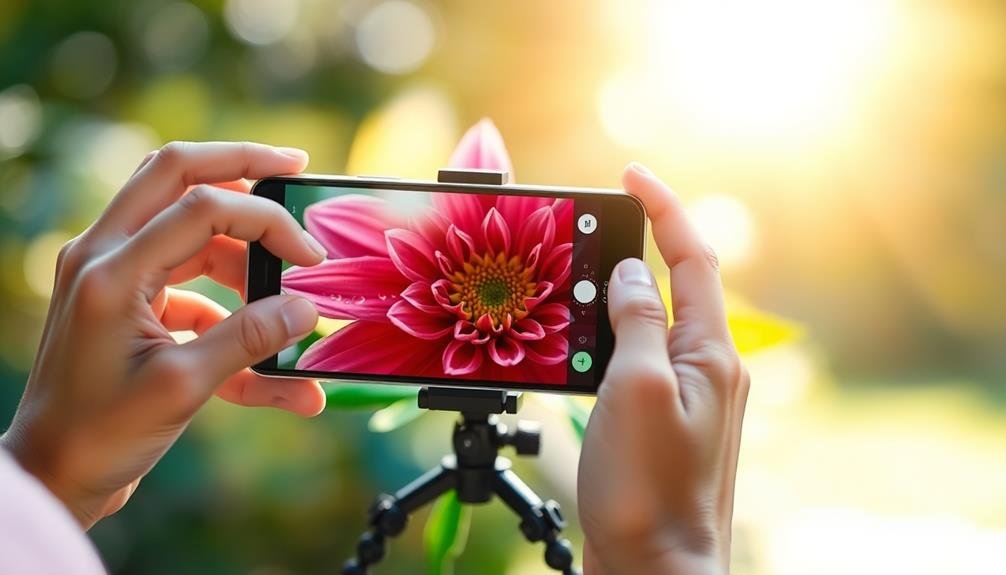
Steady hands are essential for sharp macro shots, but you'll need extra help to capture the tiniest details.
Start by using a tripod to eliminate camera shake entirely, especially in low-light conditions.
You can further reduce vibrations by employing your camera's timer function or leveraging built-in image stabilization features on your mobile device.
Use a Tripod
Although your hands might seem steady, even the slightest movement can blur a macro shot. That's why using a tripod is essential for achieving sharp, professional-looking macro photos with your mobile device. A tripod provides stability and allows you to focus on composition and lighting without worrying about camera shake.
When selecting a tripod for mobile macro photography, consider these factors:
- Portability: Choose a lightweight, compact tripod that's easy to carry.
- Flexibility: Look for adjustable legs and a ball head for versatile positioning.
- Compatibility: Confirm it has a smartphone mount or adapter.
- Stability: Opt for sturdy materials like aluminum or carbon fiber.
- Additional features: Some tripods come with remote shutters or level indicators.
To get the most out of your tripod, set it up on a stable surface and use the timer function or a remote shutter to avoid touching your phone during capture. This eliminates any potential vibrations caused by pressing the screen.
Experiment with different angles and heights to find unique perspectives for your macro subjects. Don't forget to fine-tune your focus manually after setting up your shot, as auto-focus can sometimes struggle with close-up subjects.
Employ Camera Timers
Why rely solely on your finger to trigger the shutter when you can use your phone's built-in timer? Camera timers are an invaluable tool for achieving sharper macro shots, especially in low-light conditions or when using higher magnifications. By employing this feature, you'll eliminate the camera shake caused by tapping the screen or pressing a physical button.
Most smartphones offer timer options ranging from 2 to 10 seconds. For macro photography, a 2 or 3-second delay is usually sufficient. This brief pause allows any vibrations to settle before the image is captured.
To use the timer effectively, set up your shot, activate the timer, and then keep your hands off the device. If you're using a tripod, this technique becomes even more powerful, ensuring maximum stability.
For even greater control, consider using a Bluetooth remote shutter or your smartwatch to trigger the camera. These methods further reduce the risk of camera movement.
Additionally, some phones offer voice-activated shutter controls, allowing you to capture images hands-free. Experiment with these various timer and remote options to find the method that works best for your macro photography style and subjects.
Leverage Image Stabilization
Leveraging your smartphone's image stabilization features can dramatically improve the sharpness of your macro shots. Most modern smartphones come equipped with optical image stabilization (OIS) or electronic image stabilization (EIS) systems. These technologies work to counteract hand movements and vibrations, resulting in clearer, more detailed images.
To make the most of your phone's stabilization capabilities, try these techniques:
- Hold your phone with both hands, keeping your elbows close to your body for added support.
- Use a smartphone tripod or stabilizing grip for ultimate steadiness.
- Enable any additional stabilization modes in your camera app settings.
- Take multiple shots in burst mode to increase your chances of capturing a sharp image.
- If available, use your phone's voice command feature to trigger the shutter without touching the screen.
Remember that even with image stabilization, macro photography requires patience and a steady hand.
Practice maintaining a stable position while focusing on your subject. In low light conditions, stabilization becomes even more essential. If your phone allows manual control over shutter speed, opt for faster speeds to minimize motion blur.
Focus on Composition Techniques
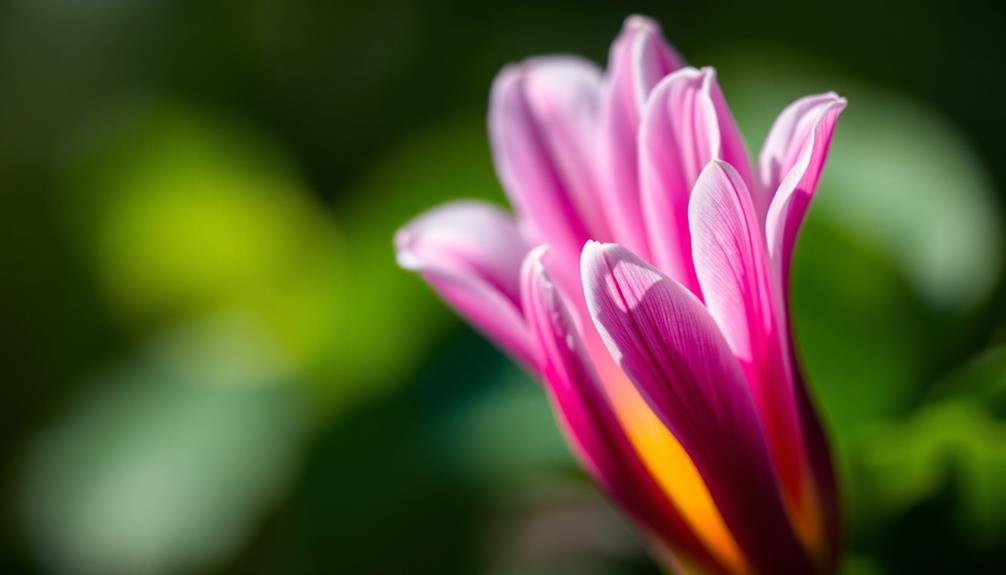
When composing your mobile macro shots, you'll want to apply key techniques to elevate your images.
Start by implementing the Rule of Thirds, utilizing negative space effectively, and incorporating leading lines into your compositions.
These fundamental principles will help you create more visually appealing and balanced macro photographs with your smartphone.
Rule of Thirds
The Rule of Thirds is one of the most fundamental composition techniques in photography, and it's especially useful for mobile macro shots. This principle involves dividing your frame into a 3×3 grid and placing your subject along these lines or at their intersections.
It creates a more balanced and visually appealing image than centering your subject.
When applying the Rule of Thirds to mobile macro photography, consider these tips:
- Use your phone's built-in grid feature to help align your shots
- Place small subjects at intersection points for maximum impact
- Position horizontal lines (like stems or leaves) along the top or bottom third
- Align vertical elements (such as flower stalks) with the left or right third
- Experiment with off-center compositions to create visual interest
Negative Space Utilization
While the Rule of Thirds helps balance your composition, negative space plays an equally important role in mobile macro photography. Negative space refers to the empty areas surrounding your main subject, and it can dramatically enhance the impact of your macro shots.
To effectively use negative space, focus on simplifying your composition. Choose a clean, uncluttered background that contrasts with your subject. This contrast will make your subject pop and draw the viewer's eye.
Don't be afraid to leave large portions of your frame empty; this can create a sense of scale and emphasize the small details of your macro subject.
Experiment with different angles and perspectives to maximize negative space. Try shooting from below or above your subject to create interesting compositions. You can also use selective focus to blur the background, creating a soft, uniform negative space that doesn't compete with your subject.
Remember that negative space doesn't have to be completely empty. Subtle textures or gradients can add depth to your image without overpowering the main subject.
Leading Lines Implementation
In addition to negative space, leading lines serve as a powerful compositional tool in mobile macro photography. These lines guide the viewer's eye through the image, creating depth and directing attention to your subject.
When shooting macro, you'll find leading lines in unexpected places, such as the veins of a leaf, the curve of a petal, or the pattern on an insect's wing.
To effectively implement leading lines in your mobile macro shots:
- Look for natural lines in your subject and surroundings
- Position your camera to emphasize these lines
- Use diagonal lines for a dynamic, energetic feel
- Incorporate curved lines to create a sense of flow
- Experiment with converging lines to draw focus
Edit for Maximum Impact
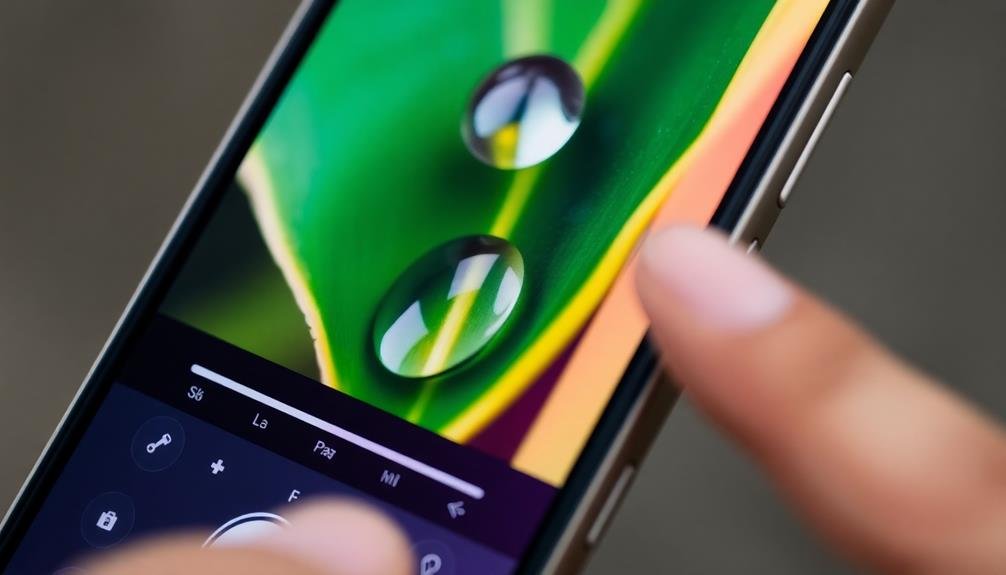
After capturing your macro shots, it's time to bring out their full potential through editing. Start by adjusting the exposure and contrast to enhance details and create depth.
Don't be afraid to boost the shadows and reduce highlights to reveal intricate textures.
Next, focus on sharpening your image. Use selective sharpening to emphasize key areas without introducing noise to smoother parts.
Pay attention to the edges of your subject, ensuring they're crisp and well-defined.
Color adjustments can dramatically improve your macro photos. Experiment with saturation and vibrancy to make colors pop, but be careful not to overdo it.
Consider using selective color adjustments to draw attention to specific elements.
Crop your image thoughtfully to eliminate distractions and improve composition.
Sometimes, tighter framing can create a more impactful result. Don't forget to straighten your horizon if needed.
Finally, experiment with vignettes to direct focus towards the center of your image.
A subtle darkening of the edges can make your subject stand out more effectively.
Experiment With Unusual Subjects

Now that you've mastered editing techniques, it's time to push your creativity further. Experimenting with unusual subjects can elevate your macro photography from ordinary to extraordinary.
Look beyond the typical flowers and insects to find unique and unexpected subjects that will captivate your audience. Consider exploring everyday objects from a new perspective. Household items, food, or even parts of your own body can become fascinating macro subjects when viewed up close.
Don't be afraid to venture into unconventional territory – the more surprising the subject, the more intriguing your photos will be.
Here are some ideas to spark your imagination:
- Textures of various fabrics or materials
- Intricate patterns on coins or jewelry
- Bubbles in liquids or foam
- Tiny details on electronic components
- Miniature figurines or toys in unexpected settings
Frequently Asked Questions
How Do I Clean Macro Lenses Without Damaging Them?
To clean macro lenses safely, you'll want to use a microfiber cloth and gently wipe in circular motions. For stubborn dirt, use a lens cleaning solution. Don't apply pressure or use abrasive materials. Always be gentle and patient.
Can I Use Macro Photography Techniques for Underwater Mobile Photography?
Yes, you can use macro techniques underwater with your mobile. You'll need a waterproof case and add-on macro lens. Remember to get close to subjects, use manual focus, and be patient in the challenging underwater environment.
What's the Best Time of Day for Outdoor Macro Photography?
You'll find the best outdoor macro photography opportunities during the golden hours—just after sunrise or before sunset. The soft, warm light enhances details and creates a stunning atmosphere. Early morning's also great for capturing dew-covered subjects.
How Can I Create a DIY Diffuser for Macro Lighting?
You can make a DIY diffuser using everyday items. Try a white plastic bottle cut in half, a piece of translucent fabric, or even a sheet of white paper. Attach it to your phone's flash for softer, more even lighting.
Are There Any Apps Specifically Designed for Mobile Macro Photography?
You'll find several apps tailored for mobile macro photography. Try ProCamera, Camera+ 2, or Macro Lens. They offer features like focus stacking, exposure control, and RAW capture to enhance your close-up shots. Experiment to find your favorite.
In Summary
You've now got the tools to capture amazing macro shots with your smartphone. Don't be afraid to push your creativity and try new subjects. Remember, practice makes perfect, so keep experimenting with different techniques and settings. As you refine your skills, you'll discover a whole new world of tiny details waiting to be photographed. So grab your phone, get up close, and start shooting those stunning macro images today!



Leave a Reply