To achieve perfect focus for phone close-ups, start by understanding your smartphone's macro limitations. Choose a compatible macro lens with the right magnification for your needs. Master manual focus mode and utilize focus peaking features for precise control. Stabilize your phone using a tripod or bracing techniques to minimize camera shake. Optimize lighting with natural or artificial sources to illuminate your subject. Apply composition techniques like the rule of thirds and negative space for visually appealing shots. Post-process your images to enhance contrast, sharpness, and color. By overcoming common focusing challenges, you'll reveal a world of intricate details in your macro photography.
Understanding Smartphone Macro Limitations
Smartphones have come a long way in their camera capabilities, but they still face inherent limitations when it comes to macro photography. The primary challenge is the fixed focal length of most smartphone lenses, which aren't designed for extreme close-ups. This means you can't focus on subjects that are too close to the lens, resulting in blurry images.
Another limitation is the small sensor size in smartphones. While great for general photography, these sensors struggle to capture fine details in macro shots, especially in low-light conditions. You'll often notice increased noise and reduced sharpness in your close-up images.
Depth of field is also a concern. Smartphone cameras typically have a wide aperture, which creates a shallow depth of field. This can make it difficult to keep your entire subject in focus, particularly when shooting very small objects.
Lastly, stabilization becomes essential in macro photography. Even slight movements can cause significant blur. While many smartphones offer optical image stabilization, it's not always effective for extreme close-ups. You'll need to be extra steady or use additional stabilization tools to achieve sharp macro shots.
Choosing the Right Macro Lens
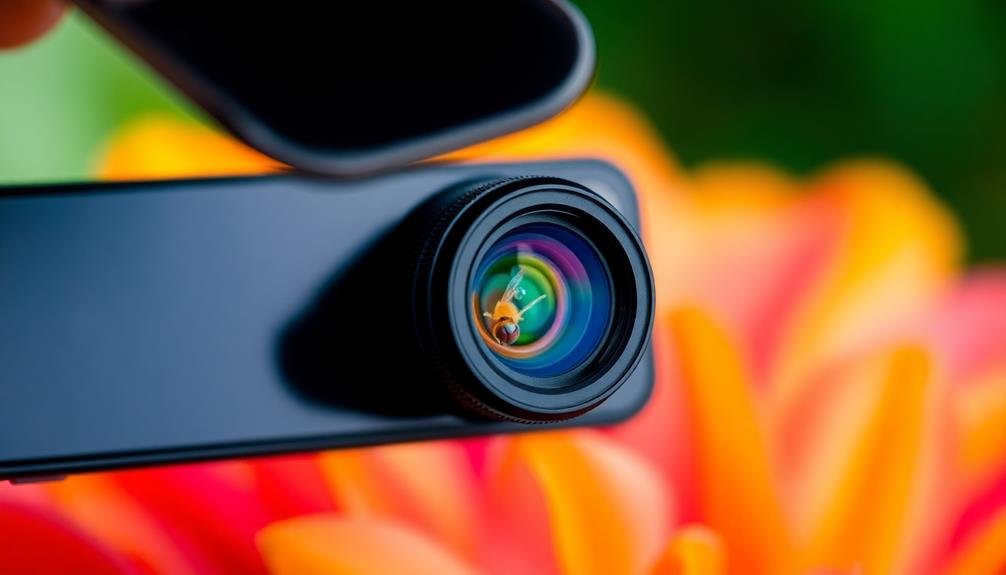
When it comes to smartphone macro photography, choosing the right lens attachment can make all the difference. You'll want to take into account several factors to guarantee you're getting the best lens for your needs.
First, look at the magnification level. Most macro lenses for smartphones offer between 10x and 25x magnification. Higher magnification allows you to capture even tinier subjects, but it can be more challenging to use due to a shallower depth of field.
Next, check the lens's compatibility with your phone model. Some lenses are universal, while others are designed for specific brands or models. Confirm the lens you choose fits your phone securely to avoid any unwanted movement during shooting.
Take into account the lens material and coating. High-quality glass lenses with multi-element designs and anti-reflective coatings will produce sharper, clearer images with less distortion and fewer artifacts.
Don't forget about portability. If you're always on the go, a compact, lightweight lens might be preferable. However, if image quality is your top priority, you might opt for a larger, more robust lens.
Lastly, read reviews and compare sample images to get a sense of each lens's performance before making your decision.
Mastering Manual Focus Mode
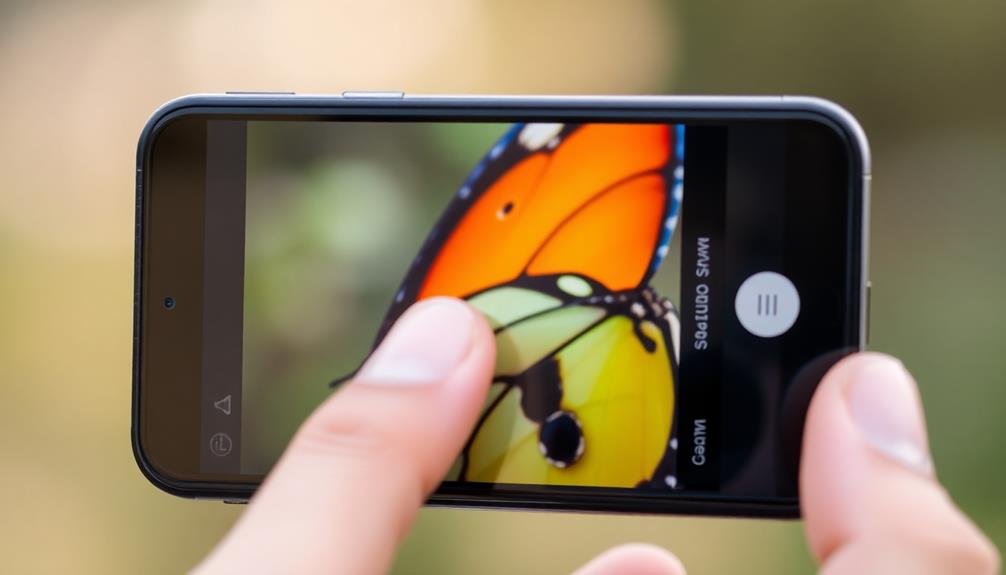
Once you've selected the perfect macro lens for your phone, it's time to focus on the technique that'll elevate your close-up shots: manual focus.
While autofocus can be convenient, it often struggles with extreme close-ups. Manual focus gives you precise control over your image's sharpness.
To master manual focus mode, start by enabling it in your camera app's settings. You'll typically see a slider or focus ring on your screen. Move this control slowly while observing your subject. Look for the point where details become crisp and clear.
Remember, the depth of field in macro photography is incredibly shallow, so even slight adjustments can make a significant difference.
Here are three key tips to improve your manual focusing skills:
- Use focus peaking if available – it highlights in-focus areas
- Take multiple shots at slightly different focus points
- Stabilize your phone with a tripod or steady surface
Practice is essential. Try focusing on various subjects with different textures and shapes.
You'll soon develop an intuitive feel for achieving perfect focus in your macro shots, revealing a new level of detail and creativity in your phone photography.
Utilizing Focus Peaking Features
Many modern smartphone camera apps offer a powerful tool called focus peaking, which can revolutionize your manual focusing technique. This feature highlights the areas of your image that are in sharp focus, typically by overlaying bright colors on the edges of in-focus objects.
To use focus peaking effectively, you'll need to activate it in your camera app's settings. Once initiated, you'll see colored outlines appear on your screen as you adjust focus. The more intense the color, the sharper the focus in that area. This visual feedback allows you to fine-tune your focus with precision, especially useful for macro photography where depth of field is extremely narrow.
Here's a quick guide to using focus peaking:
| Step | Action | Result | Tip |
|---|---|---|---|
| 1 | Enable feature | Colored outlines appear | Choose a contrasting color |
| 2 | Adjust focus | Colors intensify | Move slowly for accuracy |
| 3 | Check entire frame | Confirm desired areas are highlighted | Pay attention to edges |
| 4 | Take the shot | Capture perfectly focused image | Use timer to avoid shake |
Stabilizing Your Smartphone Camera
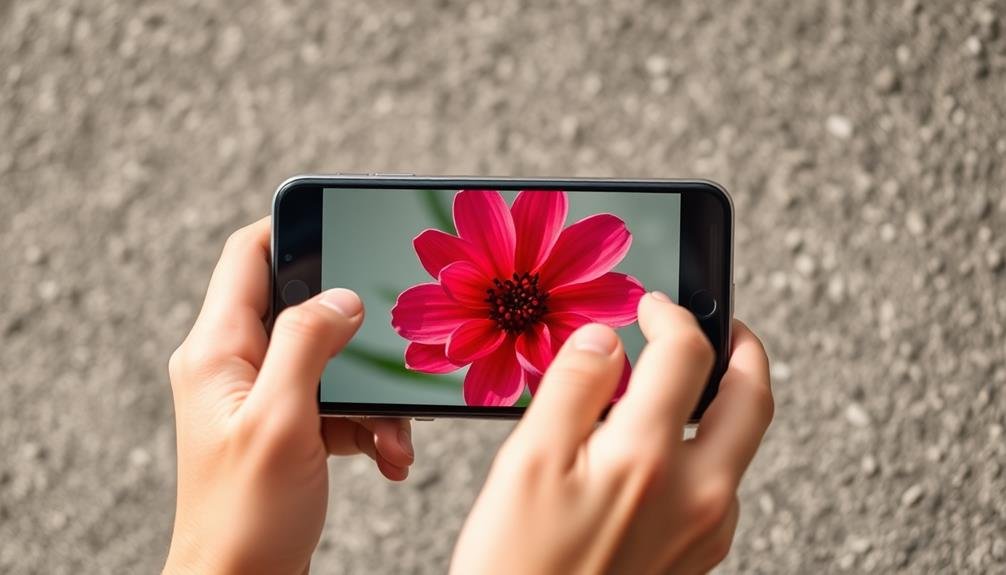
Achieving razor-sharp focus is only half the battle when it comes to capturing stunning close-ups with your smartphone. The other vital element is keeping your device steady to avoid blur and maintain that perfect focus. You'll need to stabilize your smartphone camera to guarantee your macro shots are crisp and clear.
Try these effective techniques to keep your phone stable:
- Use a tripod: Invest in a compact smartphone tripod for ultimate stability. It'll eliminate hand shake and allow you to fine-tune your composition.
- Employ the timer function: Set a 2-3 second delay to avoid camera shake caused by tapping the shutter button.
- Brace yourself: If you're shooting handheld, tuck your elbows into your body, hold your breath, and gently press the shutter.
For added stability, consider using a grip or case with built-in handles. These accessories can greatly improve your hold on the device.
Optimal Lighting for Macro Shots
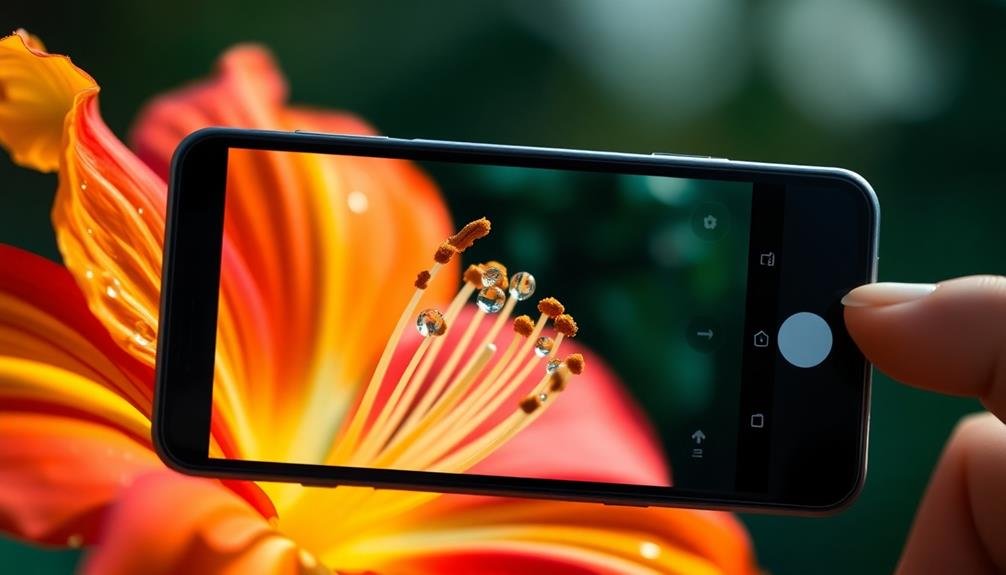
When it comes to macro photography, lighting can make or break your shot. For ideal results, you'll want to harness natural light whenever possible. Position yourself near a window or in a shaded outdoor area to avoid harsh shadows and overexposure.
If you're shooting outdoors, early morning or late afternoon light provides a soft, diffused glow that's perfect for close-ups.
When natural light isn't enough, consider using artificial lighting sources. A small LED panel or ring light can provide consistent illumination for your macro subjects. Experiment with different angles to create depth and highlight textures.
You can also use a DIY reflector, like a piece of white cardboard, to bounce light onto your subject and fill in shadows.
For translucent objects, try backlighting to create a dramatic effect. Place your subject between the light source and your phone's camera to capture intricate details and patterns.
Remember to adjust your phone's exposure settings to compensate for bright backlighting. With practice, you'll learn to manipulate light to enhance the beauty and detail of your macro subjects, elevating your smartphone photography to new levels.
Composition Techniques for Close-ups
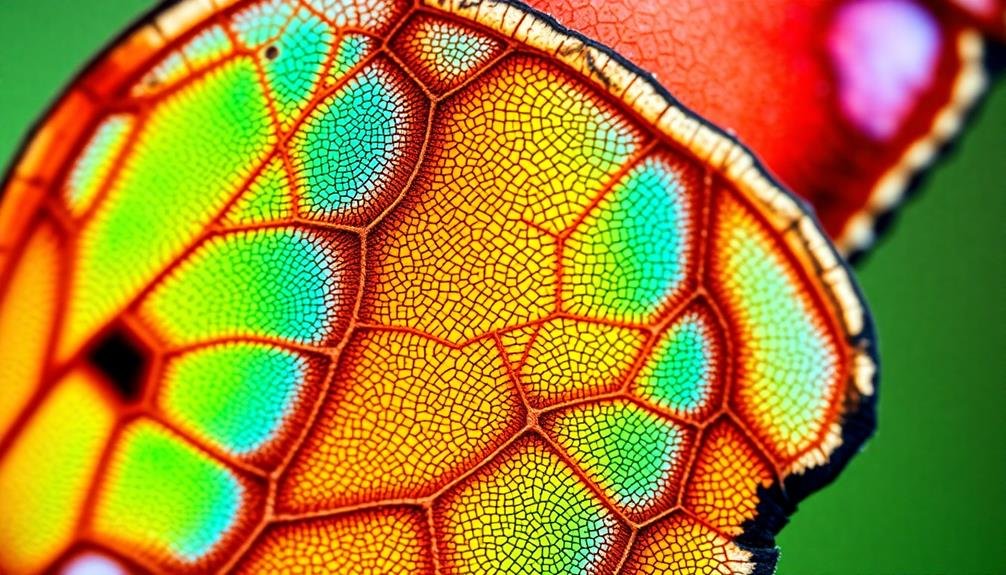
When composing close-up shots on your phone, you'll want to contemplate several key techniques.
Start by applying the Rule of Thirds, dividing your frame into a 3×3 grid and placing your subject along these lines or at their intersections.
You can also experiment with negative space to create balance and draw attention to your subject, or use leading lines to guide the viewer's eye through the image.
Rule of Thirds
The Rule of Thirds stands out among composition techniques for phone close-ups. It's a simple yet powerful guideline that can dramatically improve your macro shots.
Imagine dividing your phone screen into a 3×3 grid, creating nine equal sections. The rule suggests placing your main subject along these lines or at their intersections, rather than centering it.
When shooting close-ups, this technique can help you create more balanced and visually appealing compositions. It draws the viewer's eye to key elements of your image and adds a sense of movement or tension.
To apply the Rule of Thirds in your phone's macro mode:
- Enable the grid overlay in your camera settings
- Position your subject along the grid lines or at intersections
- Use negative space effectively to enhance the subject's impact
Negative Space Balance
Alongside the Rule of Thirds, negative space balance plays an essential role in creating compelling phone close-ups. This composition technique involves strategically using empty or uncluttered areas around your subject to enhance its impact and draw attention to key elements.
When shooting macro photos with your phone, you'll want to carefully consider the balance between your subject and the surrounding negative space. Too much negative space can make your subject feel lost or insignificant, while too little can create a cluttered, overwhelming image. Aim for a harmonious balance that allows your subject to breathe and stand out.
You can use negative space to guide the viewer's eye, create a sense of scale, or evoke specific emotions. For instance, positioning a small subject against a large, empty background can emphasize its delicacy or isolation. Experiment with different angles and compositions to find the most effective use of negative space in your close-ups.
Remember that negative space doesn't have to be completely blank. Subtle textures or out-of-focus elements can add depth and interest to your composition while still maintaining the balance between subject and space.
Leading Lines Technique
Leading lines serve as powerful visual guides in phone close-up photography, drawing the viewer's eye towards your subject. To effectively use this technique, look for natural or man-made lines in your composition that point towards your focal point. These can be anything from the veins of a leaf to the edge of a table or the pattern on a fabric.
When framing your shot, position your phone to capture these lines in a way that directs attention to your main subject. You'll want to experiment with different angles and perspectives to find the most compelling arrangement.
Don't be afraid to get low or shoot from above to emphasize the lines.
To master the leading lines technique, keep these key points in mind:
- Identify multiple lines that converge on your subject for a stronger effect
- Use curved or diagonal lines to add dynamism to your composition
- Guarantee the lines lead to your subject, not away from it
Post-Processing Macro Images
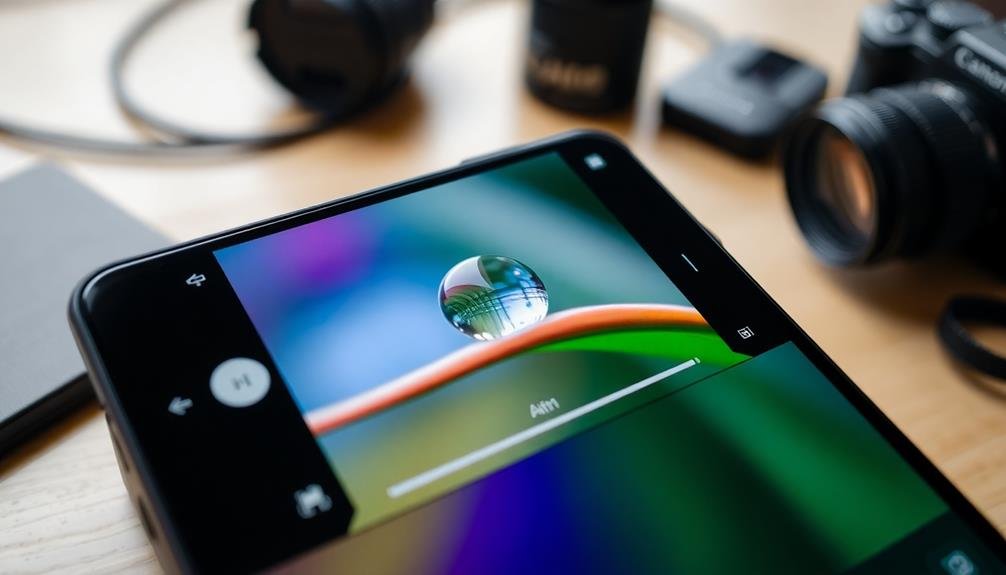
After capturing your macro images, you'll want to enhance them through post-processing.
Start by adjusting contrast and sharpness to bring out the fine details in your close-up shots.
Next, fine-tune the color and saturation to make your subject pop, and consider cropping the image to perfect your composition and draw attention to the most enchanting elements.
Adjusting Contrast and Sharpness
Once you've captured your macro images, post-processing can take them to the next level. Adjusting contrast and sharpness is essential for enhancing the details and impact of your close-up shots.
Start by fine-tuning the contrast to make your subject stand out from the background. Increase it slightly to add depth, but be careful not to overdo it, as excessive contrast can lead to loss of detail in highlights and shadows.
Next, focus on sharpening your image. Use your phone's built-in editing tools or a third-party app to apply selective sharpening. Concentrate on the main subject, particularly areas with fine details or textures.
Be cautious not to over-sharpen, as this can introduce unwanted noise and artifacts.
To achieve the best results when adjusting contrast and sharpness:
- Work in small increments, making subtle changes and frequently comparing to the original image
- Pay attention to the edges of your subject, ensuring they remain crisp without appearing artificial
- Consider reducing noise before sharpening to prevent amplifying unwanted graininess
Enhancing Color and Saturation
Enhancing color and saturation is the final step in bringing your macro images to life. After you've adjusted contrast and sharpness, it's time to fine-tune the colors to make your close-up shots pop. Start by slightly increasing the overall saturation, but be careful not to overdo it. You'll want to maintain a natural look while emphasizing the vibrant details of your subject.
Next, focus on individual color channels. Boost the hues that dominate your image, such as greens for plant life or blues for water droplets. Use the HSL (Hue, Saturation, Luminance) sliders in your editing software to target specific colors without affecting others. This allows you to bring out subtle tones that might otherwise go unnoticed.
Don't forget about white balance. Adjusting the temperature and tint can dramatically alter the mood of your macro shot. Experiment with cooler tones for a fresh, crisp look or warmer hues for a more inviting feel.
Cropping for Optimal Composition
With color and saturation finely tuned, your macro image is almost ready for its debut.
Now it's time to focus on cropping for ideal composition. Cropping allows you to refine your image's framing, eliminate distractions, and draw attention to the most engaging elements of your close-up shot.
When cropping your macro photo, consider the rule of thirds. Imagine a 3×3 grid overlaying your image and position key elements along these lines or at their intersections. This technique creates a more balanced and visually appealing composition.
Don't be afraid to crop tightly, as macro photography often benefits from a closer view of intricate details.
Experiment with different aspect ratios to find the most flattering frame for your subject. Consider these options:
- Square (1:1) for symmetrical subjects or a modern look
- Portrait (4:5) for vertical compositions or social media platforms
- Panoramic (16:9) for wider scenes or to emphasize horizontal elements
Overcoming Common Focusing Challenges
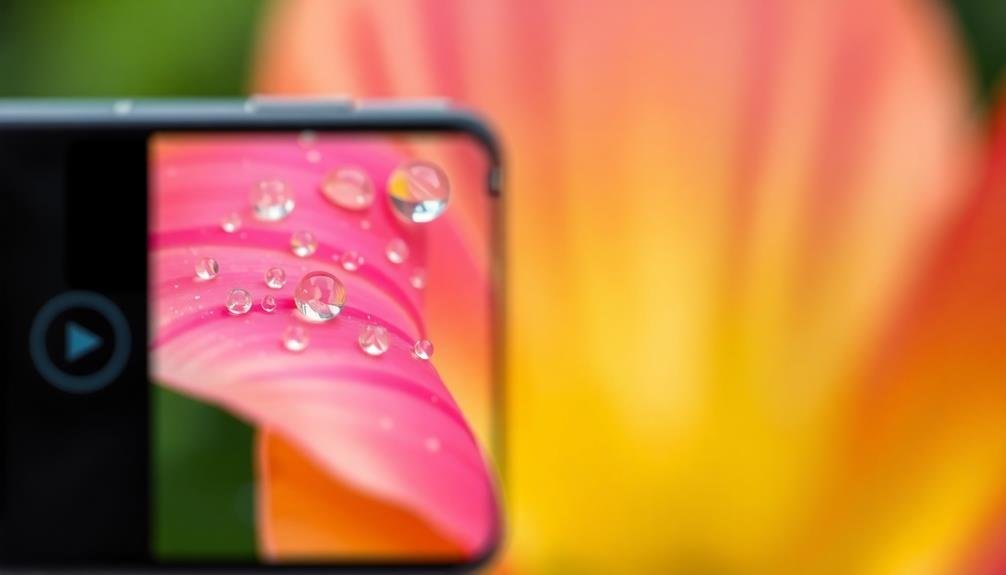
Despite the advancements in smartphone cameras, focusing on close-up subjects can still present challenges. You'll often encounter issues like camera shake, shallow depth of field, and autofocus struggles.
To combat these, start by stabilizing your phone using a tripod or resting it on a steady surface. This minimizes camera shake and allows for sharper images.
When dealing with a shallow depth of field, try increasing your phone's aperture (if possible) or moving slightly farther from your subject. This expands the in-focus area, giving you more wiggle room.
If your phone's autofocus isn't cooperating, switch to manual focus. Most modern smartphones offer this feature, allowing you to fine-tune your focus precisely.
Lighting plays an important role in achieving sharp focus. Make sure your subject is well-lit, using natural light or your phone's built-in flash if necessary.
For particularly challenging subjects, consider using focus stacking. Take multiple shots at slightly different focus points and combine them later using specialized apps. This technique results in an image with a greater depth of field and overall sharpness.
Frequently Asked Questions
Can I Use Macro Mode for Underwater Photography With My Smartphone?
You can use macro mode for underwater smartphone photography, but you'll need a waterproof case or housing. It's best to use a dedicated underwater camera for ideal results, as water can affect focus and image quality.
How Does Temperature Affect the Performance of Smartphone Macro Lenses?
Temperature can affect your smartphone's macro lens performance. In cold conditions, you'll notice reduced battery life and potential condensation. Hot temperatures may cause overheating, affecting image quality. It's best to use macro lenses in moderate, stable temperatures.
Are There Any Health Risks Associated With Prolonged Use of Macro Photography?
You're unlikely to face health risks from prolonged macro photography. However, you might experience eye strain or neck discomfort from extended periods of close-up work. Take regular breaks and maintain good posture to avoid potential issues.
Can Macro Photography Damage My Smartphone's Camera Over Time?
You shouldn't worry about damaging your smartphone's camera through macro photography. It's a safe practice that doesn't strain your device. However, be careful not to drop your phone while focusing on tiny subjects up close.
Are There Specific Smartphone Models That Excel in Macro Photography Capabilities?
You'll find several smartphones with excellent macro capabilities. Look for models like the iPhone 13 Pro, Google Pixel 6 Pro, or Xiaomi Mi 11 Ultra. They've got dedicated macro lenses or advanced software features for close-up shots.
In Summary
You've now got the tools to access the world of macro photography with your smartphone. Don't be afraid to experiment and push your device's limits. Remember, practice makes perfect. Keep honing your skills, and you'll soon be capturing stunning close-ups that rival professional gear. With the right techniques and add-ons, your phone can become a powerful macro machine. So get out there and start exploring the tiny wonders around you!



Leave a Reply