
To capture stunning HDR macro shots on your smartphone, combine high dynamic range techniques with close-up photography. Use your device's HDR mode and attach a macro lens for ideal results. Experiment with manual settings like ISO, shutter speed, and white balance to control exposure and color. Lighting is essential, so try natural light or invest in LED panels for consistent illumination. Focus on composition, applying the rule of thirds and utilizing leading lines. Don't forget to bracket your exposures and shoot in RAW for maximum editing flexibility. With practice and the right techniques, you'll reveal a world of intricate details and vibrant colors in your mobile macro photography.
Understanding HDR Macro Photography
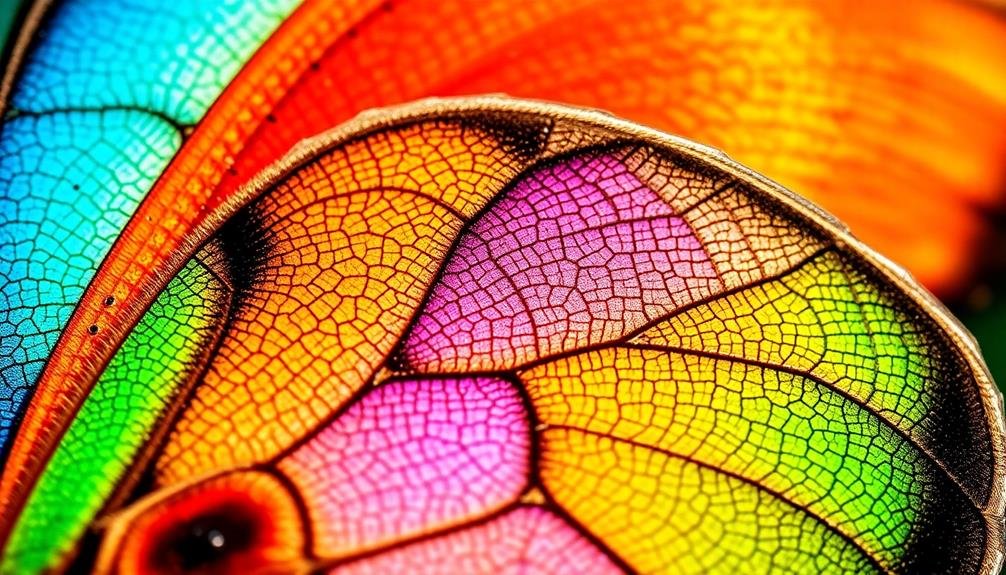
HDR macro photography combines two powerful techniques to create stunning close-up images with exceptional detail and dynamic range. To master this art, you'll need to understand both HDR and macro photography separately, then learn to blend them seamlessly.
HDR, or High Dynamic Range, involves capturing multiple exposures of the same scene and merging them to reveal details in both highlights and shadows. This technique is particularly useful in high-contrast situations.
Macro photography, on the other hand, focuses on extreme close-ups, often revealing intricate details invisible to the naked eye. When you combine these techniques, you're able to capture incredibly detailed close-up shots with a wide range of tones.
To achieve this, you'll need to set up your mobile device's HDR mode and use a macro lens attachment or your phone's built-in macro capabilities. Stability is essential, so consider using a tripod or stabilizing your device against a solid surface.
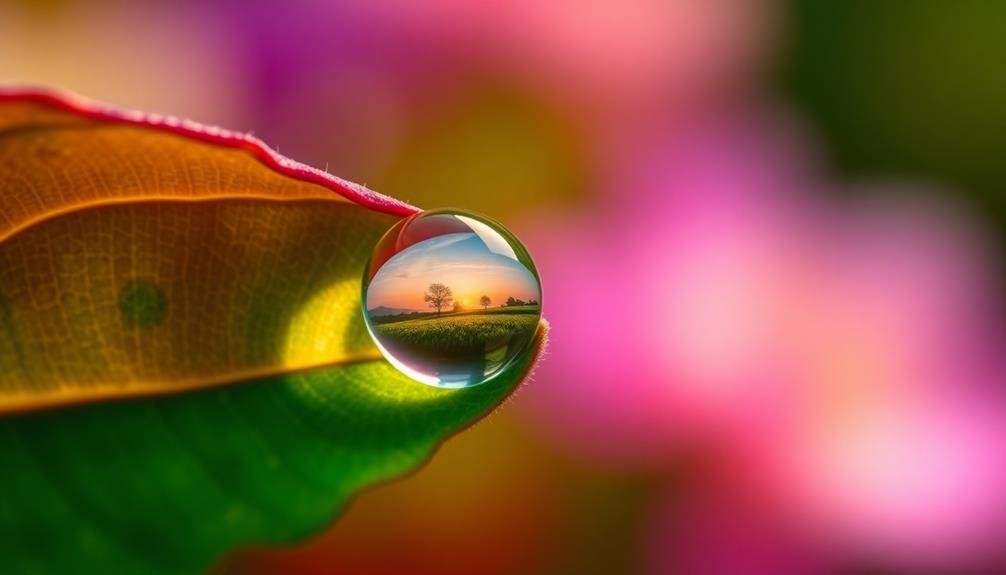
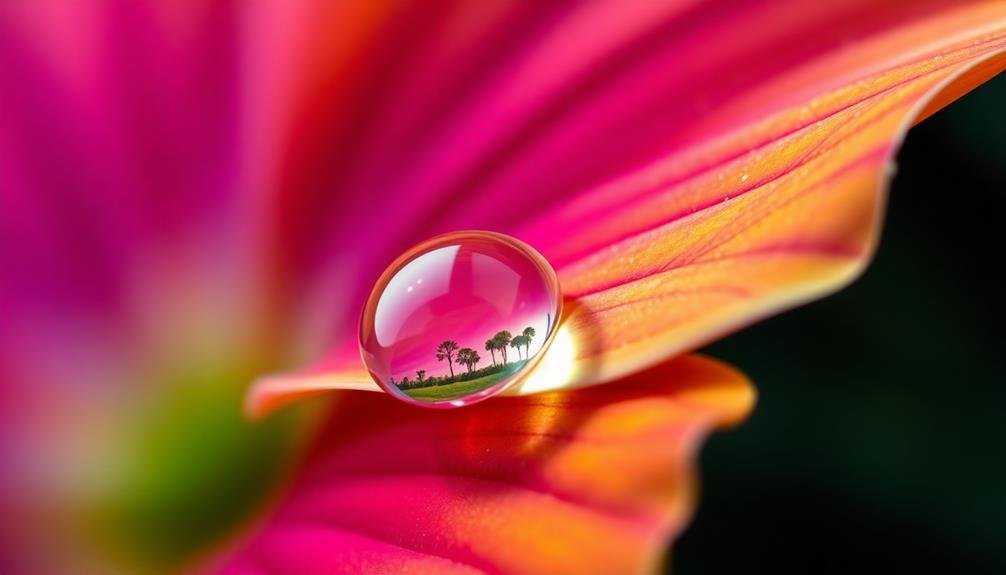
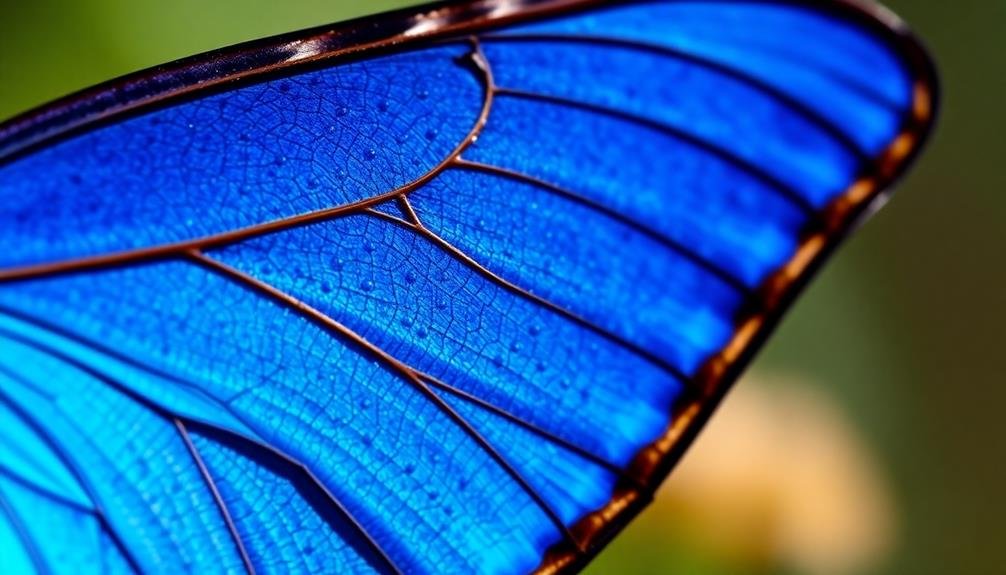
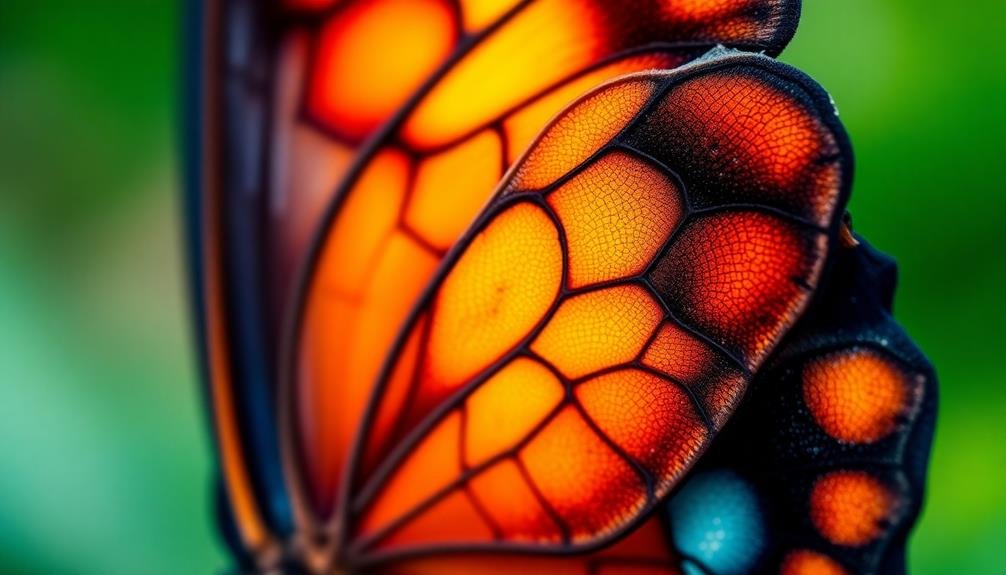
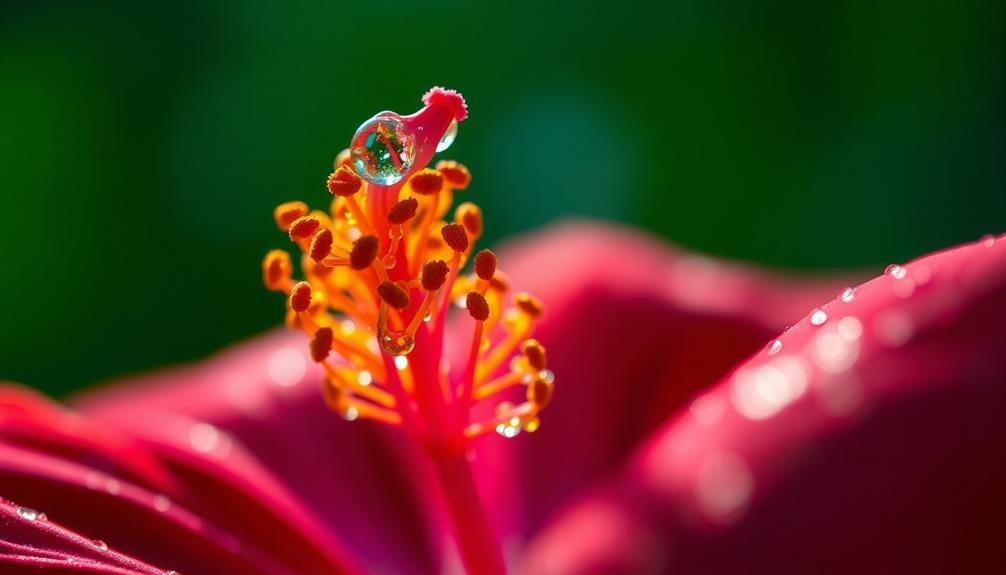
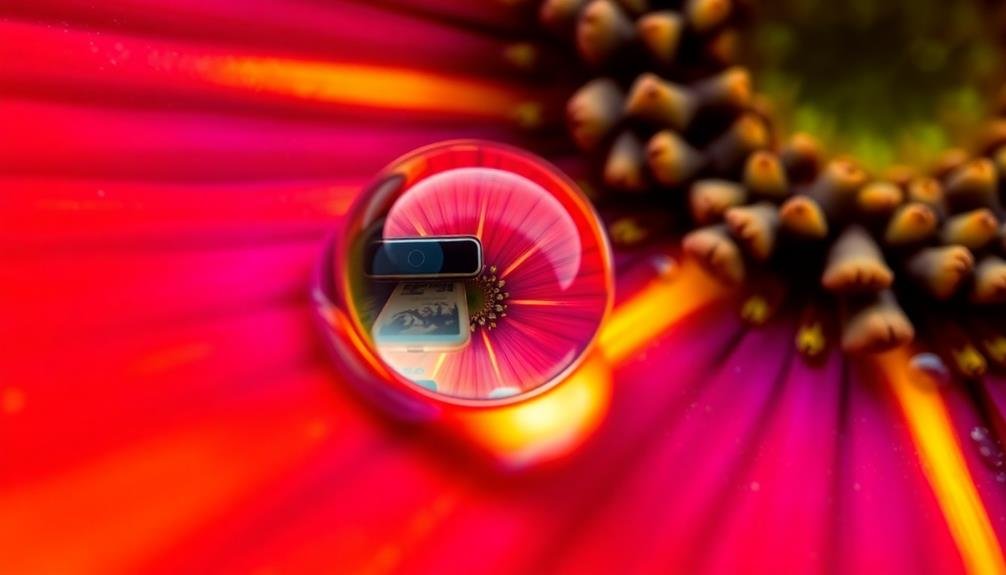
Experiment with different subjects and lighting conditions. Flowers, insects, and textures work well for HDR macro shots. Pay attention to focus, as the depth of field in macro photography is extremely shallow.
With practice, you'll be able to create engaging HDR macro images that showcase the hidden beauty of the miniature world.
Essential Smartphone Camera Settings
While HDR and macro techniques can elevate your mobile photography, mastering your smartphone's camera settings is fundamental to capturing great shots in any situation. Start by familiarizing yourself with your device's Pro or Manual mode, which gives you control over vital parameters like ISO, shutter speed, and white balance.
Adjust your ISO to manage light sensitivity; lower values work best in bright conditions, while higher settings suit low-light scenarios. Shutter speed controls motion blur and exposure time, with faster speeds freezing action and slower ones creating artistic effects. Don't forget to fine-tune your white balance to guarantee accurate color reproduction in various lighting conditions.
| Setting | Function | Tips |
|---|---|---|
| ISO | Light sensitivity | Low for bright, high for dark |
| Shutter Speed | Motion/exposure | Fast for action, slow for blur |
| White Balance | Color accuracy | Adjust for light source |
| Focus | Subject sharpness | Tap screen or use manual |
Experiment with focus modes, switching between auto and manual to achieve precise control over your subject's sharpness. Use grid lines to improve composition and enable RAW capture for greater editing flexibility. By mastering these essential settings, you'll greatly enhance your smartphone photography skills and capture stunning images in any scenario.
Choosing the Right Macro Lens
Selecting the perfect macro lens for your smartphone can substantially enhance your close-up photography skills. When choosing a macro lens, consider the magnification level you need. Most smartphone macro lenses offer 10x to 25x magnification, which is suitable for capturing small objects like insects or flowers.
If you're aiming for extreme close-ups, look for lenses with higher magnification, up to 100x.
Pay attention to the lens's construction quality. Opt for lenses made from high-grade glass rather than plastic to guarantee better image clarity and durability.
Multi-element lenses often provide superior results by reducing distortion and chromatic aberration.
Compatibility is essential. Verify that the macro lens you choose fits your specific smartphone model. Some lenses are universal, while others are designed for particular brands or models.
Consider clip-on lenses for versatility across different devices.
Look for lenses with anti-reflective coatings to minimize glare and improve image quality.
Additionally, consider purchasing a lens with a built-in LED light to illuminate your subject, especially useful for indoor macro photography.
Mastering Focus and Depth
To elevate your mobile photography, you'll need to master focus and depth techniques.
Start by exploring manual focus options in your camera app, allowing precise control over your subject's sharpness.
You can then experiment with depth of field control, adjusting aperture settings or using portrait mode to create striking background blur effects.
Manual Focus Techniques
Many smartphone photographers overlook the power of manual focus, relying solely on their device's autofocus capabilities. However, mastering manual focus techniques can greatly elevate your mobile photography, especially for HDR macro shots.
To access manual focus, you'll typically need to switch to your camera app's "Pro" or "Manual" mode. Once there, look for the focus slider or icon. This tool allows you to fine-tune your focus point with precision.
When shooting macro subjects, start by tapping the area you want in focus. Then, use the manual focus slider to make micro-adjustments. You'll often find that the sweet spot lies just beyond where autofocus would settle.
For HDR macro shots, try focus stacking. Take multiple images at slightly different focus points, then blend them in post-processing. This technique guarantees maximum sharpness throughout your subject.
Don't forget about focus peaking, a feature available on some advanced camera apps. It highlights in-focus areas, making it easier to nail your focus in challenging lighting conditions.
Lastly, practice patience. Manual focusing takes time, but the results are worth the effort. You'll capture intricate details and textures that autofocus might miss, elevating your macro photography to new heights.
Depth of Field Control
While manual focus techniques enhance precision, mastering depth of field control takes your mobile photography to the next level. On smartphones, you can manipulate depth of field by adjusting the distance between your camera and the subject. Move closer to your subject for a shallower depth of field, creating a blurred background that makes your subject pop. For a wider depth of field, step back to keep more of the scene in focus.
Many modern smartphones offer a portrait mode that simulates a shallow depth of field. Use this feature to create professional-looking portraits with beautifully blurred backgrounds. Experiment with the intensity of the blur effect to find the perfect balance.
For macro shots, depth of field becomes even more critical. Use a macro lens attachment to get extremely close to your subject while maintaining focus. Tap different areas of the screen to shift focus and alter the depth of field. Remember that in macro photography, even slight movements can dramatically change your focus point.
To maximize depth of field in landscape shots, tap to focus on a point about one-third into the frame. This technique, known as the hyperfocal distance, guarantees the maximum amount of your scene remains sharp from foreground to background.
Lighting Techniques for HDR Macro
When it comes to HDR macro photography on your mobile device, mastering lighting techniques is essential.
You'll need to decide between natural and artificial light sources, each offering unique advantages for your close-up subjects.
To enhance your shots, experiment with diffusion and reflection methods, and learn to control the direction of light for best results.
Natural vs. Artificial Light
Light, the photographer's most essential tool, takes on new dimensions in HDR macro photography. When shooting close-ups, you'll need to decide between natural and artificial light sources.
Natural light offers a soft, organic quality that's hard to replicate. It's ideal for outdoor macro shots of flowers, insects, and textures. However, it's unpredictable and can change rapidly, affecting your HDR brackets.
Artificial light gives you more control over your macro scene. You can use LED panels, ring lights, or even your phone's flashlight for consistent illumination. This stability is vital for HDR, ensuring each exposure in your bracket is evenly lit.
Artificial light also allows you to shoot in low-light conditions or indoors.
Consider combining both light sources for the best results. Use natural light as your base and supplement with artificial light to fill shadows or create highlights. This hybrid approach can yield stunning HDR macro images with depth and dimension.
Experiment with different ratios of natural to artificial light to find the perfect balance for your subject. Remember, in HDR macro photography, mastering light is key to capturing extraordinary details and textures.
Diffusion and Reflection Tricks
Mastering light in HDR macro photography goes beyond choosing between natural and artificial sources. You'll need to manipulate light effectively to create stunning HDR macro shots. Diffusion and reflection tricks are essential techniques to soften harsh light and fill in shadows, enhancing your subject's details.
Use diffusers to scatter light, creating a softer, more even illumination. A simple white cloth or translucent plastic sheet can work wonders. For reflection, employ small mirrors or white cards to bounce light into shadowy areas, revealing hidden textures and colors.
Here's a quick guide to common diffusion and reflection tools:
| Tool | Diffusion | Reflection | Best Use |
|---|---|---|---|
| White cloth | High | Low | Softening sunlight |
| Mirror | None | High | Filling deep shadows |
| Silver reflector | Low | High | Creating highlights |
Experiment with these techniques to control contrast and highlight intricate details in your HDR macro subjects. By mastering diffusion and reflection, you'll elevate your mobile photography, capturing images with depth, texture, and professional-quality lighting. Remember, the key is to observe how light interacts with your subject and adjust your tools accordingly.
Controlling Light Direction
Controlling light direction is a game-changer in HDR macro photography. It's essential for creating depth, texture, and mood in your close-up shots.
To master this technique, start by identifying your main light source. Whether it's natural sunlight or artificial lighting, position your subject to make the most of the available light.
You can manipulate light direction using simple tools like reflectors or diffusers. Place a reflector opposite your main light source to fill in shadows and create a more balanced exposure.
For softer lighting, use a diffuser between your subject and the light source. This will help reduce harsh shadows and create a more even illumination.
Experiment with side-lighting to emphasize texture and create dramatic shadows. Backlighting can produce stunning silhouettes or add an ethereal glow to translucent subjects.
For a unique perspective, try top-down lighting to highlight the subject's shape and form.
Don't forget about the power of your smartphone's flash. Use it creatively to add catchlights to eyes or illuminate specific areas of your macro subject.
Composition Rules for Stunning Shots
In spite of advanced camera technology, composition remains the cornerstone of enchanting mobile photography. To create stunning shots, you'll need to master a few key rules.
Start with the rule of thirds: imagine your frame divided into a 3×3 grid and place your subject along these lines or at their intersections. This creates a more balanced and visually appealing image.
Next, pay attention to leading lines. Use natural or man-made lines to guide the viewer's eye through the image and towards your main subject. Look for roads, fences, or architectural elements that can serve this purpose.
Don't forget about symmetry and patterns. Our brains are naturally drawn to these elements, so incorporating them can make your photos more intriguing. Seek out reflections in water or glass, or find repetitive shapes in nature or urban environments.
Lastly, consider negative space. This empty area around your subject can help it stand out and create a sense of simplicity or isolation. Experiment with different amounts of negative space to evoke various moods in your shots.
HDR Bracketing on Mobile Devices
HDR bracketing can greatly enhance your mobile photos by capturing a wider range of light and detail.
You'll need to adjust your device's exposure bracket settings to take multiple shots at different exposure levels.
Once you've captured these varied exposures, you can merge them into a single, dynamic image that showcases both highlights and shadows.
Exposure Bracket Settings
Mastering exposure bracket settings on your mobile device can elevate your photography to new heights. Most modern smartphones offer built-in HDR bracketing features, but understanding how to adjust these settings manually will give you more control over your final image.
Start by accessing your camera app's advanced settings. Look for options like "HDR," "Auto HDR," or "Exposure Bracketing." Enable this feature and adjust the number of shots in your bracket sequence—typically, three to five exposures work well for most scenes.
Next, set the exposure value (EV) range. A common starting point is -2EV, 0EV, and +2EV for a three-shot bracket. For high-contrast scenes, consider expanding your EV range or increasing the number of shots. Experiment with different combinations to find what works best for your subject.
Remember, wider brackets capture more dynamic range but may introduce motion blur or ghosting in moving subjects. Pay attention to your device's burst speed when bracketing. Faster bursts reduce the risk of camera shake between exposures.
If your phone allows it, use a timer or remote shutter release to minimize movement. Finally, always shoot in RAW format when bracketing to preserve maximum detail for post-processing.
Merging Multiple Exposures
Exposure fusion techniques have revolutionized mobile photography, allowing you to create stunning HDR images directly on your smartphone. Once you've captured your bracketed exposures, it's time to merge them into a single, high-dynamic-range image.
Many smartphones now offer built-in HDR merging capabilities, but you can also use third-party apps for more control over the process. To merge your exposures, select the series of bracketed shots in your phone's gallery or within your chosen HDR app.
The software will align the images and combine the best-exposed areas from each shot. You'll often have options to adjust the strength of the HDR effect, fine-tune contrast, and control highlight and shadow details. Experiment with these settings to achieve your desired look.
Be mindful of potential artifacts like ghosting or haloing, which can occur when merging images with moving subjects or high-contrast edges. Some apps offer deghosting options to mitigate these issues.
After merging, you may want to make final adjustments to color, sharpness, and overall tonality to perfect your HDR macro shot. With practice, you'll master the art of creating balanced, natural-looking HDR images that showcase the full range of detail in your macro subjects.
Post-Processing HDR Macro Images
After capturing stunning HDR macro shots with your mobile device, the real magic happens in post-processing.
Start by importing your merged HDR image into a mobile editing app like Snapseed or Lightroom Mobile. These apps offer powerful tools specifically designed for HDR enhancement.
Begin by adjusting the overall exposure and contrast to bring out the details in both highlights and shadows. Fine-tune the white balance to guarantee accurate colors, especially important in macro photography.
Use the clarity and structure sliders to enhance texture and bring out intricate details in your subject.
Next, focus on color grading. Boost vibrance slightly to make colors pop, but be careful not to oversaturate.
Adjust individual color channels to achieve the desired mood and atmosphere. For macro shots, pay special attention to the greens and reds, as these often dominate close-up nature photography.
Overcoming Common Mobile Macro Challenges
Mobile macro photography presents unique challenges that can test even experienced photographers. One of the biggest hurdles you'll face is maintaining focus on your tiny subject. To overcome this, use your phone's tap-to-focus feature and lock the focus before shooting. You can also try using a tripod or stabilizing your device against a stable surface to reduce camera shake.
Lighting is another critical factor in macro photography. Natural light is often best, but it's not always available or sufficient. Consider investing in a small LED light or ring light to illuminate your subject evenly. Alternatively, you can use a white piece of paper or card as a makeshift reflector to bounce light onto your subject.
Depth of field is typically shallow in macro shots, making it difficult to keep your entire subject in focus. To address this, experiment with your phone's portrait or aperture mode to adjust the depth of field. You can also try focus stacking, where you take multiple shots at different focus points and combine them in post-processing.
Lastly, be patient and persistent. Macro photography requires practice and experimentation to master, but the results can be truly stunning.
Showcasing Your HDR Macro Portfolio
Curating a stunning HDR macro portfolio can set you apart in the competitive world of mobile photography. Your collection should showcase your unique style and technical proficiency in capturing intricate details with high dynamic range.
When assembling your portfolio, focus on diversity in subjects, compositions, and lighting conditions to demonstrate your versatility.
To effectively showcase your HDR macro portfolio:
- Choose a suitable platform: Select a professional-looking website or social media platform that allows for high-resolution image displays and easy navigation.
- Organize your work: Group similar shots together or create themed collections to guide viewers through your portfolio logically.
- Include behind-the-scenes information: Share your process, equipment used, and any post-processing techniques to add value for potential clients or followers.
Don't forget to update your portfolio regularly with your latest and best work.
Consider including a brief artist statement that explains your approach to HDR macro photography and what inspires you. This personal touch can help potential clients or collaborators connect with your vision and style.
Frequently Asked Questions
Can HDR Macro Photography Be Done With Older Smartphone Models?
Yes, you can do HDR macro photography with older smartphones, but you'll face limitations. You'll need to use third-party apps, external lenses, and creative lighting techniques to compensate for older hardware. It's challenging but possible with patience and practice.
How Do Weather Conditions Affect HDR Macro Shots Taken Outdoors?
Weather greatly impacts your outdoor HDR macro shots. You'll face challenges with wind, rain, and changing light. Overcast days can be ideal, while harsh sunlight may cause issues. Adapt your settings and timing for the best results.
Are There Any Ethical Considerations When Photographing Live Insects for Macro Shots?
When photographing live insects for macro shots, you should consider their welfare. Don't disturb habitats, avoid handling insects, and use long lenses to maintain distance. Respect nature and don't stress or harm the insects you're capturing.
What Are the Best Practices for Storing and Organizing HDR Macro Images?
To store and organize your HDR macro images, you'll want to use a robust file system. Create folders by date, subject, or location. Use descriptive file names, add metadata, and back up regularly. Consider cloud storage for easy access.
How Can I Monetize My HDR Macro Photography Skills and Portfolio?
You can monetize your HDR macro photography skills by selling prints, licensing images to stock photo sites, offering workshops, creating tutorials, collaborating with brands, and showcasing your work on social media to attract potential clients.
In Summary
You've now revealed the secrets of HDR macro photography on your smartphone. With these techniques, you'll capture stunning close-ups that rival professional gear. Remember, practice makes perfect. Experiment with different subjects, lighting, and settings. Don't be afraid to push your phone's capabilities. As you refine your skills, you'll create breathtaking images that showcase the hidden beauty of the miniature world. Share your work and inspire others to explore the art of mobile macro photography.


Leave a Reply