Elevate your landscape mobile photography with these creative effects: long exposure water shots, silhouettes at sunset, HDR for dynamic range, panoramic vistas, and tilt-shift miniature effects. Don't miss light painting in darkness, lens flares for dramatic skies, infrared-style nature scenes, and reflection photography with water. Each technique offers unique ways to capture stunning outdoor scenes using just your smartphone. From creating dreamy water effects to transforming ordinary landscapes into surreal masterpieces, these methods will push your mobile photography to new heights. Dive deeper to reveal the full potential of your smartphone's camera and transform your landscape shots.
Long Exposure Water Effects
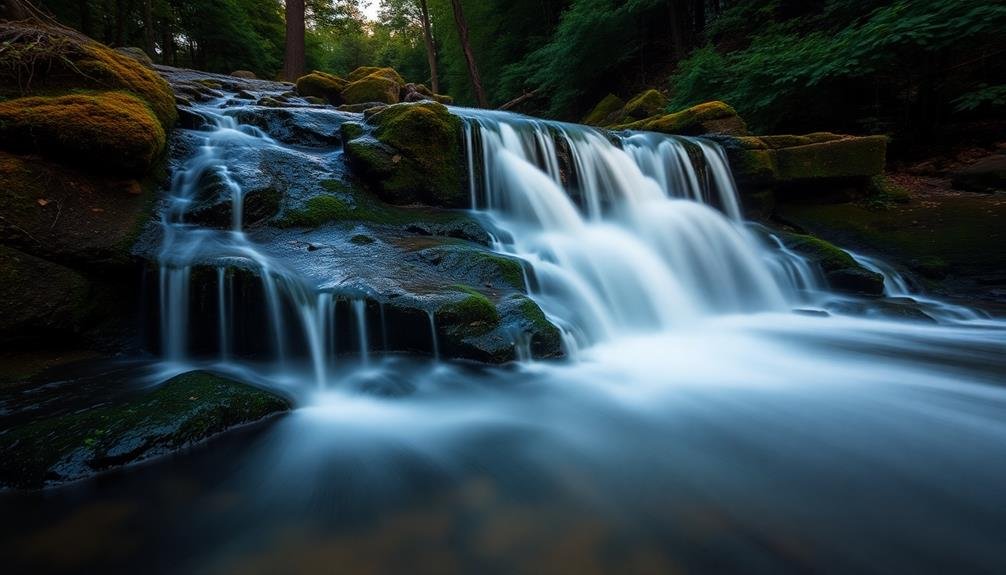
Capturing the ethereal beauty of flowing water, long exposure techniques can transform your landscape mobile photography. You'll need a few tools to achieve this effect: a tripod or stable surface for your phone, and a mobile app that allows manual control of shutter speed.
Start by setting your phone on the tripod and framing your shot. Look for scenes with moving water, like streams, waterfalls, or ocean waves. Choose a slow shutter speed, typically between 1/4 and 30 seconds, depending on the water's speed and the effect you're after. Slower speeds create a smoother, more misty appearance.
To compensate for the longer exposure, you'll need to reduce your ISO and close down your aperture (if your app allows). This prevents overexposure and maintains detail in brighter areas. Use your phone's timer or a remote shutter release to avoid camera shake.
Experiment with different shutter speeds and compositions. Try including static elements like rocks or trees to contrast with the silky water.
Silhouette Shots at Sunset
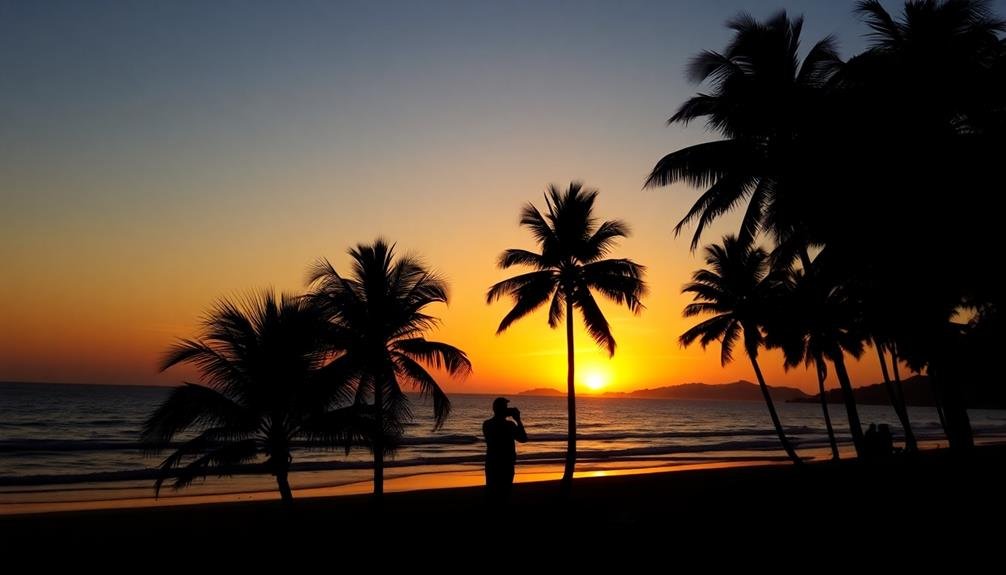
While long exposures create dreamy water effects, silhouette shots at sunset offer a different kind of drama in landscape mobile photography.
You'll capture striking contrasts between dark, shadowy foregrounds and vibrant, colorful skies. To achieve this effect, position yourself with the sun behind your subject, whether it's a tree, person, or landmark.
Expose for the sky by tapping on the brightest area of your phone screen. This will darken the foreground, creating a silhouette. If your phone has a manual mode, reduce the exposure compensation to deepen the shadows.
Experiment with composition by placing your subject off-center or using the rule of thirds. For added interest, look for unique shapes or recognizable outlines. A person's profile, a windmill, or a distant mountain range can make for compelling silhouettes.
Don't forget to take into account reflections in water, which can double the impact of your shot. To enhance the sunset colors, try using your phone's HDR mode or a graduated filter app.
These tools can help balance the exposure between sky and foreground, ensuring you capture the full range of sunset hues.
HDR for Dynamic Range
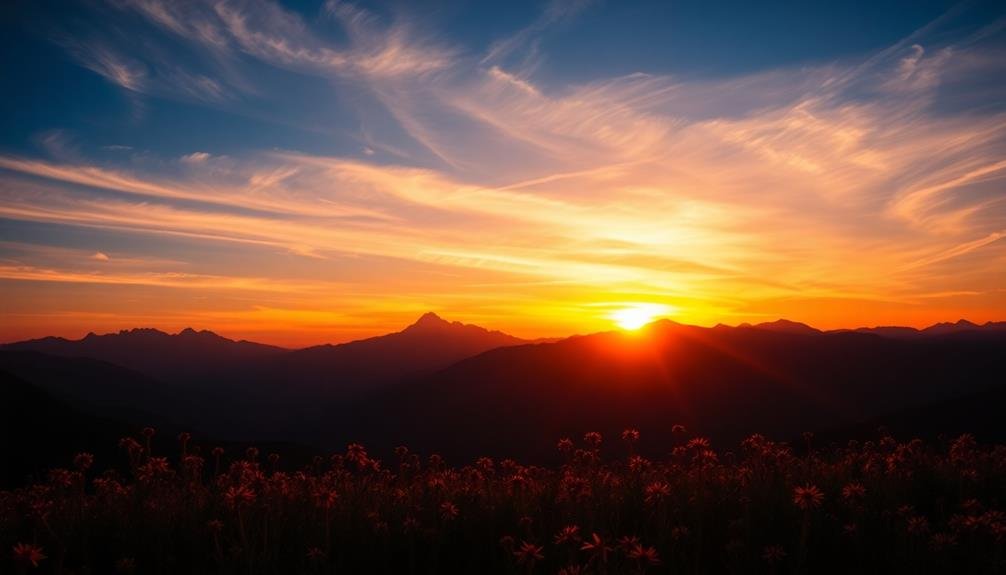
In light of the challenging lighting conditions often encountered in landscape photography, HDR (High Dynamic Range) can be a game-changer. This technique allows you to capture a wider range of tones, from deep shadows to bright highlights, resulting in images that more closely resemble what your eyes see.
To use HDR on your mobile device, you'll typically need to enable it in your camera settings. Once activated, your phone will take multiple exposures of the same scene and combine them into a single image. This process helps balance out extreme contrasts, such as a bright sky against a darker foreground.
When shooting in HDR mode, keep your camera steady to avoid ghosting or blurring. It's also important to choose scenes with high contrast for the best results. Landscapes with both shadowy areas and bright skies are ideal candidates for HDR photography.
While HDR can dramatically improve your landscape photos, be cautious not to overdo it. Excessive HDR can lead to unnatural-looking images with flat lighting. Aim for a balanced approach that enhances the scene's natural beauty without compromising its authenticity.
Panoramic Vistas
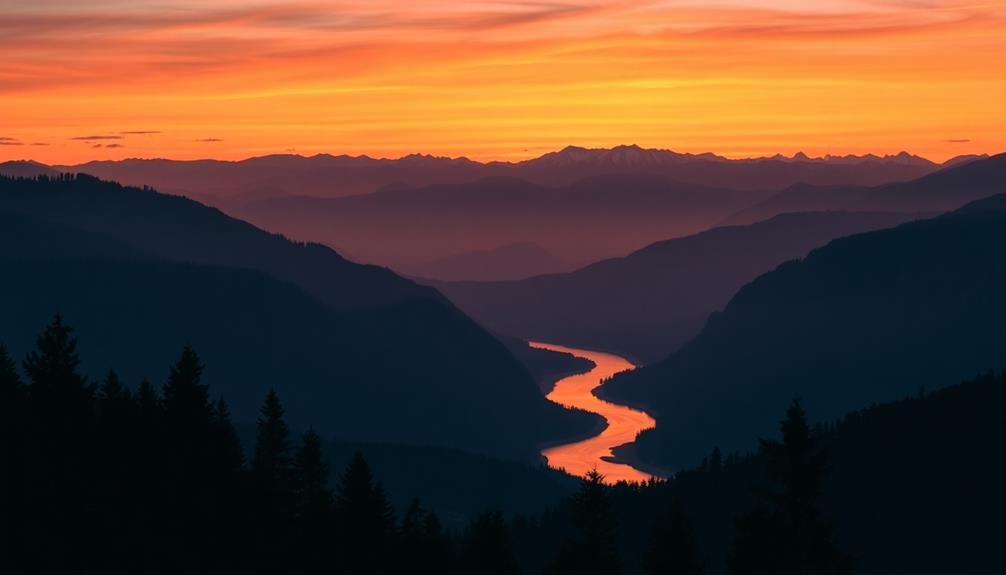
Panoramic vistas offer a breathtaking way to showcase expansive landscapes that can't be contained in a single frame. To capture these wide-angle shots, you'll need to use your smartphone's panorama mode or a dedicated panorama app.
Start by finding a scene with a clear horizon and interesting elements spread across a wide area. Hold your phone vertically for taller panoramas or horizontally for wider ones.
Begin at one end of your desired composition and slowly pan across the scene, keeping the phone steady and level. Most panorama modes will guide you with on-screen arrows or lines to guarantee smooth movement.
Pay attention to moving objects, as they can create distortions in the final image. For best results, choose scenes with minimal movement.
Consider including foreground elements to add depth and scale to your panorama. Experiment with different angles and elevations to create unique perspectives.
After capturing your panorama, use editing apps to fine-tune exposure, contrast, and colors. You can also crop the image to perfect your composition.
Tilt-Shift Miniature Effect
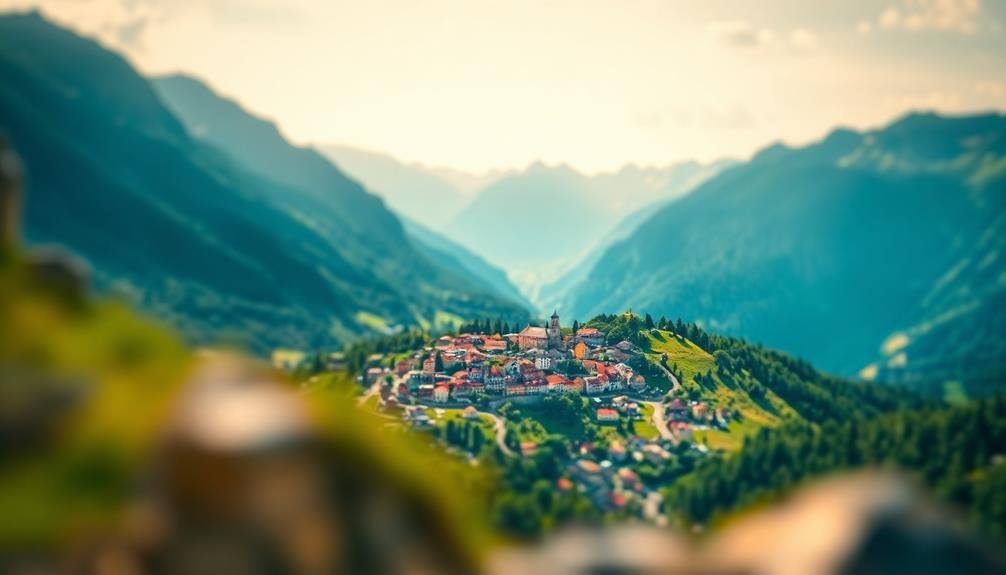
Tilt-shift photography allows you to create miniature-like scenes by manipulating focus and depth of field.
You can achieve this effect on your mobile device through selective focus techniques or by using specialized apps.
Post-processing plays an essential role in enhancing the tilt-shift look, allowing you to adjust blur, contrast, and saturation for a more convincing miniature effect.
Creating Miniature-Like Scenes
A fascinating optical illusion awaits landscape photographers who venture into the world of tilt-shift miniature effects. This technique makes real-world scenes appear as if they're miniature models by selectively blurring parts of the image. You'll create a shallow depth of field that tricks the eye into perceiving the scene as much smaller than it actually is.
To achieve this effect, you'll need to find a high vantage point overlooking your landscape. Focus on a specific area in the middle of the frame, then apply a gradual blur to the top and bottom. Many mobile apps now offer tilt-shift filters, making it easier than ever to experiment with this technique.
| Scene Type | Best Vantage Point | Effect Intensity |
|---|---|---|
| Cityscape | Skyscraper or hill | High |
| Beach | Cliff or drone | Medium |
| Rural landscape | Mountain or tower | Low |
Selective Focus Techniques
Frequently, selective focus techniques can elevate your landscape mobile photography to new heights. These methods allow you to draw attention to specific elements within your composition while blurring others.
One popular technique is the tilt-shift miniature effect, which simulates a shallow depth of field to make real-world scenes appear like miniature models. To achieve this effect, use your phone's portrait mode or a specialized tilt-shift app. Focus on a particular area of your landscape, typically about one-third of the way up from the bottom of the frame. The app will blur the top and bottom portions, creating the illusion of a miniature scene.
Experiment with different focal points and blur intensities to find the most intriguing result. This technique works best with scenes shot from an elevated angle, such as cityscapes or landscapes viewed from a hilltop.
Look for scenes with repeating patterns, vibrant colors, and distinct elements like buildings, vehicles, or people. By carefully applying selective focus, you'll transform ordinary landscapes into enchanting, toy-like worlds that intrigue viewers and showcase your creative vision.
Post-Processing for Tilt-Shift
While specialized apps can create tilt-shift effects in-camera, post-processing offers more control and precision.
To achieve the tilt-shift miniature effect in post-processing, you'll need to use photo editing software that allows for selective blurring and color adjustments.
Start by selecting the area you want to keep in focus, typically a horizontal band across your image. Apply a gradual blur to the areas above and below this band, mimicking the shallow depth of field characteristic of tilt-shift photography. Adjust the blur intensity to create a more pronounced miniature effect.
Next, boost the saturation and contrast of your image. This enhances the toy-like appearance of the scene. Pay attention to the lighting and shadows, as they play a significant role in selling the miniature illusion.
Experiment with vignetting to draw the viewer's eye to the center of the image. You can also add a slight warm color cast to simulate the look of miniature models photographed under artificial lighting.
Double Exposure Landscapes
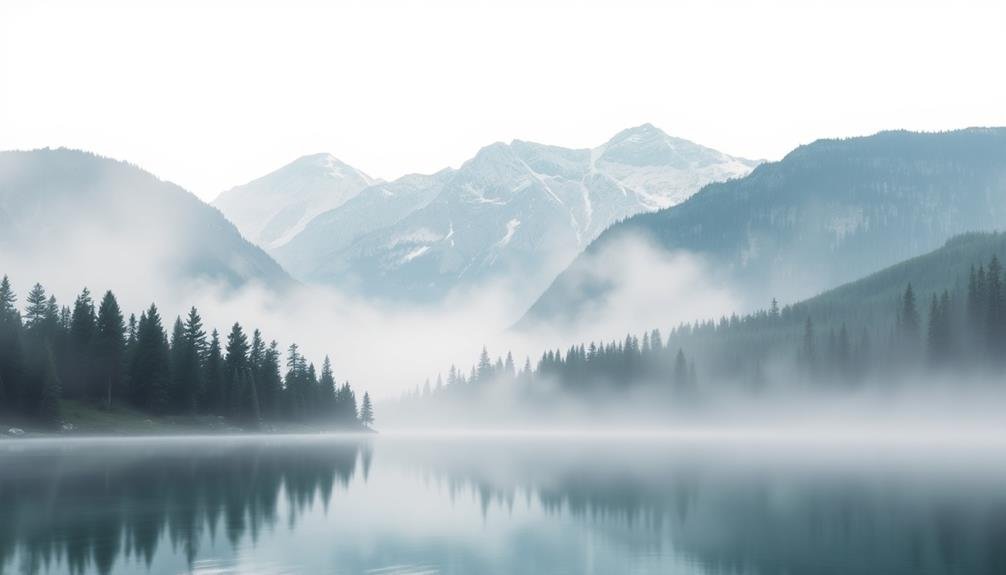
Double exposure landscapes offer a unique way to blend two scenes into one enchanting image.
You'll want to choose images that complement each other, such as combining a silhouette with a textured background.
Experiment with opacity levels to achieve the perfect balance between your chosen scenes, ensuring neither image overpowers the other.
Blending Scenes Effectively
A mesmerizing technique in mobile landscape photography is blending scenes through double exposure. This method allows you to combine two distinct landscapes into one enchanting image, creating a surreal and dreamlike effect.
To blend scenes effectively, start by choosing two complementary images. Look for contrasting elements, such as a forest and a cityscape, or mountains and water. Experiment with different opacity levels to achieve the perfect balance between the two scenes.
Pay attention to the composition of both images. Align key elements to create a harmonious blend, and use negative space to your advantage. Consider how light and shadows interact between the two scenes to enhance depth and dimension.
Color plays a vital role in successful blending. Try pairing images with similar color palettes for a cohesive look, or use contrasting colors to create visual impact. You can also experiment with black and white blending for a timeless, artistic feel.
Don't be afraid to get creative with your blends. Mix day and night scenes, combine different seasons, or blend landscapes from entirely different locations. The possibilities are endless, allowing you to craft unique and enchanting images that push the boundaries of traditional landscape photography.
Choosing Compatible Images
Selecting compatible images is essential for creating stunning double exposure landscapes. When choosing your base and overlay images, look for complementary elements that will enhance each other. Consider the colors, shapes, and textures of both photos to guarantee they'll blend seamlessly.
For your base image, select a landscape with strong, clean lines and a clear focal point. This could be a mountain range, a city skyline, or a vast desert.
The overlay image should have interesting details that'll add depth and intrigue to your composition. Think about using silhouettes of trees, wildlife, or architectural elements.
Pay attention to the lighting conditions in both images. It's often easier to blend photos with similar lighting, but contrasting light can also create dramatic effects. Experiment with different combinations to find what works best.
Don't forget about negative space. Areas of sky or water in your base image can provide perfect canvases for overlaying textures or patterns.
Adjusting Opacity Levels
Opacity adjustments are essential when creating double exposure landscapes. You'll need to carefully balance the visibility of both images to achieve a harmonious blend.
Start by setting your base landscape image at 100% opacity. Then, add your second image on top and reduce its opacity to around 50%. This allows both images to be visible while maintaining the integrity of the original landscape.
Experiment with different opacity levels to find the perfect balance. You might find that a 60/40 split works better for some combinations, while others require a more subtle 80/20 ratio.
Pay attention to how the images interact as you adjust the opacity. Look for areas where interesting details from both photos merge to create unique textures or patterns.
Don't be afraid to use layer masks to selectively adjust opacity in specific areas. This technique allows you to reveal or hide parts of the top image, creating a more dynamic and intentional composition.
You can also try blending modes in conjunction with opacity adjustments to further enhance the interaction between your two images.
Light Painting in Darkness
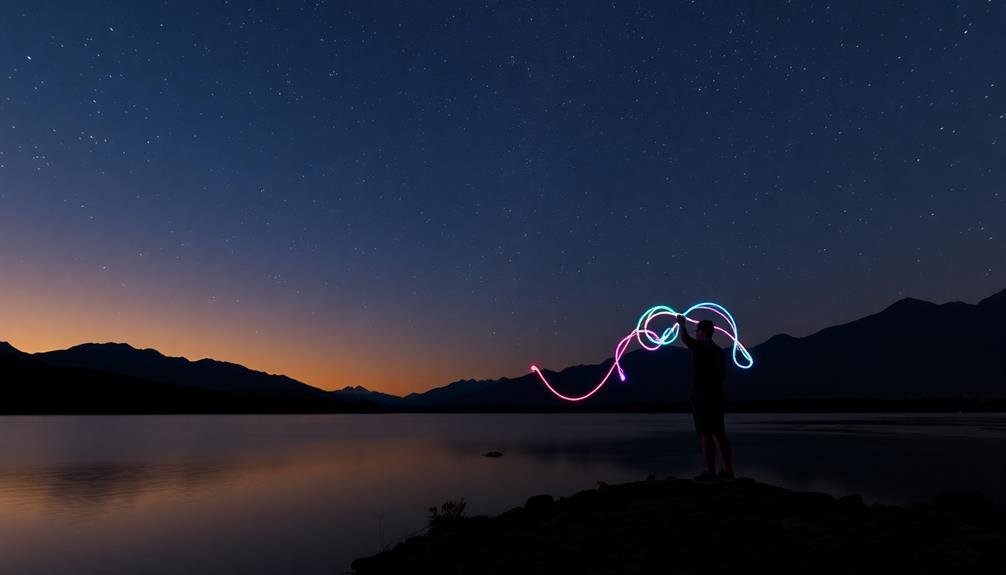
Mystery and magic come alive when you explore light painting in darkness for your landscape mobile photography. This technique allows you to create stunning, otherworldly images by using artificial light sources to "paint" your scene while the camera's shutter remains open.
To begin, you'll need a stable surface for your phone, like a tripod, and a light source such as a flashlight or LED wand. Set your camera app to manual mode and choose a long exposure time, typically between 10-30 seconds. As the shutter opens, use your light source to illuminate specific areas of the landscape.
Experiment with different movements and patterns. Sweeping motions can create ethereal glows, while precise gestures can highlight particular features. Try varying the intensity and color of your light source for diverse effects. Remember, less is often more – subtle illumination can produce the most striking results.
For added creativity, incorporate elements like steel wool spinning or light orbs. Always prioritize safety when working with fire-based effects.
With practice, you'll master this technique, transforming ordinary landscapes into enchanting, luminous masterpieces that stand out in your portfolio.
Lens Flare for Dramatic Skies
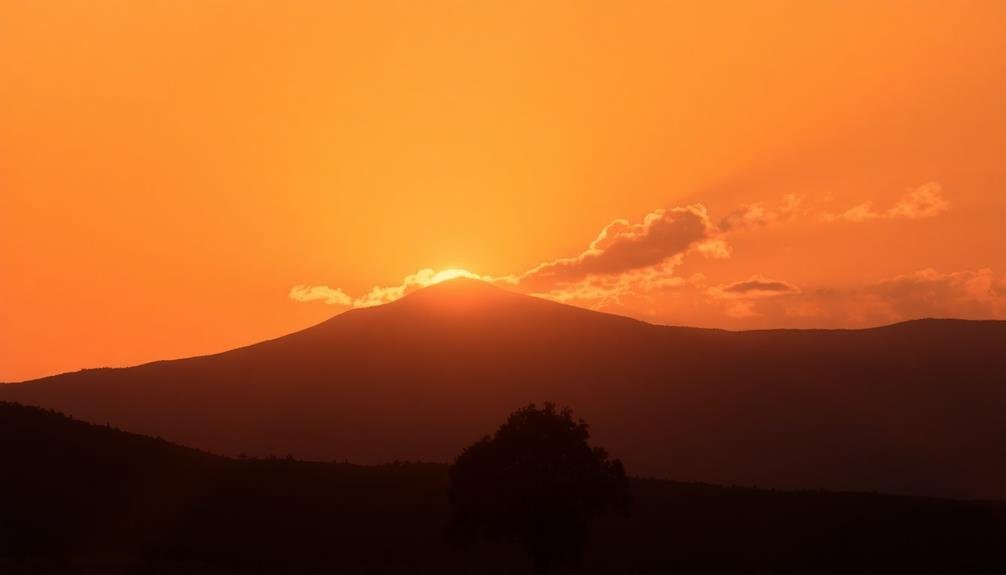
Lens flares often add a touch of magic to landscape photos, especially when capturing dramatic skies. To create this effect, position your phone's camera so that the sun is just peeking out from behind an object in your frame. This technique works best during golden hour or when the sun is low on the horizon.
Experiment with different angles to control the intensity and placement of the flare. You'll want to find a balance where the flare enhances your image without overpowering it.
If you're struggling to get the desired effect naturally, try using a lens flare app or editing tool to add it in post-processing.
When shooting with lens flares, be mindful of your exposure. The bright light can fool your camera's sensor, so you might need to adjust your settings manually.
Use HDR mode or bracket your shots to capture details in both highlights and shadows.
Infrared-Style Nature Scenes
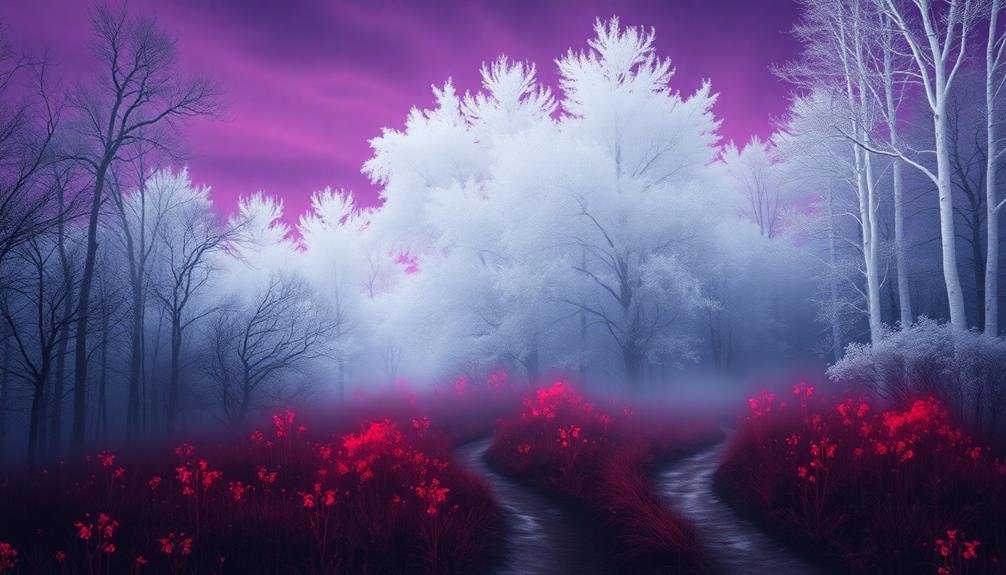
While lens flares add warmth to your landscapes, infrared-style effects can create a surreal, otherworldly atmosphere. This technique transforms green foliage into ethereal white, making your nature scenes look like they're from another planet. To achieve this look, you don't need specialized equipment; many mobile apps offer infrared-style filters or editing tools.
When shooting for an infrared effect, look for scenes with a mix of foliage and sky. The contrast between the bright white leaves and the dark sky creates a striking image. Shoot on bright, sunny days for the best results, as infrared-style effects work well with high-contrast scenes.
Focus on compositions that emphasize trees, grass, and other vegetation to maximize the impact of the white foliage.
In post-processing, adjust the color channels to push greens towards white and blues towards black. Increase contrast and clarity to enhance the surreal look. Experiment with partial color effects, leaving some elements in their natural hues for a unique twist.
Don't overdo it; subtle infrared effects can be just as impactful as dramatic ones. With practice, you'll master this technique to create enchanting, dreamlike landscapes.
Reflection Photography With Water
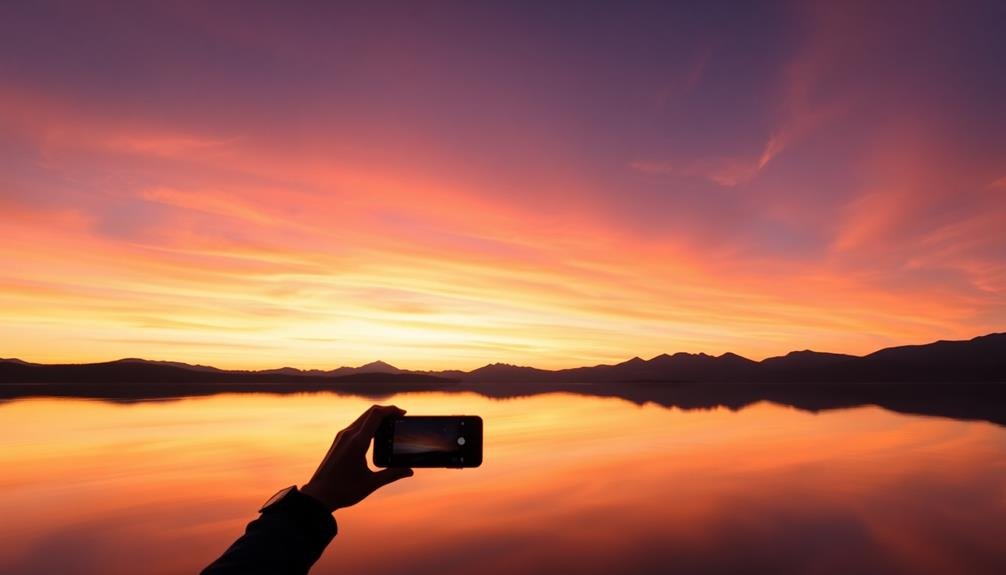
Capturing reflections in water can transform ordinary landscapes into stunning, symmetrical compositions. To achieve this effect, you'll need to find a still body of water, such as a lake, pond, or even a puddle. Look for calm days with minimal wind to guarantee smooth, mirror-like surfaces.
Position your smartphone's camera low, close to the water's edge, to maximize the reflection's visibility. Experiment with different angles and heights to find the perfect balance between the real scene and its reflection. Use your phone's grid feature to align the horizon line with the center of the frame, creating a perfect symmetry.
For the sharpest results, tap to focus on the actual landscape rather than its reflection. Adjust your exposure by tapping and sliding on the screen to balance the brightness of both the sky and water. Consider using HDR mode to capture a wider range of tones.
Try shooting during golden hour for warm, dramatic lighting, or on overcast days for softer, more subdued reflections.
Don't forget to explore creative compositions by including foreground elements like rocks or branches to add depth and interest to your reflection photos.
Frequently Asked Questions
What Gear Is Essential for Advanced Landscape Mobile Photography?
You'll need a high-quality smartphone with multiple lenses, a sturdy tripod, and lens attachments for wider angles or zoom. Don't forget a remote shutter, portable power bank, and editing apps to enhance your shots on the go.
How Can I Protect My Phone While Shooting in Challenging Outdoor Conditions?
You'll want to invest in a rugged waterproof case to shield your phone from elements. Use lens filters for added protection. Don't forget a sturdy tripod and remote shutter to minimize handling in harsh conditions.
Are There Any Legal Considerations When Photographing Certain Landscapes or Landmarks?
You'll need to be aware of private property laws and potential restrictions on landmarks. Some places require permits for commercial photography. Always respect local regulations, cultural sensitivities, and privacy concerns when shooting landscapes or landmarks.
What Are the Best Times of Day for Capturing Different Landscape Effects?
You'll capture stunning landscapes at various times. Try sunrise for soft, warm light, midday for dramatic shadows, golden hour for rich colors, and blue hour for ethereal twilight effects. Experiment to find your favorite lighting conditions.
How Can I Effectively Edit Landscape Photos Directly on My Mobile Device?
You can effectively edit landscape photos on your mobile device using apps like Snapseed or Lightroom Mobile. Adjust exposure, contrast, and colors. Experiment with filters, crop for better composition, and use selective editing tools for precise adjustments.
In Summary
You've now got an arsenal of creative effects to elevate your landscape mobile photography. Don't be afraid to experiment and combine techniques. Remember, the best shots often come from taking risks and trying something new. Whether you're capturing flowing water, dramatic sunsets, or expansive vistas, these effects will help you stand out. Keep practicing, and you'll soon master these techniques, transforming ordinary scenes into extraordinary images. Happy shooting!



Leave a Reply