Elevate your mobile photos with these pro HDR editing tricks. Start by balancing highlights and shadows to capture the full dynamic range. Enhance color saturation selectively to make key elements pop without oversaturating the entire image. Adjust contrast to add depth and dimension to your shots. Fine-tune local exposure areas to highlight important details and create focal points. For the ultimate HDR effect, blend multiple exposures to capture an even wider range of tones. These techniques will help you transform ordinary snapshots into stunning, professional-looking images. Mastering these tricks will open up a world of creative possibilities for your mobile photography.
Balance Highlights and Shadows

When balancing highlights and shadows in HDR mobile photography, your primary goal is to reveal details in both bright and dark areas of the image. Start by adjusting the exposure slider to find a middle ground where neither the highlights nor shadows are completely lost.
Then, use the highlights slider to bring back detail in overexposed areas, such as bright skies or reflective surfaces.
Next, focus on the shadows. Lift them slightly to reveal hidden details in darker areas, but be careful not to overdo it, as this can lead to a flat, unnatural look.
Pay attention to the mid-tones as well, as they play a significant role in creating a balanced image.
Use the contrast slider to add depth and dimension to your photo, but be subtle to maintain the HDR effect.
Don't forget to adjust the whites and blacks to fine-tune the overall tonal range.
Experiment with local adjustments to target specific areas that need more attention.
Enhance Color Saturation Selectively

In the domain of HDR editing, enhancing color saturation selectively is a powerful technique to bring your mobile photos to life. This method allows you to boost specific colors without affecting the entire image, resulting in a more natural and eye-catching result.
To start, identify the key colors you want to emphasize in your photo. You'll typically find these in the main subject or areas of interest. Use your mobile editing app's selective color tool to target these specific hues. Gradually increase the saturation of these colors, being careful not to overdo it. A slight boost can make a significant difference without appearing artificial.
Pay attention to complementary colors in your image. Enhancing these pairs can create a more vibrant and harmonious composition. For example, if you're working on a sunset photo, you might boost the oranges in the sky while slightly increasing the blues in the water or foreground.
Don't forget to take into account the mood you're trying to convey. Warmer colors can create a cozy or energetic atmosphere, while cooler tones might evoke a sense of calm or mystery. Adjust your selective color enhancements accordingly to reinforce the desired emotional impact of your photo.
Adjust Contrast for Depth
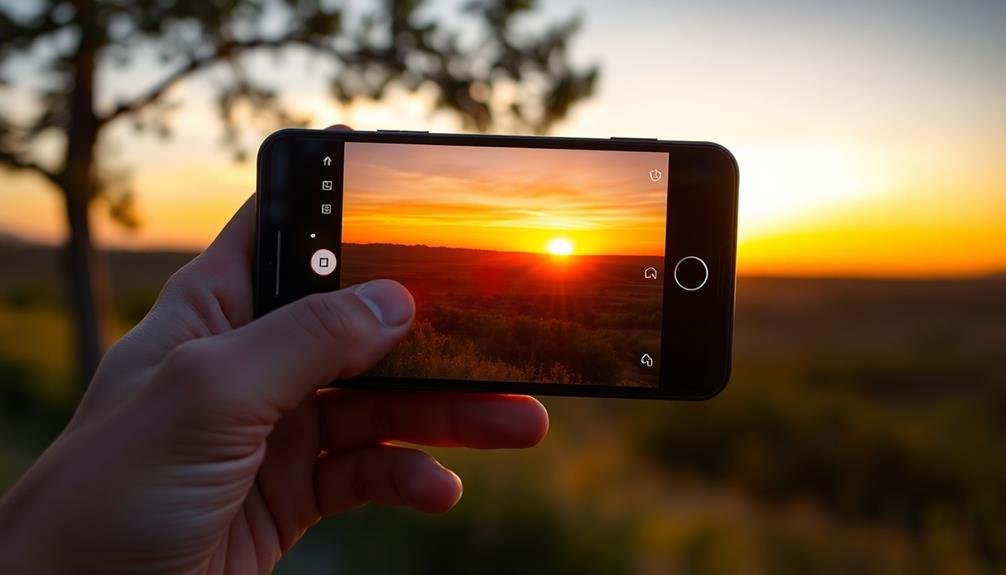
Adjusting contrast is a key technique in HDR editing that can add significant depth to your mobile photos. By manipulating the balance between light and dark areas, you'll create a more dynamic and visually engaging image.
Start by increasing the overall contrast slightly to make your photo pop. Then, focus on fine-tuning the shadows and highlights separately.
For shadows, gently lift the darker areas to reveal hidden details without losing the richness of deep blacks. This will help maintain a natural look while enhancing depth.
When adjusting highlights, be careful not to blow out bright areas. Instead, reduce their intensity to recover subtle textures and tones.
Use local contrast adjustments to enhance specific parts of your image. This technique, often called clarity or structure, adds definition to mid-tones and can make elements like clouds or architectural details stand out.
However, use it sparingly to avoid an overly processed look.
Don't forget about color contrast. Experiment with complementary colors to create visual interest and depth.
Slightly boost the saturation of warm tones in the foreground while cooling down background elements to enhance the sense of distance and dimension in your HDR mobile photos.
Fine-tune Local Exposure Areas

Fine-tuning local exposure areas is often the key to creating stunning HDR images on your mobile device. This technique allows you to selectively adjust the brightness and darkness of specific parts of your photo, enhancing its overall impact. By mastering local exposure adjustments, you'll bring out hidden details and create a more balanced, professional-looking image.
To effectively fine-tune local exposure areas, consider these tips:
- Use brush tools to paint over specific regions
- Adjust the opacity of your adjustments for subtle effects
- Focus on highlighting important subjects or details
- Pay attention to shadows and highlights separately
- Blend adjustments smoothly to avoid harsh shifts
Start by identifying areas that need exposure correction, such as overly bright skies or dark shadows. Use your app's local adjustment tools to carefully brush over these areas, gradually building up the effect.
Don't be afraid to experiment with different brush sizes and hardness levels to achieve precise control. Remember to periodically toggle your adjustments on and off to confirm you're not overdoing the effect.
With practice, you'll develop an eye for which areas benefit most from local exposure adjustments, allowing you to create more impactful and visually appealing HDR photos on your mobile device.
Blend Multiple HDR Exposures
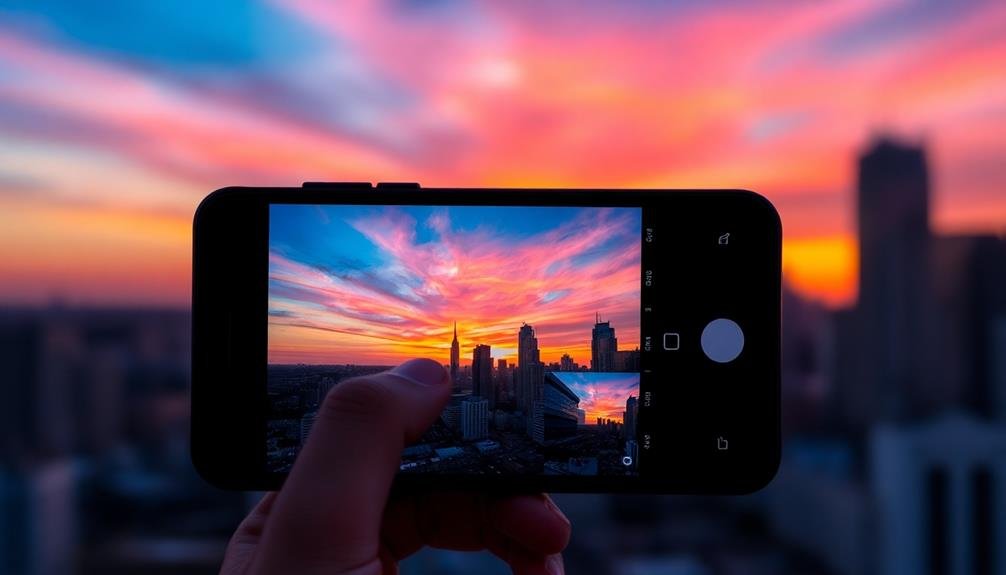
Blending multiple HDR exposures takes your mobile photography to the next level. To achieve this, you'll need to capture several shots of the same scene at different exposure levels. Most modern smartphones offer a built-in HDR mode, but for more control, use a third-party camera app that allows manual exposure adjustments.
Start by taking at least three photos: one underexposed, one properly exposed, and one overexposed. Once you've captured your images, import them into a mobile editing app that supports layering, such as Snapseed or Adobe Lightroom Mobile.
Begin by aligning the images precisely, then use layer masks to blend the best parts of each exposure. Focus on bringing out details in the highlights from the underexposed shot, preserving mid-tones from the properly exposed image, and revealing shadow details from the overexposed photo.
Use brushes or gradient tools to selectively reveal or hide areas of each layer. Pay close attention to high-contrast edges, where blending can be challenging. Adjust opacity and feathering to create seamless changes between exposures.
Frequently Asked Questions
What Is the Best HDR App for Mobile Photo Editing?
You'll find several excellent HDR apps for mobile editing. Adobe Lightroom, Snapseed, and ProHDR are top choices. They offer powerful tools to enhance your photos' dynamic range, giving you stunning results with easy-to-use interfaces. Try them out!
How Can I Avoid the "Hdr Look" While Still Using HDR Techniques?
To avoid the "HDR look," you'll want to use subtle adjustments. Don't overdo contrast or saturation. Blend exposures carefully, keeping shadows soft and highlights natural. Use masking to apply HDR effects selectively to specific areas.
Are There Any HDR Presets Available for Quick Editing on Mobile?
Yes, you'll find many HDR presets available for mobile editing apps. Popular choices include Snapseed, Lightroom Mobile, and VSCO. They offer quick, one-tap HDR effects. Experiment with different presets to find the style you like best.
Can HDR Techniques Be Applied to Videos on Mobile Devices?
Yes, you can apply HDR techniques to videos on your mobile device. Many modern smartphones offer HDR video recording built-in. You'll also find apps that let you add HDR effects to existing videos during editing.
How Do I Handle Motion Blur in HDR Photos Taken on a Smartphone?
To handle motion blur in HDR smartphone photos, you'll want to keep your device steady. Use a tripod or brace yourself against a stable object. If possible, enable your camera's built-in stabilization feature or use burst mode.
In Summary
You've now got the tools to take your mobile HDR photos to the next level. By balancing highlights and shadows, selectively enhancing colors, adjusting contrast, fine-tuning local exposures, and blending multiple HDR shots, you'll create stunning images that pop. Don't be afraid to experiment with these techniques and find your unique style. Remember, practice makes perfect, so keep shooting and editing. Your improved HDR photos will soon have everyone asking for your secrets!



Leave a Reply