
Transform your mobile fashion photos with these seven lighting hacks. Start by positioning your subject near a large window for natural light. Create a DIY ring light using LED strips and a circular frame. Use everyday items like cardboard and foil as reflectors for even illumination. Experiment with colored gels over light sources for vibrant effects. Capture dramatic shots using streetlights at night. Simulate a softbox with household items like pillowcases or shower curtains. Finally, try backlighting for striking silhouettes. These techniques will elevate your shots from amateur to professional without expensive equipment. Dive deeper to master each hack and take your fashion photography to the next level.
Natural Light Window Setup
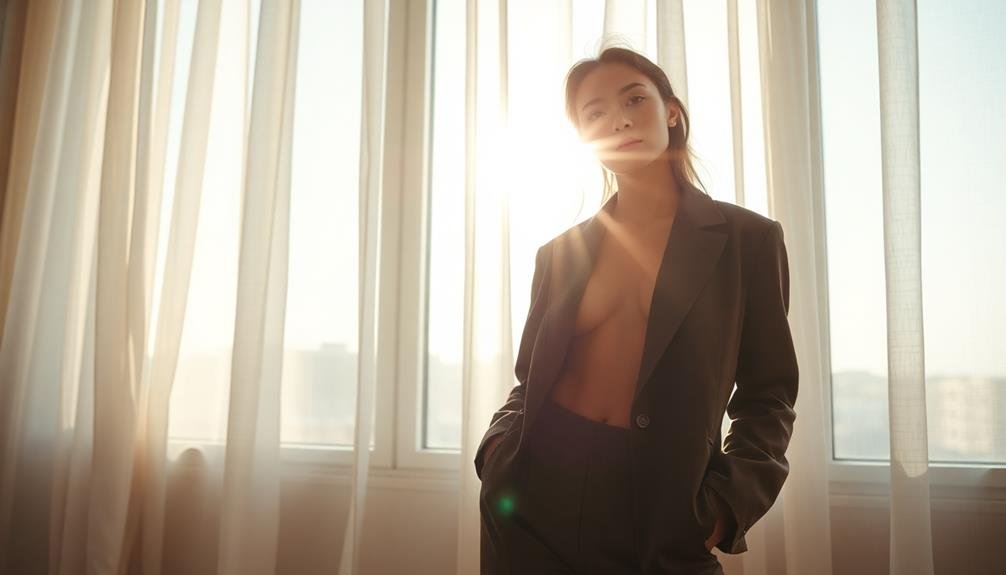
Harnessing the power of natural light, a window setup is one of the most effective and accessible ways to capture stunning fashion photos on your mobile device.
Position your subject near a large window, ideally on an overcast day or during the golden hour for soft, diffused light. If the sunlight's too harsh, use sheer curtains to filter it.
Place your model at a 45-degree angle to the window, allowing the light to sculpt their features. This angle creates depth and dimension in your shots. For a more dramatic look, try backlighting by positioning your subject between the camera and the window.
Use a white foam board or reflector opposite the window to bounce light back onto your subject, filling in shadows and creating a more balanced exposure.
Experiment with different distances between your model and the window to control the light's intensity.
Don't forget to clean your phone's camera lens and turn off the flash. Instead, adjust your camera app's exposure settings manually for better control over the final image.
With these techniques, you'll elevate your mobile fashion photography using just natural light and simple tools.
DIY Ring Light Alternative
You don't need an expensive ring light to achieve professional-looking fashion photos on your phone.
Create a budget-friendly alternative using a flexible LED strip light wrapped around a circular frame, like an embroidery hoop.
For diffusion, experiment with materials such as parchment paper or a white shower curtain, and mount your DIY ring light using a selfie stick or a repurposed lamp stand.
Budget-Friendly Light Source
Crafty fashionistas don't need to break the bank for professional-looking photos. You can create stunning fashion shots using budget-friendly light sources readily available in your home. Let's explore some affordable options that'll elevate your mobile photography game.
Transform everyday items into powerful light sources with these simple hacks:
| Item | Usage |
|---|---|
| White poster board | Reflector |
| Desk lamp | Key light |
| Smartphone flashlight | Fill light |
| Window | Soft natural light |
Start by positioning your subject near a window for soft, diffused lighting. Use a white poster board as a reflector to bounce light and fill in shadows. For evening shoots, repurpose a desk lamp as your main light source. Angle it towards your subject for dramatic effects or diffuse it with a white sheet for softer illumination.
Don't underestimate your smartphone's flashlight. It's perfect for adding a pop of light to specific areas or creating interesting shadows. Experiment with different angles and distances to achieve the desired effect. Remember, the key to great lighting is experimentation. Try various combinations of these budget-friendly sources to find what works best for your style and subject matter.
Homemade Diffuser Options
While ring lights are popular for achieving that coveted halo effect in fashion photos, they can be expensive. Fortunately, you can create a homemade diffuser that mimics a ring light's soft, even illumination. Start with a large piece of white foam board and cut out a circular hole in the center, just big enough for your smartphone's lens to peek through. This DIY ring light alternative will help diffuse harsh light and create a flattering glow around your subject.
Another option is to make a collapsible diffuser using a wire hanger and a white shower curtain. Bend the hanger into a circular shape, then stretch the curtain material over it. This portable solution is perfect for on-the-go shoots.
For a smaller, more focused diffuser, try cutting a hole in the bottom of a white paper cup and placing it over your phone's flash. This simple trick softens the light and reduces harsh shadows.
You can also experiment with household items like wax paper or tissue paper. Secure these materials over your phone's flash using rubber bands for a quick and easy diffusion effect.
Creative Mounting Solutions
Several creative mounting solutions can transform everyday objects into DIY ring light alternatives for mobile fashion photography. One effective option is to use a flexible desk lamp with a daylight-balanced bulb. Position it close to your subject, creating a circular reflection in their eyes.
You can also repurpose a circular bathroom mirror with built-in lights, mounting it on a stand or tripod for a portable ring light effect.
Another inventive solution involves using LED strip lights. Attach them to a circular cardboard cutout or a hula hoop, creating a customizable ring light that's easy to transport.
For a more compact option, try using battery-operated fairy lights wrapped around a wire frame or embroidery hoop.
Don't overlook the potential of common household items. A white plastic bucket with a hole cut in the bottom can serve as a makeshift beauty dish when paired with a bright flashlight.
Similarly, a white umbrella can diffuse light effectively when positioned behind your camera.
These DIY solutions not only save money but also allow you to experiment with different lighting effects, enhancing your mobile fashion photography without breaking the bank.
Reflector Tricks for Even Illumination
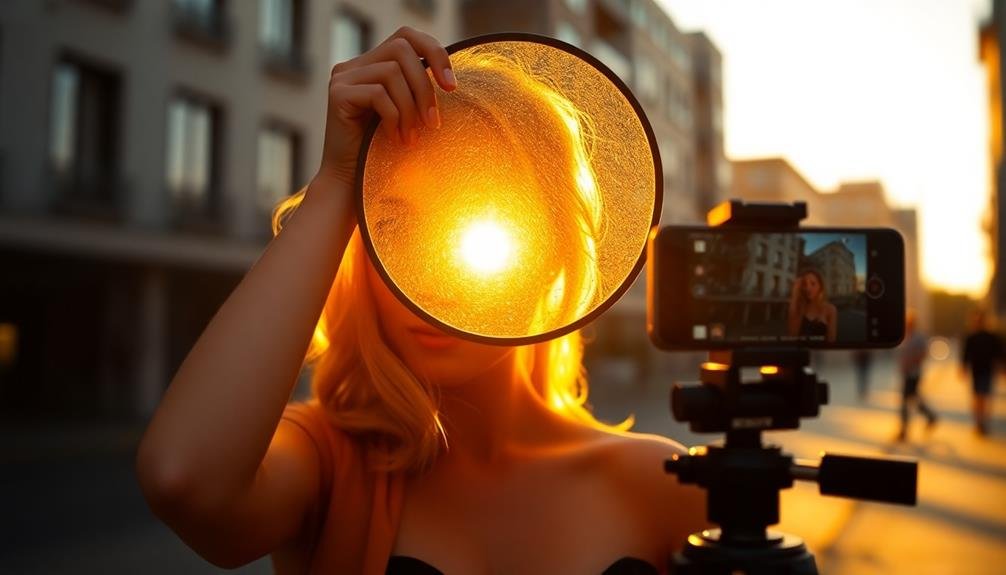
Reflector magic can transform your mobile fashion photos by creating even, flattering illumination. You don't need expensive equipment; everyday items can serve as effective reflectors. Use white cardboard, aluminum foil, or even a light-colored wall to bounce light onto your subject.
Position your reflector opposite the main light source to fill in shadows and create a balanced look. For outdoor shoots, try placing it below your model's face to reduce unflattering under-eye shadows. Experiment with different angles and distances to find the perfect balance of light and shadow.
Here's a quick guide to common reflector types and their effects:
| Reflector Type | Effect | Best Use |
|---|---|---|
| White | Soft, natural | Portraits |
| Silver | Bright, contrasty | High-energy shots |
| Gold | Warm glow | Sunset simulations |
Don't limit yourself to traditional reflectors. A white t-shirt or a car windshield sun shade can work wonders in a pinch. Remember, the key is to experiment and observe how different reflective surfaces interact with your light source and subject. With practice, you'll master the art of even illumination for stunning mobile fashion photos.
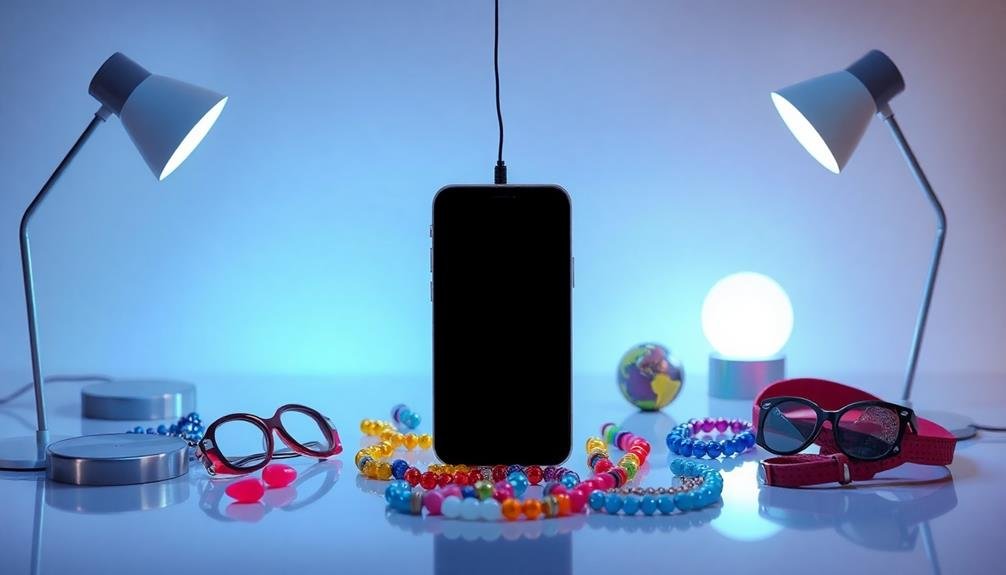
Colored Gels for Creative Effects
Colored gels can transform your mobile fashion photos, adding depth and visual interest.
You'll create vibrant color contrasts by placing different colored gels over your light sources, instantly elevating your images.
Creating Vibrant Color Contrasts
To take your mobile fashion photos up a notch, immerse yourself in the world of colored gels for creative lighting effects. By combining different colored gels, you'll create vibrant color contrasts that make your images pop.
Start with complementary colors like blue and orange or purple and yellow for striking results. Place one gel over your main light source and another on a fill light or reflector to achieve a dynamic two-tone effect.
Experiment with warm and cool color combinations to evoke different moods. For example, use a warm orange gel on your key light and a cool blue on your fill light to create a sunset-like ambiance.
Don't be afraid to push boundaries by mixing unconventional colors like teal and magenta for a bold, fashion-forward look.
When working with colored gels, pay attention to your model's skin tone and clothing. Some color combinations may clash or create unflattering effects. Always test different gel combinations before your shoot to find the perfect balance.
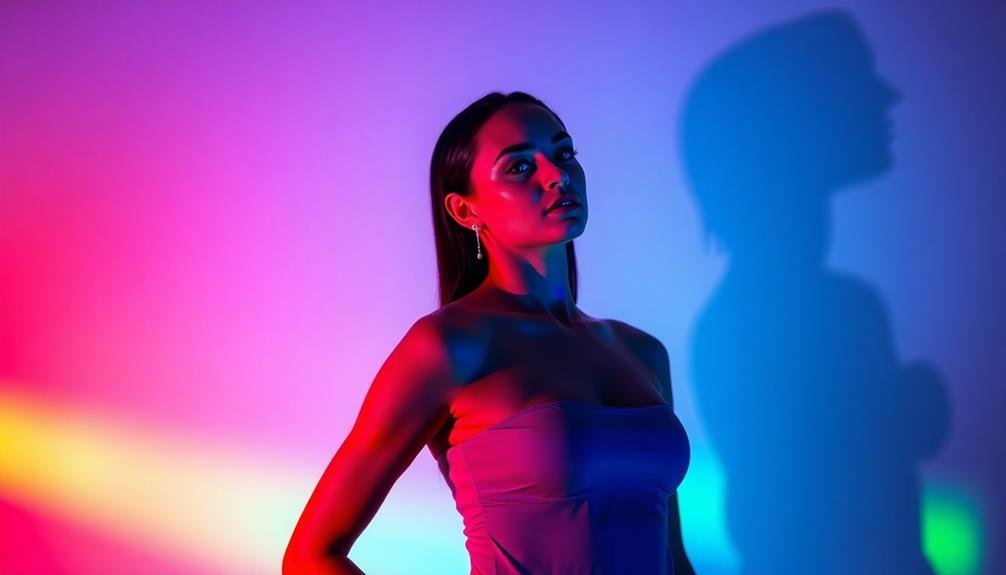
Mood-Setting With Tinted Light
Ever wondered how to set the perfect mood in your mobile fashion photos? Tinted light is your secret weapon. By using colored gels or filters over your light sources, you'll create unique atmospheres that transform ordinary shots into enchanting visual stories.
Start with a basic set of gel colors: red, blue, and yellow. These primary hues allow you to mix and match for endless possibilities. Place gels over your phone's flash or external LED lights to bathe your subject in colorful illumination. Experiment with different combinations to evoke specific moods:
| Gel Color | Mood | Best For | Avoid | Tips |
|---|---|---|---|---|
| Red | Passionate | Evening wear, bold looks | Skin-focused shots | Use sparingly to avoid oversaturation |
| Blue | Calm, cool | Beachwear, denim | Warm-toned outfits | Pair with warm fill light for balance |
| Yellow | Energetic | Summer fashion, outdoors | Cool-toned clothing | Blend with natural light for subtlety |
| Purple | Mysterious | Haute couture, editorials | Casual, everyday looks | Combine with soft lighting for depth |
| Green | Fresh, natural | Eco-friendly fashion | Formal wear | Use with skin-flattering fill light |
Nighttime Street Light Techniques
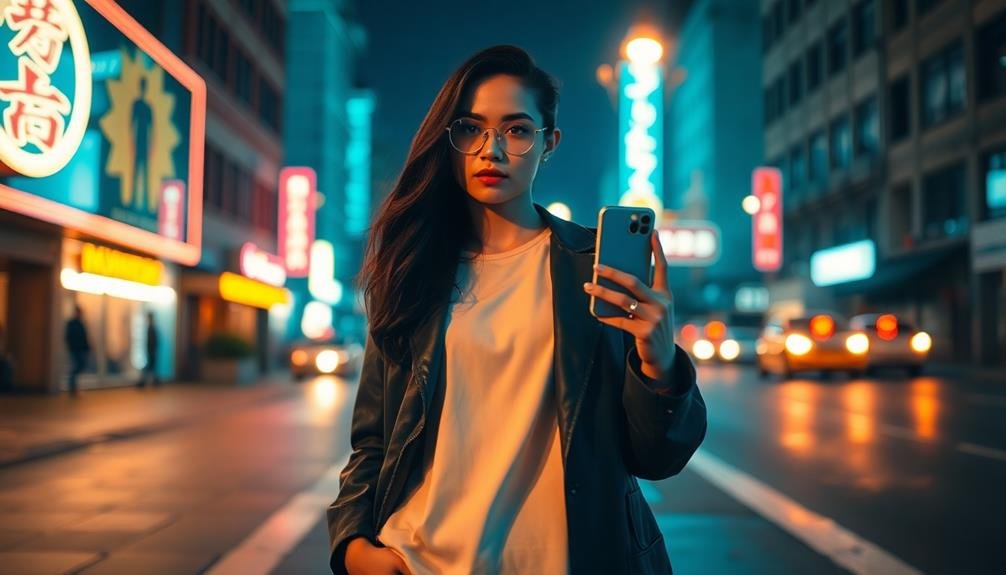
Streetlights come alive at night, offering a unique opportunity for creative mobile fashion photography. You'll find that these ambient light sources can add a dramatic flair to your shots, creating a moody urban atmosphere.
To make the most of streetlights, position your model near the light source, allowing it to illuminate their face and outfit. Experiment with different angles to capture the interplay between light and shadow. Try shooting from below to create elongated silhouettes, or from the side to highlight facial contours.
Don't be afraid to embrace high contrast; it can add a cinematic quality to your images. To elevate your nighttime street photography, consider these techniques:
- Use reflective surfaces like puddles or car hoods to create interesting light patterns
- Incorporate neon signs for pops of color and urban ambiance
- Utilize long exposures to capture light trails from passing cars
Remember to adjust your camera settings for low light conditions. Increase your ISO, widen your aperture, and slow down your shutter speed to let in more light.
With practice, you'll master the art of turning ordinary streetlights into enchanting backdrops for your fashion photos.
Softbox Simulation With Household Items
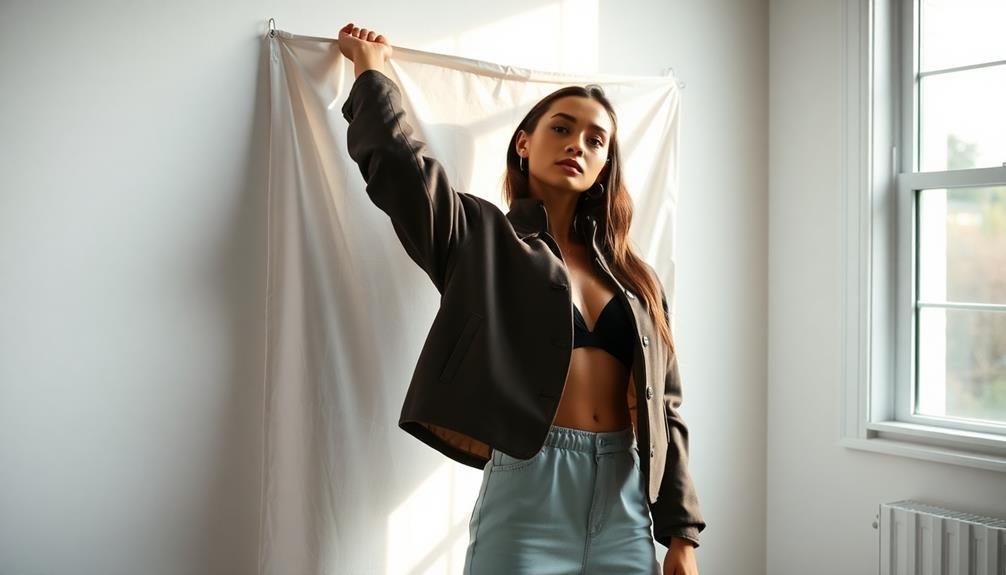
Creativity shines when you simulate professional lighting equipment using everyday household items. To create a softbox effect for your mobile fashion photos, start with a white pillowcase or sheet. Stretch it tightly over a frame, like a cardboard box or wire hanger bent into a square shape.
Position your light source behind this DIY diffuser to soften harsh shadows and create even lighting on your subject.
For a larger softbox, use a white shower curtain or translucent window curtain. Hang it from a curtain rod or clothesline to create a wall of soft light.
Place your subject near this makeshift softbox for a flattering, wraparound effect.
Don't have a dedicated light source? No problem. Use a desk lamp or floor lamp with the shade removed. Cover the bulb with parchment paper or a white plastic bag to diffuse the light.
Remember to keep flammable materials away from hot bulbs.
For a portable option, create a mini softbox using a clear plastic container. Cut out one side and replace it with white tissue paper.
Place your phone's flashlight inside for a compact, directional light source.
Backlighting for Dramatic Silhouettes

Backlighting can transform your mobile fashion photos from ordinary to extraordinary. By positioning your light source behind your subject, you'll create a dramatic silhouette effect that adds depth and intrigue to your images. This technique works best during golden hour, just after sunrise or before sunset, when the natural light is soft and warm.
To achieve stunning backlit fashion photos with your smartphone:
- Find a strong light source, like the sun or a bright window
- Position your subject between the light and your camera
- Experiment with different angles to capture the perfect halo effect
When shooting, expose for the highlights to maintain detail in the brightest areas of your image. This will naturally darken your subject, creating a striking silhouette. If you want to retain some detail in your subject, use your phone's HDR mode or adjust the exposure in post-processing.
Don't be afraid to get creative with poses and props. Flowing fabrics, hair movement, and interesting shapes can enhance the dramatic effect of backlighting.
Frequently Asked Questions
How Do I Prevent Harsh Shadows When Using Direct Sunlight?
To prevent harsh shadows in direct sunlight, you'll want to use a diffuser. You can buy one or make your own using translucent fabric. Place it between the sun and your subject to soften the light and minimize shadows.
What's the Best Camera App for Manual Lighting Control?
You'll find excellent manual lighting control with ProCamera or Camera+ 2. They offer robust exposure adjustments, custom white balance, and RAW capture. Halide's also great for its intuitive interface. Try them out to see which suits your style best.
Can I Use My Phone's Flash for Professional-Looking Fashion Photos?
You can use your phone's flash, but it's not ideal for professional fashion photos. It often creates harsh shadows and unflattering light. Instead, try using natural light or investing in external lighting accessories for better results.
How Do I Achieve a Soft, Dreamy Glow in Indoor Settings?
To create a soft, dreamy glow indoors, you'll want to diffuse your light sources. Use sheer curtains or white sheets to soften window light. Place lamps behind translucent materials or bounce light off white walls for a gentle, ethereal effect.
What Lighting Equipment Is Essential for a Beginner Mobile Fashion Photographer?
You'll need a ring light for even illumination, a portable LED panel for versatility, and a collapsible reflector for fill light. Don't forget a smartphone tripod and remote shutter. These essentials will elevate your mobile fashion photography game.
In Summary
You've now got a toolkit of lighting tricks to elevate your mobile fashion photography. Don't be afraid to experiment with these techniques and combine them for unique results. Remember, great lighting can transform an ordinary shot into something extraordinary. Keep practicing, and you'll soon be capturing stunning fashion photos that rival professional shoots. With your smartphone and these lighting hacks, you're ready to create eye-catching content that'll wow your audience.


Leave a Reply