To capture stunning mobile RAW night photos, start by stabilizing your smartphone using a tripod or steady surface. Master manual settings, adjusting ISO and shutter speed for ideal exposure. Utilize long exposure techniques for light trails and star shots. Focus on composition, incorporating leading lines and the rule of thirds. Always shoot in RAW format to preserve maximum image data and enhance post-processing flexibility. During editing, fine-tune exposure, recover shadow details, and adjust white balance to reflect the scene's mood accurately. By implementing these pro tips, you'll elevate your night photography skills and release your smartphone's full potential in low-light conditions.
Stabilize Your Smartphone
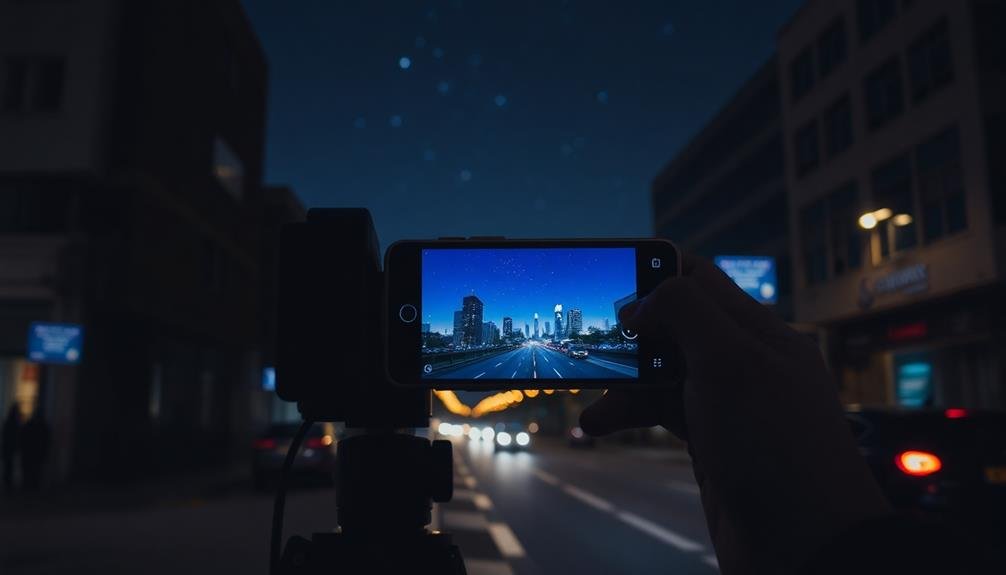
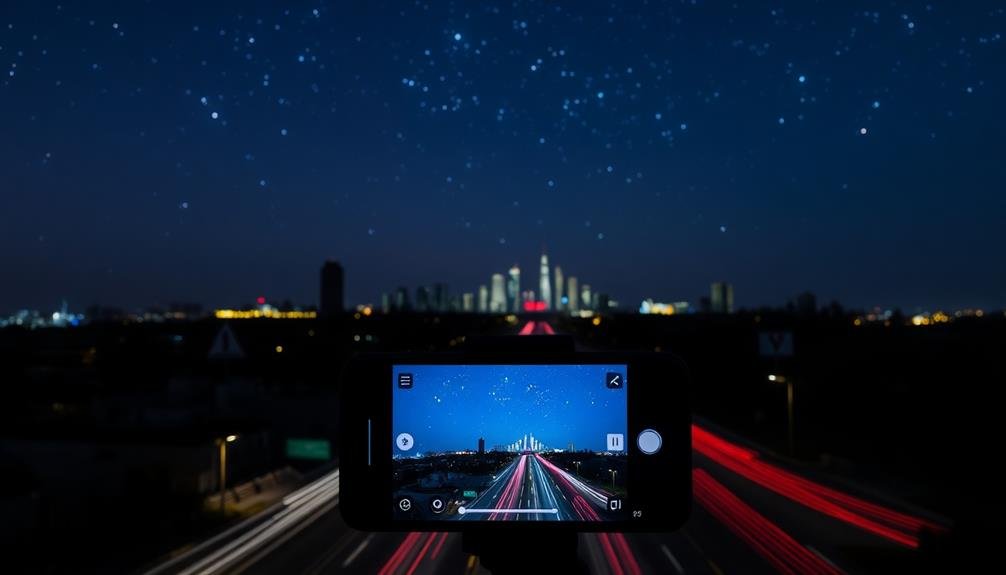
When it comes to stabilizing your smartphone for night photography, a steady hand isn't enough. You'll need to employ additional techniques to guarantee sharp, blur-free images in low-light conditions.
First, invest in a reliable smartphone tripod. These compact, portable devices provide a stable platform for your phone, allowing for longer exposures without camera shake.
If you don't have a tripod, look for alternative support options. Lean your phone against a stable object like a wall, bench, or tree. Use a small bean bag or rolled-up jacket to create a makeshift support. In a pinch, you can even use your car's window frame as a stabilizing surface.
Enable your phone's timer or use a Bluetooth remote to trigger the shutter. This prevents the slight movement caused by tapping the screen. Many phones also offer built-in stabilization features; turn these on for added steadiness.
If your device has a night mode, use it in conjunction with RAW capture for best results.
Remember to hold your breath while shooting to minimize body movement. By combining these techniques, you'll considerably improve the sharpness and quality of your mobile RAW night photography.
Master Manual Camera Settings
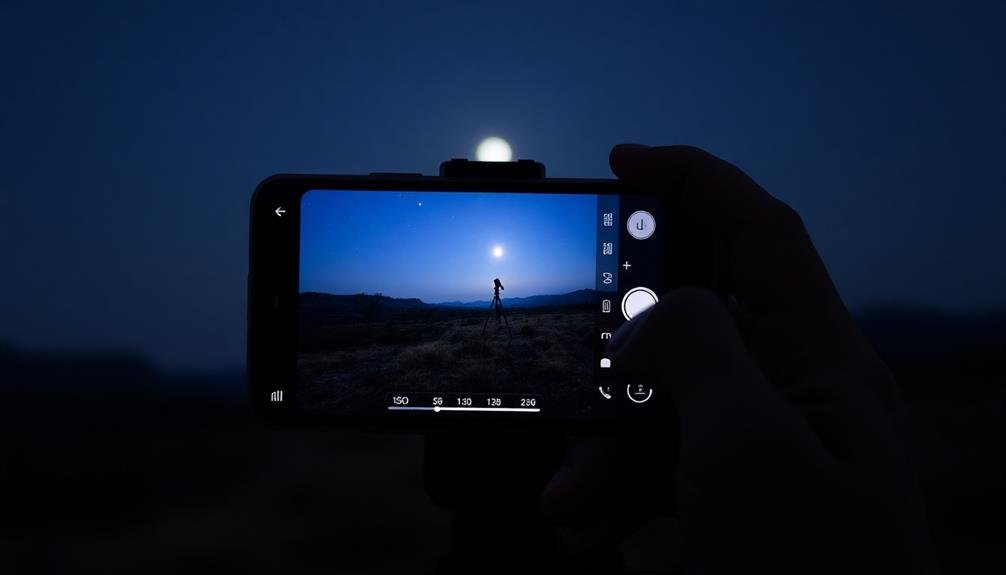
With your smartphone stabilized, it's time to take control of your camera's settings. Most modern smartphones offer manual mode, allowing you to adjust vital parameters for night photography. Focus on three key settings: ISO, shutter speed, and white balance.
Start with ISO, which controls your camera's light sensitivity. In low-light conditions, you'll need a higher ISO, but be cautious as this can introduce noise. Experiment with values between 800 and 3200, depending on your scene's brightness.
Next, adjust your shutter speed. Longer exposures allow more light in, ideal for night shots. Try speeds between 1 and 30 seconds, depending on your subject and available light. Remember, longer exposures require more stability.
Finally, set your white balance manually to capture accurate colors. Auto white balance often struggles in mixed lighting conditions typical of night scenes.
To create impactful night photos:
- Frame a cityscape with glowing windows and streaking car lights
- Capture star trails by pointing at the night sky for an extended exposure
- Shoot reflections in still water bodies for a mirror-like effect
Practice balancing these settings to achieve the perfect exposure while minimizing noise. With patience and experimentation, you'll master manual mode for stunning night shots.
Optimize ISO and Shutter Speed
When shooting RAW night photos on your mobile, you'll need to strike a delicate balance between ISO and shutter speed.
Increase your ISO to brighten the image, but be cautious of introducing excessive noise.
For stationary subjects, try using longer exposures with a lower ISO to capture more light while minimizing grain.
Balance Noise and Exposure
Balancing noise and exposure is essential for successful night photography with your mobile device. As you increase ISO to capture more light, you'll inevitably introduce digital noise. Your goal is to find the sweet spot where you've gathered enough light without compromising image quality.
Start by setting your ISO to the lowest possible value that still allows for a proper exposure. Then, adjust your shutter speed accordingly.
When shooting in RAW, you have more flexibility to reduce noise in post-processing. However, it's still vital to get it right in-camera.
Here's a quick guide to help you visualize the balance:
- Underexposed: Dark image, minimal noise, loss of shadow detail
- Balanced: Well-exposed image, acceptable noise levels, good detail retention
- Overexposed: Bright image, excessive noise, blown-out highlights
Experiment with different combinations of ISO and shutter speed to find what works best for your specific scene.
Long Exposure Techniques
Long exposure techniques are essential for capturing stunning night scenes with your mobile device. To master this skill, you'll need to optimize your ISO and shutter speed settings. Start by setting your ISO as low as possible to minimize noise, typically between 100-400. Then, adjust your shutter speed to allow enough light for proper exposure.
For static subjects, you can use longer shutter speeds, often ranging from 1 to 30 seconds. This technique works well for cityscapes, star trails, and light painting. However, for moving subjects or handheld shots, you'll need to find a balance between exposure time and motion blur.
Here's a quick guide for different night photography scenarios:
| Scene Type | ISO Range | Shutter Speed Range |
|---|---|---|
| Cityscape | 100-400 | 1-30 seconds |
| Star Trails | 400-800 | 30+ seconds |
| Light Painting | 100-400 | 5-30 seconds |
Remember to use a tripod or stabilize your phone for long exposures. Experiment with different settings to find the perfect balance between light, motion, and noise in your night photos. Don't forget to use your phone's timer or a remote shutter to avoid camera shake when pressing the capture button.
Utilize Long Exposure Techniques
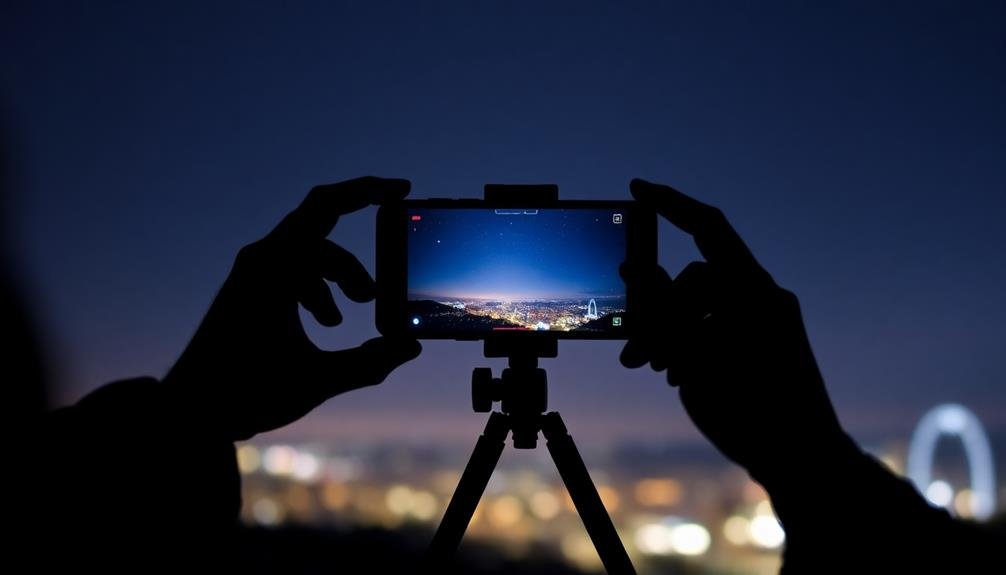
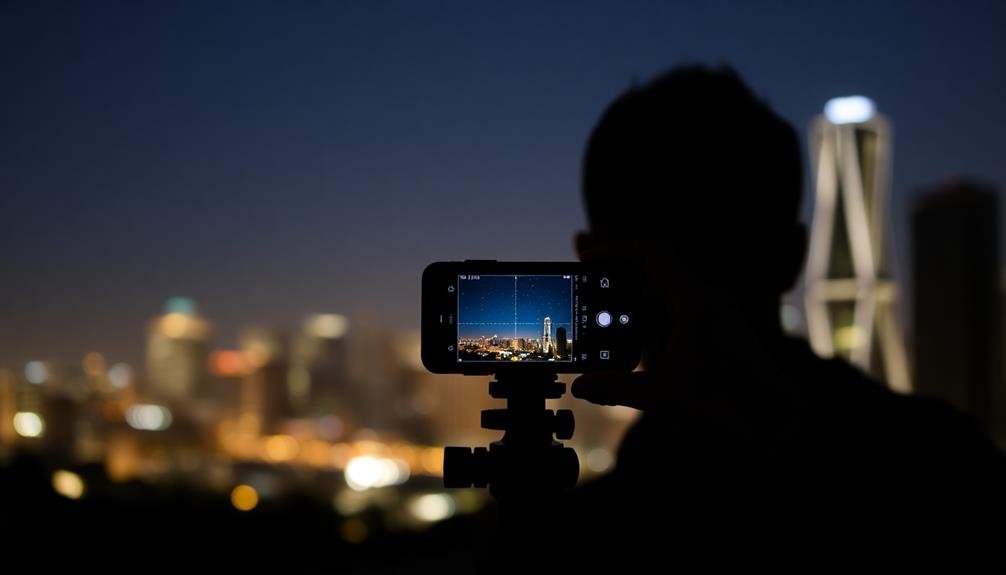
To capture stunning night scenes with your mobile device, mastering long exposure techniques is vital. Long exposures allow more light to hit your sensor, creating brighter, more detailed images in low-light conditions. Most modern smartphones offer manual controls or dedicated night modes that enable longer shutter speeds.
When using long exposures, stability is important. Use a tripod or prop your phone against a stable surface to prevent camera shake. If you don't have a tripod, try using your phone's timer or voice commands to trigger the shutter without touching the screen.
Experiment with different exposure times to achieve various effects:
- 1-2 seconds: Capture subtle motion in water or clouds
- 5-10 seconds: Create light trails from moving vehicles
- 30 seconds or more: Paint with light or capture star trails
Be mindful of your composition when using long exposures. Include both static and moving elements to create dynamic contrast in your images.
Adjust your ISO and aperture settings to complement your chosen shutter speed, balancing noise reduction with depth of field. With practice, you'll master the art of long exposure mobile photography, revealing a world of creative possibilities in your nighttime shots.
Focus on Composition
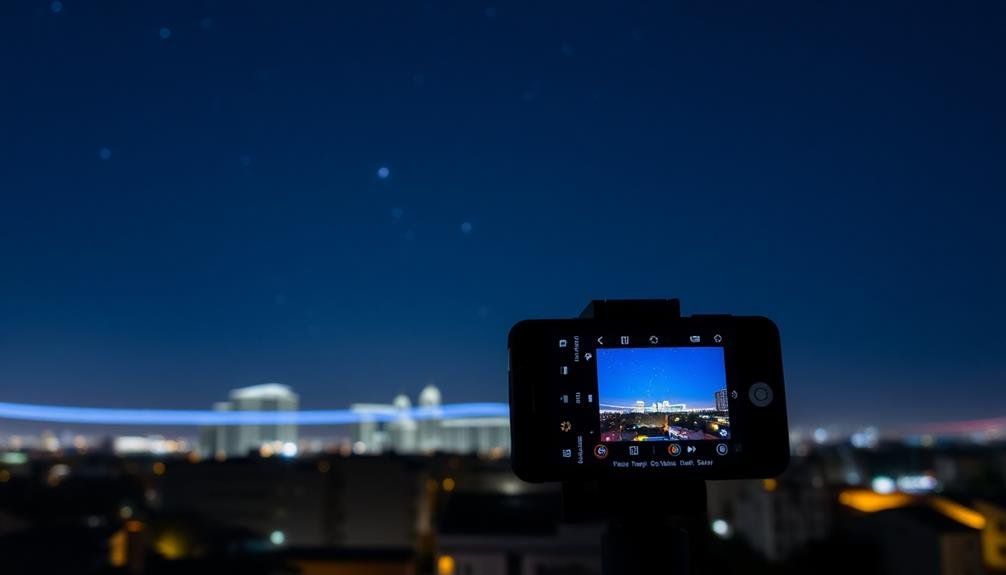
Nighttime composition mastery can elevate your mobile RAW photography from ordinary to extraordinary. When shooting at night, pay attention to leading lines created by streetlights, car trails, or illuminated buildings. These elements can guide viewers' eyes through your image and create depth.
Use the rule of thirds to position key elements off-center, creating a more dynamic composition. Place bright objects or light sources at intersecting points for maximum impact.
Don't forget to leave negative space, which can add mystery and mood to your night shots. Incorporate foreground elements to add dimension and context to your images. A silhouetted tree, statue, or architectural feature can frame your scene and provide scale.
Look for reflections in puddles, windows, or bodies of water to add symmetry and intrigue to your compositions. Experiment with different angles and perspectives. Get low to the ground or find a high vantage point to capture unique views of familiar scenes.
Use your phone's grid feature to guarantee straight horizons and vertical lines, especially when photographing cityscapes or architectural subjects at night.
Capture in RAW Format
When you capture night photos in RAW format, you're preserving the maximum amount of image data possible.
This allows you to recover details in shadows and highlights that might be lost in compressed formats like JPEG.
You'll also gain enhanced flexibility in post-processing, enabling you to make significant adjustments to exposure, white balance, and color without degrading image quality.
Preserve Maximum Image Data
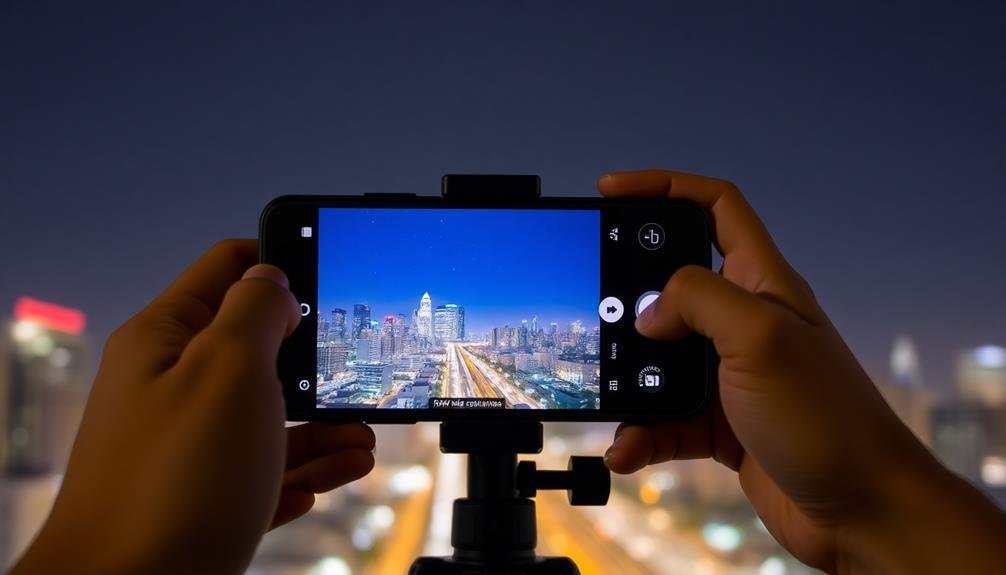
If you're serious about mobile night photography, capturing images in RAW format is vital. RAW files preserve maximum image data, giving you greater flexibility in post-processing. Unlike JPEG, which compresses and discards information, RAW retains all the data your camera sensor captures. This means you'll have more control over adjusting exposure, white balance, and color in low-light situations.
When shooting RAW at night, you'll benefit from:
- Enhanced dynamic range, allowing you to recover details in shadows and highlights
- Better noise reduction capabilities, important for high-ISO night shots
- Increased color depth, enabling more accurate color grading in post-processing
To make the most of RAW night photography, verify your phone has ample storage space, as RAW files are considerably larger than JPEGs. You'll also need a RAW-compatible editing app to process your images.
Remember that RAW files often appear flat and underwhelming straight out of camera, but don't be discouraged. This unprocessed state gives you the most leeway for adjustments, allowing you to bring out the full potential of your night shots during editing.
Enhanced Post-Processing Flexibility
Capturing RAW images at night opens up a world of post-processing possibilities. When you shoot in RAW, you're giving yourself the flexibility to make significant adjustments without compromising image quality. Unlike JPEG files, RAW images retain all the data captured by your phone's sensor, allowing you to fine-tune exposure, white balance, and color with greater precision.
In night photography, this flexibility is particularly valuable. You can recover details in shadowy areas without introducing noise, adjust the color temperature to accurately reflect the scene's mood, and even salvage slightly underexposed shots. RAW files also let you correct lens distortions and chromatic aberrations more effectively.
When editing RAW night photos, you'll have more control over noise reduction. You can selectively apply noise reduction to different areas of the image, preserving sharpness where it matters most.
Additionally, RAW files give you the ability to make non-destructive edits, meaning you can always revert to the original image if you're not satisfied with your adjustments. This freedom to experiment without fear of permanently altering your image is invaluable for developing your night photography skills.
Post-Process for Maximum Impact

Every RAW night photo can be transformed into a stunning masterpiece with the right post-processing techniques.
Start by adjusting the exposure and shadows to bring out hidden details in dark areas. Then, fine-tune the white balance to capture the true mood of the scene, whether it's the warm glow of street lamps or the cool hues of moonlight.
Next, focus on enhancing the dynamic range. Use the highlights and blacks sliders to recover blown-out areas and deepen shadows, creating a more balanced image.
Don't shy away from local adjustments; use brushes or gradients to selectively brighten or darken specific areas.
To create truly impactful night photos, consider these advanced techniques:
- Reduce noise selectively, preserving detail in important areas while smoothing out the sky.
- Enhance stars by increasing clarity and sharpness in celestial regions.
- Add a subtle vignette to draw the viewer's eye to the center of the image.
Frequently Asked Questions
What Camera Apps Are Best for Mobile RAW Night Photography?
You'll want to try ProCam, Manual, or Halide for iPhone, or Camera FV-5 and Adobe Lightroom for Android. These apps offer manual controls and RAW capture, essential for quality night shots on your mobile device.
How Do You Protect Your Phone From Condensation During Night Shoots?
To protect your phone from condensation during night shoots, you'll want to keep it warm and dry. Use silica gel packets, a waterproof case, or a plastic bag. Gradually acclimate your device to temperature changes when moving indoors.
Can You Use External Lenses for Smartphone Night Photography?
You can definitely use external lenses for smartphone night photography. They'll enhance your phone's capabilities, allowing for wider angles or more zoom. Just make sure they're compatible with your device and securely attached before shooting.
What's the Ideal White Balance Setting for Nighttime Mobile Photography?
For nighttime mobile photography, you'll want to set your white balance to "tungsten" or "fluorescent" to counter artificial lighting. If you're shooting natural scenes, try "daylight" or "auto" for a more neutral color temperature.
How Do You Handle Lens Flare From Artificial Light Sources?
To handle lens flare from artificial lights, you'll want to shield your lens with your hand or a lens hood. You can also try repositioning yourself or changing your angle to minimize flare's impact on your shot.
In Summary
You're now equipped with pro tips to elevate your mobile raw night photography. Remember, it's all about stability, manual control, and mastering exposure. Don't forget the importance of composition and shooting in RAW. With practice, you'll capture stunning nighttime images right from your smartphone. Post-processing is your final touch to bring out the best in your shots. So grab your phone, head out after dark, and start creating amazing night photography!


Leave a Reply