
Top RAW mobile food photo editing techniques start with understanding the format's advantages, like greater flexibility and color depth. You'll want to use powerful apps like Lightroom Mobile or Snapseed to adjust exposure, contrast, and white balance precisely. Enhancing colors and saturation brings out the vibrancy of your dishes, while careful sharpening and noise reduction improve overall image quality. Don't forget to refine your composition through cropping and consider applying stylistic filters for a unique look. By mastering these techniques, you'll transform your mobile food photography from appetizing to absolutely mouthwatering. Discover how to take your culinary images to the next level with these pro tips.
Understanding RAW Format Advantages
Anyone serious about mobile food photography should consider shooting in RAW format. This uncompressed file type captures all the data your camera sensor detects, giving you maximum flexibility when editing. Unlike JPEGs, which compress and discard data, RAW files retain all the original information, allowing you to make significant adjustments without losing quality.
When you shoot in RAW, you'll have greater control over white balance, exposure, and color correction. You can recover details in overexposed highlights and underexposed shadows that would be lost in a JPEG. This is particularly useful for food photography, where you often encounter challenging lighting conditions and need to balance the exposure of various elements in the frame.
RAW files also offer superior color depth, typically capturing 12 or 14 bits per channel compared to JPEG's 8 bits. This means you can make more extensive color adjustments without introducing banding or other artifacts. You'll appreciate this when fine-tuning the subtle hues of your food subjects.
While RAW files are larger and require processing before sharing, the editing flexibility they provide is invaluable for achieving professional-quality results in your mobile food photography.
Essential Mobile RAW Editing Apps
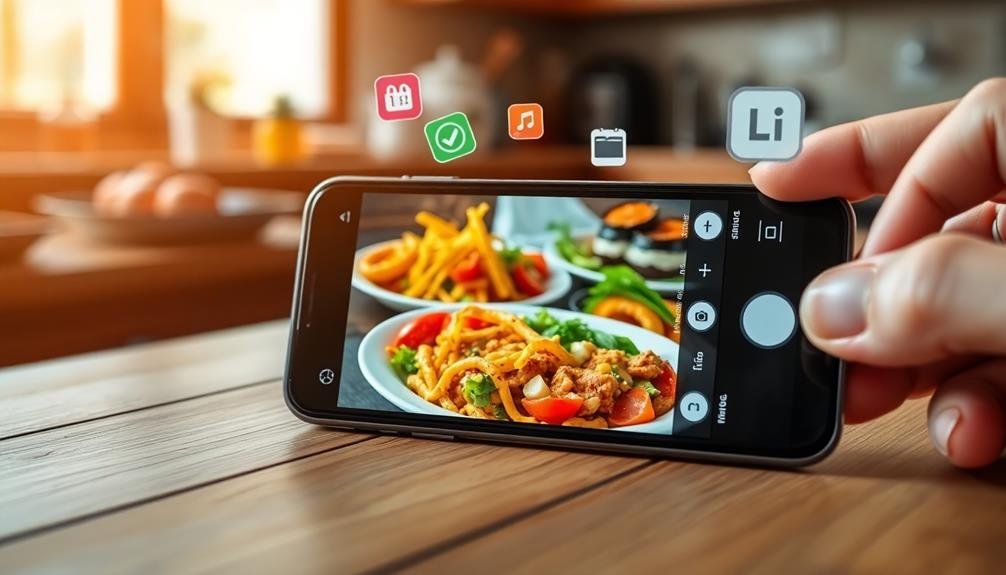
Now that you understand the benefits of shooting in RAW, you'll need the right tools to edit these files on your mobile device. Several powerful apps are available for both iOS and Android platforms, specifically designed for RAW editing on the go.
Lightroom Mobile is a top choice, offering a thorough suite of editing tools and seamless integration with its desktop counterpart. It supports various RAW formats and provides advanced features like selective adjustments and presets.
For iOS users, Darkroom is an excellent alternative, boasting a user-friendly interface and powerful RAW processing capabilities. It offers a wide range of editing tools, including curve adjustments and custom filters.
Android users can turn to Snapseed, a free app developed by Google that supports RAW editing. It provides a variety of tools and filters, making it easy to enhance your food photos quickly.
VSCO is another popular option for both platforms, known for its film-like presets and advanced editing features. While primarily focused on JPEG editing, it also supports RAW files on certain devices.
These apps will help you reveal the full potential of your RAW food photos, allowing for precise adjustments and stunning results right from your mobile device.
Adjusting Exposure and Contrast
When editing RAW food photos on your mobile device, mastering exposure and contrast is essential.
You'll want to balance light and shadow to create depth and dimension in your images.
Balancing Light and Shadow
One of the most essential aspects of editing food photos is mastering the balance between light and shadow. When you're working with RAW files on your mobile device, you have greater control over these elements.
To achieve a perfect balance, focus on enhancing the highlights without losing detail in the shadows. Start by adjusting the highlights slider to bring out the brightest areas of your image. Then, work on the shadows to reveal details in darker regions.
The key is to create depth and dimension without making the image look flat or overexposed. To fine-tune your light and shadow balance, consider these techniques:
- Use the curves tool to adjust specific tonal ranges
- Apply selective adjustments to brighten or darken specific areas
- Experiment with the dehaze slider to add contrast and depth
- Utilize the clarity slider to enhance texture and definition
Enhancing Dynamic Range
Mastering dynamic range is essential for creating stunning food photos. It's the difference between the lightest and darkest parts of your image, and enhancing it can bring out details in both highlights and shadows. To improve dynamic range, start by adjusting the exposure slider to guarantee your image isn't too bright or dark overall. Then, use the highlights and shadows sliders to fine-tune specific areas.
Next, focus on contrast. Increase it slightly to add depth, but be careful not to overdo it, as this can make your food look unappetizing. Use the blacks and whites sliders to further refine the image's tonal range. Don't forget about local adjustments – use brushes or gradient tools to enhance specific parts of your photo.
Here's a quick guide to dynamic range adjustments:
| Slider | Effect | Recommended Range |
|---|---|---|
| Exposure | Overall brightness | -1.0 to +1.0 |
| Highlights | Brightest areas | -50 to +50 |
| Shadows | Darkest areas | -50 to +50 |
| Contrast | Difference light/dark | -20 to +20 |
| Blacks | Deepest shadows | -30 to +30 |
Fine-Tuning White Balance
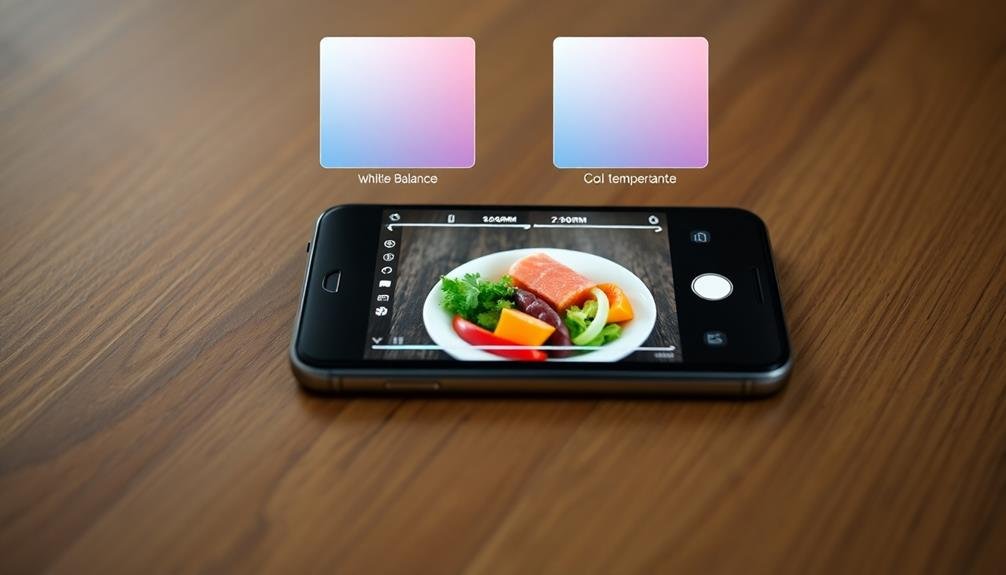
Fine-tuning white balance stands out among the most essential steps in RAW mobile food photo editing.
It's vital for accurately representing the colors in your food images, ensuring they look natural and appetizing. When you're working with RAW files, you have much more flexibility to adjust white balance without losing image quality.
To fine-tune white balance effectively, follow these steps:
- Start by selecting a neutral area in your image, such as a white plate or gray background.
- Use the white balance dropper tool in your editing app to sample this neutral area.
- Adjust the temperature slider to make the image warmer (more yellow) or cooler (more blue).
- Fine-tune the tint slider to balance between green and magenta tones.
Don't hesitate to experiment with different white balance settings to achieve the desired mood for your food photo.
Sometimes, a slightly warmer tone can make food appear more inviting, while a cooler tone might be suitable for icy desserts or fresh salads.
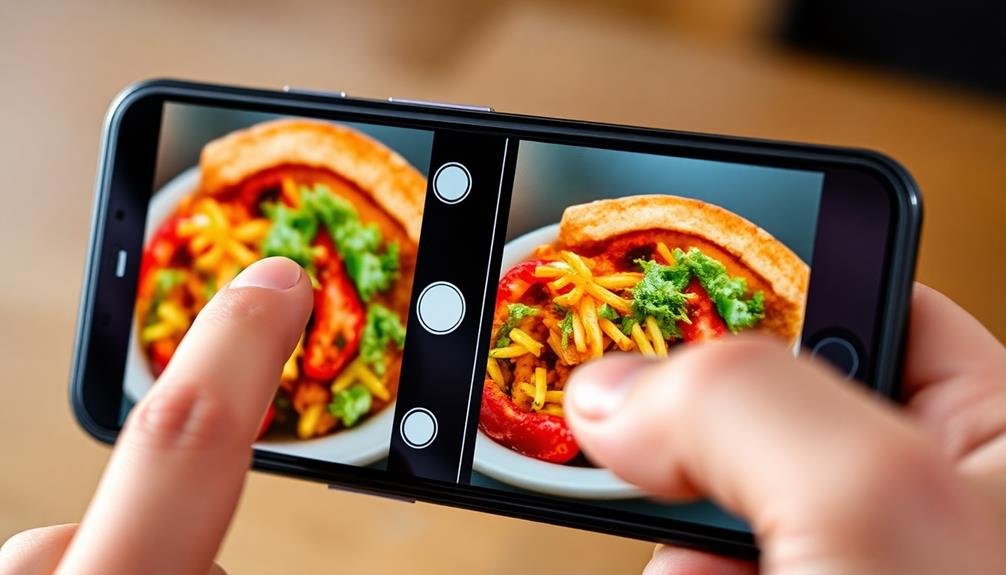
Enhancing Colors and Saturation
When enhancing your RAW food photos, you'll want to focus on boosting the vibrant colors that make dishes appetizing.
Start by adjusting the overall saturation to bring out the natural hues of your ingredients.
For more precise control, use selective saturation tools to target specific color ranges, allowing you to emphasize certain elements without oversaturating the entire image.
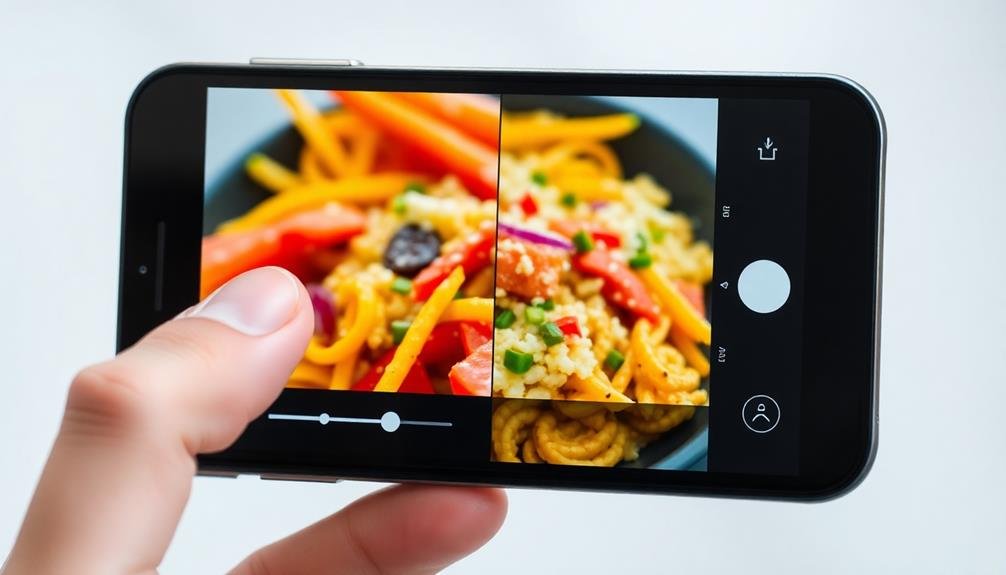
Vibrant Food Color Boosting
Through vibrant color boosting, you can transform dull food photos into eye-catching masterpieces. This technique enhances the natural hues of your dishes, making them more appealing and appetizing.
When editing RAW food photos on your mobile device, focus on bringing out the vibrant colors that make your subject pop.
To achieve stunning results, follow these steps:
- Adjust the overall saturation carefully, increasing it just enough to enhance the colors without making them appear unnatural.
- Use selective color adjustments to target specific hues, such as reds for tomatoes or greens for fresh herbs.
- Experiment with the vibrancy slider to boost muted colors while preserving skin tones and neutrals.
- Apply a slight increase in contrast to make colors appear more defined and separated.
Selective Saturation Adjustments
Selective saturation adjustments offer a powerful way to enhance specific colors in your RAW food photos without affecting the entire image. This technique allows you to target individual hues, making them more vibrant or muted as needed.
To apply selective saturation, you'll need to use advanced editing tools in your mobile RAW processor. Start by identifying the colors you want to adjust. For food photography, you might focus on reds for tomatoes, greens for vegetables, or browns for meats.
Use the saturation slider for each color channel to increase or decrease its intensity. Be careful not to overdo it, as excessive saturation can look unnatural.
Consider the overall balance of your image when making these adjustments. If you boost one color, you may need to slightly reduce others to maintain harmony. Pay attention to how different hues interact with each other.
For example, enhancing the green of herbs might make nearby red tomatoes appear duller by comparison. Experiment with desaturating certain areas to draw attention to your main subject.
This can create a subtle vignette effect, guiding the viewer's eye to the most important parts of your food photo.
Sharpening and Noise Reduction
Sharpening and noise reduction go hand in hand when editing RAW mobile food photos. These techniques are essential for enhancing detail and reducing unwanted graininess, especially in low-light conditions.
When working with RAW files, you'll have more flexibility to adjust these aspects without compromising image quality.
To effectively sharpen and reduce noise in your food photos:
- Start with noise reduction before sharpening to avoid amplifying unwanted artifacts.
- Use a mask or brush tool to selectively sharpen important areas like textures and edges.
- Apply sharpening conservatively, as over-sharpening can create an unnatural look.
- Experiment with different noise reduction algorithms to find the best balance between smoothness and detail retention.
Remember that the goal is to enhance the natural appearance of the food, not to create an artificial look.
Pay close attention to areas with fine details, such as herbs or bread crusts, as these can benefit greatly from careful sharpening. For smooth surfaces like sauces or creams, focus more on noise reduction to maintain their silky appearance.
Cropping and Composition Refinement

The final touch in RAW mobile food photo editing often involves cropping and refining the composition. This step allows you to focus on the most appealing aspects of your food image and create a more visually striking result.
Start by considering the rule of thirds, dividing your image into a 3×3 grid and placing key elements along these lines or at their intersections.
When cropping, remove any distracting elements from the edges of your frame. You'll want to maintain a balance between negative space and your main subject. Don't be afraid to experiment with different aspect ratios to find what works best for your image and intended platform.
Pay attention to leading lines and symmetry within your composition. Use these elements to guide the viewer's eye towards the main subject. If you're working with multiple food items, guarantee they're arranged in a pleasing manner that creates visual interest.
Consider the orientation of your image. While square crops are popular for social media, portrait or landscape orientations can sometimes better highlight your subject.
Applying Stylistic Filters
After refining your composition, you can enhance your food photo's aesthetic appeal with stylistic filters. These filters can transform the mood and atmosphere of your image, making it more visually striking and aligned with your desired aesthetic.
When applying filters to RAW food photos, consider the following techniques:
- Experiment with preset filters: Many mobile editing apps offer a variety of preset filters designed specifically for food photography. Try different options to find one that complements your dish's colors and textures.
- Adjust filter intensity: Don't settle for the default filter strength. Fine-tune the intensity to achieve a subtle enhancement that doesn't overpower the natural beauty of the food.
- Layer multiple filters: Combine two or more filters to create a unique look. This technique allows you to control different aspects of your image, such as color temperature and contrast, independently.
- Create custom filters: Develop your signature style by saving your favorite combination of adjustments as a custom filter. This guarantees consistency across your food photos and helps build a recognizable brand aesthetic.
Remember to use filters judiciously, maintaining the authenticity of your food's appearance while enhancing its visual appeal. The goal is to make your dish look appetizing and true to life, not artificially altered.
Frequently Asked Questions
How Do I Transfer RAW Files From My Camera to My Mobile Device?
You can transfer RAW files from your camera to your mobile device using a USB cable, Wi-Fi connection, or memory card reader. Many cameras have built-in Wi-Fi or companion apps that make wireless transfers easy and convenient.
Can I Edit RAW Photos on Older or Budget Smartphones?
You can edit RAW photos on older or budget smartphones, but you'll face limitations. Many basic editing apps support RAW files, but your device's processing power may slow things down. Consider using lightweight apps for smoother editing experiences.
What's the Difference Between RAW Editing on Mobile Versus Desktop?
You'll find desktop RAW editing offers more processing power and advanced tools. Mobile editing provides convenience and immediacy. Desktop gives you finer control, while mobile apps focus on simplicity and quick adjustments. Both can produce great results.
Are There Any Cloud-Based RAW Editing Solutions for Mobile Users?
Yes, you'll find several cloud-based RAW editing solutions for mobile users. Adobe's Lightroom Mobile, Google's Snapseed, and Darkroom are popular options. They offer powerful editing tools and sync your work across devices for seamless on-the-go editing.
How Much Storage Space Do RAW Files Typically Require on Mobile Devices?
You'll find RAW files take up significant space on your mobile device. They're typically 3-5 times larger than JPEGs, often ranging from 20-40MB per photo. Consider using external storage or cloud solutions for better management.
In Summary
You've now got the tools to elevate your mobile food photography. By mastering RAW editing techniques, you'll bring out the best in your images. Remember, it's all about balance – don't overdo the adjustments. Keep practicing, and you'll soon develop your unique style. Whether you're a foodie or a pro, these skills will help your dishes look as delicious in photos as they do in real life. Happy editing!
Leave a Reply