
Creating narrative photo sequences with your mobile device is a powerful way to tell visual stories. Start by choosing a compelling theme and planning your shot list to capture key narrative elements. Use composition techniques like leading lines and the rule of thirds to enhance your storytelling. Pay attention to lighting consistency and edit your images for a cohesive flow. Arrange your photos for maximum impact, with strong opening and closing shots. Share your sequence on appropriate platforms, including captions and hashtags. Don't be afraid to experiment with different narrative styles to make your visual stories even more engaging. The world of mobile storytelling awaits your creativity.
Understanding Narrative Photo Sequences
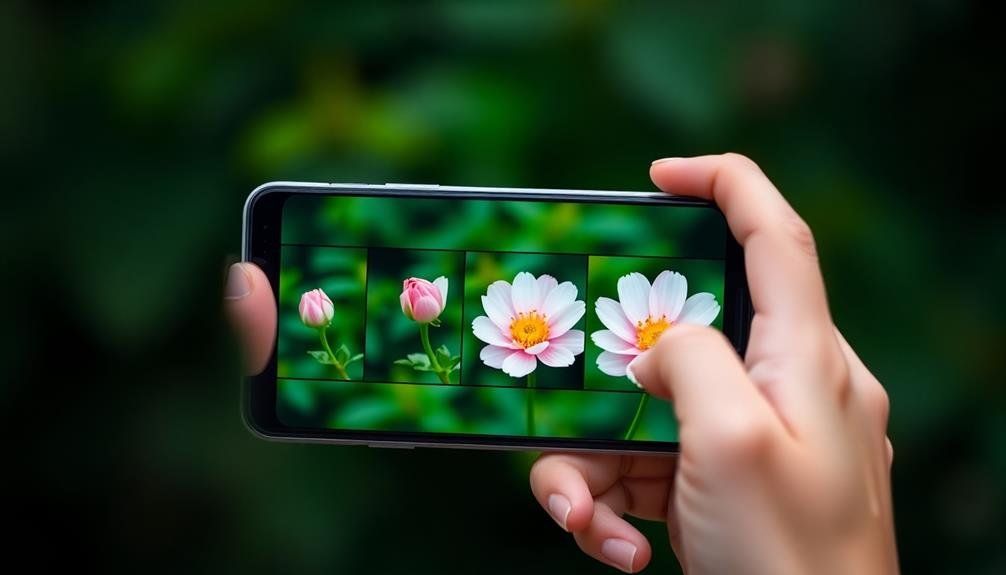
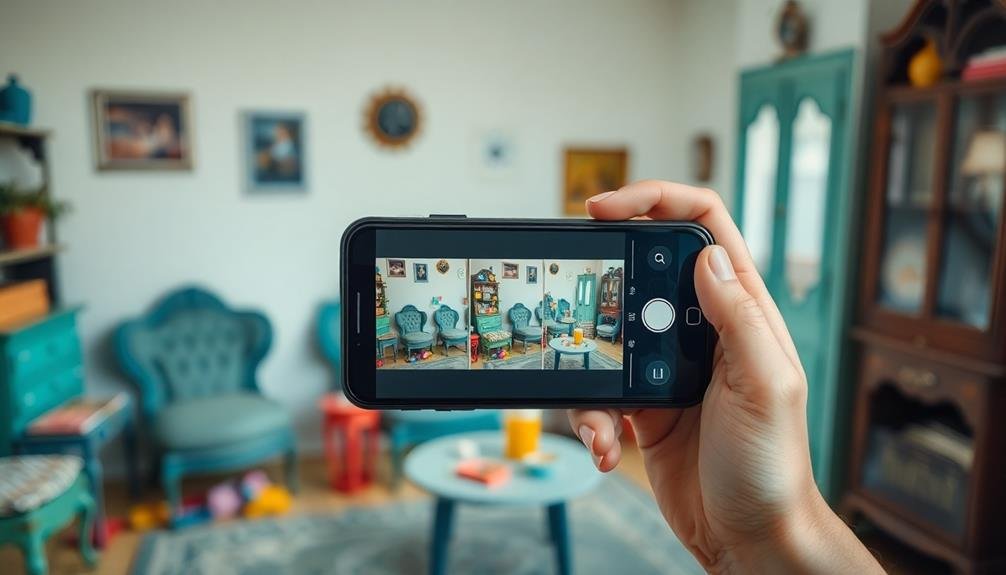
A narrative photo sequence is a series of images that tell a story or convey a particular message when viewed together. Unlike single photographs, these sequences allow you to create a more complex narrative, guiding viewers through a visual journey. They're an effective way to capture events, emotions, or processes that unfold over time.
To create a compelling narrative sequence, you'll need to think like a storyteller. Consider the beginning, middle, and end of your story. What do you want to convey? How will each image contribute to the overall narrative? Pay attention to the order of your photos, as this can greatly impact the story's flow and viewer interpretation.
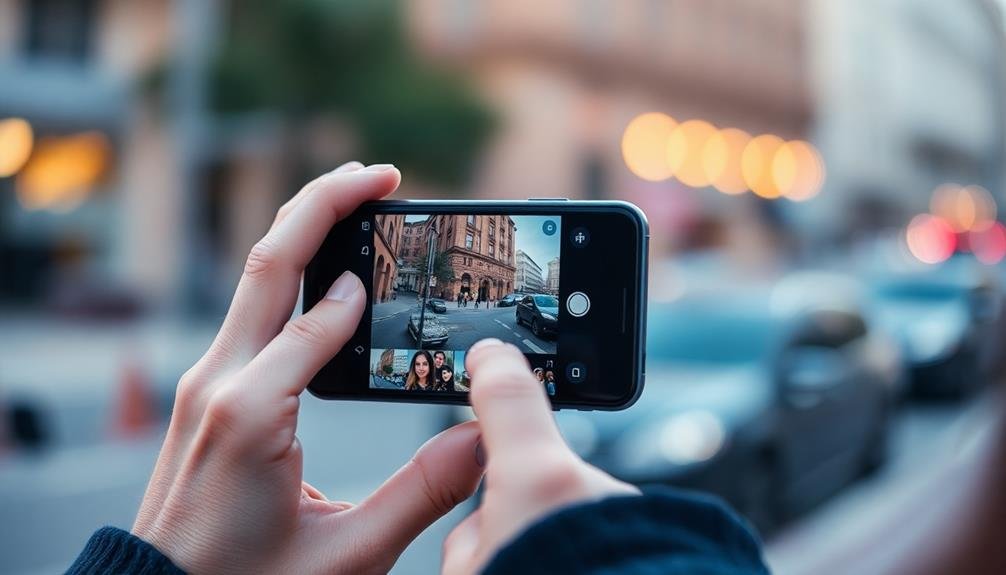
When shooting, vary your perspectives and compositions to maintain visual interest. Include wide shots to establish context, medium shots for action, and close-ups for emotional impact.
Don't forget to capture linking moments that connect different parts of your story. Remember, each image should stand on its own while also contributing to the larger narrative. With practice, you'll develop an eye for spotting and capturing the key moments that bring your photo story to life.
Choosing Your Story Theme
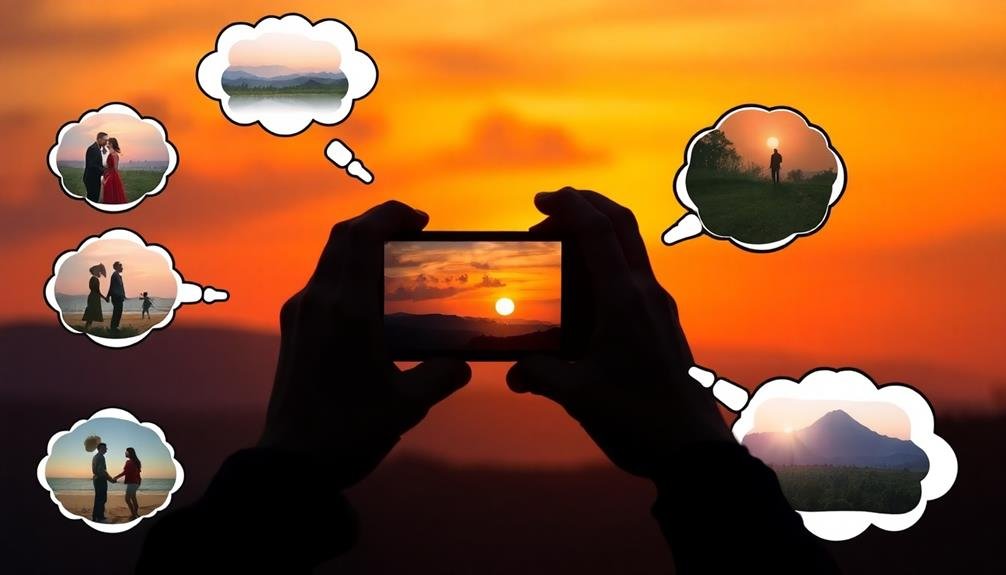
When choosing your story theme for a narrative photo sequence, consider whether you want to explore a personal experience or tackle a universal concept.
Think about the emotional impact you aim to create in your viewers and how effectively your chosen theme can evoke those feelings.
Evaluate the visual storytelling potential of your theme, ensuring it lends itself well to a series of compelling images that can convey your narrative without relying on words.
Personal vs. Universal Themes
In spite of the endless possibilities for narrative photo sequences, choosing the right theme is essential for creating a compelling story. When selecting your theme, you'll need to decide between personal and universal topics.
Personal themes draw from your own experiences, memories, or unique perspectives. They can be deeply meaningful to you but may require additional context for viewers to fully appreciate.
Universal themes, on the other hand, tap into shared human experiences or emotions that resonate with a broader audience. These might include love, loss, growth, or triumph over adversity. While universal themes can be more accessible, they also run the risk of feeling cliché if not executed thoughtfully.
Consider your audience and goals when choosing between personal and universal themes. If you're creating for yourself or close friends, a personal theme might be more appropriate. For a wider audience or professional portfolio, a universal theme could have broader appeal.
You can also blend personal and universal elements to create a unique narrative that's both relatable and distinctive. Remember, the key is to select a theme that inspires you and allows for visual storytelling through your photo sequence.
Emotional Impact Consideration
Considering the emotional impact of your chosen theme is essential when creating a narrative photo sequence. Think about how you want your audience to feel as they view your images. Do you want to evoke joy, nostalgia, sadness, or intrigue? Your theme should align with the emotions you're aiming to elicit.
As you plan your sequence, consider the visual elements that can enhance the emotional impact. Color palettes, lighting, and composition all play significant roles in setting the mood. Warm tones might convey comfort, while cool hues can create a sense of isolation or melancholy.
Pay attention to the pacing of your narrative. Building emotional tension through a gradual reveal can be powerful, while sudden contrasts between images can shock or surprise viewers. Think about how each photo contributes to the overall emotional journey.
Remember that emotional impact often comes from authenticity. Don't shy away from vulnerable or challenging themes if they resonate with you. Your genuine connection to the subject matter will translate into more impactful images that truly move your audience.
Visual Storytelling Potential
The storytelling power of your narrative photo sequence hinges on choosing the right theme. Your theme serves as the backbone of your visual story, guiding your image selection and arrangement. Consider themes that resonate with you personally or reflect universal experiences. Popular themes include growth, transformation, relationships, or overcoming adversity.
Once you've selected a theme, brainstorm specific story ideas that fit within it. For example, if your theme is "transformation," you might document a butterfly's lifecycle or a city's urban renewal project. Think about how you can visually represent different aspects of your chosen theme through a series of connected images.
Keep in mind that your theme should be broad enough to allow for creative interpretation but specific enough to maintain focus. As you plan your shots, consider how each image will contribute to the overall narrative.
Look for visual cues, symbols, or recurring elements that can tie your sequence together. Remember, effective visual storytelling often relies on showing rather than telling, so aim to convey your theme through compelling imagery rather than relying solely on text or captions.
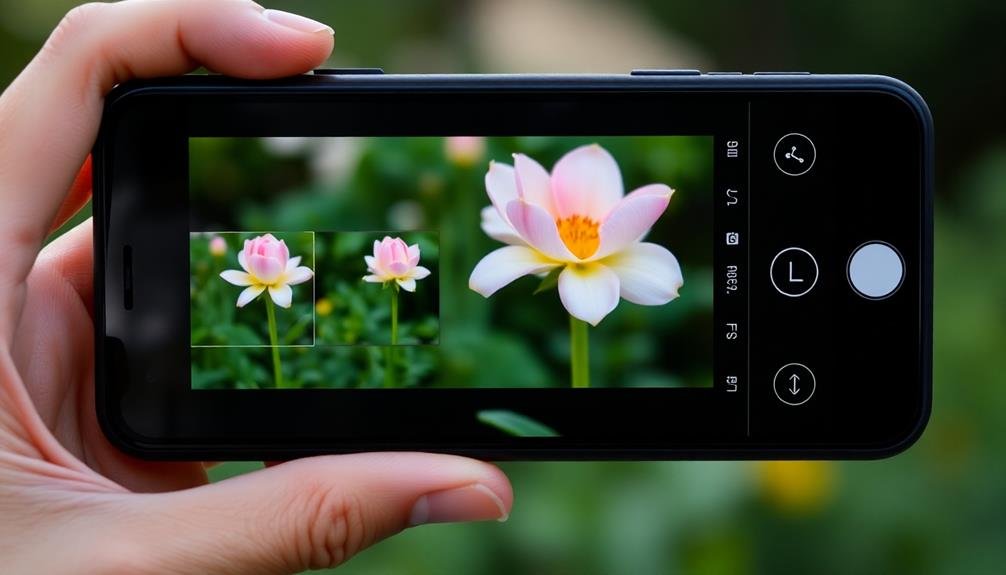
Planning Your Shot List

Photographers who excel at narrative sequences know the importance of a well-planned shot list. To create your own, start by outlining your story's key elements. Identify the beginning, middle, and end of your narrative, then break these down into specific moments you want to capture.
Consider the types of shots you'll need: wide shots to establish the setting, medium shots for action, and close-ups for emotional impact. Don't forget connecting shots that link different scenes. As you plan, think about the order of your shots and how they'll flow together to tell your story.
Keep your equipment limitations in mind. You're using a mobile device, so plan shots that play to its strengths. This might mean focusing on intimate, personal moments rather than sweeping landscapes.
Be prepared to adapt your list on the fly. Sometimes unexpected opportunities arise, or planned shots don't work out. Having a flexible shot list allows you to stay true to your narrative while adapting to real-world conditions.
Composition Techniques for Sequences
When composing your photo sequence, you'll want to employ strong compositional techniques to enhance your visual storytelling.
The Rule of Thirds can help you create balanced and engaging frames by placing key elements along imaginary grid lines.
You can also use Leading Lines to draw the viewer's eye through your images, guiding their attention and creating a sense of movement or progression in your narrative sequence.
Rule of Thirds
Mastering the rule of thirds can elevate your narrative photo sequences from ordinary to extraordinary. This compositional guideline involves dividing your frame into a 3×3 grid and placing key elements along these lines or at their intersections.
When creating a photo sequence, use the rule of thirds to guide your viewers' eyes through the narrative. Start by positioning your main subject off-center, aligning it with one of the grid lines. This creates a more dynamic and visually appealing composition. As you progress through your sequence, maintain consistency in your subject's placement or intentionally shift it to convey movement or change.
Consider these tips when applying the rule of thirds to your narrative sequences:
- Use negative space to draw attention to your subject
- Place the horizon on the upper or lower third line for landscapes
- Position eyes or faces at intersecting points for portraits
- Align leading lines with the grid to create depth
- Experiment with breaking the rule for dramatic effect
Leading Lines Technique
Guiding your viewer's eye through a narrative photo sequence becomes effortless with the leading lines technique. This powerful compositional tool uses natural or man-made lines within your frame to direct attention to specific elements or create a sense of depth and movement.
To incorporate leading lines in your mobile photography, look for paths, roads, fences, or architectural features that can serve as visual guides. Position these lines to draw the eye towards your main subject or to connect different elements within your sequence. Experiment with diagonal lines for a dynamic feel or horizontal lines for a sense of calm and stability.
When shooting a narrative sequence, use leading lines to create continuity between images. For example, a winding road could connect multiple shots, guiding the viewer through your story. You can also use leading lines to emphasize progression or change, such as a series of photos following a line from foreground to background.
Don't forget to take into account the direction of your lines. Lines leading from the bottom to the top of the frame can convey growth or aspiration, while those moving from left to right align with the natural reading direction in many cultures.
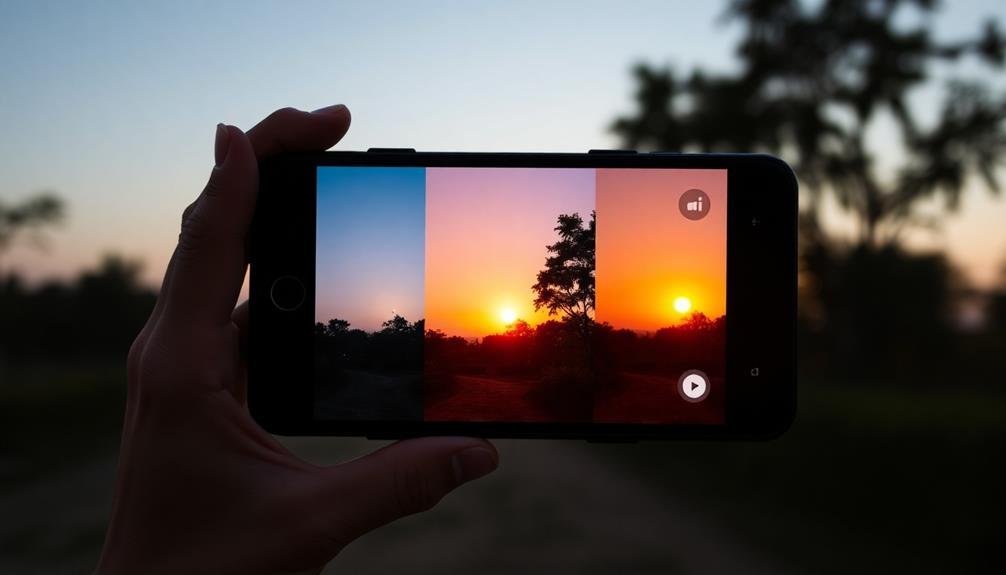
Lighting Considerations for Consistency
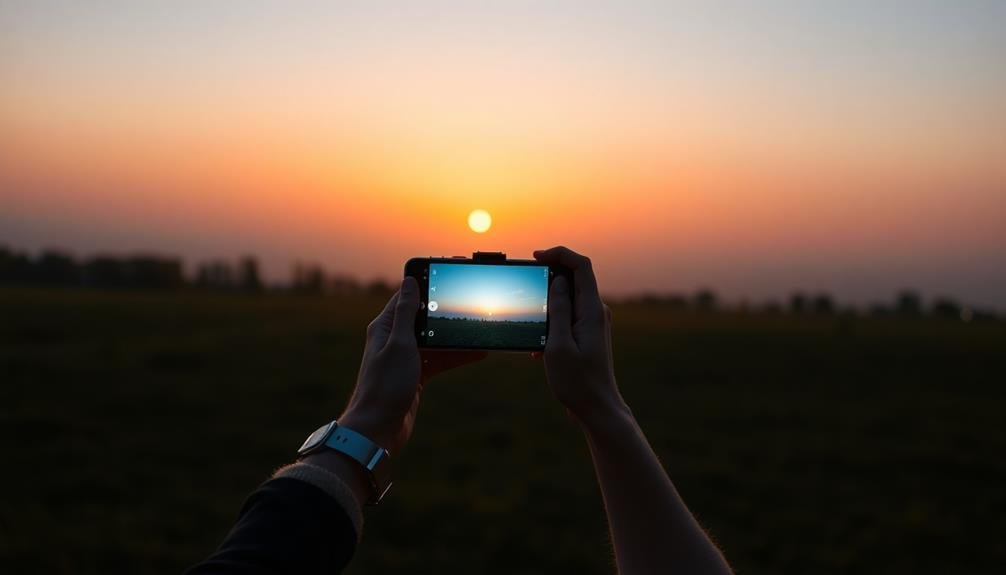
Lighting's consistency plays an essential role in creating cohesive narrative photo sequences. As you capture your series of images, pay close attention to the light sources and their effects on your subjects. Aim to maintain similar lighting conditions throughout your sequence to guarantee a seamless visual flow.
If you're shooting outdoors, try to complete your sequence within a short timeframe to avoid drastic changes in natural light. For indoor shoots, set up consistent artificial lighting to maintain uniformity.
Consider these key aspects of lighting for your narrative photo sequence:
- Light direction: Keep the primary light source coming from the same angle
- Color temperature: Maintain consistent warmth or coolness across images
- Intensity: Work towards similar brightness levels throughout the sequence
- Shadows: Ensure shadow patterns remain consistent for continuity
- Reflections: Be mindful of reflective surfaces and their impact on lighting
If you encounter changing light conditions, use your mobile device's manual settings to adjust exposure and white balance. This will help you match the lighting across your images.
Capturing Emotions Through Expressions

Emotions are the heart of any compelling narrative photo sequence. To capture genuine expressions, you'll need to make your subjects feel comfortable and natural in front of the camera. Encourage them to act out scenarios or recall specific memories that evoke the desired emotions. Pay attention to subtle facial cues and body language that convey feelings.
Use your mobile device's burst mode or rapid-fire shooting to capture fleeting expressions. This technique allows you to select the most impactful moment from a series of shots. Experiment with different angles and distances to emphasize emotional intensity.
Consider the following emotion-expression pairings to guide your photo sequence:
| Emotion | Facial Expression |
|---|---|
| Joy | Wide smile, crinkled eyes |
| Sadness | Downturned mouth, furrowed brow |
| Anger | Narrowed eyes, clenched jaw |
| Surprise | Raised eyebrows, open mouth |
| Contemplation | Distant gaze, slightly parted lips |
Remember to focus on the eyes, as they're often the most expressive feature. By capturing a range of emotions through authentic expressions, you'll create a more engaging and relatable narrative photo sequence that resonates with your audience.
Using Props and Settings
When crafting your narrative photo sequence, don't underestimate the power of props and settings to enhance your visual storytelling.
You'll find that carefully chosen objects and environments can establish essential context for your scenes, instantly communicating time, place, and mood.
Enhancing Visual Storytelling
Beyond composition and lighting, props and settings play an essential role in enhancing visual storytelling within narrative photo sequences. They provide context, create atmosphere, and help convey emotions or themes. When selecting props and settings for your mobile photo sequence, consider how they'll contribute to your story's overall narrative arc.
Choose locations that complement your story's mood and time period. Whether it's a bustling city street or a serene natural landscape, the setting should reinforce your narrative's tone. Incorporate props that reveal character traits or plot points subtly. A discarded letter, a worn-out pair of shoes, or a vintage camera can speak volumes about your subjects and their journey.
To make the most of props and settings in your visual storytelling:
- Use consistent color palettes across scenes to maintain visual cohesion
- Experiment with symbolic objects to represent abstract concepts
- Leverage negative space to draw attention to key props
- Incorporate local elements to establish a sense of place
- Adjust prop placement and scale to create visual interest and depth
Establishing Scene Context
Carefully selected props and settings serve as powerful tools for establishing scene context in your narrative photo sequences. They provide visual cues that help viewers understand the story's time, place, and atmosphere.
When choosing props, consider items that are relevant to your narrative and can convey information about your characters or plot. For example, a vintage typewriter can suggest a period piece, while a smartphone indicates a contemporary setting.
Settings play a vital role in creating the overall mood of your sequence. Scout locations that complement your story and enhance its visual appeal. Urban environments can convey a sense of hustle and bustle, while natural landscapes might evoke tranquility or isolation.
Pay attention to lighting conditions and how they affect the atmosphere of your chosen setting.
Don't overlook the power of subtle details. A discarded ticket stub, a half-empty coffee cup, or a worn-out pair of shoes can speak volumes about your characters and their circumstances.
Experiment with different arrangements and compositions to find the most effective way to incorporate these contextual elements into your frames. Remember, every prop and setting should serve a purpose in advancing your narrative.
Adding Depth Creatively
Adding depth to your narrative photo sequences goes beyond simply placing objects in the frame.
It's about creating layers of visual interest that draw the viewer's eye through the image and enhance the story you're telling. Use props and settings strategically to add dimension and context to your shots.
Consider incorporating foreground elements to frame your main subject, or utilize leading lines to guide the viewer's gaze.
Experiment with different angles and perspectives to showcase depth in unexpected ways. Don't be afraid to play with shadows and light to create a sense of atmosphere and mood.
Here are some creative ways to add depth to your mobile photo sequences:
- Use reflective surfaces like mirrors or water to create visual echoes
- Incorporate natural framing elements like doorways or tree branches
- Experiment with selective focus to blur foreground or background elements
- Layer multiple subjects at different distances from the camera
- Utilize contrasting colors or textures to create visual separation
Editing for Cohesive Visual Flow
After capturing your sequence of photos, the editing process plays a crucial role in creating a cohesive visual flow. Start by selecting a consistent editing style that complements your narrative. Choose a color palette that unifies your images, adjusting white balance, saturation, and tones to maintain harmony throughout the sequence.
Pay attention to the shifts between photos. Confirm that each image leads naturally into the next, creating a smooth visual journey. You can achieve this by matching exposure levels, color grading, and compositional elements across consecutive shots.
Consider using preset filters or creating your own to apply uniformly across the sequence. This will help maintain a consistent mood and atmosphere. However, don't be afraid to subtly vary the intensity of your edits to emphasize key moments in your narrative.
Crop your images thoughtfully to maintain a consistent aspect ratio and framing style. This will help create a more polished and professional look.
Arranging Photos for Maximum Impact

The photo arrangement process is essential for creating a powerful narrative sequence. You'll need to reflect on the visual flow, emotional impact, and storytelling elements as you organize your images.
Start by laying out all your selected photos and experimenting with different orders. Look for natural changes between images, such as similar colors, shapes, or themes. Contemplate using a strong opening image to grab attention and a compelling closing shot to leave a lasting impression.
As you arrange, think about how each photo builds upon the previous one to tell your story. Don't be afraid to create tension or contrast between adjacent images to add visual interest.
Here are some key tips for arranging photos effectively:
- Use the rule of thirds to create balanced compositions
- Vary the pacing with a mix of wide, medium, and close-up shots
- Group similar images together to reinforce themes
- Create visual rhythm through repetition of elements
- Experiment with unconventional layouts to surprise viewers
Sharing Your Sequence Online

Once you've crafted your narrative photo sequence, it's time to share it with the world. Choose the right platform to showcase your work effectively. Instagram's carousel feature is ideal for photo sequences, allowing viewers to swipe through your story. Facebook albums offer similar functionality, while Flickr provides a more photography-focused community.
Consider creating a dedicated website or blog for your sequences, giving you complete control over presentation and context. Platforms like WordPress or Squarespace offer user-friendly templates for showcasing visual content.
When sharing, add captions or brief descriptions to guide viewers through your narrative. Use relevant hashtags to increase discoverability, but don't overdo it. Engage with your audience by responding to comments and encouraging feedback.
If you're looking to reach a wider audience, submit your sequences to online photography magazines or contests. Many publications accept user-submitted content, providing exposure to a broader audience of photography enthusiasts.
Remember to watermark your images or use low-resolution versions to protect your work from unauthorized use. Always include proper attribution and copyright information when sharing online.
Experimenting With Different Narrative Styles
[TEXT]:
Why limit yourself to just one narrative style when creating photo sequences? Experimenting with different approaches can elevate your storytelling and captivate your audience in unique ways.
Try incorporating various narrative techniques to add depth and intrigue to your visual stories. You might explore linear storytelling, where events unfold chronologically, or non-linear narratives that jump between different time periods.
Consider using parallel narratives to show multiple perspectives simultaneously or employing a circular narrative that ends where it begins.
Don't be afraid to push boundaries and mix styles to create something truly original. Here are some narrative styles to experiment with:
- Hero's journey: Follow a protagonist through challenges and transformations
- Vignettes: Present a series of loosely connected scenes or moments
- Stream of consciousness: Capture the flow of thoughts and emotions
- Flashback/flash-forward: Play with time to reveal essential information
- Unreliable narrator: Use images to challenge the viewer's perception of events
Frequently Asked Questions
Can I Create Narrative Photo Sequences With a Basic Smartphone Camera?
Yes, you can create narrative photo sequences with a basic smartphone camera. You'll need to plan your shots, consider composition and lighting, and capture a series of images that tell a story when viewed together.
How Many Photos Should Be Included in a Typical Narrative Sequence?
There's no strict rule for photo count in a narrative sequence. You'll typically want 5-10 images to tell a complete story, but it depends on your subject. Don't be afraid to experiment with different lengths.
Are There Apps Specifically Designed for Creating Narrative Photo Sequences?
Yes, you'll find apps designed for narrative photo sequences. Try Storyboard, Unfold, or PhotoStory. They offer templates, shifts, and text options. You can easily create compelling visual stories right from your smartphone with these specialized tools.
Can I Mix Portrait and Landscape Orientations in a Single Sequence?
Yes, you can mix portrait and landscape orientations in a single sequence. It's perfectly fine to vary your shot compositions. You'll want to contemplate how the different orientations flow together and impact your overall narrative's visual rhythm.
How Long Does It Typically Take to Create a Narrative Photo Sequence?
You'll find that creating a narrative photo sequence can take anywhere from an hour to several days. It depends on your story's complexity, shooting conditions, and editing time. Don't rush it; let your creativity flow naturally.
In Summary
You've now got the tools to create compelling narrative photo sequences with your mobile device. Don't be afraid to experiment and push your creative boundaries. Remember, practice makes perfect, so keep shooting and refining your technique. As you share your sequences online, you'll inspire others and grow your skills. Whether you're telling personal stories or exploring abstract concepts, your unique perspective will shine through in your visual narratives.


Leave a Reply