ISO determines your smartphone camera's light sensitivity. Higher ISO settings (e.g., 1600+) make your camera more sensitive to light, useful in dim conditions, but can introduce grainy noise. Lower ISO (e.g., 100-400) produces cleaner images but requires more light. To adjust ISO, look for manual controls in your camera app, often found under "Pro" or "Manual" mode. On iPhones, you might need third-party apps like Halide. Experiment with different ISO levels to balance exposure with image quality. Remember to take into account shutter speed and aperture when adjusting ISO. Mastering this setting will greatly enhance your low-light photography skills.
Understanding ISO in Smartphone Cameras
When it comes to smartphone photography, ISO is an essential setting that determines your camera's light sensitivity. On most smartphones, you'll find ISO settings ranging from 50 to 6400 or higher. A lower ISO value means less sensitivity to light, resulting in darker images but with less noise. Higher ISO values increase light sensitivity, brightening your photos but potentially introducing more grain or noise.
Modern smartphones often feature automatic ISO adjustment, which adapts to varying lighting conditions. However, you can manually adjust ISO in many camera apps for more control. In low-light situations, you might want to increase ISO to capture brighter images, but be cautious of excessive noise. For well-lit scenes, keeping ISO low can help maintain image quality.
It's important to balance ISO with other camera settings like shutter speed and aperture. Some smartphones offer "night mode" or similar features that intelligently combine multiple exposures at different ISO levels to produce cleaner low-light images.
Experiment with your phone's ISO settings to understand how they affect your photos in different lighting conditions, and you'll soon develop a better intuition for smartphone photography.
The Impact of ISO Settings
When you adjust your camera's ISO settings, you'll notice significant effects on image quality.
Higher ISO values can introduce noise and graininess, potentially compromising the sharpness of your photos.
However, increasing ISO can be essential for low-light performance, allowing you to capture clear images in dimly lit environments without relying on a flash.
Image Quality Effects
How does ISO affect your photos? As you increase ISO, you'll notice changes in image quality. Higher ISO values amplify the camera sensor's sensitivity to light, but this comes at a cost.
The primary effects of raising ISO include:
- Increased noise: Higher ISO settings introduce more digital noise, resulting in a grainy appearance, especially in darker areas of your image.
- Reduced dynamic range: As ISO increases, your camera's ability to capture a wide range of tones from shadows to highlights diminishes.
- Loss of color accuracy: Elevated ISO levels can lead to color shifts and reduced color saturation, particularly in extreme low-light situations.
While these effects might seem negative, they can be used creatively. For example, a slightly grainy look can add character to black and white street photography.
However, for most situations, it's best to keep ISO as low as possible while maintaining proper exposure. Modern cameras have improved high ISO performance, allowing for cleaner images at higher sensitivities.
Still, it's essential to find the right balance between ISO, aperture, and shutter speed to achieve the desired image quality and exposure.
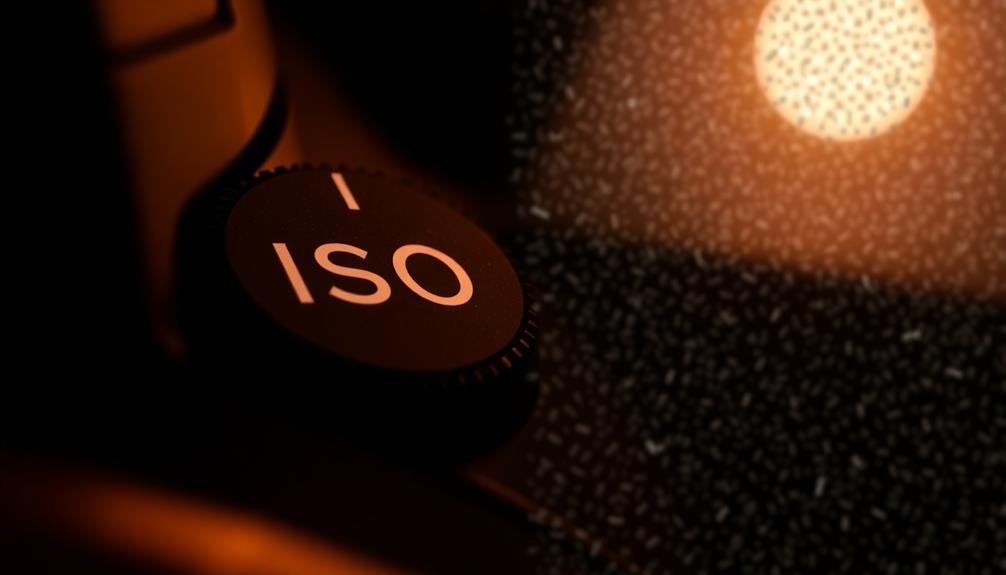
Noise and Graininess
You've probably noticed that increasing your ISO settings can make your photos look grainy or noisy. This occurs because higher ISO values amplify the signal from your camera's sensor, which also amplifies any imperfections or electronic interference. As a result, you'll see more visible noise, especially in darker areas of your image.
Noise appears as random specks or discoloration, reducing overall image quality and sharpness. It's particularly noticeable in large prints or when viewing images at 100% on your computer screen. Lower ISO settings (100-400) generally produce cleaner images with minimal noise, while higher settings (1600 and above) introduce more noticeable graininess.
The amount of noise also depends on your camera's sensor size and technology. Newer, full-frame cameras typically handle high ISO settings better than older or smaller-sensor models.
To minimize noise, shoot at the lowest ISO possible for your lighting conditions. If you must use a high ISO, consider using noise reduction software during post-processing.
Low-Light Performance Considerations
Understanding ISO's impact on low-light performance is key for photographers shooting in challenging lighting conditions. When light is scarce, increasing your ISO allows you to capture images without resorting to extremely slow shutter speeds or wide apertures. However, this comes at the cost of increased noise and reduced image quality.
To optimize your low-light photography, consider these factors:
- Lens speed: Fast lenses with wide maximum apertures (f/1.8, f/1.4) allow more light, reducing the need for high ISO.
- Camera sensor size: Larger sensors generally perform better in low light, allowing for cleaner images at higher ISO values.
- Post-processing capabilities: Modern software can effectively reduce noise, giving you more flexibility with ISO settings.
When shooting in low light, start with the lowest ISO that allows for an acceptable shutter speed and aperture. Gradually increase ISO if needed, but be mindful of your camera's noise performance at different levels.
Experiment to find the sweet spot between capturing the moment and maintaining image quality. Remember, it's often better to have a slightly noisy image than a blurry one due to camera shake or subject movement.
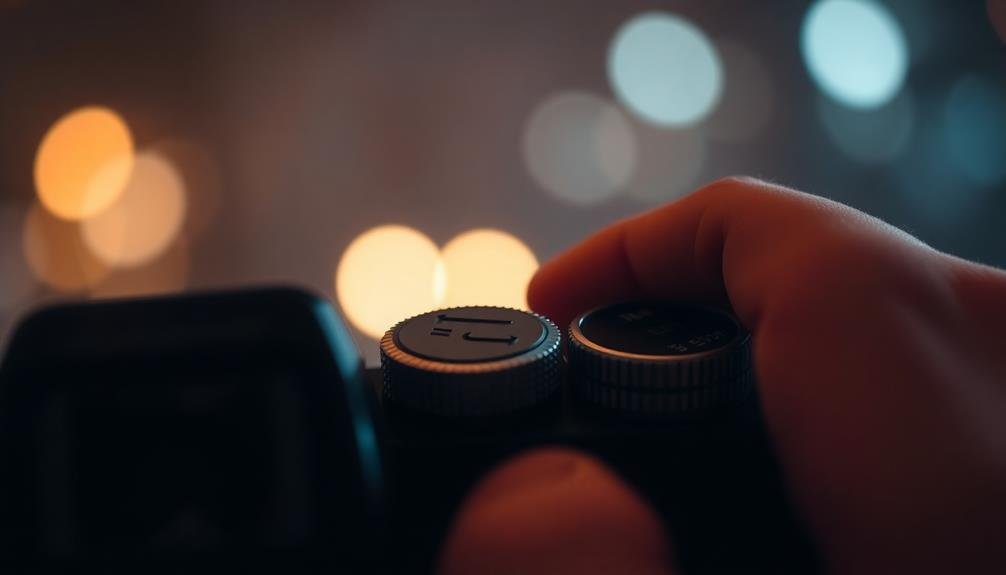
When to Adjust ISO
You'll often need to adjust your ISO in low light situations when you can't use a slower shutter speed or wider aperture.
Fast-moving subjects may also require higher ISO settings to maintain a quick shutter speed and freeze action.
Remember to balance ISO with aperture and shutter speed as part of the exposure triangle, increasing it only as much as necessary to achieve your desired shot.
Low Light Situations
Low light situations often challenge photographers, pushing the limits of their camera's capabilities. When you're faced with dim lighting conditions, increasing your ISO can be a game-changer. It allows you to capture images that would otherwise be too dark or blurry due to slow shutter speeds.
However, it's essential to strike a balance between brightening your image and managing digital noise.
Consider raising your ISO in these scenarios:
- Indoor events with limited artificial lighting
- Outdoor scenes at dusk or dawn
- Candlelit environments or dimly lit restaurants
As you increase ISO, you'll be able to use faster shutter speeds, reducing the risk of motion blur. This is especially useful when photographing moving subjects or shooting handheld.
Keep in mind that higher ISO values may introduce more noise, particularly in shadows and darker areas of your image. Modern cameras handle high ISOs better than ever, but it's still wise to use the lowest ISO possible while maintaining proper exposure.
If you're using a tripod or have stationary subjects, consider using longer exposures with lower ISO values to minimize noise and maximize image quality.
Fast-Moving Subjects
While low light situations often call for higher ISOs, fast-moving subjects present another compelling reason to adjust your camera's sensitivity.
When you're photographing sports, wildlife, or any scene with rapid action, you'll need a fast shutter speed to freeze the motion and capture sharp images. However, a faster shutter speed means less light reaches your camera's sensor, potentially leading to underexposed photos.
This is where increasing your ISO can save the day. By boosting your camera's sensitivity to light, you can maintain a fast shutter speed without sacrificing proper exposure.
For instance, if you're shooting a soccer match on a cloudy day, you might need to set your ISO to 800 or even 1600 to achieve a shutter speed of 1/1000th of a second or faster.
Balancing Exposure Triangle
Understanding the exposure triangle is essential when deciding when to adjust your ISO. The exposure triangle consists of aperture, shutter speed, and ISO, all working together to create a properly exposed image.
When you can't achieve the desired exposure by adjusting aperture or shutter speed alone, that's when you'll need to evaluate changing your ISO.
You'll want to adjust your ISO in the following situations:
- Low light conditions: When there's not enough light, and you've already widened your aperture and slowed your shutter speed as much as possible, increasing ISO can help brighten your image.
- Fast-moving subjects: If you need a faster shutter speed to freeze motion, but can't open your aperture any wider, raising your ISO can compensate for the reduced light.
- Depth of field requirements: When you need a smaller aperture for greater depth of field, but can't slow down your shutter speed, increasing ISO can maintain proper exposure.
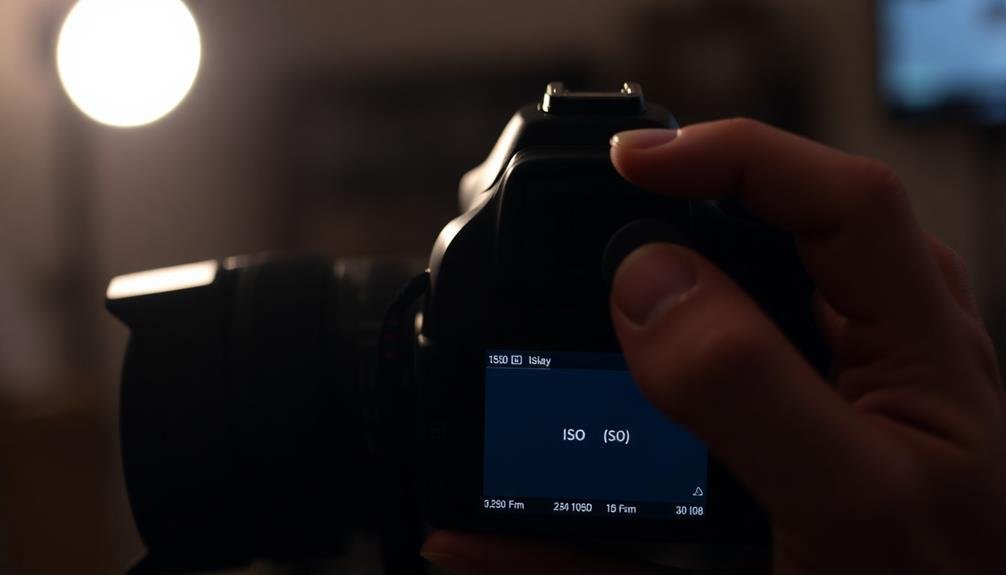
Finding ISO Controls on Smartphones
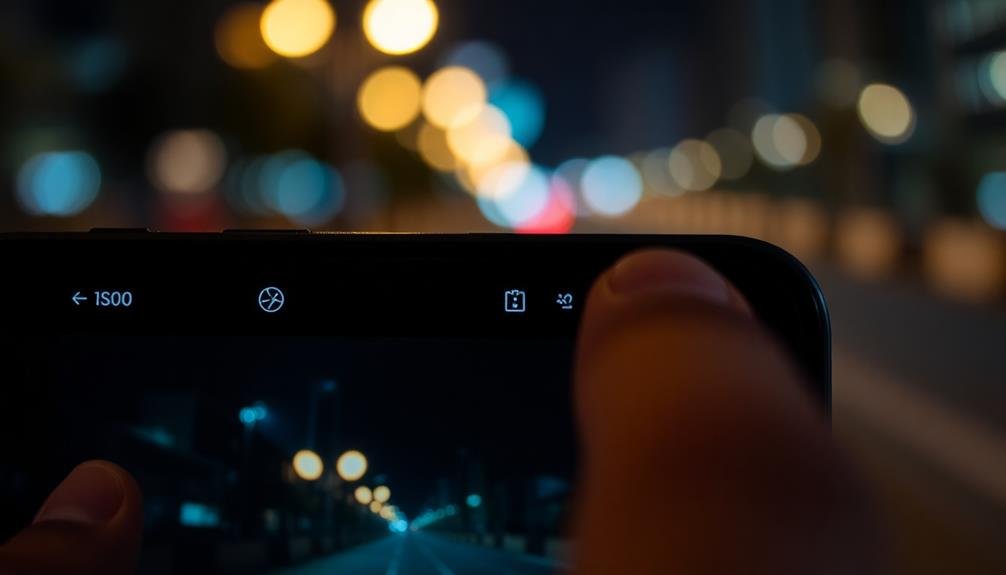
As smartphone cameras become increasingly sophisticated, finding ISO controls on your device can greatly enhance your photography skills. Most modern smartphones offer manual camera controls, including ISO adjustments, but accessing these settings varies between brands and models.
For iPhone users, you'll need to download a third-party camera app like Halide or ProCam to access ISO controls. Once installed, look for a manual mode or ISO option within the app's interface.
Android users often have built-in manual controls in their native camera apps. Look for a "Pro" or "Manual" mode, then locate the ISO setting, usually represented by a numerical value.
Some smartphones allow you to adjust ISO through on-screen sliders, while others use tappable preset values. If you can't find ISO controls, check your phone's settings or consult the user manual. Remember that not all smartphones offer manual ISO adjustment, particularly older or budget models.
Once you've located the ISO controls, experiment with different settings to understand how they affect your images in various lighting conditions. This hands-on experience will help you make informed decisions when adjusting ISO for best exposure.
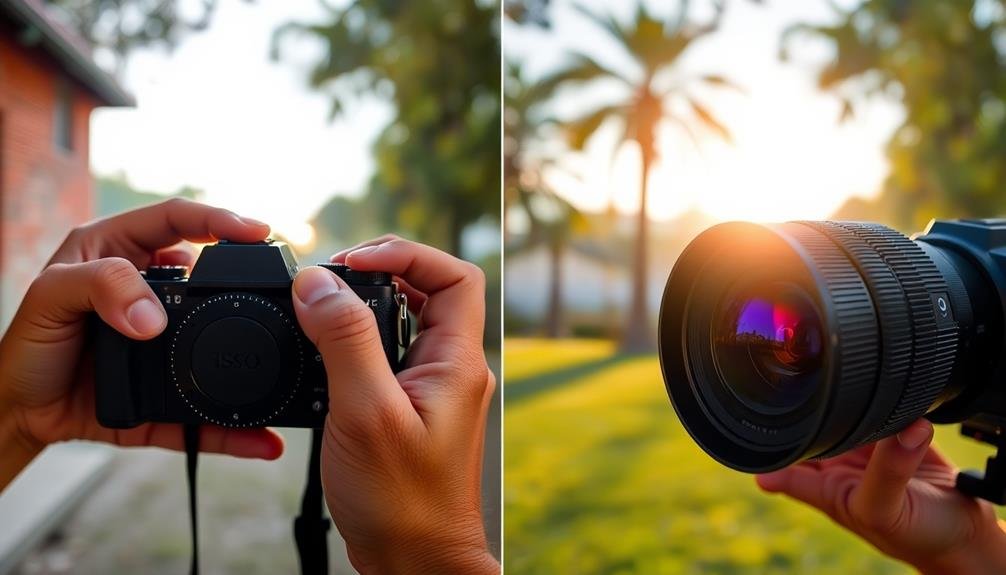
Balancing ISO With Other Settings
ISO doesn't work in isolation when it comes to capturing great photos. It's part of the exposure triangle, along with aperture and shutter speed.
To achieve the best results, you'll need to balance these three elements based on your shooting conditions and desired outcome.
When adjusting ISO, consider these factors:
- Available light: In low-light situations, you might need to increase ISO, but be mindful of noise.
- Subject movement: For fast-moving subjects, a higher ISO can allow for faster shutter speeds to freeze action.
- Depth of field: If you want a shallow depth of field with a wide aperture, you may need to adjust ISO to maintain proper exposure.
Common ISO Mistakes to Avoid
While mastering the balance of ISO with other camera settings is important, it's equally significant to be aware of common ISO mistakes that can compromise your photos. One frequent error is automatically cranking up the ISO in low-light situations without considering other options. Instead, try adjusting your aperture or shutter speed first, or use a tripod to stabilize your camera.
Another mistake is always setting your ISO to the lowest possible value. While this minimizes noise, it can lead to underexposed images or motion blur in challenging lighting conditions. Don't be afraid to increase your ISO when necessary to achieve proper exposure.
Many photographers overlook the importance of testing their camera's ISO performance. Each camera handles high ISO differently, so it's vital to know your equipment's limits. Conduct test shots at various ISO levels to determine the highest acceptable setting for your needs.
Lastly, avoid relying solely on Auto ISO. While convenient, it may not always choose the best setting for your creative vision. Take control of your ISO to achieve the desired balance between exposure and image quality in your photographs.
Experimenting With ISO for Better Photos
Equipped with a solid understanding of ISO fundamentals, it's time to explore creative ways to use this setting for enhancing your photography. Start by experimenting with high ISO settings in low-light situations to capture scenes that would otherwise be impossible. Try shooting cityscapes at night or indoor events without flash, pushing your camera's limits.
Next, explore intentional grain by using higher ISOs even in well-lit environments. This technique can add a gritty, artistic texture to your images, perfect for street photography or moody portraits.
Don't forget to experiment with ISO in conjunction with other camera settings. Try these combinations:
- High ISO + wide aperture for a shallow depth of field in dimly lit spaces
- Low ISO + long exposure for silky smooth water or light trails
- Variable ISO + constant shutter speed and aperture for consistent exposures in changing light conditions
Frequently Asked Questions
Can High ISO Settings Damage My Smartphone Camera?
No, high ISO settings won't damage your smartphone camera. They simply increase its light sensitivity. However, you'll notice more digital noise in your photos. It's best to use lower ISO when possible for better image quality.
How Does ISO Affect Battery Life When Taking Photos?
Higher ISO settings can drain your battery faster when taking photos. They require more processing power and increase sensor sensitivity. You'll notice your phone's battery depleting quicker if you frequently use high ISO in your photography.
Is There an Ideal ISO Setting for Selfies?
For selfies, there's no one-size-fits-all ISO setting. You'll want to adjust based on lighting conditions. In bright light, use lower ISO (100-400). In dim settings, try higher ISO (800-1600) but be mindful of potential noise.
Do Third-Party Camera Apps Offer More ISO Control Than Native Apps?
You'll often find that third-party camera apps do offer more ISO control than native apps. They typically provide a wider range of ISO settings and manual adjustments, giving you greater flexibility in low-light situations and creative control.
How Does ISO Performance Differ Between Budget and Flagship Smartphones?
You'll notice flagship smartphones generally offer better ISO performance than budget models. They've got superior sensors and processing, allowing for cleaner images at higher ISOs. You'll see less noise and better low-light performance in pricier phones.
In Summary
You've now got a solid grasp on ISO and how it affects your smartphone photos. Remember, it's all about finding the right balance. Don't be afraid to experiment with different ISO settings in various lighting conditions. As you practice, you'll develop an intuition for when to adjust ISO and how it interacts with other camera settings. Keep shooting, learning, and refining your skills to capture stunning images with your smartphone.


Leave a Reply