After your event, manage your mobile photos effectively with these five easy steps. First, review and delete unnecessary shots, keeping only the best. Next, create albums to organize your images by event or theme. Then, edit and enhance selected photos using built-in tools or third-party apps. Don't forget to backup your precious memories to cloud storage for safekeeping. Finally, share your favorite moments with event attendees through shared albums or social media. By following these steps, you'll streamline your photo collection, preserve quality memories, and free up space on your device. Discover how these simple techniques can transform your photo management experience.
Review and Delete Unnecessary Photos
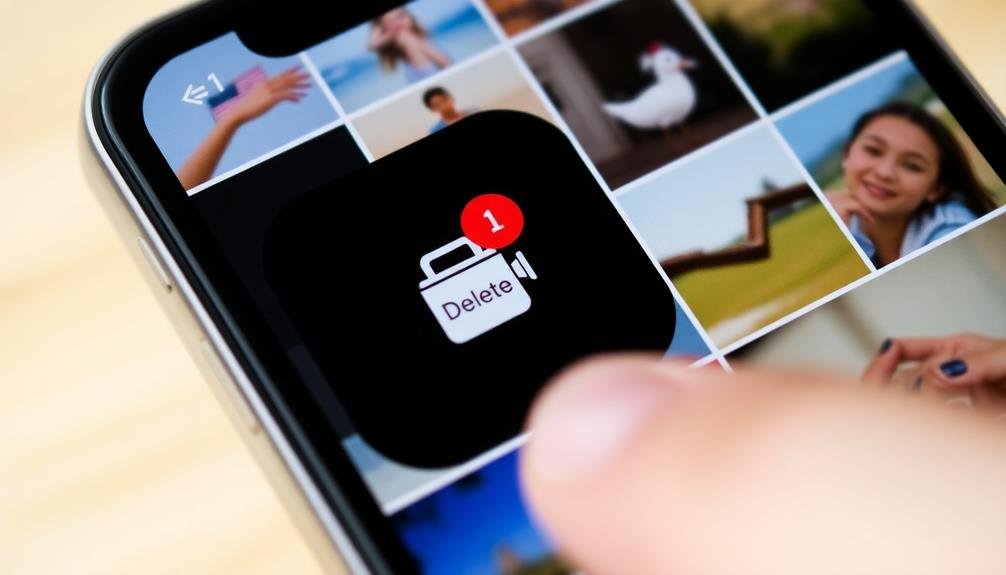
After capturing countless moments at an event, your first step in managing your mobile photos should be a thorough review. Go through your gallery and critically assess each image. Look for blurry shots, accidental captures, or redundant photos. Don't hesitate to delete these unnecessary images immediately.
Pay attention to similar shots and keep only the best ones. If you've taken multiple photos of the same scene or group, choose the one with the best composition, lighting, and facial expressions. This process helps you maintain a curated collection of high-quality images.
Consider the emotional value of each photo. Keep those that truly capture the essence of the event or evoke strong memories. Be ruthless in your selection process; it's better to have fewer, meaningful photos than a cluttered gallery.
Use your phone's built-in tools to streamline this process. Many devices offer features like "Similar Photos" or "Burst Mode" selections, which can help you quickly identify and remove redundant images.
Create Albums for Easy Access

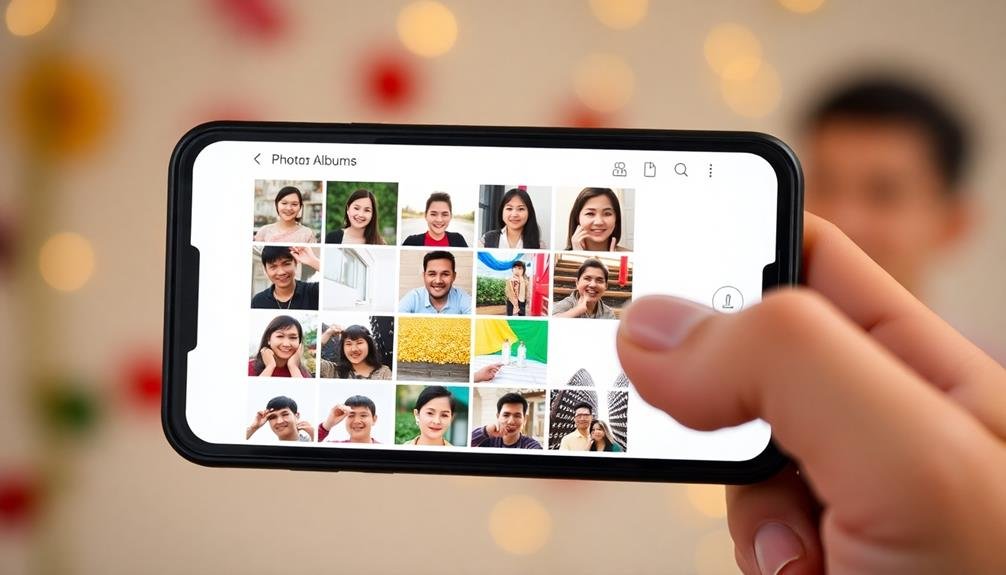
Once you've trimmed down your photo collection, organizing the remaining images into albums is the next logical step. Creating albums helps you quickly locate specific photos and relive event memories without scrolling through countless unrelated images.
Albums also make it easier to share event highlights with friends and family.
To create effective albums for easy access:
- Group photos by event or theme: Organize images based on specific activities, locations, or moments within the event.
- Use descriptive album names: Choose clear, concise titles that instantly remind you of the event's content.
- Add date and location information: Include these details in the album name or description for better context and searchability.
- Consider creating sub-albums: For larger events, break down photos into smaller, more specific categories.
Don't hesitate to create multiple albums if it makes sense for your event. For example, you might've a main album for a wedding and separate sub-albums for the ceremony, reception, and candid moments.
This approach allows for both a thorough overview and easy access to specific parts of the event. Remember to keep your album structure consistent across different events for easier navigation in the future.
Edit and Enhance Selected Images
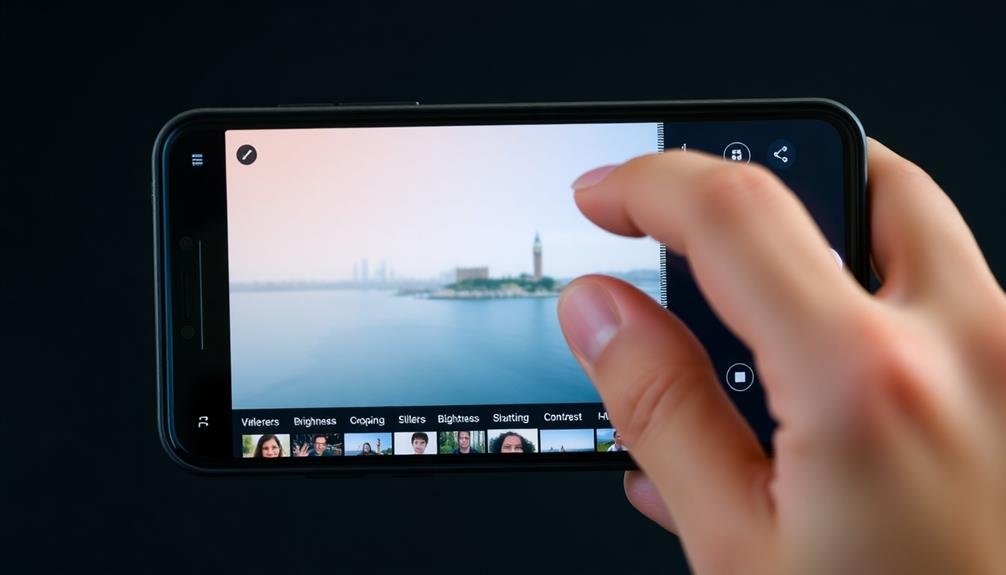
With your photos organized into albums, it's time to enhance the best shots. Start by selecting the images you want to improve. Most mobile devices offer built-in editing tools, but you can also download third-party apps for more advanced features.
Begin with basic adjustments like cropping, straightening, and rotating to perfect your composition. Then, move on to exposure settings, adjusting brightness, contrast, and highlights to make your images pop.
Don't forget about color correction; tweaking saturation and temperature can breathe new life into your photos. For portraits, use tools like skin smoothing and blemish removal sparingly to maintain a natural look.
If you're working with landscape shots, consider enhancing the sky or boosting the vibrancy of nature elements. Experiment with filters, but avoid overusing them. Instead, try subtle adjustments to create a cohesive look across your event photos.
Remember to save your edited images as copies to preserve the originals.
Backup Photos to Cloud Storage

Now that you've polished your event photos, it's time to safeguard these precious memories. Backing up your photos to cloud storage guarantees they're protected from device loss, damage, or theft.
Most smartphones offer built-in cloud backup options, such as iCloud for iOS and Google Photos for Android. These services often provide a certain amount of free storage, with options to upgrade for more space.
To backup your photos to cloud storage:
- Open your device's settings and locate the cloud storage option
- Sign in or create an account if you haven't already
- Enable automatic photo backup and choose your preferred settings (e.g., Wi-Fi only, cellular data allowed)
- Select which albums or folders you want to backup
Once set up, your photos will automatically sync to the cloud whenever you're connected to the internet. You can also manually initiate a backup if needed.
Remember to check your storage limits periodically and consider upgrading if you're running low on space. With your photos safely backed up, you'll have peace of mind knowing your event memories are secure and easily accessible from any device.
Share Memories With Event Attendees

After you've backed up your event photos, sharing them with fellow attendees is a great way to relive the experience together. Start by creating a shared album on your preferred photo-sharing platform, such as Google Photos, iCloud, or Dropbox. Invite attendees to view and contribute their own photos, expanding the collection of memories.
Consider using event-specific hashtags when sharing on social media platforms like Instagram or Twitter. This makes it easy for attendees to find and engage with all event-related content.
For a more personal touch, create a private Facebook group or WhatsApp chat where everyone can share their favorite moments.
If you're looking for a creative approach, try using a photo-sharing app like Cluster or Moments. These apps allow you to create collaborative albums and easily share high-quality images with specific groups.
Don't forget to respect privacy preferences; always ask for permission before sharing photos of others.
For professional events, consider using a dedicated event app or platform that includes photo-sharing features. This centralizes all event-related content and makes it easy for attendees to access and share memories long after the event has ended.
Frequently Asked Questions
How Can I Recover Accidentally Deleted Photos From My Mobile Device?
You can recover deleted photos by checking your device's trash folder or using recovery apps. If you've backed up to the cloud, restore from there. Act quickly, as deleted photos may be overwritten soon.
What's the Best Way to Transfer Photos Between Different Mobile Devices?
You've got several options to transfer photos between mobile devices. You can use cloud services like Google Photos or iCloud, send them via messaging apps, or connect devices directly using Bluetooth or Wi-Fi Direct for quick transfers.
How Do I Free up Storage Space Without Deleting My Photos?
You can free up storage without deleting photos by using cloud storage services. Upload your images to platforms like Google Photos or iCloud, then enable the "free up space" option on your device to remove local copies.
Are There Apps That Can Automatically Sort Photos by Faces or Locations?
Yes, you'll find several apps that can automatically sort photos by faces and locations. Google Photos, Apple Photos, and Amazon Photos are popular choices. They use AI to recognize faces and GPS data to group images by location.
How Can I Remove Metadata From Photos Before Sharing Them Online?
To remove metadata from photos before sharing online, you can use apps like ViewExif or Exif Remover. Alternatively, you'll find built-in options on your device's photo editing software. Always double-check before uploading to guarantee privacy.
In Summary
You've now mastered the art of post-event mobile photo management! By following these five easy steps, you'll keep your photo library organized, your best memories preserved, and your friends and family happy. Remember to review, delete, organize, edit, backup, and share. With this streamlined approach, you'll save time and storage space while ensuring your cherished moments are always at your fingertips. So go ahead, capture those special events without worry!


Leave a Reply