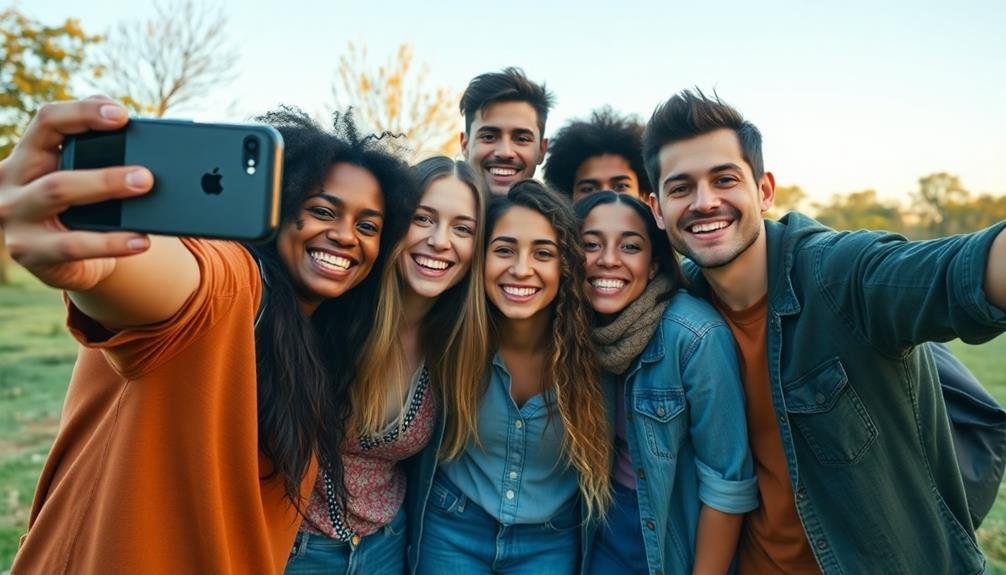
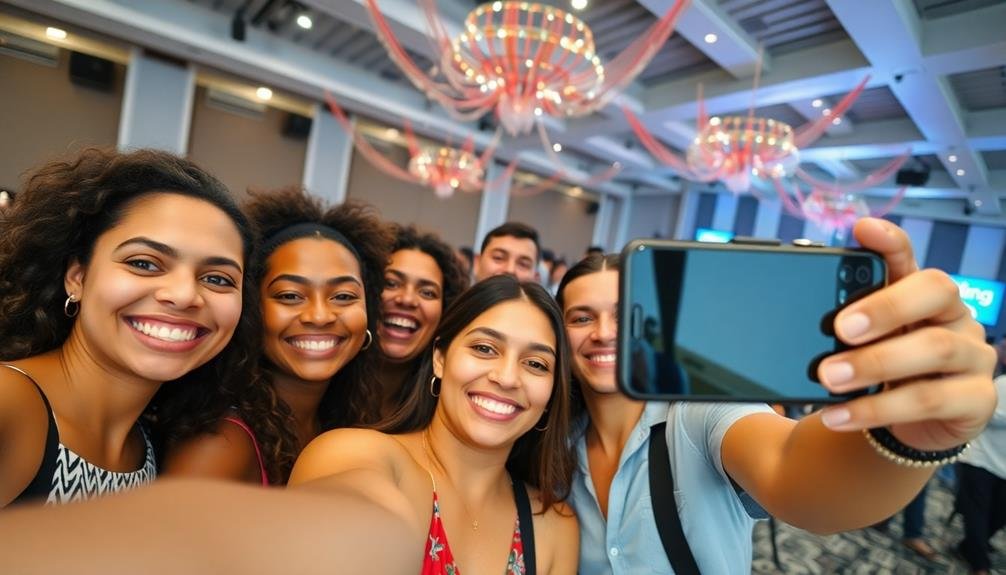
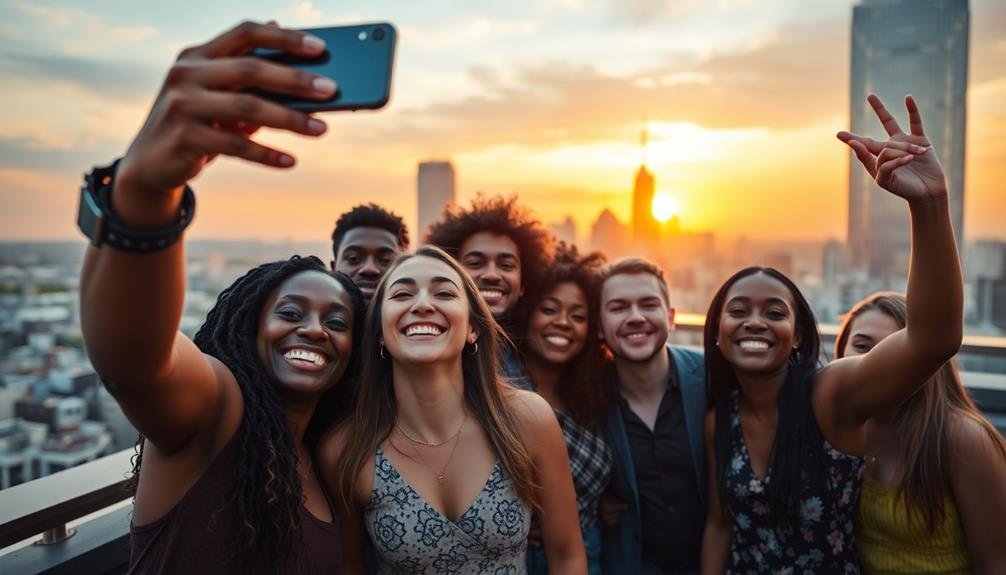
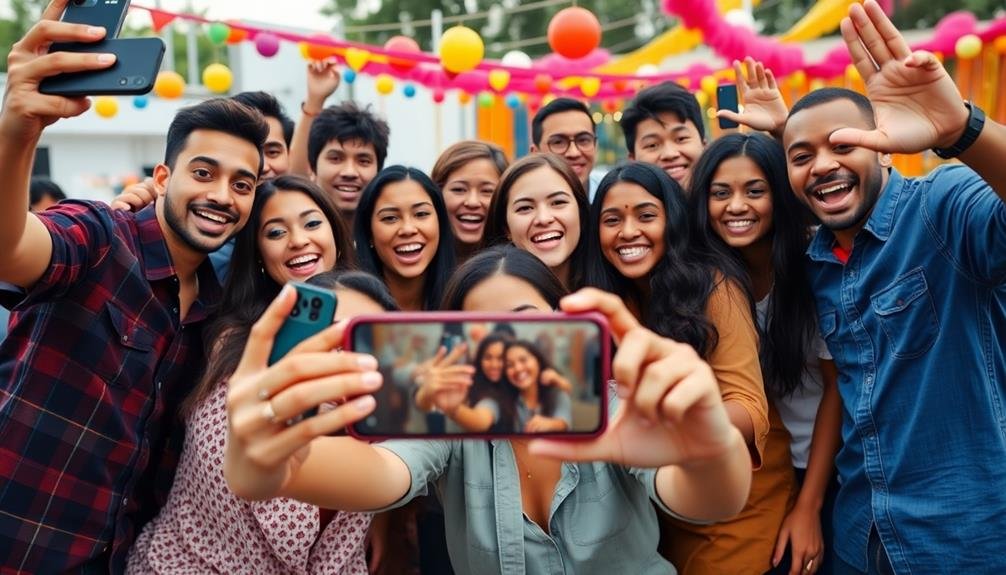
To capture perfect group selfies at events, start with the right equipment: use a smartphone with a high-resolution front camera and wide-angle lens. Find flattering lighting, whether natural or artificial, to avoid harsh shadows. Employ a selfie stick for wider shots and better angles. Arrange people strategically, considering height and visibility. Utilize your camera's timer, wide-angle mode, and burst features for ideal results. Don't forget to edit and enhance your photos before sharing on social media. Master group posing techniques and capture candid moments for authentic memories. These tips are just the beginning of your journey to becoming a group selfie pro.
Choose the Right Smartphone Camera
When it comes to capturing the perfect group selfie at events, your smartphone's camera quality can make or break the shot. Look for a device with a high-resolution front-facing camera, ideally 12 megapixels or more. This guarantees sharp, detailed images even when zoomed in or cropped.
Opt for a smartphone with a wide-angle lens on the front camera. This feature allows you to fit more people into the frame without resorting to awkward arm extensions or selfie sticks. Some phones offer an ultra-wide mode specifically for group shots.
Consider devices with advanced low-light capabilities, as many events take place in dimly lit environments. Look for features like Night Mode or larger pixel sizes that can capture clear images in challenging lighting conditions.
Choose a phone with optical image stabilization (OIS) to reduce blur from shaky hands. This is particularly useful for group selfies, where holding the phone steady can be tricky.
Lastly, select a smartphone with a reliable autofocus system and fast shutter speed. These features help secure everyone in the group is in focus and smiling when you snap the photo.
Find the Perfect Lighting
When it comes to lighting for your group selfie, you'll need to contemplate natural versus artificial light sources.
Natural light often produces the most flattering results, so try positioning your group near windows or in outdoor settings when possible.
If you're stuck with artificial lighting, be mindful of harsh shadows and experiment with different angles to find the most flattering illumination for everyone in the shot.
Natural vs. Artificial Light
Lighting can make or break your group selfie. When it comes to choosing between natural and artificial light, each has its advantages.
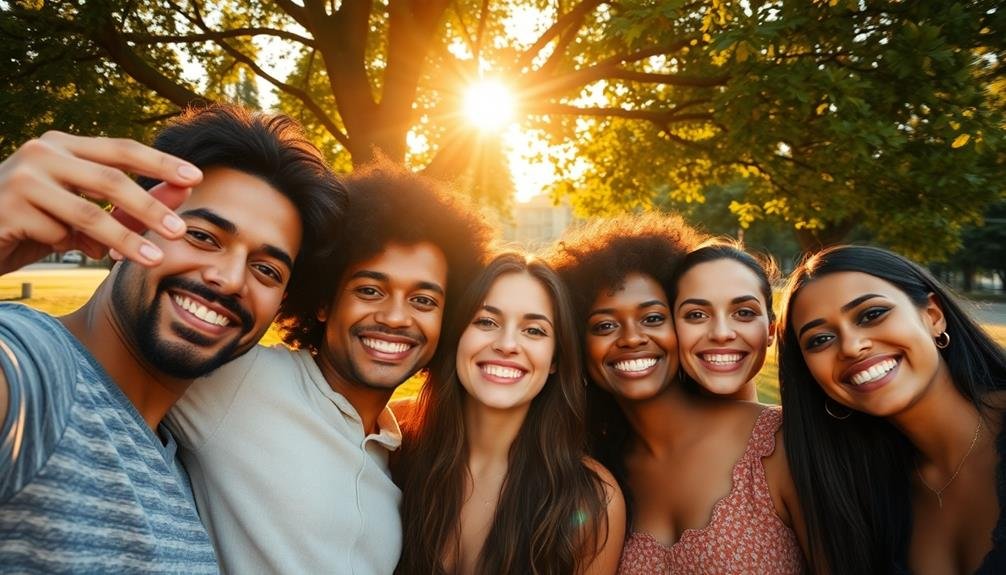
Natural light offers a soft, flattering glow that can enhance everyone's features. It's best to shoot during the golden hour, just after sunrise or before sunset, for a warm, inviting ambiance.
However, if you're indoors or at a nighttime event, you'll need to rely on artificial lighting.
Artificial light gives you more control over the illumination. You can use venue lighting, phone flashlights, or even portable LED panels to achieve the desired effect. When using artificial light, be mindful of harsh shadows and unflattering angles. Experiment with different light sources and positions to find what works best for your group.
Consider these tips when deciding between natural and artificial light:
- Natural light is ideal for outdoor daytime events
- Artificial light allows for creativity in low-light situations
- A combination of both can create interesting effects
Ultimately, the choice between natural and artificial light depends on your event's location, time, and desired aesthetic.
Don't be afraid to try both options to see which produces the best results for your group selfie.
Avoid Harsh Shadows
The nemesis of great group selfies often lurks in the shadows. Harsh shadows can ruin an otherwise perfect shot, creating unflattering contrasts and obscuring faces. To avoid this, you'll need to be strategic about your positioning and lighting choices.
First, try to find a spot where light is evenly distributed. If you're outdoors, seek open shade under a tree or near a building. This diffuses the sunlight and minimizes harsh shadows on faces.
If you're indoors, position your group near a large window, but not directly in front of it. This allows soft, natural light to illuminate everyone evenly.
When using artificial light, opt for multiple light sources to fill in shadows. If you're at an event with professional lighting, look for areas where lights are coming from different angles.
For impromptu selfies, use the flashlights from other phones to create additional light sources.
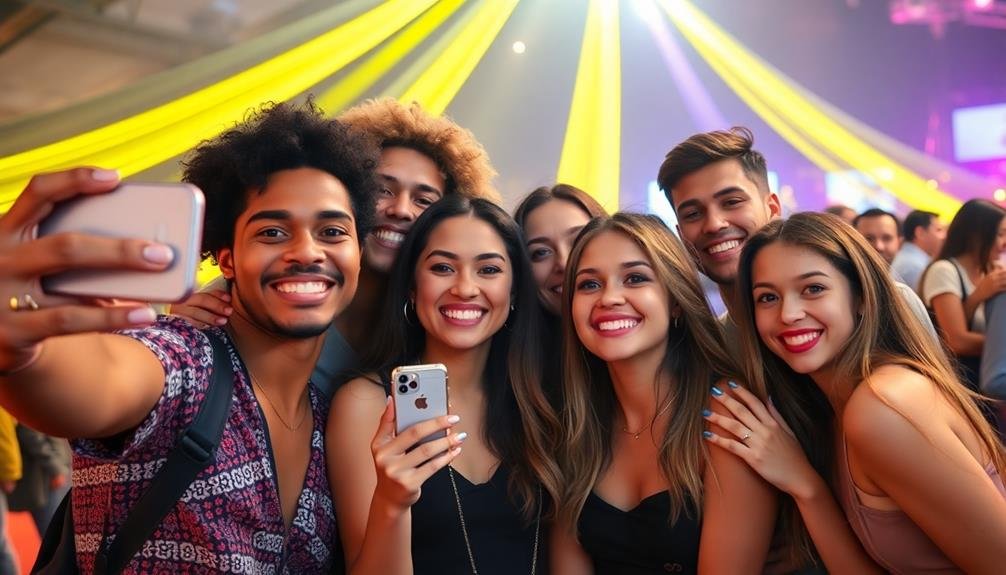
Use a Selfie Stick
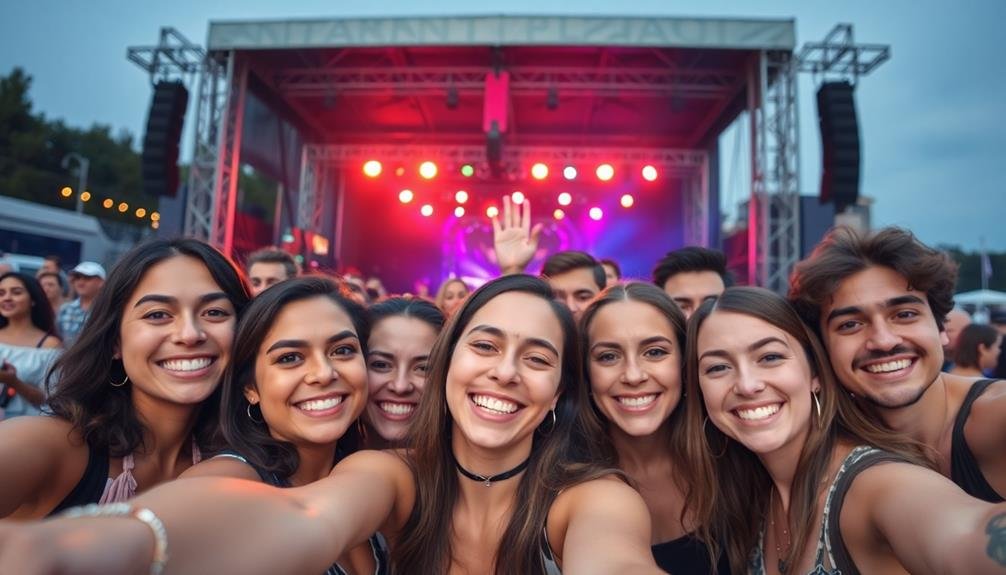
Although they're sometimes mocked, selfie sticks can be a game-changer for group photos at events. These handy tools allow you to capture wider shots, including more people and background in your selfies. By extending your reach, you'll be able to fit everyone comfortably in the frame without cramming together or leaving anyone out.
When using a selfie stick, position it at a slight upward angle to create a flattering perspective for all participants. This technique minimizes unflattering double chins and emphasizes everyone's best features.
Don't forget to stabilize the stick to avoid blurry photos, especially in low-light conditions.
Here are some additional tips for using selfie sticks effectively:
- Use the stick's built-in remote or Bluetooth feature for easier photo-taking
- Experiment with different angles to find the most flattering shot for your group
- Be mindful of your surroundings to avoid accidentally bumping into people or objects
Remember to check the event's rules regarding selfie sticks, as some venues may prohibit them. If allowed, a selfie stick can greatly enhance your group photo experience, helping you capture memorable moments with friends and fellow attendees at any event.
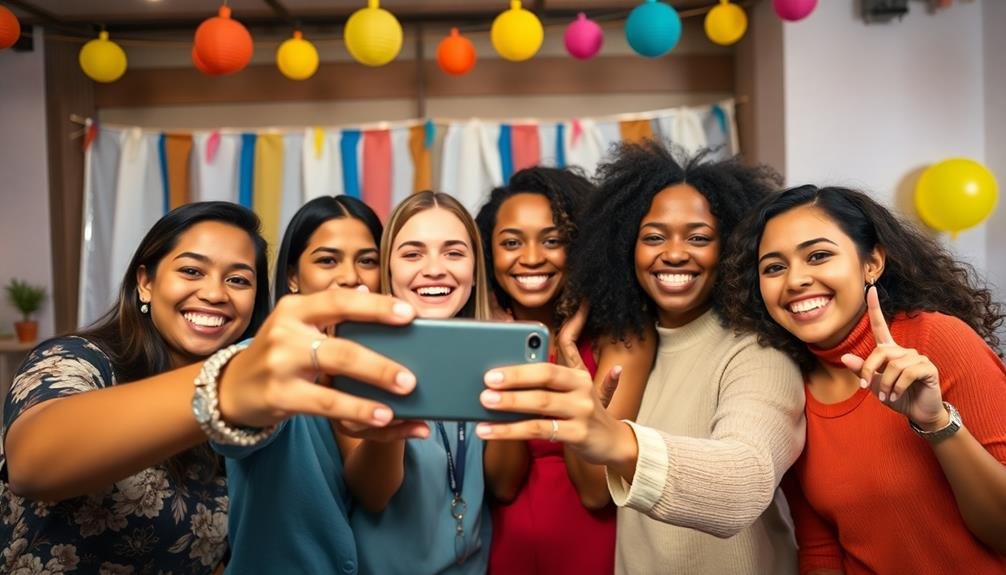
Arrange People Strategically
When arranging your group for a selfie, consider height-based positioning to guarantee everyone's face is visible.
Place taller individuals towards the back and shorter people in front, creating a natural slope. You can also form staggered rows, with people slightly offset from one another, to maximize space and visibility in the frame.
Height-Based Positioning
Strategic height-based positioning can make or break your group selfie. When arranging people, consider their heights to create a balanced and visually appealing composition. Place taller individuals towards the back and shorter ones in front. This arrangement guarantees everyone's face is visible and prevents anyone from being obscured.
For larger groups, create multiple rows based on height. The back row should consist of the tallest members, with each subsequent row featuring slightly shorter individuals. If you're dealing with significant height differences, consider using steps, platforms, or even chairs to elevate shorter participants.
Don't forget to account for the camera angle when positioning people. If you're holding the camera high, those in front might appear smaller, so adjust accordingly. For a more dynamic look, try arranging people in a slight arc or semicircle rather than straight lines.
Here are some additional tips for height-based positioning:
- Ask taller individuals to bend their knees slightly to reduce extreme height differences
- Position children or shorter adults in the center front for a balanced composition
- Use props or furniture creatively to manage height variations and add interest to the photo
Staggered Rows Formation
Staggered rows formation offers a dynamic alternative to traditional straight-line group photos. To implement this technique, arrange people in multiple rows, with each row slightly offset from the one behind it. This creates depth and allows everyone's face to be visible in the final image.
Start by positioning the tallest individuals in the back row, then gradually decrease height as you move forward. Make sure that each person's head is visible between the shoulders of those in front of them. You'll want to leave small gaps between people in each row, allowing those behind to be seen clearly.
For larger groups, consider creating a semicircle or V-shape formation. This adds visual interest and helps fit more people into the frame. If you're using a selfie stick or tripod, angle it slightly downward to capture all rows effectively.
Don't forget to instruct everyone to lean in slightly towards the center of the group. This creates a more intimate feel and helps make certain everyone fits within the frame.
Set a Timer
Setting a timer on your phone's camera is a game-changer for group selfies. It allows everyone to be in the picture without leaving anyone out to take the shot. Most smartphones have a built-in timer feature that's easy to use. Simply set the timer for a few seconds, giving you enough time to join the group and strike a pose. This method also helps reduce camera shake, resulting in clearer, more stable images.
When using the timer feature, consider these tips:
- Choose a stable surface to prop up your phone, or use a small tripod for better stability
- Set the timer for 5-10 seconds, depending on how far you need to move
- Do a practice run to guarantee everyone's in frame and the angle is right
The timer feature isn't just for static poses. You can use it to capture candid moments or action shots. Set up the phone, start the timer, and engage in a fun activity with your group. This technique works great for capturing genuine smiles and natural interactions.
Remember to take multiple shots, as you might need a few attempts to get the perfect group selfie.
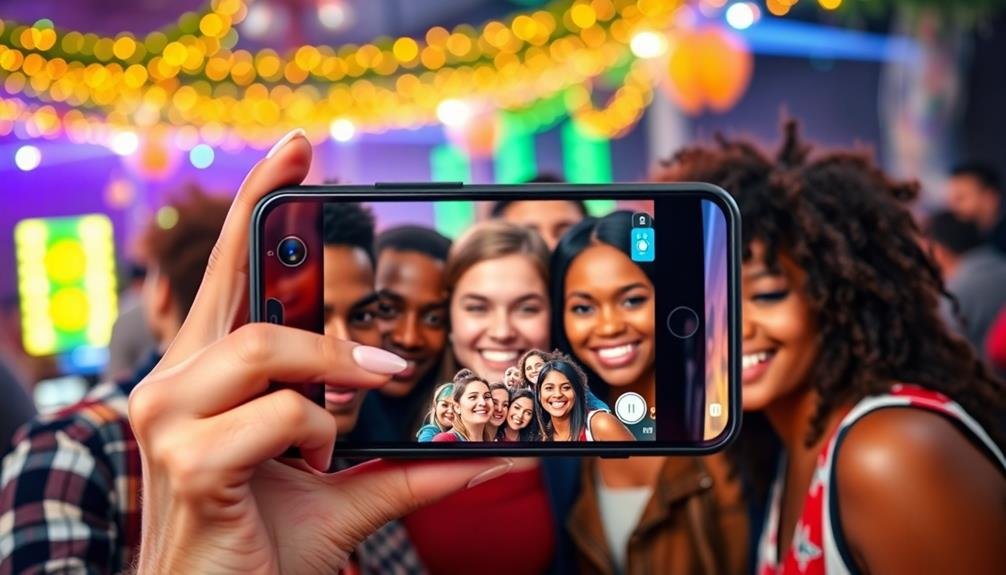
Utilize Wide-Angle Mode
While timers help capture everyone in the shot, wide-angle mode takes group selfies to the next level. This feature, available on many modern smartphones, allows you to fit more people and background into your photo without sacrificing quality.
To use wide-angle mode, look for the zoom options on your camera app. You'll typically see an icon with three trees or a "0.5x" indicator. Tap this to switch to the wide-angle lens. Once activated, you'll notice a notably broader field of view, perfect for large groups or capturing the event's atmosphere.
When using wide-angle mode, be mindful of distortion at the edges of the frame. Position important subjects towards the center for the best results. You can also experiment with different angles to create unique perspectives. Try holding the phone slightly above eye level to minimize unflattering chin angles.
Remember that wide-angle shots work best in well-lit environments, so seek out bright areas or use additional lighting if needed.
With practice, you'll master the art of wide-angle group selfies, creating memorable photos that truly capture the essence of your events.
Experiment With Different Angles
Creativity is key when it comes to group selfies. Don't settle for the same old straight-on shot every time. Instead, experiment with different angles to add visual interest and capture your group in unique ways.
Try shooting from above by holding your phone high and angling it downwards. This bird's-eye view can be flattering and helps fit more people into the frame. Alternatively, get low and shoot upwards for a dramatic effect that emphasizes faces and makes everyone look taller.
Don't be afraid to play with unconventional angles. Tilt your phone diagonally or capture the group from the side for a more artistic composition. Remember, the goal is to create memorable photos that stand out from the typical event selfies.
Here are some angle ideas to try:
- The "dutch angle": Tilt your phone 45 degrees for a dynamic, off-kilter shot
- The "worm's eye view": Lay on the ground and shoot upwards for a unique perspective
- The "over-the-shoulder": Have someone in the front face away from the camera and shoot over their shoulder
Incorporate Event-Specific Props

Props can instantly elevate your group selfies and make them event-specific. Whether you're at a wedding, birthday party, or corporate event, incorporating themed props adds personality and context to your photos.
For weddings, use items like "Just Married" signs, flower bouquets, or champagne glasses. At birthday celebrations, grab party hats, balloons, or a slice of cake to showcase in your selfie.
For corporate events, utilize company logos, branded merchandise, or industry-specific items to highlight the occasion. If you're at a sporting event, don team jerseys, foam fingers, or face paint to capture the spirit. Music festivals offer opportunities to use glow sticks, band merchandise, or colorful accessories.
Don't forget to take into account the event's backdrop when choosing props. If you're at a beach party, incorporate sunglasses, beach balls, or tropical drinks. For holiday gatherings, use seasonal decorations or festive attire.
Remember to keep props small and easy to hold, ensuring they don't obstruct faces or dominate the frame. By thoughtfully selecting event-specific props, you'll create memorable group selfies that truly capture the essence of the occasion.
Try Burst Mode
Burst mode is your secret weapon for capturing the perfect group selfie at events.
You'll snap multiple shots in quick succession, increasing your chances of getting everyone's best expressions.
This rapid-fire approach guarantees you don't miss a moment, giving you more options to choose from when selecting the ideal group photo.
Capture Multiple Shots Quickly
When it comes to group selfies, you can't always count on nailing the perfect shot in one go. That's where capturing multiple shots quickly comes into play. Most smartphones now offer a burst mode feature, allowing you to take a rapid series of photos with a single press of the shutter button.
To use burst mode, simply hold down the shutter button or volume key (depending on your device) for a few seconds. Your phone will capture a series of images in quick succession, giving you a better chance of getting that perfect group shot where everyone's eyes are open and smiling.
After taking the burst, you can review the photos and select the best one to keep. This method is particularly useful for large groups or when you're trying to capture a specific moment during an event.
Here are some tips for using burst mode effectively:
- Stabilize your phone or use a selfie stick for clearer shots
- Communicate with your group to guarantee everyone's ready
- Keep the burst short (2-3 seconds) to avoid overwhelming storage
Ensure Everyone's Best Expression
Getting everyone's best expression in a group selfie can be challenging, but burst mode is your secret weapon. This feature rapidly captures multiple photos in quick succession, increasing your chances of catching everyone looking their best.
To use burst mode effectively, follow these steps:
- Enable burst mode on your smartphone camera.
- Frame your group shot and hold the shutter button down.
- Take several bursts, giving your friends time to change expressions.
- Review the burst shots and select the best one.
Here's a comparison of burst mode vs. single shot:
| Aspect | Burst Mode | Single Shot |
|---|---|---|
| Quantity | Multiple images | One image |
| Timing | Captures split-second changes | One moment only |
| Expression variety | High | Low |
| Storage space | More | Less |
| Selection process | Time-consuming | Quick |
Remember to communicate with your group before taking the burst shots. Encourage them to vary their expressions slightly between bursts. This technique guarantees you'll have a diverse range of options to choose from, maximizing the likelihood of finding that perfect shot where everyone looks their best.
Increase Perfect Photo Chances
To greatly boost your chances of capturing the perfect group selfie, you'll want to leverage burst mode. This feature, available on most smartphones, takes multiple shots in quick succession with a single press of the shutter button. By rapidly capturing a series of images, you'll increase the likelihood of getting at least one photo where everyone looks their best.
To use burst mode effectively, hold your phone steady and ask your group to maintain their poses for a few seconds longer than usual. This allows the camera to capture various subtle changes in expressions and movements. After taking the burst, you can review the series and select the best shot where everyone's smiling, eyes are open, and no one's blinking.
Here are some additional tips for maximizing burst mode:
- Confirm your phone has enough storage space for multiple images
- Use a tripod or stabilizer for clearer shots, especially in low light
- Communicate with your group about the burst, so they're prepared
Edit and Enhance Group Photos
In light of the increasing popularity of group selfies, editing and enhancing these photos has become an important step. After capturing your group shot, it's time to polish it to perfection.
Start by adjusting the brightness and contrast to guarantee everyone's faces are clearly visible. If the lighting was uneven, use the shadow and highlight tools to balance the exposure across the image.
Next, focus on color correction. Adjust the white balance to eliminate any unwanted color casts, and boost the saturation slightly to make the image pop. Don't overdo it, though – you want the colors to look natural, not artificial.
For group photos, it's vital to pay attention to detail. Use the spot healing tool to remove any blemishes or distractions in the background. If someone's eyes are closed, you can even swap them out from another photo in the series.
Master Group Posing Techniques
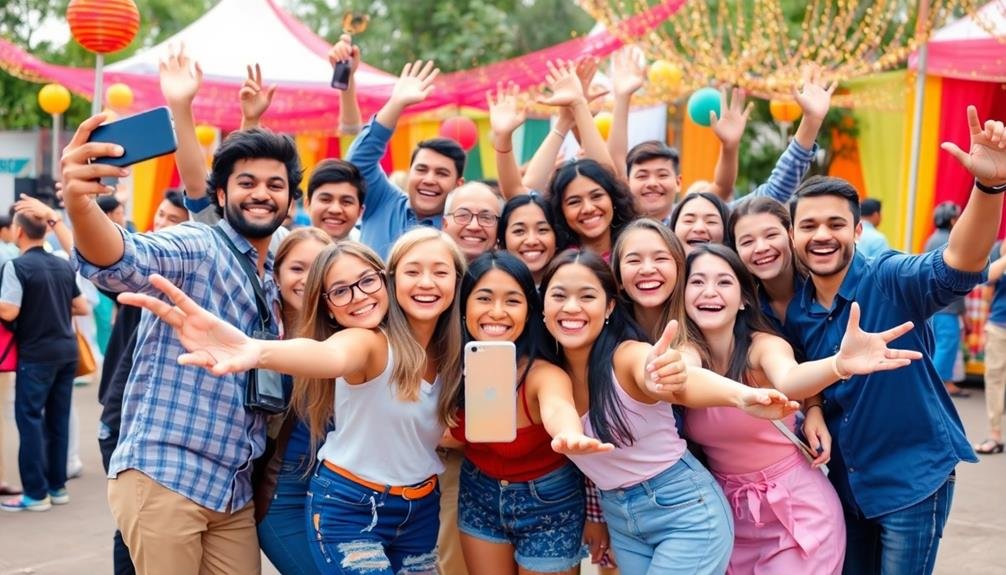
Mastering group posing techniques is crucial for capturing memorable event selfies. To create visually appealing group shots, arrange people in a staggered formation, with taller individuals towards the back and shorter ones in front. This guarantees everyone's face is visible and creates depth in the photo.
Encourage your group to stand close together, eliminating gaps that can make the image appear disjointed. For larger groups, try forming a semicircle or V-shape to fit everyone comfortably in the frame. This arrangement allows for better eye contact with the camera and creates a sense of unity.
Don't forget to take into account the background when positioning your group – choose an interesting or relevant backdrop that complements the event's theme.
To add variety and personality to your group selfies, try these posing ideas:
- Ask everyone to strike a fun, coordinated pose (e.g., jumping, pointing, or making silly faces)
- Create levels by having some people sit or kneel while others stand
- Incorporate props or event-specific elements to tell a story
Remember to give clear instructions and maintain a positive, energetic attitude to keep everyone engaged and smiling naturally throughout the photo-taking process.
With practice, you'll become adept at quickly organizing and posing groups for stunning event selfies.
Capture Candid Moments
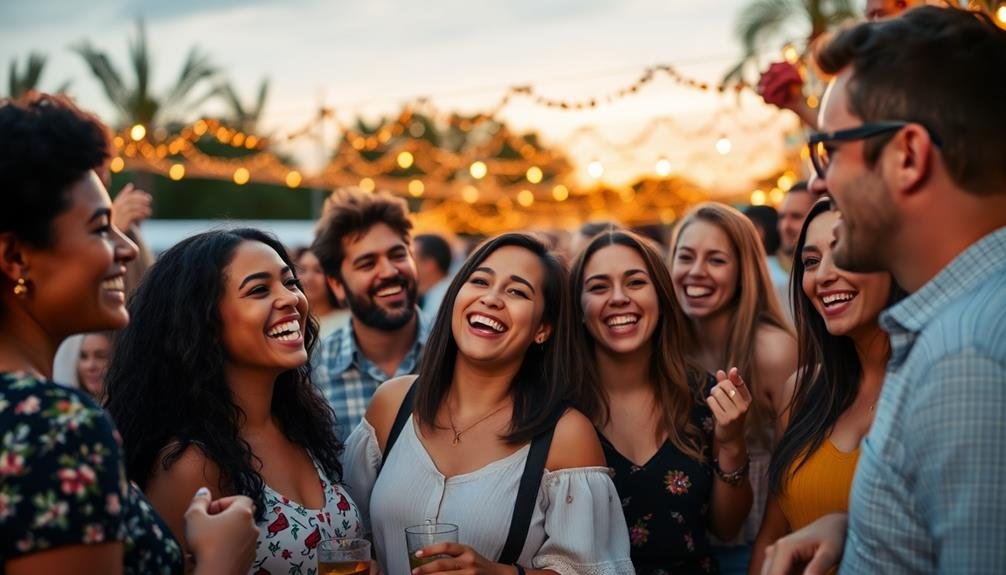
Along with posed group shots, capturing candid moments can add authenticity and spontaneity to your event selfies. To catch these genuine interactions, keep your camera ready at all times. Look for natural gatherings, laughter, and animated conversations. Don't be afraid to snap a few shots without alerting your subjects – some of the best candids come when people aren't aware they're being photographed.
Use burst mode to capture a series of quick shots, increasing your chances of getting that perfect candid moment. Pay attention to lighting and composition, even in spontaneous situations. Natural light often works best for candid shots, so position yourself near windows or in well-lit areas.
Here's a quick guide to evoking different emotions in your candid selfies:
| Emotion | Setting | Facial Expression | Body Language | Props |
|---|---|---|---|---|
| Joy | Dance floor | Genuine laughter | Arms raised | Party favors |
| Excitement | Award announcement | Wide-eyed surprise | Jumping | Trophy or medal |
| Relaxation | Lounge area | Serene smile | Lounging | Drinks |
| Curiosity | Interactive exhibit | Focused gaze | Leaning forward | Exhibit items |
| Camaraderie | Group activity station | Friendly smiles | Huddling | Shared task items |
Share Instantly on Social Media

Social media platforms are the perfect stage for your group selfies to shine. With just a few taps, you can share your event memories with friends, family, and followers. To make the most of this instant sharing capability, verify you've got a strong internet connection or reliable mobile data.
Before posting, quickly edit your photo using built-in filters or basic adjustments to enhance its appeal. Don't forget to tag everyone in the picture and use relevant event hashtags to increase visibility. This not only helps others find your content but also creates a digital album of the event that everyone can enjoy.
Consider creating a unique event hashtag if it's a special occasion like a wedding or corporate gathering.
To maximize engagement and reach when sharing your group selfies:
- Time your posts strategically, aiming for peak social media usage hours
- Craft a witty or meaningful caption that captures the event's spirit
- Encourage others in the photo to share it on their profiles too
Frequently Asked Questions
How Can I Prevent Blinking in Group Selfies?
To prevent blinking in group selfies, you'll want to count down before taking the shot. Tell everyone to blink rapidly just before you snap the photo. This trick helps keep eyes open during the pivotal moment.
What's the Ideal Group Size for a Successful Selfie?
You'll find the ideal group size for a successful selfie is typically 4-8 people. It's enough to create a fun, diverse image without overcrowding the frame. You can fit everyone comfortably and still capture facial details.
How Do I Handle Height Differences in Group Selfies?
You'll want to arrange people strategically. Place taller individuals in the back and shorter ones in front. Use stairs or different levels if available. Alternatively, have everyone sit or crouch to minimize height differences.
Are There Apps Specifically Designed for Group Selfies?
Yes, there are apps designed for group selfies. You'll find options like GroupShot, Groopic, and Selfie360. These apps offer features like automatic face detection, timer settings, and the ability to merge multiple shots for the perfect group photo.
How Can I Make Group Selfies More Fun and Entertaining?
You can make group selfies more fun by using props, striking funny poses, or playing selfie games. Try adding themed accessories, making silly faces, or challenging friends to recreate famous movie scenes. Don't forget to use filters for extra laughs!
In Summary
You've now got all the tools to take amazing group selfies at your next event. Remember to choose the right camera, find good lighting, and arrange everyone strategically. Don't forget to use a selfie stick or timer for better angles. Master group posing techniques and capture candid moments too. With these tricks, you'll create memorable photos that you can quickly edit and share on social media. Get ready to impress with your group selfie skills!


Leave a Reply