
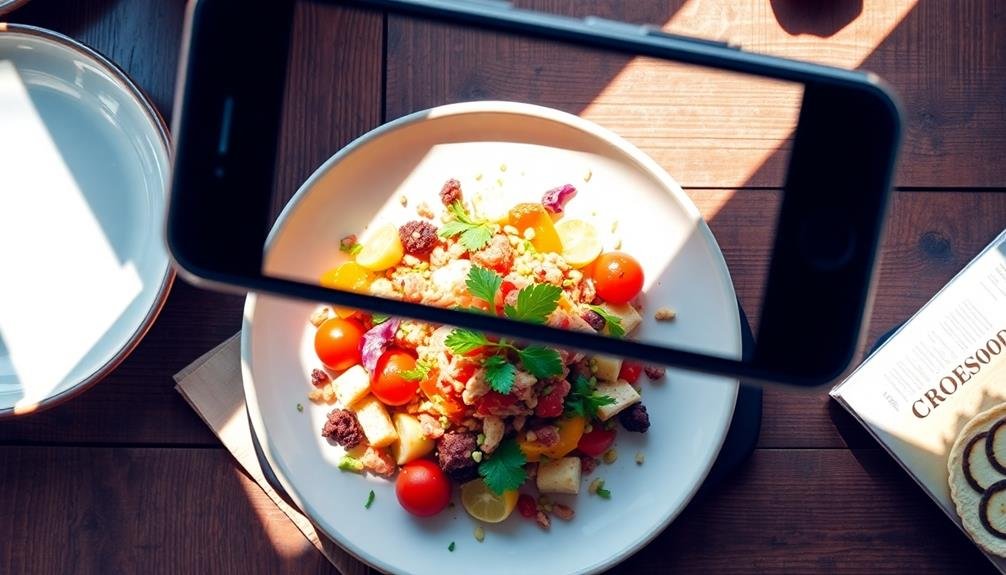
To snap dynamic food photos with your mobile device, focus on natural lighting and composition. Position dishes near windows for soft, diffused light. Use the rule of thirds and experiment with angles to create visually appealing shots. Capture steam and movement by using burst mode or pouring sauces. Style your dish with complementary colors and textures, and choose backgrounds that enhance the food without overwhelming it. Utilize apps like Snapseed or VSCO for editing, adjusting brightness, contrast, and sharpness. Don't forget to share your mouthwatering creations on platforms like Instagram or Pinterest. With these techniques, you'll be well on your way to mastering the art of mobile food photography.
Lighting Techniques for Food Photos
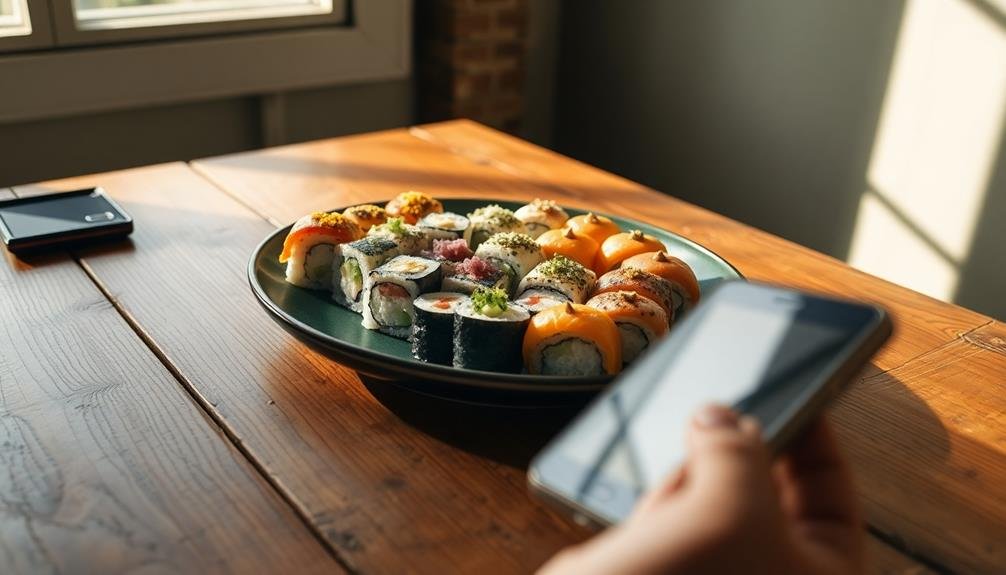
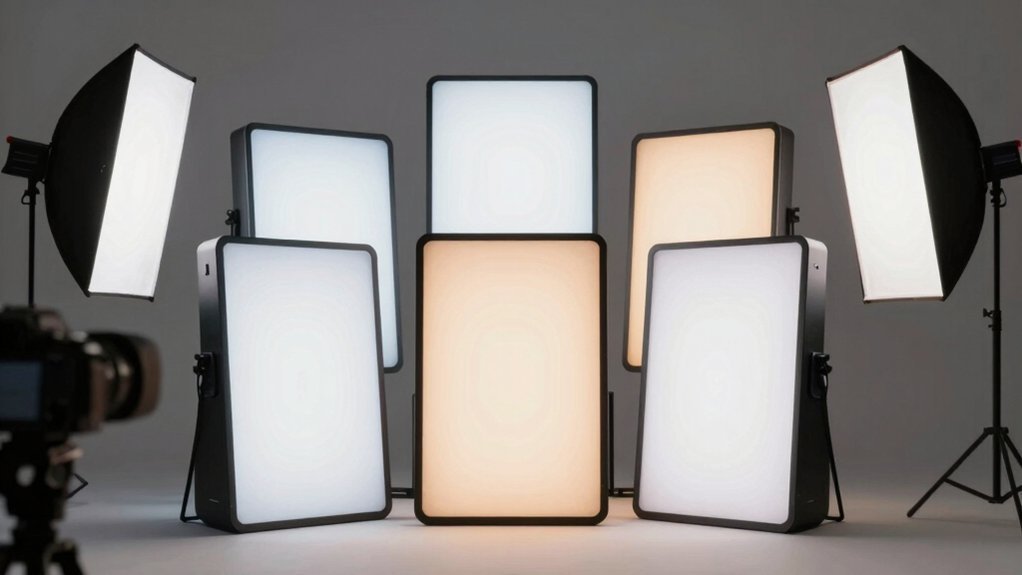
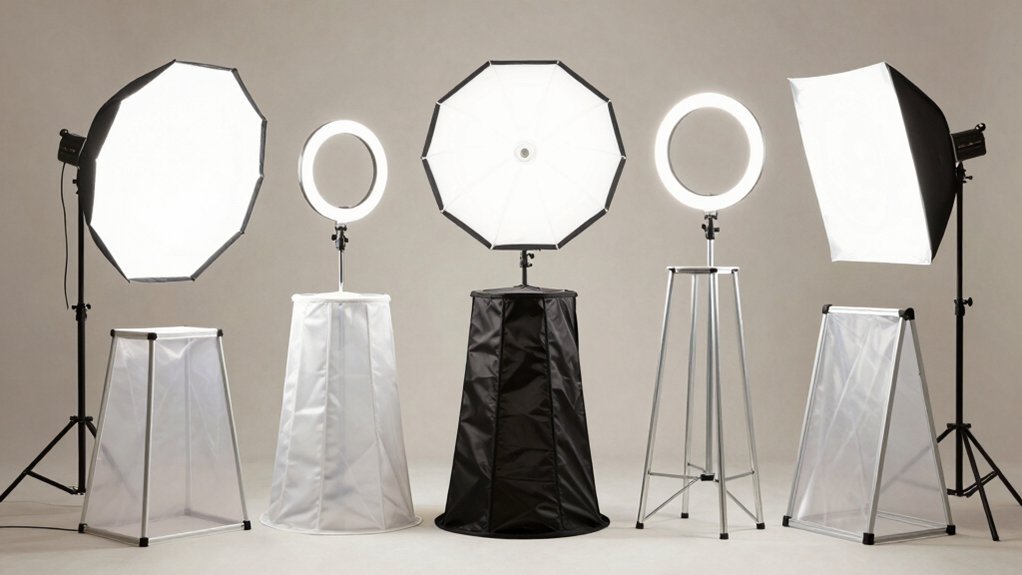
When capturing food photos with your mobile device, lighting is paramount. Natural light is your best friend, so position your dish near a window or take it outdoors. Avoid harsh direct sunlight, which can create unflattering shadows. Instead, opt for soft, diffused light that evenly illuminates your subject.
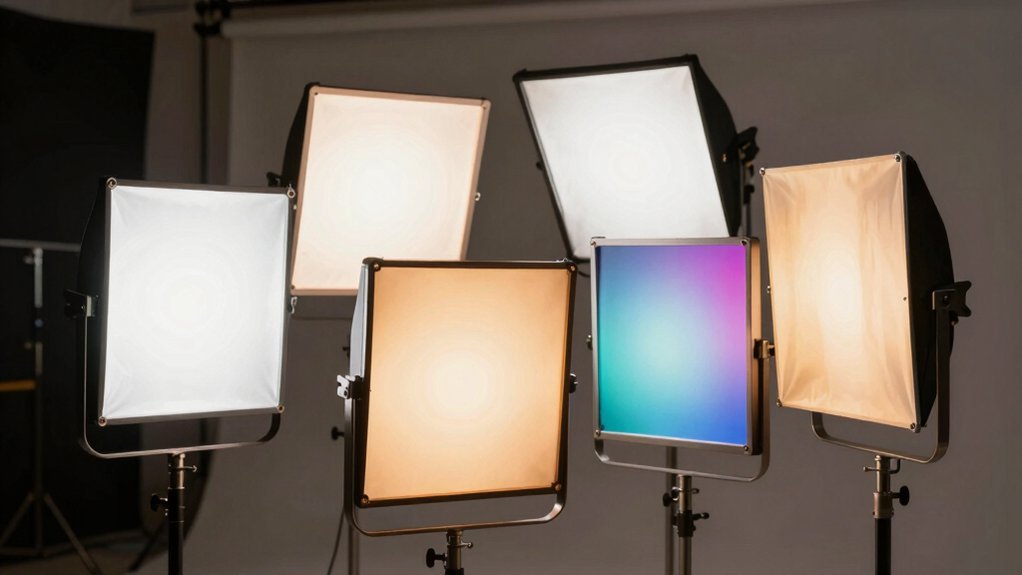
If natural light isn't available, use your phone's built-in flash sparingly. It can create harsh reflections and flatten the image. Instead, consider investing in a small portable LED light or using a white piece of paper to reflect light onto your subject.
Experiment with different angles to find the most flattering light. Side lighting can create depth and texture, while backlighting can produce a warm, inviting glow. Don't be afraid to move around your subject to find the perfect angle.
For darker settings, use your phone's night mode or adjust the exposure manually. Steady your device to prevent blur in low-light conditions.
Composition Rules for Mobile Shots
With mobile food photography, mastering composition is essential for creating eye-catching images. Start by applying the rule of thirds: divide your screen into a 3×3 grid and place key elements along these lines or at their intersections. This creates balance and visual interest in your shot.
Pay attention to framing. Use natural elements like tableware or ingredients to frame your main dish, drawing the viewer's eye to the focal point. Don't be afraid to get close to your subject; fill the frame with appetizing details that showcase textures and colors.
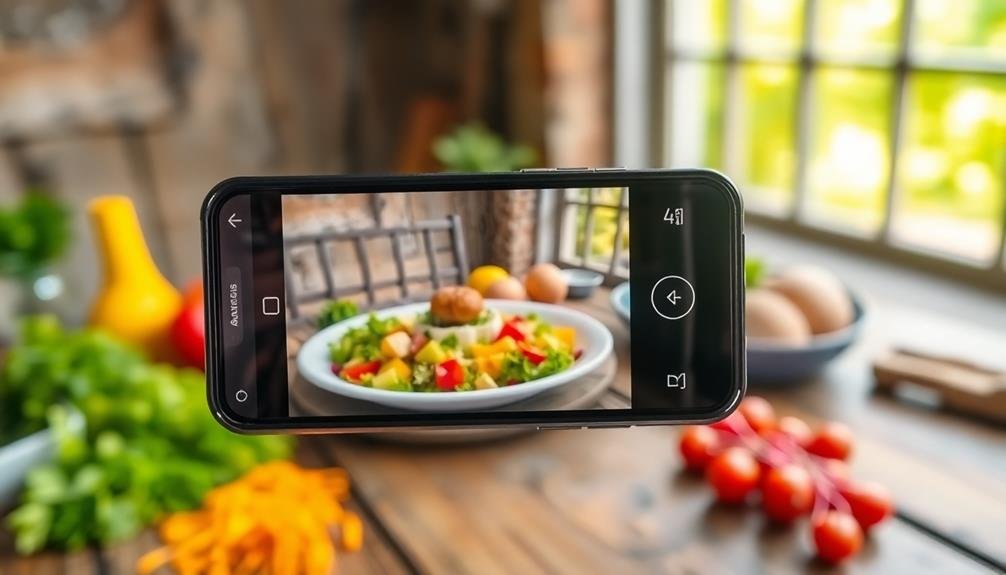
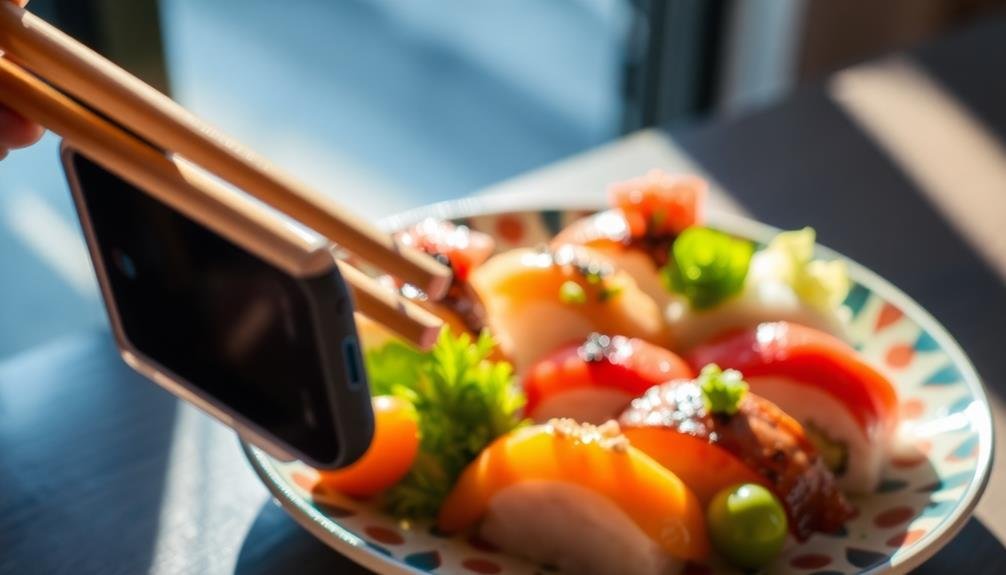
Consider perspective and angles. Experiment with overhead shots for flat lays or eye-level views for more intimate compositions. Tilt your phone slightly for dynamic diagonal lines that add energy to your image.
Use negative space effectively. Don't overcrowd your frame; leave some empty areas to let your subject breathe and stand out. Play with symmetry and patterns when arranging multiple items, but also embrace asymmetry for a more natural feel.
Lastly, think about color harmony. Group complementary or contrasting colors together to create visually striking compositions that pop on screen.
Capturing Steam and Movement
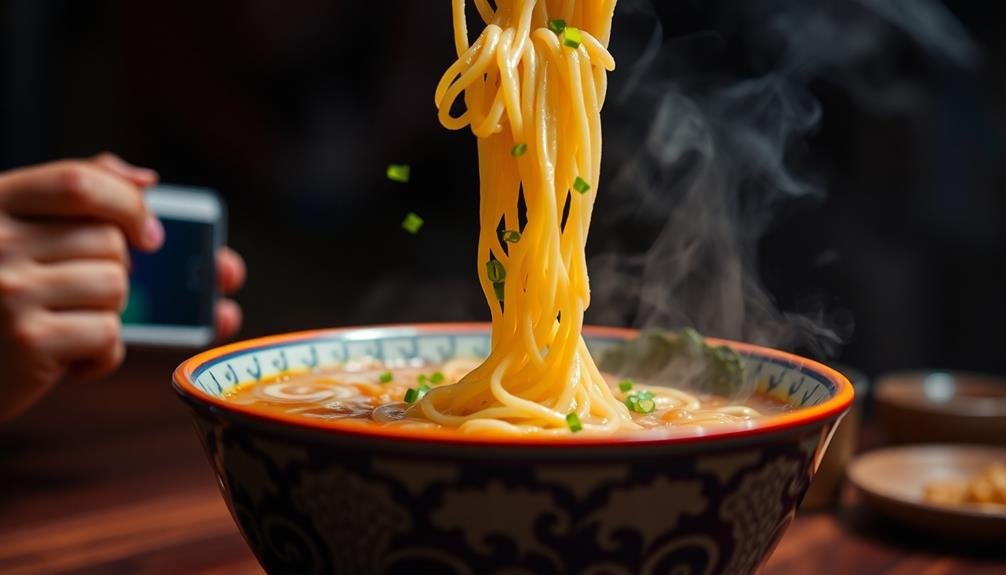
Steam-capture techniques can elevate your mobile food photography, adding life and dynamism to your shots. To capture steam effectively, guarantee your food is piping hot and place it in a well-lit area with a dark background.
Use your phone's burst mode to take multiple shots quickly, increasing your chances of catching the perfect wisp of steam.
For movement in food photos, try action shots like pouring sauce, sprinkling herbs, or cutting into a dish. Use a fast shutter speed to freeze the motion or experiment with slower speeds for artistic blur.
Position your camera at eye level with the food for the most impactful results.
Lighting is vital for capturing steam and movement. Natural light works best, but if you're indoors, use a diffused artificial light source. Avoid harsh direct light, which can overexpose your image.
Adjust your phone's exposure settings to highlight the steam or movement without losing detail in the food itself.
Don't forget to clean your phone's lens before shooting to guarantee crisp, clear images.
With practice, you'll master the art of capturing steam and movement, bringing your food photos to life.
Best Apps for Food Photography
You'll find numerous apps designed to elevate your food photography game.
Top-rated editing apps like VSCO, Snapseed, and Lightroom Mobile offer powerful tools to enhance your culinary shots.
For those seeking camera enhancement tools, consider Foodie® or Camera+ 2, which provide features specifically tailored for capturing mouthwatering dishes.
Top-Rated Editing Apps
Food photography enthusiasts know that capturing the perfect shot is only half the battle. The real magic happens during the editing process, where you can enhance colors, adjust lighting, and add finishing touches to make your food photos truly mouthwatering. To help you achieve professional-looking results, here are some top-rated editing apps for food photography:
| App Name | Key Features |
|---|---|
| Snapseed | Advanced filters, selective adjustments |
| VSCO | Film-inspired presets, manual controls |
| Foodie | Food-specific filters, blur effects |
| Lightroom | Professional-grade editing tools |
| Afterlight | Textures, overlays, double exposure |
These apps offer a wide range of tools to elevate your food photos. Snapseed's selective adjustment feature allows you to fine-tune specific areas of your image, while VSCO's film-inspired presets give your photos a classic look. Foodie is specifically designed for food photography, offering filters that enhance the appetizing qualities of your dishes. For more advanced editing, Lightroom provides professional-grade tools on your mobile device. Afterlight stands out with its unique textures and double exposure feature, allowing you to create artistic compositions. Experiment with these apps to find the perfect editing style for your food photography.
Camera Enhancement Tools
While editing apps can enhance your food photos, camera enhancement tools take your photography to the next level by improving the initial capture. These tools offer advanced features that your phone's default camera app might lack.
One popular option is ProCamera, which gives you manual control over exposure, focus, and white balance. It's perfect for adjusting settings in tricky lighting situations often encountered in restaurants.
For iOS users, Halide offers intuitive gesture controls and RAW capture capabilities, allowing for greater post-processing flexibility.
If you're an Android user, consider Camera FV-5. It mimics DSLR functionality, providing histogram displays and bracketing options.
FoodCam is specifically designed for food photography, offering specialized filters and frames to make your dishes pop.
For both platforms, VSCO's camera tool stands out with its ability to separate focus and exposure points. This feature is invaluable when you want to highlight specific areas of your dish while maintaining proper exposure.
Lastly, don't overlook Lightroom Mobile's built-in camera. It seamlessly integrates with its powerful editing suite, streamlining your workflow from capture to final image.
Styling Your Dish Effectively
When styling your dish for a photo, focus on creating visual interest through complementary color schemes.
You'll want to play with textures to add depth and dimension to your image.
Remember to balance negative space, allowing your main subject to stand out while creating an aesthetically pleasing composition.
Choose Complementary Color Schemes
To elevate your food photography, selecting complementary color schemes is vital. Start by understanding the color wheel and how different hues interact. Complementary colors, which sit opposite each other on the wheel, create striking contrasts that can make your food pop. For example, pair orange carrots with a blue plate or red tomatoes with a green garnish.
Consider the mood you want to convey. Warm colors like reds, oranges, and yellows can evoke feelings of comfort and excitement, while cool tones like blues and greens suggest freshness and calm. Use this knowledge to enhance your dish's appeal.
Don't forget about the background and props. Choose plates, cutlery, and linens that complement your food's colors without overshadowing them. A neutral backdrop can help your dish stand out, while a carefully chosen colored surface can add depth to your composition.
Experiment with monochromatic schemes for a sophisticated look, or try analogous colors for a harmonious feel.
Play With Textures
Texture plays an essential role in making your food photos visually appealing and appetizing. To capture enticing textures, focus on creating contrast within your dish. Pair smooth elements with rough ones, like creamy mashed potatoes alongside crispy fried chicken. Highlight the crunch of fresh vegetables or the flakiness of pastry by positioning them prominently in your frame.
Don't shy away from including utensils or napkins to add depth and tactile interest. A fork piercing through a perfectly cooked steak can emphasize its tenderness, while a rustic linen napkin can provide a textural backdrop.
Experiment with different plating surfaces too – try wooden boards, slate tiles, or textured ceramics to complement your food's textures. Use lighting to your advantage by creating shadows that accentuate the surface textures of your dish. Side lighting can cast shadows that emphasize the ridges of pasta or the layers of a cake.
Balance Negative Space
Effective use of negative space is essential for creating visually appealing food photos. When styling your dish, consider the empty areas around your subject as valuable components of your composition. These spaces help draw attention to the main focal point and prevent your image from feeling cluttered or overwhelming.
To balance negative space, start by placing your dish off-center. This creates a more dynamic composition and allows room for the viewer's eye to move around the frame. Experiment with different angles and positions to find the most visually pleasing arrangement.
Don't be afraid to leave portions of your plate or background empty; these areas can add depth and interest to your photo.
Use props sparingly to complement your dish without overpowering it. A strategically placed utensil, napkin, or ingredient can help fill negative space while enhancing the overall story of your food.
Choosing the Right Background
Selecting an appropriate background is essential for creating stunning food photos with your mobile device. The right backdrop can enhance your food's appeal and set the mood for your image. When choosing a background, consider the color, texture, and style that best complement your dish.
Opt for neutral backgrounds like white, gray, or light wood to make colorful foods pop. These versatile options work well for most dishes and don't distract from the main subject. If you're feeling bolder, try contrasting colors that accentuate your food's hues. For example, use a dark background to highlight light-colored dishes or vice versa.
Textured backgrounds can add depth and interest to your photos. Experiment with materials like marble, slate, or rustic wood to create different atmospheres. However, be careful not to choose textures that overpower your food.
Consider the overall style you're aiming for. A clean, minimalist background suits modern cuisine, while vintage plates or tablecloths work well for homestyle cooking.
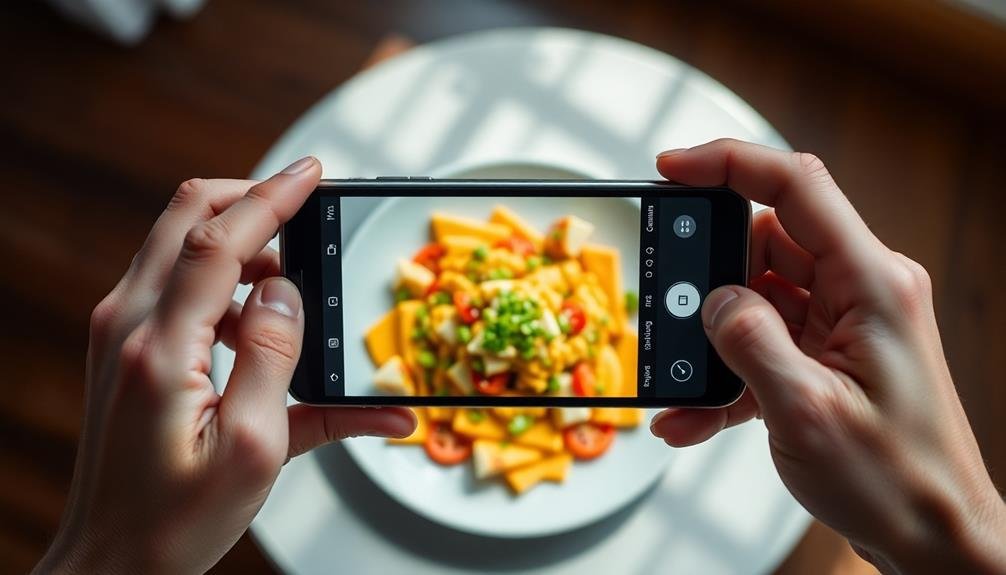
Mastering Focus on Smartphones
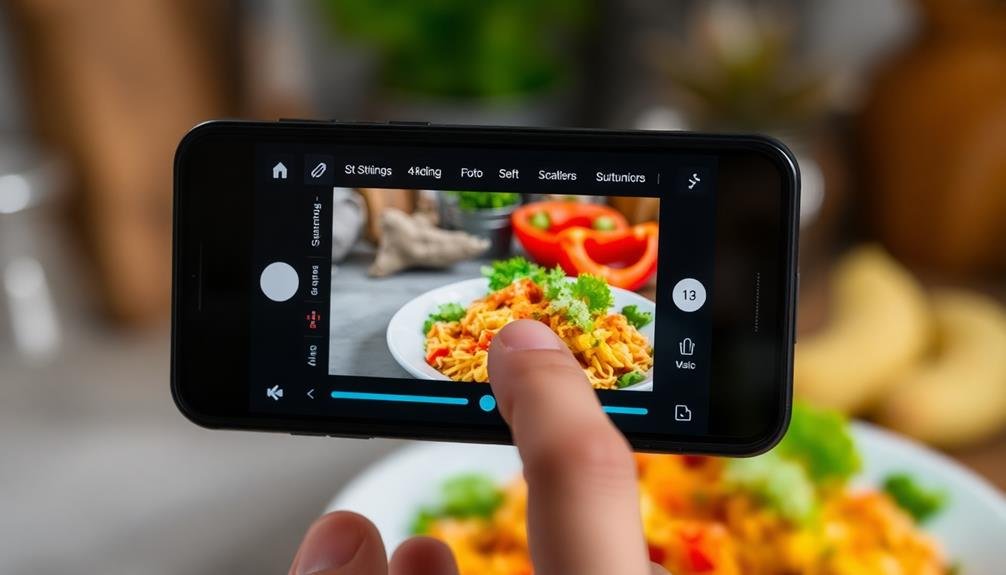
Your smartphone's tap-to-focus feature is essential for achieving sharp food photos.
Simply tap on your dish's focal point to make certain it's crystal clear in your image. If you're not satisfied with the automatic focus, explore your camera app's manual focus adjustments to fine-tune the sharpness exactly where you want it.
Tap-To-Focus for Sharpness
Mastering the tap-to-focus feature on your smartphone is essential for capturing sharp, professional-looking food photos. This function allows you to select the exact area of your image that you want in crisp focus. To use it, simply tap on the screen where you want the camera to concentrate its focus. You'll often see a small square or circle appear, indicating the focal point.
For food photography, you'll typically want to focus on the most visually appealing part of the dish. This could be the center of a pizza, the glistening glaze on a pastry, or the perfectly seared edge of a steak. Remember, the area you tap will be the sharpest part of your image.
Here's a quick guide to tap-to-focus techniques:
| Scenario | Tap Location | Result |
|---|---|---|
| Single dish | Center of plate | Focused main subject |
| Multiple items | Foreground item | Blurred background |
| Drink | Rim of glass | Sharp edges, soft liquid |
| Texture close-up | Detailed area | Crisp surface patterns |
Don't forget to experiment with different focal points. Sometimes, focusing on an unexpected area can create a unique and eye-catching composition. If you're not satisfied with the result, simply tap again to refocus.
Manual Focus Adjustments
While tap-to-focus offers quick and easy focusing, manual focus adjustments provide even more control over your food photography. Most modern smartphones have a manual focus option hidden within their camera settings or pro mode. To access it, look for a focus slider or icon, often represented by a mountain or flower symbol.
When using manual focus, you'll see a slider appear on your screen. Adjust this slider to fine-tune your focus point. As you move it, you'll notice different parts of the image becoming sharp or blurry. For food photography, you might want to focus on the closest edge of the dish or a specific ingredient to create depth.
Manual focus is particularly useful in challenging lighting conditions or when you want to achieve a specific artistic effect. It allows you to capture details that auto-focus might miss, like the texture of a sauce or the crispness of a garnish.
Practice adjusting the focus while observing how it affects the overall composition. Remember, subtle changes can make a significant difference in the final image's impact and appeal.
Color Enhancement for Food Images
In spite of a mobile device's advanced camera capabilities, food photos often need color enhancement to truly captivate viewers. To boost your food's visual appeal, start by adjusting the saturation. Increase it slightly to make colors pop, but be careful not to overdo it, as this can make your image look unnatural.
Next, fine-tune the white balance to guarantee your food's colors appear accurate and appetizing. Don't forget to play with contrast. Boosting it can add depth and dimension to your food shots, making them more enticing.
For a professional touch, consider using selective color enhancement. This technique allows you to emphasize certain hues while muting others, drawing attention to your dish's most appealing elements.
Many mobile photo editing apps offer food-specific filters and presets. Experiment with these to quickly enhance your images' colors. However, use them judiciously to maintain authenticity.
Angles and Perspectives to Try
Explore various angles and perspectives to elevate your food photography game.
Start with the classic overhead shot, which works well for flat dishes and table spreads. Position your phone directly above the food, ensuring it's parallel to the surface for a clean, symmetrical look.
Try a 45-degree angle for dishes with height or layered elements. This perspective showcases depth and texture while still capturing the entire plate.
For tall drinks or stacked items, opt for a straight-on shot to emphasize vertical composition.
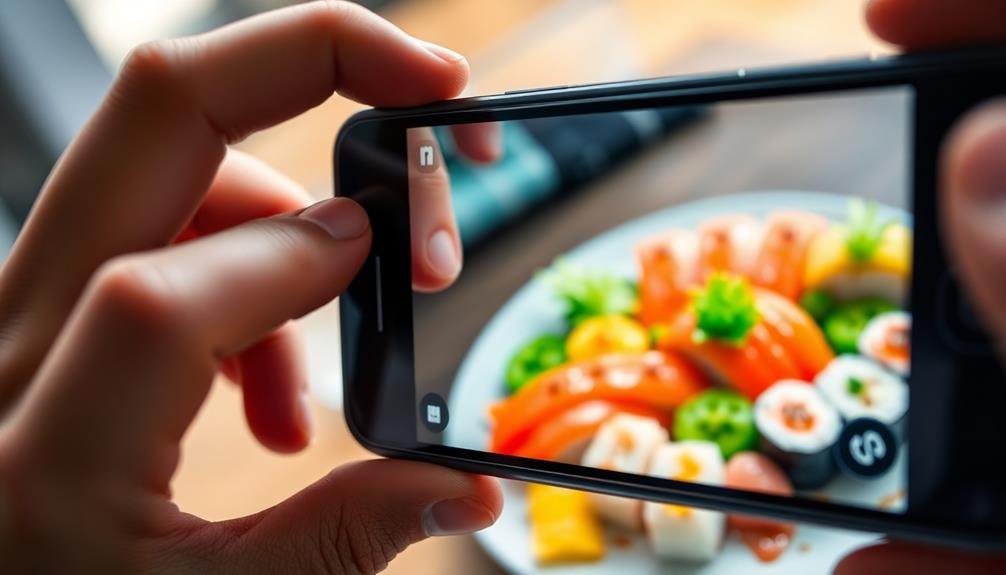
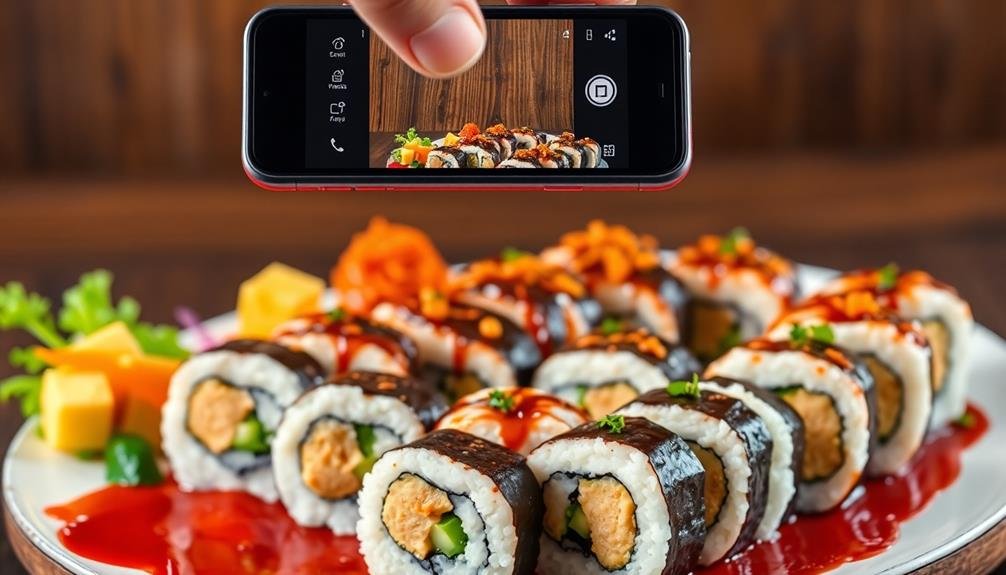
Don't forget about close-ups. Get in tight to capture intricate details, textures, or a single ingredient. This works particularly well for desserts or dishes with interesting garnishes.
Experiment with tilted angles to add dynamism to your shots. Slightly angling your phone can create a sense of movement and energy in the image.
For a unique perspective, try shooting from below. This works well for transparent glasses or dishes on elevated surfaces. It's an unexpected angle that can make your food photos stand out.
Lastly, consider including hands or utensils in the frame to add a human element and create a sense of action in your food photography.
Editing Tools for Mobile Devices
Once you've captured your food photos from various angles, it's time to enhance them with mobile editing tools. Your smartphone likely has a built-in editor, but third-party apps offer more advanced features. Popular options include Snapseed, VSCO, and Lightroom Mobile. These apps allow you to adjust brightness, contrast, saturation, and sharpness, helping your food photos pop.
Focus on subtle enhancements rather than over-editing. Start by adjusting the exposure to guarantee your food is well-lit. Then, fine-tune the white balance to achieve accurate colors. Crop your image to improve composition and remove distracting elements.
Finally, consider adding a slight vignette to draw attention to the dish.
When editing food photos, keep these tips in mind:
- Use selective adjustments to highlight specific areas
- Experiment with different filters, but don't overdo it
- Enhance textures to make the food look more appetizing
- Save your editing process as a preset for consistency
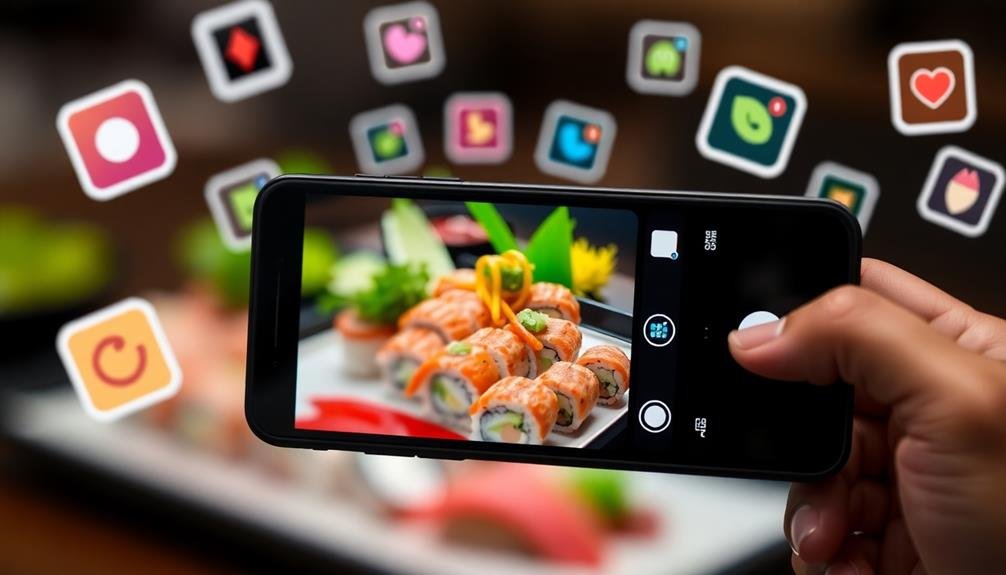
Sharing Your Food Photos Online
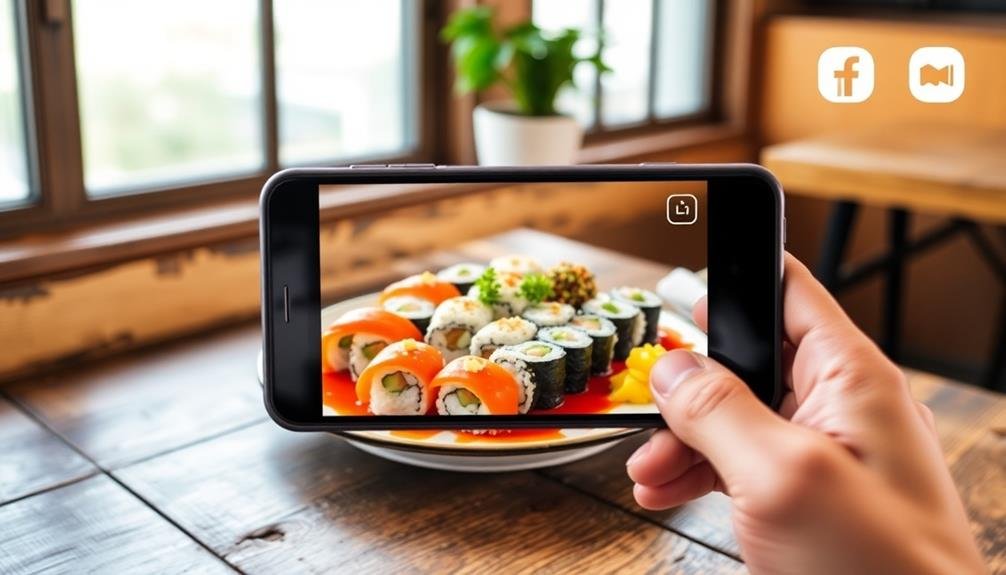
After perfecting your food photos with mobile editing tools, it's time to share your culinary creations with the world. Numerous platforms cater to food enthusiasts, each offering unique features for showcasing your images.
Instagram remains a popular choice, with its visually-focused interface and food-specific hashtags like #foodporn and #instafood. Consider creating a dedicated food account to build a following.
For a more culinary-focused audience, try Foodgawker or Tastespotting. These curated sites allow you to submit your best food photos for potential feature on their homepage.
Pinterest is excellent for organizing your food photos into themed boards and reaching a wider audience.
If you're looking to monetize your food photography, explore stock photo sites like Shutterstock or Adobe Stock. These platforms allow you to sell your images to businesses and content creators.
Don't forget to cross-post your food photos on Facebook and Twitter to reach friends and family. When sharing, always use relevant hashtags, tag restaurants or brands, and engage with other food photographers to grow your online presence.
Consistency in posting high-quality content is key to building a successful food photography portfolio online.
Frequently Asked Questions
How Do I Prevent My Phone's Flash From Creating Harsh Shadows?
To prevent harsh shadows from your phone's flash, you can diffuse the light. Try using a napkin or tissue over the flash, or bounce the light off a white surface nearby. Alternatively, use natural light whenever possible.
Can I Use Props in My Food Photos? What Are Some Good Options?
Yes, you can use props in food photos. Consider adding cutlery, napkins, or ingredients to create context. Natural elements like flowers or leaves work well. Vintage plates or unique glassware can also enhance your shot's visual appeal.
How Can I Make My Food Look Appetizing When It's Not Visually Appealing?
You can enhance visually unappealing food by focusing on texture, adding colorful garnishes, and using strategic lighting. Try plating creatively, incorporating complementary ingredients, and adjusting your camera angle. Don't forget to edit your photos to boost contrast and saturation.
Are There Any Ethical Concerns With Editing Food Photos for Social Media?
You should consider the ethical implications of heavily editing food photos. It can mislead viewers, create unrealistic expectations, and potentially deceive customers. Be transparent about edits and don't misrepresent the actual product you're showcasing on social media.
How Do I Photograph Dark-Colored Foods Without Losing Detail and Texture?
To photograph dark foods without losing detail, you'll want to use natural light, adjust exposure, and experiment with angles. Try side lighting to highlight texture. Don't be afraid to use props or contrasting backgrounds for added depth.
In Summary
You've now got the tools to take mouthwatering food photos with your phone. Remember to play with lighting, composition, and angles. Don't forget to capture steam and movement for added appeal. Use the right apps and editing tools to enhance your shots. Style your dishes creatively and focus on color to make them pop. With practice, you'll be snapping professional-looking food photos in no time. Share your delicious creations and watch your online following grow!
Leave a Reply