To capture stunning macro shots on your Android device, start by enabling macro mode if available. Focus is vital, so use manual focus or autofocus lock for precise control. Adjust exposure compensation to balance light and shadow, and set an appropriate white balance for accurate colors. Utilize HDR to retain details in high-contrast scenes. Keep your ISO low and shutter speed fast to minimize noise and motion blur. Stabilize your device using a tripod or grip for sharper images. Don't forget to leverage natural light and explore third-party macro apps for advanced features. These essential settings will elevate your close-up photography game.
Understanding Macro Mode
Macro mode is a specialized camera setting that allows you to capture extremely close-up shots of small subjects. When you activate this mode, your Android camera optimizes its focus and exposure settings to produce sharp, detailed images of tiny objects like insects, flowers, or textures.
In macro mode, your camera's lens adjusts to focus on subjects that are very close to the sensor. This enables you to fill the frame with small objects, revealing intricate details that aren't visible to the naked eye. The focal length in macro photography is typically very short, often just a few centimeters from the lens.
You'll notice that macro mode narrows your depth of field considerably. This means only a small portion of your subject will be in focus, creating a striking contrast between sharp and blurred areas. To get the best results, you'll need to keep your camera steady and pay careful attention to your focusing point.
Many Android phones now feature dedicated macro lenses, which can capture even more detailed close-ups. These lenses are designed specifically for short focusing distances and high magnification, allowing you to explore the miniature world around you in stunning detail.
Adjusting Focus Settings
To master macro photography on your Android device, you'll need to explore various focus settings.
Start by familiarizing yourself with the Manual Focus Mode, which allows precise control over your focal point.
Next, take advantage of the Focus Peaking Feature, highlighting sharp areas in your frame for improved accuracy.
Manual Focus Mode
Frequently, manual focus mode proves to be a game-changer for Android macro photography. When you're shooting extremely close-up subjects, your camera's autofocus might struggle to lock onto the desired focal point. That's where manual focus comes in handy.
To use manual focus on your Android device, first enable it in your camera app's settings. You'll typically find a slider or focus ring on your screen. Adjust this control to fine-tune your focus. As you move the slider, you'll see the focus shift in real-time on your display. This allows you to precisely control which part of your subject is sharp.
For best results, use focus peaking if your app offers it. This feature highlights the areas in focus with a bright color, making it easier to see exactly what's sharp.
Remember to take your time and make small adjustments. Zoom in on your subject to verify you've nailed the focus. If your hands aren't steady, consider using a tripod to maintain your carefully set focus.
With practice, you'll find manual focus indispensable for capturing stunning macro shots on your Android device.
Focus Peaking Feature
Precision is the hallmark of focus peaking, a powerful feature available in many Android camera apps. This tool highlights the areas of your image that are in sharp focus, making it easier to achieve perfect clarity in your macro shots. When enabled, you'll see colored outlines around the edges of objects that are in focus, typically in bright colors like red, yellow, or blue.
To use focus peaking effectively, first enable it in your camera app's settings. Then, as you adjust your focus manually, watch for the highlighted areas to appear. The more intense the highlighting, the sharper the focus in that area. This feature is especially useful when shooting subjects with intricate details or when working in challenging lighting conditions.
Here's a quick guide to focus peaking settings:
| Setting | Purpose | Recommended for |
|---|---|---|
| Color | Choose highlight color | Personal preference |
| Intensity | Adjust highlight brightness | Varying light conditions |
| Threshold | Set focus sensitivity | Different subject types |
| Display mode | Select highlight style | Composition needs |
Autofocus Lock Technique
Why settle for imprecise focus when you can lock it down? The autofocus lock technique is a game-changer for Android macro photography.
To use it, first tap on your subject to focus. Once you've achieved sharp focus, press and hold on the screen until you see a lock icon or "AE/AF Lock" message. This action secures both the focus and exposure settings.
With the focus locked, you can now recompose your shot without losing your precise focal point. This is especially useful when your subject isn't in the center of the frame.
Remember, even slight movements can throw off your focus in macro photography, so use a steady hand or a tripod for best results.
Some Android phones offer advanced autofocus lock options. Look for features like "Pro" or "Manual" mode, which may allow you to adjust focus distance manually.
You can also experiment with different focus modes, such as continuous autofocus for moving subjects or single autofocus for stationary ones.
Don't forget to disable autofocus lock when you're done. This guarantees your camera's ready for your next shot without unexpected focus issues.
Optimizing Exposure Compensation
With macro photography on Android devices, fine-tuning exposure compensation is essential for capturing stunning close-up shots. Exposure compensation allows you to adjust the brightness of your images, ensuring proper exposure in challenging lighting conditions. To access this feature, look for the "+/-" icon in your camera app's settings or pro mode.
When shooting macro subjects, you'll often encounter high contrast scenes. Use positive exposure compensation to brighten dark subjects or negative values to prevent overexposure in bright areas. Start with small adjustments of +/- 0.3 or 0.7 EV and review the results. Remember, it's easier to recover details from slightly underexposed images than overexposed ones.
Here's a quick guide to exposure compensation for common macro subjects:
| Subject Type | Lighting Condition | Suggested Compensation |
|---|---|---|
| Light Flowers | Bright Sunlight | -0.7 to -1.0 EV |
| Dark Insects | Shaded Areas | +0.7 to +1.0 EV |
| Water Droplets | Overcast Sky | 0 to +0.3 EV |
| Reflective Objects | Indoor Lighting | -0.3 to -0.7 EV |
| Textured Surfaces | Low Light | +1.0 to +1.3 EV |
Experiment with different settings and combine exposure compensation with other techniques like HDR mode for best results in your Android macro photography.
Selecting Appropriate White Balance
When it comes to macro photography on Android devices, selecting the appropriate white balance is vital for capturing true-to-life colors. Your smartphone's auto white balance feature often works well, but for macro shots, you might need to take control.
Start by evaluating the lighting conditions of your subject. Are you shooting under natural daylight, artificial indoor lighting, or a mix of both?
For outdoor macro shots, try the "daylight" or "cloudy" presets. If you're indoors, "fluorescent" or "incandescent" settings might be more suitable.
Don't hesitate to experiment with different presets to see which one renders the most accurate colors for your subject.
If you're dealing with mixed lighting or unusual color casts, consider using a custom white balance setting. Many Android camera apps allow you to set a custom white balance by photographing a white or gray card in the same lighting as your subject.
This method can help you achieve the most accurate color representation, especially for delicate subjects like flowers or insects where color fidelity is vital.
Utilizing HDR for Detail
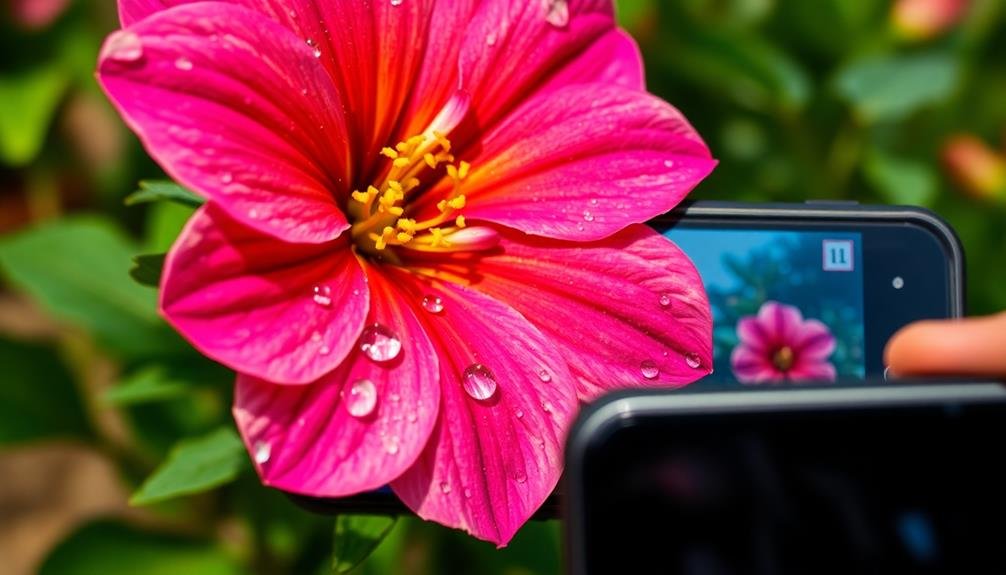
HDR, or High Dynamic Range, can be a game-changer for macro photography on Android devices. When you're capturing close-up shots, the contrast between light and dark areas can be extreme, often resulting in lost details in shadows or highlights. HDR helps balance these extremes by taking multiple exposures and combining them into a single image.
To use HDR effectively for macro shots, enable it in your camera app's settings. Many Android phones offer an automatic HDR mode, which decides when to apply the effect. For more control, switch to manual HDR. When shooting, keep your phone as still as possible or use a tripod, as HDR requires multiple quick shots.
HDR works best in high-contrast scenes, such as a brightly lit flower against a dark background. It can reveal intricate textures and colors that might otherwise be lost.
However, be cautious with moving subjects, as HDR can create ghosting effects. Also, avoid using HDR in low-light situations, as it may introduce noise. Experiment with HDR on and off to see which produces the best results for your specific macro subject.
Choosing Ideal ISO Levels
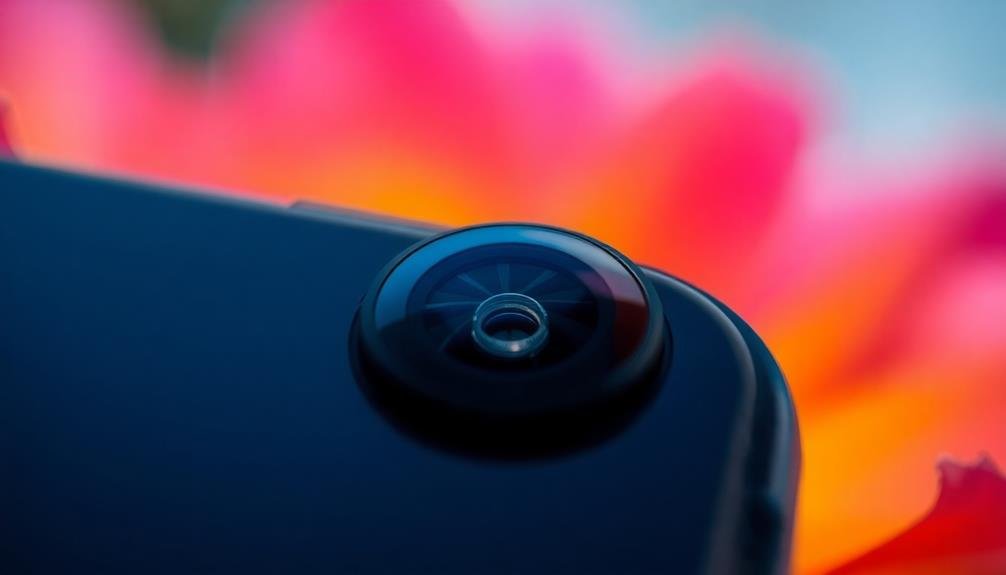
Understanding ISO levels is essential for achieving sharp, detailed macro photos on your Android device. ISO determines your camera's sensitivity to light, with higher values allowing for brighter images in low-light conditions. However, increased ISO can introduce unwanted noise, reducing image quality.
For macro photography, you'll want to keep your ISO as low as possible to maintain crisp details. Start with the lowest ISO setting, typically 100 or 200, and adjust only if necessary. If you're shooting in well-lit conditions, stick to these lower values for the cleanest results.
When light is limited, you may need to increase your ISO. Try to stay below 400 if possible, as higher values can compromise image quality. If you must go higher, use your Android's noise reduction feature to mitigate grainy effects.
Maximizing Shutter Speed
To freeze motion effectively in your Android macro shots, you'll need to maximize your shutter speed.
You can achieve this by increasing your ISO and widening your aperture to compensate for the faster shutter.
Remember to balance light sensitivity with noise levels as you adjust these settings for best results.
Freeze Motion Effectively
Capturing crisp, frozen moments in macro photography requires mastering your Android device's shutter speed capabilities. To freeze motion effectively, you'll need to use the fastest shutter speed possible while maintaining proper exposure. Many Android phones offer manual controls or pro modes that allow you to adjust shutter speed independently.
Start by setting your shutter speed to 1/1000th of a second or faster. This rapid exposure time will help you capture even the quickest movements of small subjects like insects or water droplets. If your image is too dark, increase your ISO or open your aperture wider to compensate. Remember, higher ISOs may introduce noise, so find the right balance.
For subjects in motion, try using your phone's burst mode. This feature rapidly captures multiple frames, increasing your chances of getting a perfectly frozen shot. Some Android devices also offer AI-assisted modes that can detect motion and automatically adjust settings for sharp results.
When shooting handheld, enable image stabilization if available. This will help counteract any camera shake, ensuring your macro shots remain crisp and clear even at high shutter speeds.
Balancing Light Sensitivity
With macro photography, balancing light sensitivity is essential for maximizing shutter speed and achieving sharp images.
You'll need to find the right balance between ISO, aperture, and shutter speed to capture crisp close-ups while avoiding camera shake and motion blur.
Start by setting your ISO to the lowest possible value that still allows for a fast enough shutter speed. This will help minimize noise in your images.
If you're shooting in low light conditions, you may need to increase your ISO, but be cautious not to push it too high and compromise image quality.
Next, adjust your aperture to control depth of field. A wider aperture (smaller f-number) will let in more light, allowing for faster shutter speeds, but it will also reduce the area in focus.
Consider using a narrower aperture if you need more of your subject in focus, but be prepared to compensate with a higher ISO or slower shutter speed.
Stabilizing Your Android Device
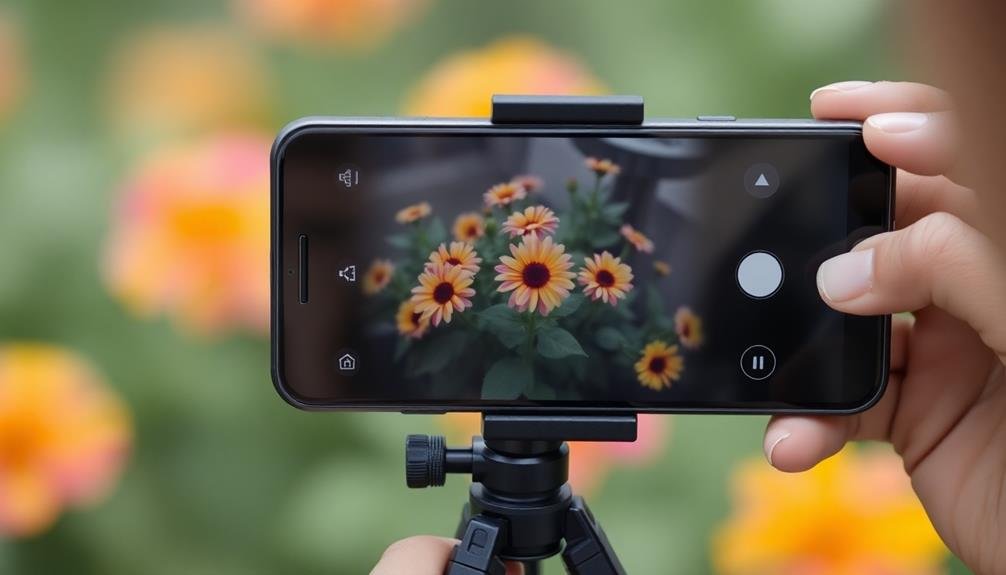
Steady hands are essential for macro photography, but they're not always enough when using an Android device. To capture sharp, detailed close-up shots, you'll need to stabilize your phone effectively. Start by adopting a stable stance: keep your elbows tucked in, hold your breath while shooting, and use both hands to grip your device firmly.
Consider investing in a smartphone tripod or grip for added stability. These accessories can notably reduce camera shake, especially in low-light conditions or when using slower shutter speeds. If you don't have a tripod, improvise by resting your phone on a stable surface or leaning against a wall for support.
Many Android devices offer built-in image stabilization features. Enable optical image stabilization (OIS) or electronic image stabilization (EIS) in your camera settings if available. Some apps also provide additional stabilization options.
Use your phone's volume buttons or a Bluetooth remote to trigger the shutter, avoiding screen taps that can cause movement. If your device supports it, utilize voice commands to take photos hands-free.
Leveraging Natural Light
Natural light reigns supreme in macro photography, offering unparalleled quality and authenticity to your Android shots. When capturing close-ups, you'll want to make the most of available sunlight to illuminate your subject. Early morning or late afternoon light provides a soft, warm glow that's ideal for macro work. Position yourself so that the light falls on your subject from the side or at a 45-degree angle to create depth and texture.
Avoid harsh midday sun, as it can create unflattering shadows and blow out highlights. If you're shooting on a bright day, try using a white diffuser or a piece of translucent paper to soften the light. For darker subjects or shaded areas, a small reflector can bounce light back onto your subject, filling in shadows and adding dimension.
Here's a quick guide to leveraging natural light for macro photography:
| Time of Day | Light Quality | Best Subjects |
|---|---|---|
| Early Morning | Soft, cool | Dew-covered flowers |
| Midday | Harsh, bright | High-contrast textures |
| Late Afternoon | Warm, golden | Insects, small wildlife |
Experiment with different lighting conditions to discover what works best for your subjects and style.
Exploring Third-Party Macro Apps
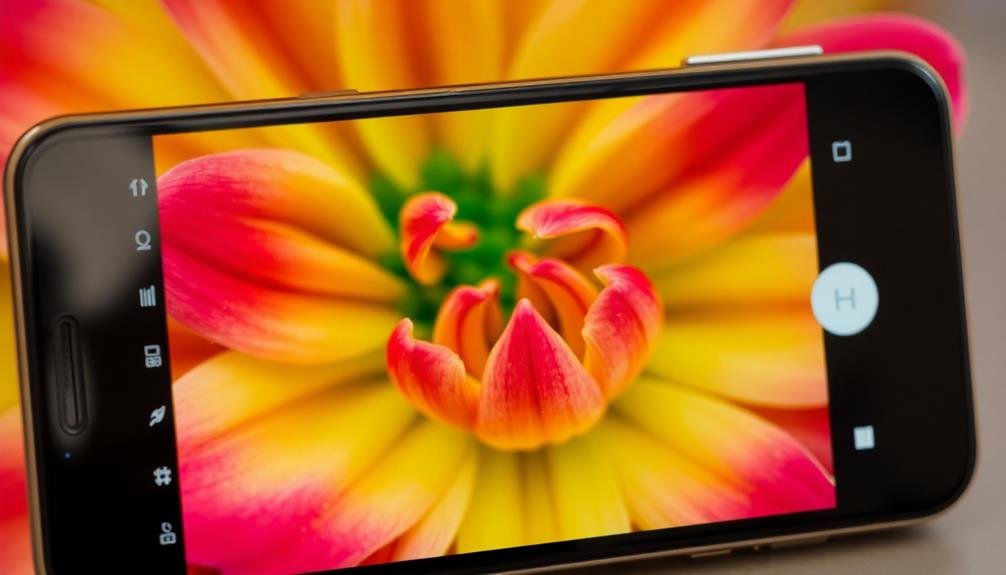
You'll find numerous third-party macro apps on the Google Play Store that can enhance your Android macro photography.
Compare top options like Camera Zoom FX, Open Camera, and Macro Lens to find the one with advanced features that suit your needs.
Consider each app's compatibility with your device and its performance in various lighting conditions to make the best choice.
Top Macro App Options
While built-in camera apps on Android devices often include macro modes, third-party macro apps can offer more advanced features and greater control.
Here are some top macro app options for Android users:
- Camera Zoom FX: This app provides manual focus control, real-time effects, and a stable shot mode for crisp macro images.
- Open Camera: A free, open-source app with manual controls, focus peaking, and RAW support for detailed close-ups.
- ProShot: Offers DSLR-like controls, including manual focus, exposure bracketing, and various shooting modes.
- Macro Photography Camera: Designed specifically for close-up shots, it features focus stacking and advanced editing tools.
- Camera MX: Includes a "Snap" mode for capturing moving subjects and offers various filters for creative macro shots.
- Manual Camera: Provides full manual control over ISO, shutter speed, and focus, ideal for precise macro adjustments.
- Footej Camera: Offers a clean interface with manual controls, focus peaking, and RAW support.
When choosing a macro app, consider your specific needs, such as manual focus capabilities, RAW support, or advanced editing features.
Experiment with different apps to find the one that best suits your macro photography style and device compatibility.
Advanced Features Comparison
When comparing advanced features of third-party macro apps for Android, it's essential to look beyond basic functionality. You'll want to take into account apps that offer manual controls, focus stacking, and RAW capture capabilities. These features can greatly enhance your macro photography experience on Android devices.
Look for apps that provide:
- Manual focus control
- Exposure compensation adjustment
- White balance settings
- ISO and shutter speed options
Some advanced apps offer focus peaking, which highlights in-focus areas of your image, making it easier to achieve sharp macro shots. You'll also find apps with built-in image stabilization, helping you capture clearer close-ups even in challenging conditions.
Examine apps that allow for post-processing within the application itself. This can include features like selective focus adjustment, HDR merging, and advanced noise reduction. These tools can help you refine your macro images without the need for additional editing software.
Don't overlook the importance of a user-friendly interface. Even the most feature-rich app won't be useful if you can't navigate it efficiently. Look for apps with intuitive layouts and customizable controls to streamline your workflow and enhance your macro photography experience on Android.
Compatibility and Performance
Three key factors to take into account when exploring third-party macro apps for Android are compatibility, performance, and device optimization. When selecting an app, guarantee it's compatible with your Android version and device model. Check the app's requirements and user reviews to confirm it works well with your specific smartphone.
Performance is essential for capturing high-quality macro shots. Look for apps that offer fast focusing, minimal shutter lag, and efficient image processing. Some apps may provide features like focus stacking or AI-enhanced sharpening, which can greatly improve your macro photography results.
Device optimization plays an important role in the app's overall performance. Well-optimized apps will make the most of your device's hardware capabilities, including the camera sensor, processor, and available RAM. They should also be energy-efficient to avoid draining your battery quickly during extended photo sessions.
Consider apps that offer regular updates and support, as these are more likely to stay compatible with new Android versions and device models. Additionally, look for apps that provide intuitive user interfaces and customizable settings to enhance your macro photography experience.
Post-Processing Macro Images
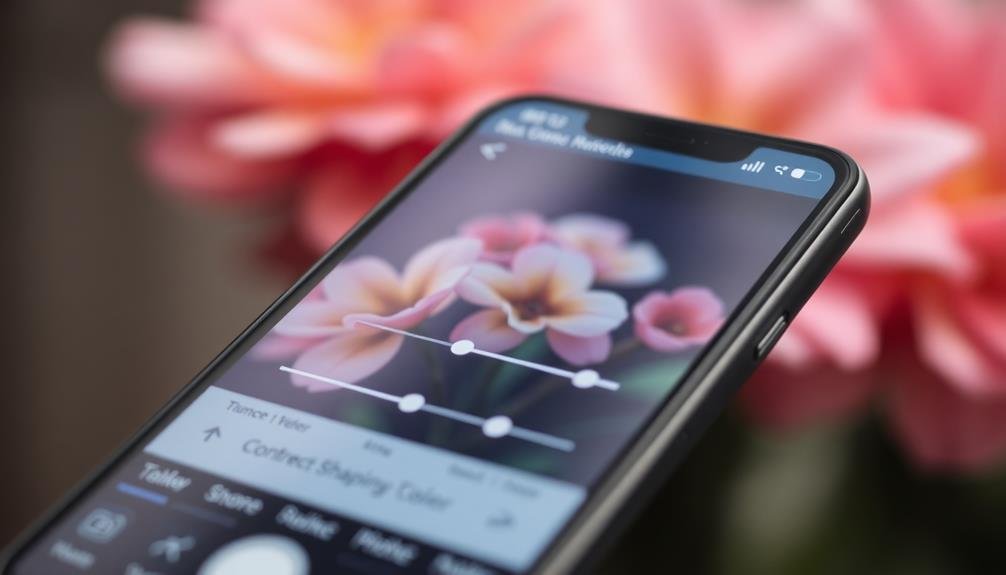
Many macro photos benefit from post-processing to enhance their impact. After capturing your close-up shots, you'll want to fine-tune them to bring out the best details and colors. Android offers several built-in editing tools, but you might prefer third-party apps for more advanced options.
Start by adjusting the basics: exposure, contrast, and saturation. These tweaks can dramatically improve your macro image's overall appearance.
Next, focus on sharpening to accentuate fine details that might've been slightly soft in the original shot. Don't overdo it, though, as excessive sharpening can introduce unwanted artifacts.
For more creative edits, consider these techniques:
- Cropping to improve composition
- Applying selective focus to draw attention to specific areas
- Using subtle vignetting to frame the subject
- Experimenting with black and white conversion for dramatic effect
Frequently Asked Questions
Can I Use Macro Photography for Capturing Small Insects on My Android?
Yes, you can use macro photography to capture small insects on your Android. It's a great way to get detailed close-ups. You'll need to adjust your camera settings and possibly use additional accessories for the best results.
What's the Best Time of Day for Outdoor Macro Photography?
You'll find early morning or late afternoon ideal for outdoor macro photography. The soft, diffused light creates less harsh shadows. Overcast days are great too. You'll capture rich colors and avoid harsh contrasts during these times.
How Do I Clean My Android Camera Lens for Better Macro Shots?
To clean your camera lens for better macro shots, you'll want to use a microfiber cloth. Gently wipe in a circular motion. For stubborn smudges, lightly breathe on the lens first. Don't use harsh chemicals or abrasive materials.
Are There Specific Android Phone Models That Excel in Macro Photography?
You'll find several Android phones excelling in macro photography. Look for models with dedicated macro lenses or high-megapixel main cameras. Google Pixel, Huawei P40 Pro, and OnePlus 9 Pro are great options to contemplate for close-up shots.
Can I Use External Lenses With My Android Phone for Macro Photography?
Yes, you can use external lenses with your Android phone for macro photography. They're easy to attach and can greatly enhance your close-up shots. You'll find various options available, from clip-on lenses to more advanced lens systems.
In Summary
You've now got the tools to capture stunning macro shots with your Android. Remember to experiment with focus, exposure, and white balance. Don't forget to stabilize your device and make the most of natural light. Try out HDR and third-party apps for even more creative control. With practice, you'll be taking breathtaking close-ups in no time. Post-processing can add the final touch to your macro masterpieces. So get out there and start exploring the tiny world around you!



Leave a Reply