
To capture stunning moon phase time-lapses, you'll need to select a dark location with an unobstructed view of the sky. Use manual camera settings, including low ISO and fast shutter speeds, to preserve detail. Stabilize your device with a tripod or DIY solution for sharp images. Plan to shoot over a full lunar cycle, taking photos at consistent intervals each night. In post-processing, align and edit your frames for smooth progression. Overcome challenges like cloud cover by extending your timeline and selectively removing problematic frames. With these techniques, you'll be well on your way to creating mesmerizing lunar time-lapses. Discover more tips to elevate your moon photography skills.
Choosing the Right Location
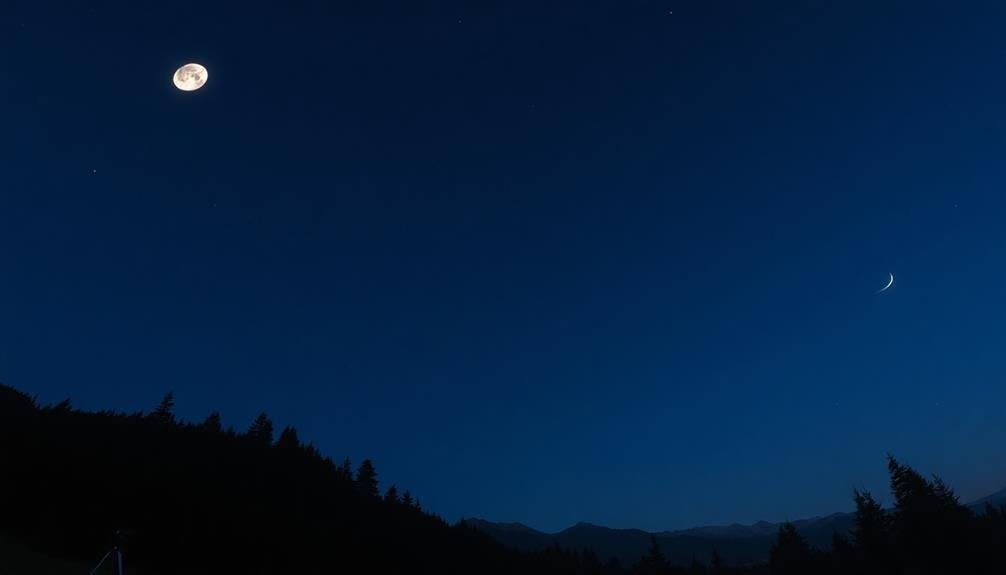
Location is paramount when capturing a moon phase time-lapse. You'll want to find a spot with an unobstructed view of the sky, away from light pollution and tall buildings. Consider elevated areas like hilltops or rooftops to maximize your field of view.
Remember, the moon's position changes throughout the night and across seasons, so scout your location at different times to guarantee you'll capture the entire phase cycle.
Look for interesting foreground elements to add depth to your composition. Trees, mountains, or architectural features can provide context and scale. However, make certain these elements won't interfere with the moon's path as it moves across the sky.
Use smartphone apps or online tools to predict the moon's trajectory and plan your shot accordingly.
Weather plays a vital role in your location choice. Opt for areas with clear skies and minimal cloud cover. Coastal regions often offer clearer atmospheric conditions, but be mindful of potential fog or sea mist.
If you're shooting in an urban setting, choose a location that minimizes the impact of air pollution and heat haze, which can affect image quality.
Smartphone Settings for Moon Photography

With your location selected, it's time to focus on optimizing your smartphone's settings for moon photography. First, disable your flash and HDR mode, as they can interfere with capturing the moon's natural light.
Set your camera app to Pro or Manual mode to access advanced controls. Adjust your ISO to the lowest possible setting, typically 100 or 200, to reduce noise in your images. Set your shutter speed between 1/60 and 1/125 of a second to avoid motion blur.
If your phone allows, adjust the aperture to f/8 or higher for increased depth of field. Use manual focus instead of auto-focus, as your phone may struggle to lock onto the moon.
Enable your phone's timer or use a bluetooth remote to minimize camera shake when taking photos. If available, activate your phone's image stabilization feature.
For the best results, use RAW format if your phone supports it. This allows for greater flexibility in post-processing.
Stabilizing Your Device
Stabilizing your device is essential for capturing sharp, clear images of the moon. When shooting a moon phase time-lapse, even the slightest movement can ruin your footage. To guarantee stability, invest in a sturdy tripod that's compatible with your smartphone or camera. Look for models with adjustable legs and a ball head for precise positioning.
If you don't have a tripod, there are alternative methods to stabilize your device:
- Use a makeshift support: Prop your phone against a stable object like a stack of books or a window ledge.
- Employ a DIY stabilizer: Create a simple stabilizer using rubber bands and a plastic cup with a hole cut in the bottom.
- Utilize a gimbal: For more advanced stabilization, consider a handheld gimbal designed for smartphones.
- Try a bean bag mount: Place your device on a small bean bag for a flexible, stable base.
When setting up, guarantee your chosen location is free from vibrations and wind. Use your device's self-timer or a remote shutter release to minimize camera shake when starting each exposure.
If possible, lock your focus and exposure settings to maintain consistency throughout the time-lapse sequence.
Timing and Interval Selection
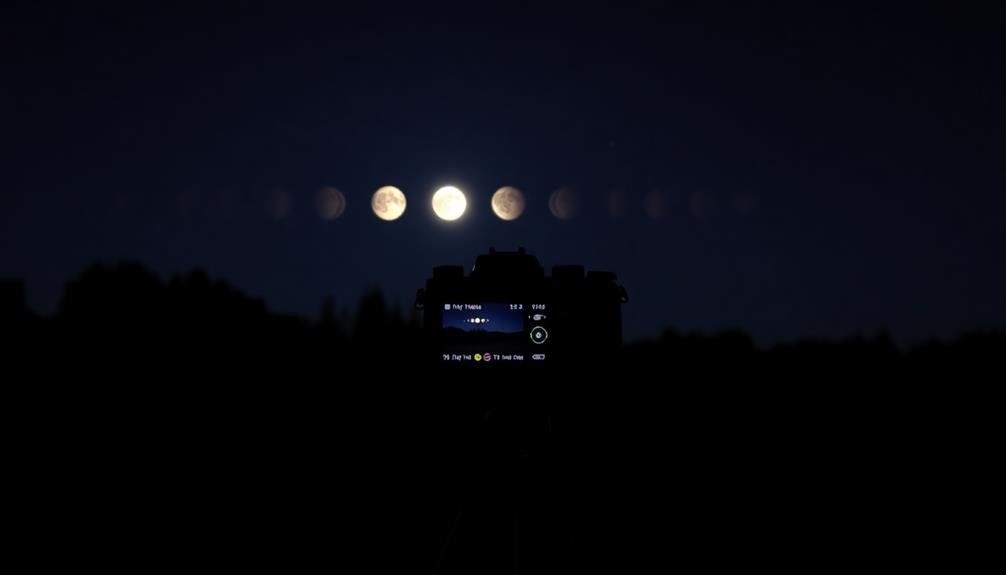
Now that you've guaranteed your device is stable, it's time to focus on the timing and intervals for your moon phase time-lapse. The key to capturing the moon's phases effectively lies in selecting the right timing and intervals between shots.
Start by planning your time-lapse to cover a full lunar cycle, which typically lasts 29.5 days. You'll want to capture images each night, ideally at the same time. Choose a time when the moon is visible in your location and the sky is typically clear.
For interval selection, consider taking one photo every 24 hours. This will give you a smooth progression of the moon's phases. However, if you're aiming for a more detailed time-lapse, you can increase the frequency to every 12 or even 6 hours. Remember, more frequent shots will require more storage space and processing time.
Weather conditions can impact your schedule, so be prepared to adjust. If you miss a night due to cloud cover, try to capture an image as soon as possible to maintain continuity.
Consistency in timing is essential for a seamless final product, so stick to your chosen schedule as closely as possible throughout the lunar cycle.
Post-Processing Moon Phase Time-Lapses
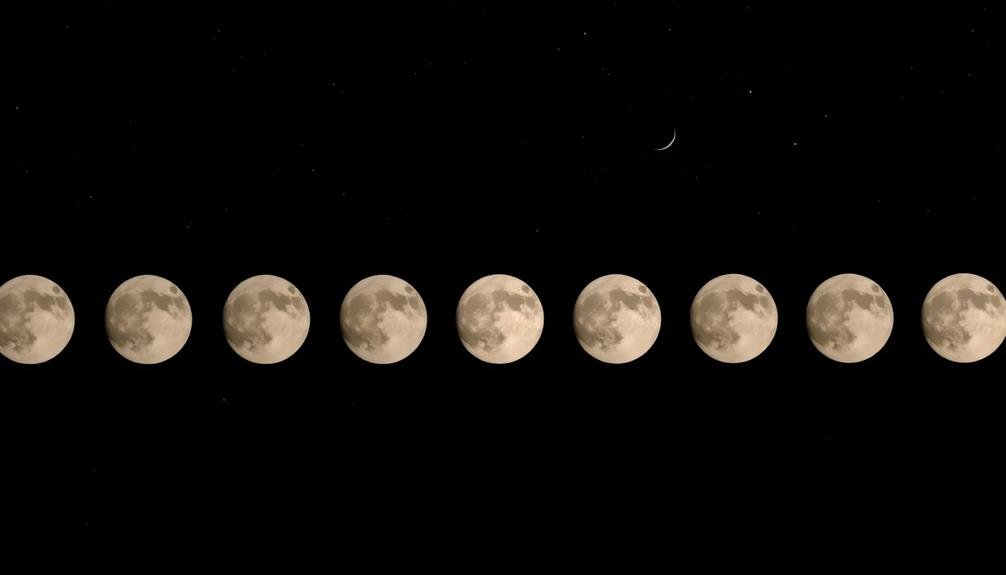
Once you've captured all your moon phase images, post-processing is essential to create a stunning time-lapse. Begin by importing your images into editing software like Adobe Lightroom or Photoshop. Adjust exposure, contrast, and sharpness consistently across all frames to guarantee a smooth shift between phases.
Crop each image identically to maintain the moon's position throughout the sequence.
Next, use specialized stacking software to align and combine your images. This step is vital for eliminating minor shifts caused by atmospheric distortion or camera movement. After alignment, export your sequence as individual frames or directly as a video file, depending on your preferred workflow.
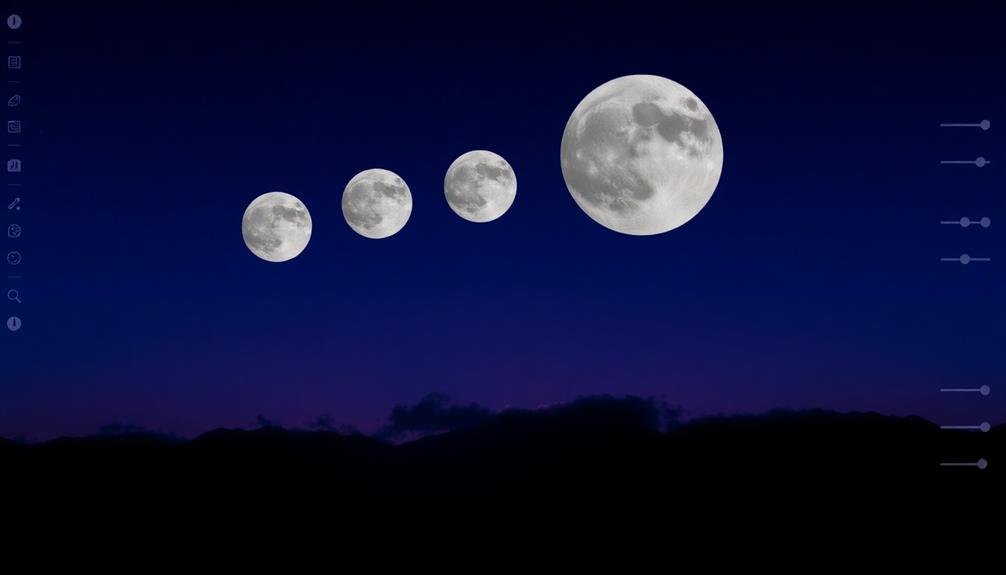
To enhance your time-lapse, consider these advanced techniques:
- Add subtle zoom effects to emphasize the moon's changing appearance
- Incorporate starfield backgrounds to create a more immersive celestial scene
- Experiment with different frame rates to control the speed of the phase shift
- Apply color grading to accentuate the moon's natural hues during different phases
Overcoming Common Challenges
When creating moon phase time-lapses, you'll often face two major hurdles: variable cloud cover and light pollution.
To handle cloud cover, you can use longer capture intervals and selectively remove cloudy frames during editing.
You'll minimize light pollution effects by choosing darker shooting locations, using light pollution filters, and adjusting white balance and contrast in post-processing.
Handling Variable Cloud Cover
One of the biggest challenges in moon phase time-lapse photography is dealing with variable cloud cover. Clouds can obscure the moon, create unwanted shadows, or add atmospheric effects that may or may not enhance your final product. To handle this challenge effectively, you'll need to adapt your shooting strategy and post-processing techniques.
When faced with variable cloud cover, consider these approaches:
- Extend your shooting timeline: Capture images over a longer period to increase the chances of clear shots.
- Use weather forecasting apps: Plan your shoots around predicted clear nights to maximize successful captures.
- Embrace the clouds: Incorporate partially cloudy nights for dramatic effect, using clouds to frame the moon.
- Employ advanced stacking techniques: Combine multiple exposures to minimize cloud interference and enhance moon details.
You'll also want to adjust your camera settings to account for changing light conditions. Use a higher ISO or longer exposure time when clouds dim the moonlight.
In post-processing, you can selectively blend frames to create a seamless sequence, removing or reducing the impact of cloudy shots.
With practice, you'll learn to turn variable cloud cover from a hindrance into a creative opportunity for unique and compelling moon phase time-lapses.
Minimizing Light Pollution Effects
Light pollution poses a significant challenge for moon phase time-lapse photographers, often washing out the night sky and diminishing the moon's visibility. To minimize its effects, you'll need to carefully select your shooting location and employ specific techniques.
First, scout for dark sky areas away from city lights. Use online light pollution maps to find suitable spots. If you can't travel far, look for elevated locations or areas with natural barriers that block artificial light.
When setting up your camera, use a lens hood to reduce stray light hitting the sensor. Consider using a light pollution filter to cut down on specific wavelengths of artificial light.
Adjust your camera settings to combat light pollution. Shoot in RAW format to preserve more data for post-processing. Lower your ISO to reduce noise, and use a wider aperture to capture more light in a shorter time. Experiment with shorter exposure times to prevent overexposure from ambient light.
In post-processing, use selective adjustments to enhance the moon's details while reducing the glow from light pollution. Don't hesitate to blend multiple exposures to achieve the best balance between the moon and the surrounding sky.
Frequently Asked Questions
Can I Capture Moon Phases During Cloudy Nights?
You can't capture clear moon phases on cloudy nights. Clouds obscure the moon's visibility, making it difficult to see phase changes. It's best to wait for clear skies to photograph the moon's phases effectively.
How Do Different Camera Lenses Affect Moon Phase Time-Lapses?
You'll find that different lenses greatly impact your moon phase time-lapses. Wide-angle lenses capture more sky but show a smaller moon. Telephoto lenses zoom in, revealing detailed lunar features. Choose based on your desired composition and moon size.
What's the Ideal Duration for a Complete Moon Phase Time-Lapse?
You'll want to capture a full lunar cycle for your moon phase time-lapse, which takes about 29.5 days. Plan for a month-long shoot to guarantee you've got all phases covered. Don't forget to account for weather!
Are There Apps Specifically Designed for Moon Phase Time-Lapse Photography?
Yes, you'll find several apps designed for moon phase time-lapse photography. They'll help you plan shots, track lunar cycles, and even control your camera. Popular options include PhotoPills, The Photographer's Ephemeris, and LunaSolCal. Try them out!
How Can I Incorporate Foreground Elements Into My Moon Phase Time-Lapse?
You can incorporate foreground elements by choosing an interesting location with static objects like trees or buildings. Frame your shot to include these elements alongside the moon's path. Use a wide-angle lens to capture both effectively.
In Summary
You've now got the tools to create stunning moon phase time-lapses. Remember to scout your location, dial in your smartphone settings, and keep your device stable. Choose the right timing and intervals, and don't forget post-processing to enhance your results. With practice, you'll overcome common challenges and capture breathtaking lunar sequences. So grab your phone, head outside, and start documenting the moon's mesmerizing journey across the night sky.


Leave a Reply