Transform your urban night photography with these three pro tips. First, master long exposure techniques using a sturdy tripod and manual settings to capture stunning light trails and smooth motion blur. Second, find strategic locations for dynamic light trails, focusing on busy intersections or overpasses during the blue hour. Finally, embrace creative composition by experimenting with unconventional angles, leading lines, and reflections to add depth and visual interest. Set your ISO low, choose a narrow aperture, and adjust your shutter speed for ideal results. These techniques will elevate your nighttime cityscape shots from ordinary to extraordinary. Dive deeper to reveal even more secrets of enchanting urban night photography.
Master Long Exposure Techniques

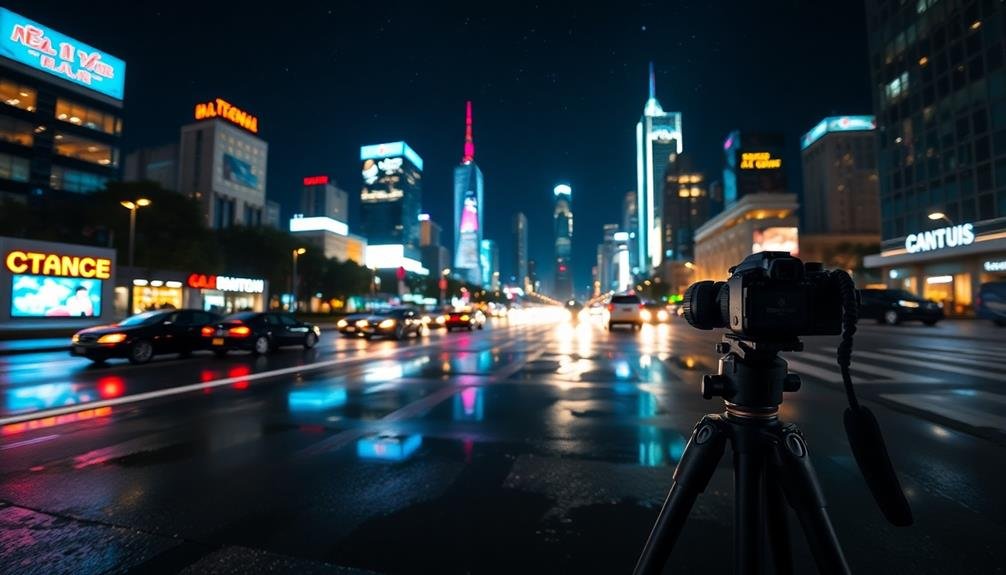
Mastering long exposure techniques is the cornerstone of capturing stunning urban night photos. To achieve this, you'll need a sturdy tripod and a camera with manual settings.
Start by setting your ISO low (100-400) to minimize noise. Choose a narrow aperture (f/8 to f/16) for greater depth of field and sharper images. Adjust your shutter speed based on the scene, typically between 5-30 seconds.
Use your camera's bulb mode for exposures longer than 30 seconds. Experiment with different shutter speeds to capture light trails from moving vehicles or create a silky effect on water surfaces. To avoid camera shake, use a remote shutter release or your camera's self-timer.
Pay attention to your histogram to guarantee proper exposure. If highlights are blown out, use a neutral density filter to extend exposure time without overexposing. For cleaner images, enable your camera's long exposure noise reduction feature.
When shooting cityscapes, time your shots during the "blue hour" just after sunset for a balance of ambient light and artificial illumination. Remember to focus manually, as autofocus may struggle in low light conditions.
With practice, you'll master the art of long exposure urban night photography.
Capture Dynamic Light Trails

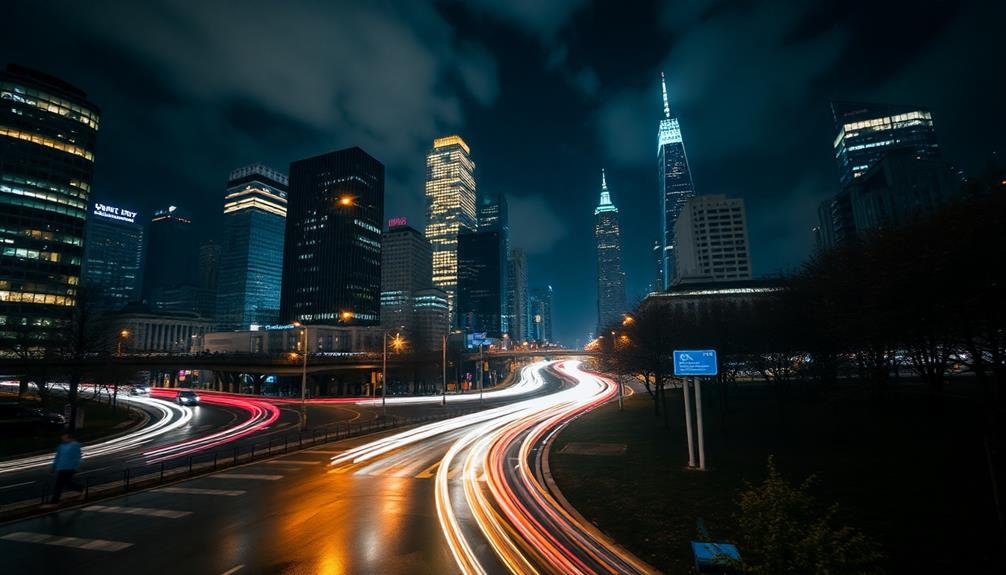
When it comes to urban night photography, capturing dynamic light trails can add a mesmerizing dimension to your images. To achieve this effect, you'll need to use long exposure techniques and position yourself strategically.
Start by finding a spot with a clear view of moving traffic, such as an overpass or a busy intersection. Set your camera on a sturdy tripod and use a remote shutter release to avoid camera shake.
Choose a narrow aperture (f/8 to f/16) to guarantee a wide depth of field and sharp focus throughout your image. Set your camera to manual mode and select a slow shutter speed, typically between 10 and 30 seconds. Adjust your ISO to the lowest possible setting to minimize noise.
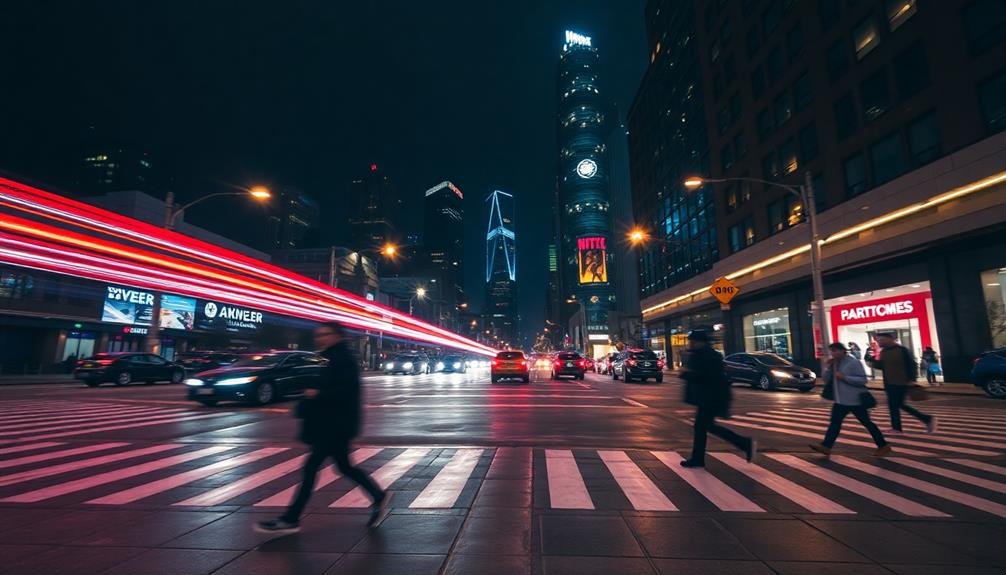
As vehicles pass through your frame, their lights will create streaks of color against the dark background. Experiment with different compositions by including stationary elements like buildings or street signs to add context and contrast to the light trails.
Try varying your shutter speed to control the length and intensity of the trails. For added interest, capture light trails during blue hour when there's still some ambient light in the sky.
Embrace Creative Composition

Stepping beyond standard framing, creative composition can transform your urban night photos from ordinary to extraordinary. Experiment with unconventional angles to add drama to your shots.
Try getting low to the ground for a unique perspective or shooting from above to capture the city's grid-like patterns.
Use leading lines to guide the viewer's eye through your image. Streetlights, roads, and building edges can create compelling pathways that draw attention to your focal point.
Don't be afraid to break composition rules; sometimes, placing your subject off-center can create a more dynamic image.
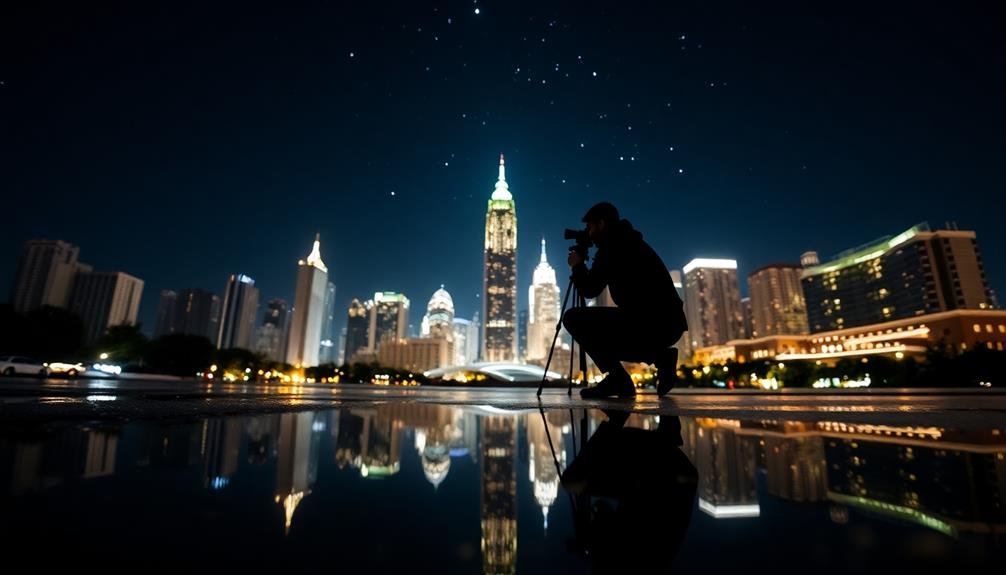
Incorporate reflections in your compositions. Puddles, glass buildings, or even car hoods can provide interesting mirror effects, doubling the visual impact of city lights.
Frame your shots using architectural elements like archways or windows to add depth and context.
Play with symmetry and patterns in urban landscapes. Many cityscapes offer opportunities for striking geometric compositions.
Frequently Asked Questions
What Camera Settings Are Best for Avoiding Noise in Night Photography?
To reduce noise in night photos, you'll want to use a low ISO setting, preferably 100-400. Open your aperture wide and use longer shutter speeds. Don't forget to stabilize your camera with a tripod.
How Do You Protect Your Gear From Moisture During Nighttime Shoots?
You'll want to shield your gear from moisture during nighttime shoots. Use silica gel packs, bring a rain cover, and keep your camera in a waterproof bag when not in use. Don't forget to wipe lenses regularly with a microfiber cloth.
Are Permits Required for Night Photography in Urban Areas?
You'll often need permits for night photography in urban areas, especially for commercial shoots. Check with local authorities, as rules vary by city. Don't forget to contemplate private property restrictions and potential safety concerns too.
What's the Ideal Time to Start Shooting After Sunset?
You'll want to start shooting about 30-45 minutes after sunset during the "blue hour." It's when the sky's still got some color, but city lights are turning on. Experiment with different times for varied effects.
How Can I Ensure Sharp Focus in Low-Light Urban Environments?
To guarantee sharp focus in low-light urban settings, you'll want to use a tripod, switch to manual focus, and employ the live view feature. Don't forget to use a remote shutter release or timer to avoid camera shake.
In Summary
You've now got the tools to take stunning urban night photos. Remember to experiment with long exposures, chase those mesmerizing light trails, and think outside the box with your compositions. Don't be afraid to push your camera's limits and try new angles. With practice, you'll capture the city's nocturnal energy like never before. So grab your tripod, head out after dark, and let your creativity shine. The night is yours to illuminate!


Leave a Reply