To master mobile food color balance, start by understanding natural light sources. Soft, diffused light creates even illumination, while direct sunlight adds drama. Next, adjust your phone's white balance settings using presets or manual controls. Don't forget to experiment with color correction apps for fine-tuning post-capture. Choosing the right background colors can greatly impact your food's appearance, so play around with different options. Finally, master your phone's built-in editing tools to make essential adjustments like brightness, contrast, and saturation. By following these tips, you'll be well on your way to creating mouthwatering food photos that pop. Dive deeper to reveal even more advanced techniques.
Understand Natural Light Sources
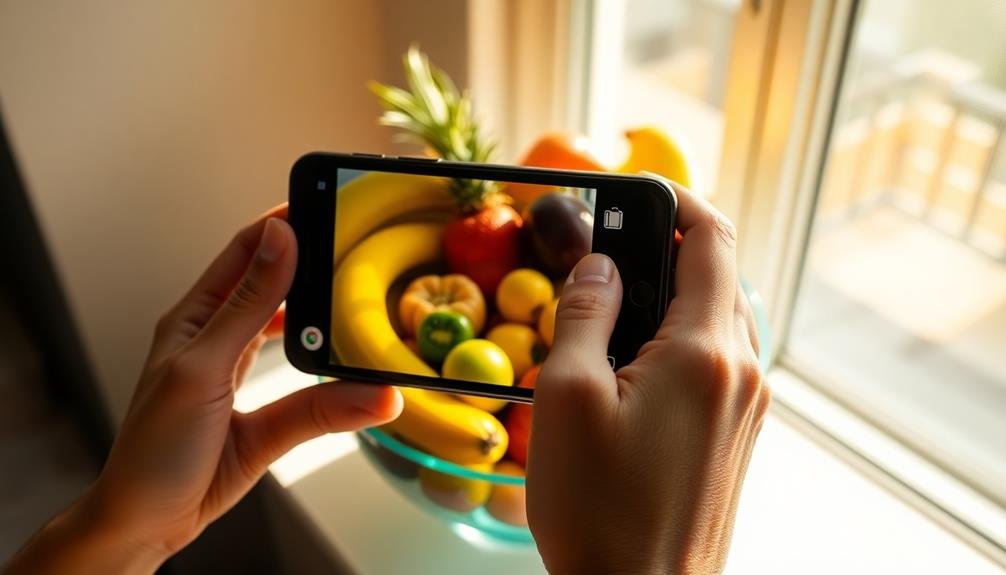
For successful mobile food photography, understanding natural light sources is essential. You'll need to recognize how different types of natural light affect your food's appearance.
Soft, diffused light from a cloudy day or a north-facing window can create even, flattering illumination. It minimizes harsh shadows and reduces color distortion, making it ideal for most food shots.
Direct sunlight, while bright, can be challenging. It creates strong contrasts and deep shadows, which may obscure details. However, you can use it creatively for dramatic effects or to highlight textures.
Early morning or late afternoon light, known as "golden hour," casts a warm, golden hue that can enhance food's appetizing qualities.
Pay attention to the direction of light. Side-lighting can emphasize texture and depth, while backlighting can create an ethereal glow around translucent foods.
Avoid overhead lighting, as it tends to flatten your subject and create unflattering shadows. Experiment with different angles and times of day to find the most flattering light for your specific dish.
Adjust White Balance Settings
Adjusting your white balance settings is essential for achieving accurate colors in your food photos. Most mobile cameras offer preset white balance options like 'sunny,' 'cloudy,' or 'fluorescent.' These can be a good starting point, but they're not always perfect.
You'll often need to fine-tune the settings manually for the best results. To adjust white balance manually, look for a Kelvin temperature scale in your camera app. Lower values (around 3000K) produce warmer, more orange tones, while higher values (around 7000K) create cooler, bluer tones.
For food photography, aim for a neutral balance that accurately represents the dish's colors. Use a white or gray card in your scene to help calibrate the white balance. Take a test shot, then adjust the temperature until the card appears truly white or gray.
This will guarantee all other colors in your image are rendered correctly.
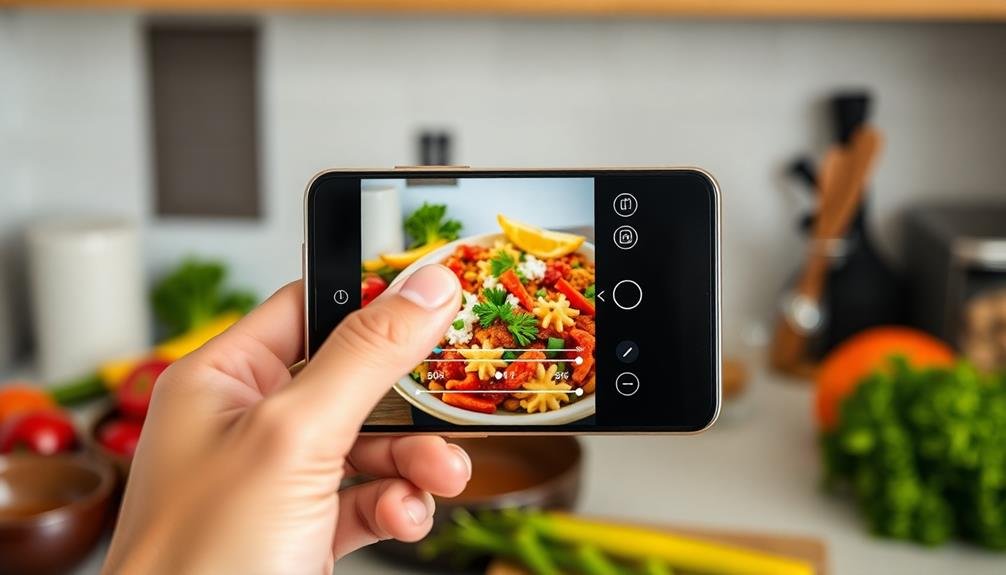
Use Color Correction Apps
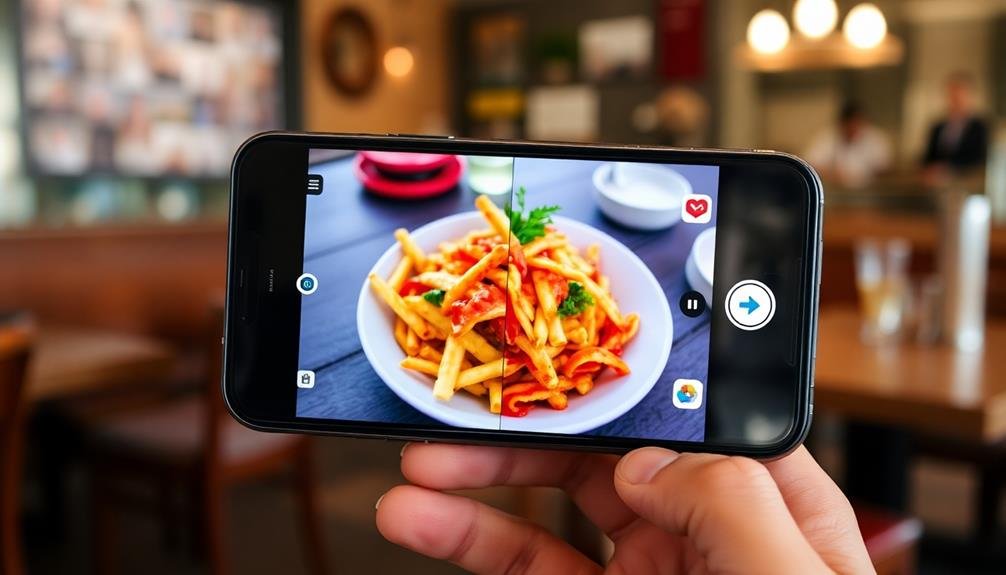
While adjusting white balance in-camera is ideal, sometimes you'll need to fine-tune colors after the shot. That's where color correction apps come in handy. These tools offer powerful editing capabilities right on your smartphone, allowing you to perfect your food photos on the go.
Popular apps like Snapseed, VSCO, and Lightroom Mobile provide intuitive color adjustment features. You'll find options to tweak temperature, tint, saturation, and individual color channels. Start by adjusting the overall white balance, then fine-tune specific colors to enhance your food's appetizing qualities.
Don't overlook the importance of selective adjustments. Many apps offer brush tools that let you apply color corrections to specific areas of your image. This is particularly useful for balancing mixed lighting scenarios or emphasizing certain elements of your dish.
Remember to use a light touch when correcting colors. Subtle adjustments often yield the most natural-looking results. If you're unsure, try using preset filters as a starting point, then customize them to suit your style.
Always compare your edits to the original image to ascertain you're maintaining authenticity while enhancing the overall appeal of your food photography.
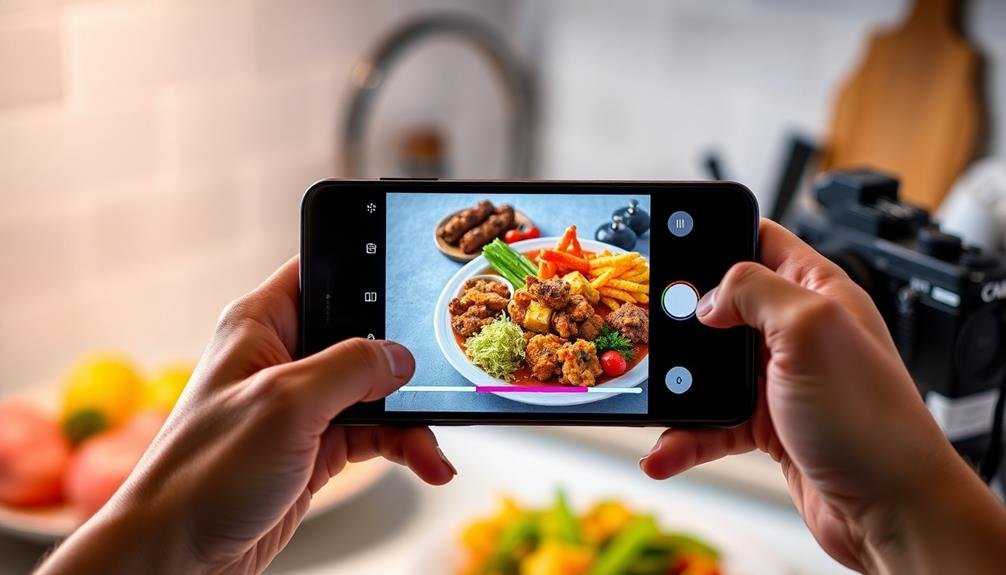
Experiment With Background Colors
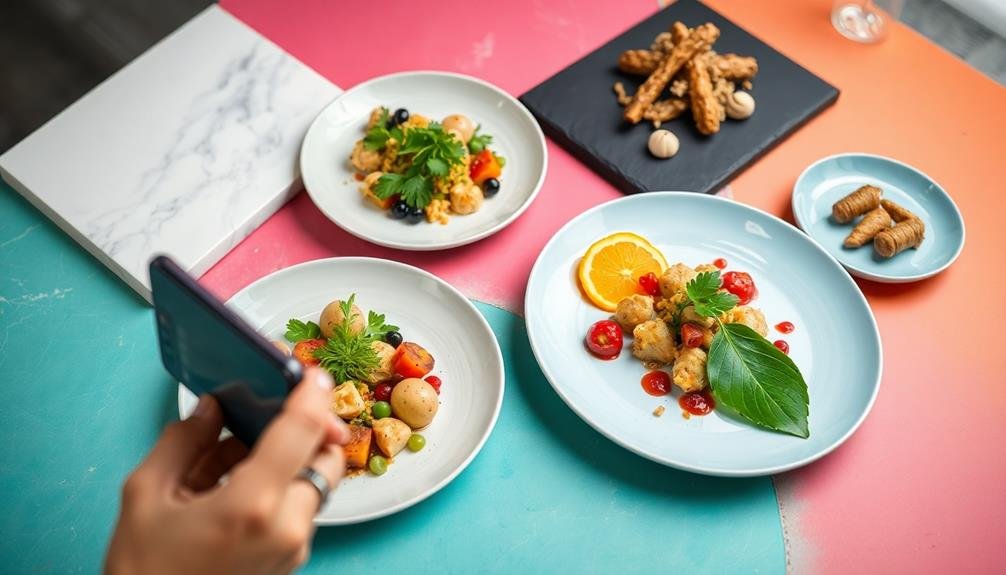
Creativity in background selection can dramatically influence the mood and color balance of your food photos. When experimenting with background colors, consider the hues of your dish and how they'll interact with different surfaces. Neutral tones like white, gray, or beige can make vibrant foods pop, while darker backgrounds create a moody atmosphere that works well for rich, indulgent dishes.
Don't limit yourself to flat colors. Try textured surfaces like wood, marble, or fabric to add depth and interest. You can also use colored plates or placemats to introduce complementary or contrasting hues. Remember that warm backgrounds tend to enhance reds and yellows, while cool tones bring out blues and greens.
Be mindful of how your background choice affects the overall color balance. If your dish is monochromatic, a colorful background can add visual interest. Conversely, a busy dish might benefit from a simple, solid background.
Experiment with different combinations to find what works best for each photo. You can even create a custom backdrop using colored paper or fabric to achieve the perfect hue for your composition. The key is to strike a balance that enhances your food's natural colors without overshadowing them.
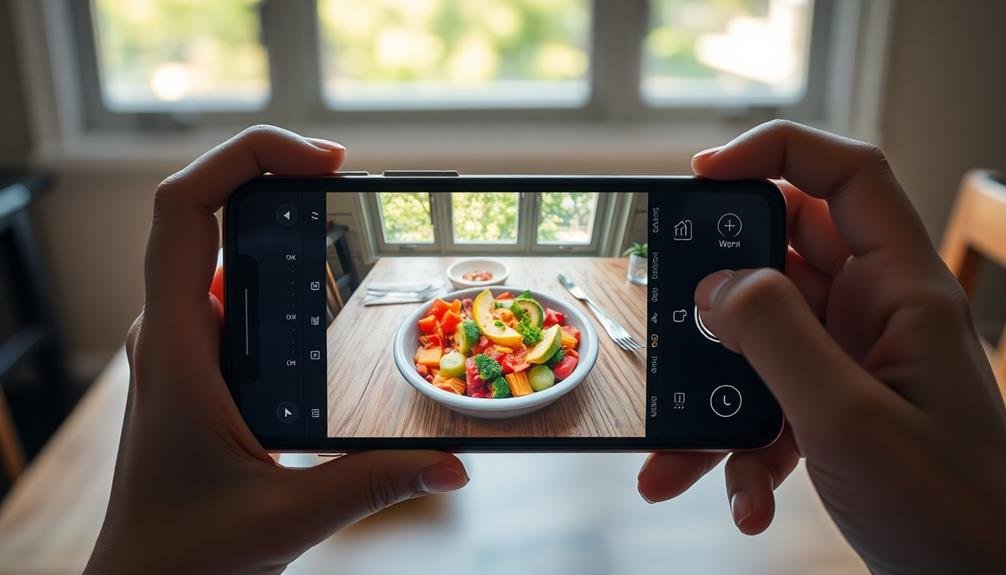
Master In-App Editing Tools
With the power of modern smartphones, you don't need professional editing software to enhance your food photos. Most mobile devices come with built-in editing tools that can greatly improve your images' color balance.
To master these in-app editing tools, focus on understanding the key adjustments available. Start by exploring your phone's native photo editing app. You'll typically find options for brightness, contrast, saturation, and white balance.
Experiment with these sliders to see how they affect your food photos. Don't be afraid to make bold adjustments; you can always undo changes if you're not satisfied.
Here are four essential in-app editing techniques to master:
- Adjust the warmth to enhance the overall mood of your food photo.
- Use the highlights and shadows sliders to bring out texture and detail.
- Fine-tune the saturation to make colors pop without looking unnatural.
- Apply selective edits to specific areas of the image for more control.
Frequently Asked Questions
How Does Camera Lens Quality Affect Food Color Balance in Mobile Photography?
Your camera lens quality greatly impacts food color balance. Higher-quality lenses capture more accurate colors and reduce distortion. They'll also handle different lighting conditions better, ensuring your food photos maintain true-to-life hues and appetizing appearance.
Can Food Styling Techniques Impact the Color Balance of Mobile Food Photos?
Yes, food styling techniques can greatly impact color balance in your mobile food photos. You'll find that plating, garnishes, and background choices can enhance or alter colors, affecting the overall balance and visual appeal of your images.
What Role Does Phone Screen Calibration Play in Achieving Accurate Food Colors?
You'll want to calibrate your phone screen for accurate food colors. It's essential as uncalibrated screens can distort hues. Adjust brightness, contrast, and color settings regularly. Consider using professional calibration tools for best results.
How Do Different Mobile Operating Systems Affect Food Color Representation?
You'll notice differences in food color representation across mobile operating systems. iOS tends to favor warmer tones, while Android often leans cooler. Some systems offer color adjustment settings, so you can fine-tune your device's display for accurate food colors.
Are There Specific Mobile Accessories That Can Enhance Food Color Balance?
You'll find several accessories to enhance food color balance on mobile. Consider using clip-on lenses, portable LED lights, or color calibration cards. Don't forget to invest in a mini tripod for stable shots and consistent lighting.
In Summary
You've now got the tools to elevate your mobile food photography. Remember, mastering color balance takes practice. Don't be afraid to experiment with different lighting, backgrounds, and editing techniques. As you apply these tips, you'll notice a significant improvement in your food shots. Keep challenging yourself, and soon you'll be creating mouth-watering images that pop off the screen. Your followers will be craving more of your perfectly balanced, vibrant food photos.


Leave a Reply