Double exposure effects for mobile photos allow you to blend two images into one enchanting composition using your smartphone. You'll combine a primary subject, often a portrait or silhouette, with a secondary image like a landscape or texture. Popular apps like Snapseed, Pixlr, and Enlight offer user-friendly tools to create these artistic effects. You can adjust opacity, experiment with blending modes, and fine-tune contrast to achieve unique results. The key is choosing complementary images that tell a story or evoke emotion when merged. By mastering this technique, you'll transform ordinary photos into surreal, eye-catching art. Explore further to reveal the full potential of double exposure photography.
Understanding Double Exposure Photography
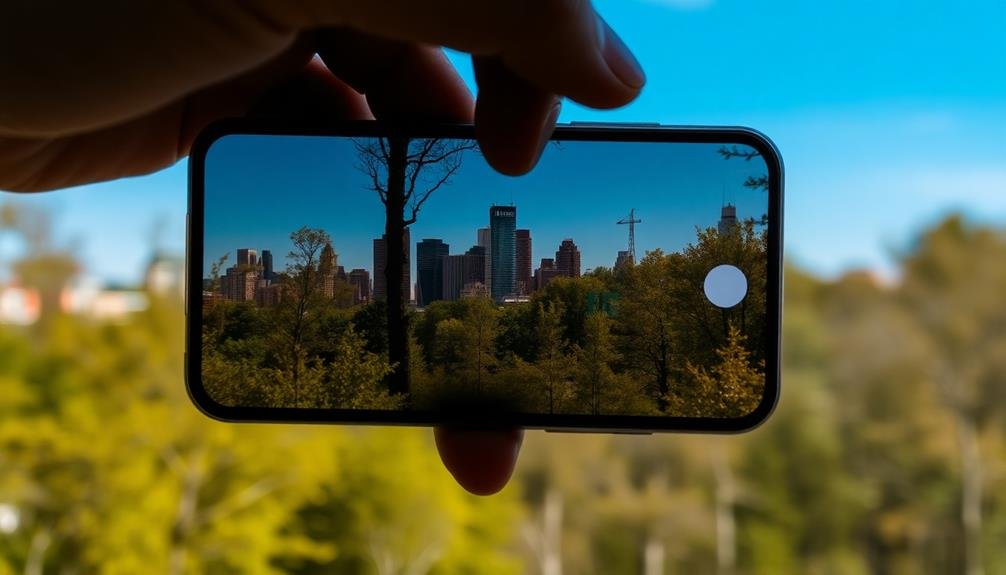
In traditional film photography, double exposure occurs when two images are captured on the same frame of film. This technique creates a layered, ethereal effect where two distinct scenes blend into one unique composition.
Digital photography and mobile apps have now made this artistic technique accessible to everyone.
When you create a double exposure on your mobile device, you're fundamentally combining two separate images into a single frame. The first image typically serves as the base or silhouette, while the second image fills in the details. This process allows you to create surreal, dreamlike images that tell a story or evoke emotions in ways a single photo can't.
You'll find that double exposure effects work best when you choose contrasting images. For example, you might pair a portrait with a nature scene or a cityscape with a texture.
The key is to experiment with different combinations to achieve the desired visual impact. As you practice, you'll develop an eye for which images complement each other and how to balance light and dark areas for the most striking results.
Mobile Apps for Double Exposure
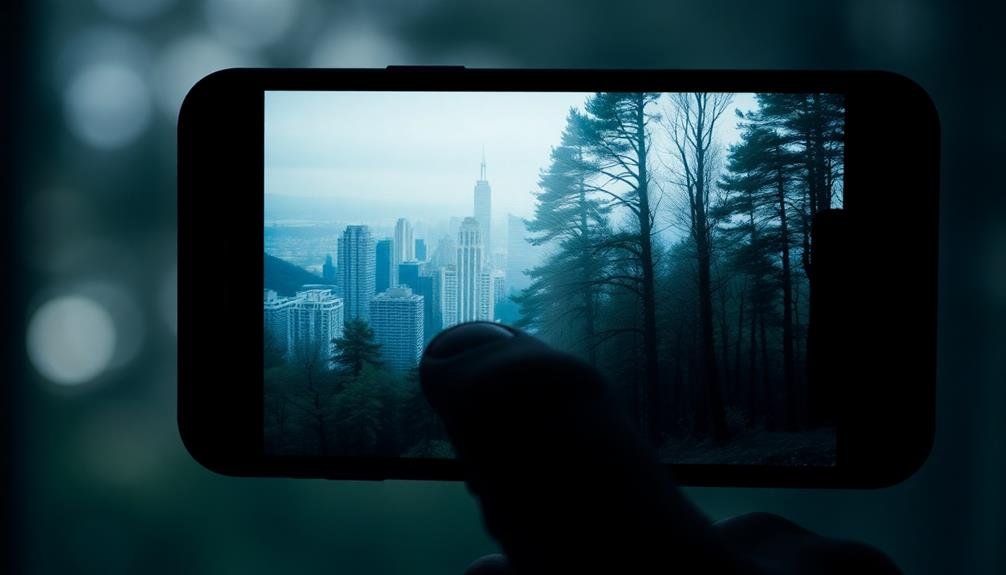
You'll find numerous mobile apps designed specifically for creating double exposure effects on your smartphone photos.
These apps offer user-friendly interfaces and step-by-step guides to help you blend two images seamlessly.
Whether you're a beginner or an experienced photographer, you can explore popular options like Snapseed, Pixlr, or Enlight to start crafting stunning double exposure images right on your mobile device.
Popular Double Exposure Apps
Smartphone users looking to create stunning double exposure effects have a variety of powerful apps at their fingertips. Among the most popular options are Snapseed, Enlight, and Double Exposure Studio. These apps offer intuitive interfaces and advanced features that allow you to blend multiple images seamlessly.
Snapseed, developed by Google, provides a user-friendly experience with its dedicated double exposure tool. You'll find it easy to adjust opacity, blending modes, and positioning of your overlaid images.
Enlight, on the other hand, offers more creative control with its extensive collection of filters and textures. It's perfect for those who want to add artistic flair to their double exposures.
Double Exposure Studio is designed specifically for creating these effects, offering a wide range of blending modes and customization options.
With these apps, you can:
- Transform ordinary photos into enchanting works of art
- Express your creativity through unique visual storytelling
- Evoke emotions by combining seemingly unrelated images
As you explore these popular double exposure apps, you'll discover new ways to enhance your mobile photography and create visually striking images that stand out on social media platforms.
Creating Effects Step-By-Step
Owing to the variety of double exposure apps available, creating stunning effects on your smartphone is now easier than ever. To start, select two images you'd like to blend. Choose a primary image with a clear subject and a secondary image with interesting textures or patterns.
Open your chosen double exposure app and import both images. Most apps will let you adjust the opacity of the secondary image, allowing you to control how much it blends with the primary image. Experiment with different blend modes to achieve unique effects.
Next, use masking tools to refine the blend. You can erase parts of the secondary image to reveal more of the primary image beneath, or vice versa. Many apps offer brush tools with adjustable sizes and hardness for precise control.
Fine-tune your creation by adjusting contrast, brightness, and saturation. Some apps provide advanced features like color filters or the ability to add more than two images.
Don't be afraid to experiment with different combinations and settings. Once you're satisfied with your double exposure, save and share your creation on social media or with friends.
Choosing Complementary Images
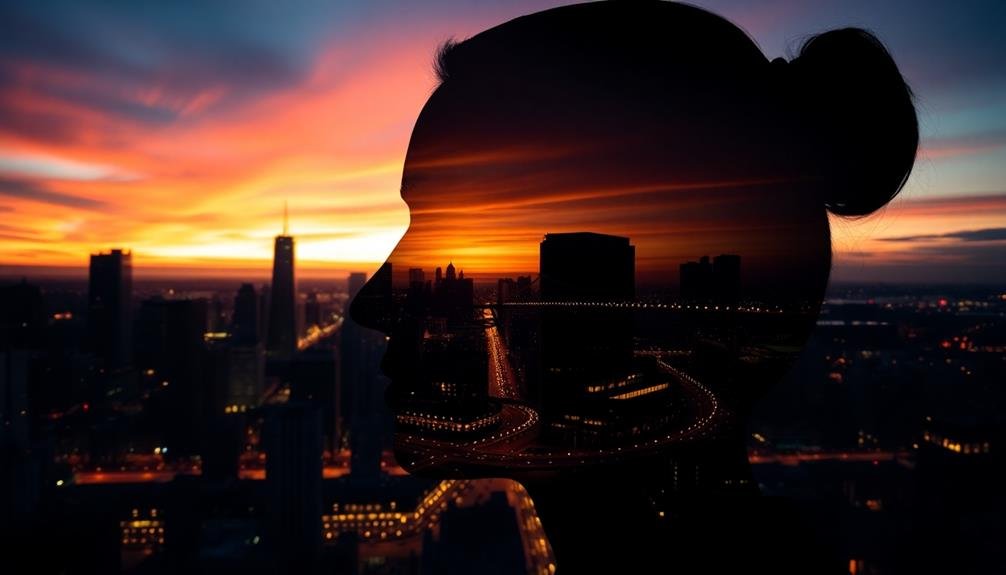
When selecting images for double exposure, you'll want to contemplate contrasting shapes and textures to create visual interest.
It's also important to think about color harmony, as complementary or analogous color schemes can enhance the overall effect.
Contrasting Shapes and Textures
Creativity thrives on contrast, and this principle is especially true when selecting images for double exposure effects. When you're choosing your second image, look for shapes and textures that complement or contrast with your primary photo. This interplay between different forms and surfaces can create a visually striking and emotionally resonant final image.
Consider pairing organic, flowing shapes with geometric patterns or architectural elements. For example, combine a portrait with cityscapes or natural landscapes with industrial scenes. The juxtaposition of soft and hard textures can add depth and interest to your double exposure.
Think about how smooth skin might interact with rough tree bark, or how wispy clouds could blend with sharp, angular buildings.
To evoke emotion in your audience, aim for these contrasts:
- Delicate vs. rugged
- Smooth vs. textured
- Natural vs. man-made
Color Harmony Considerations
Beyond shapes and textures, color plays a pivotal role in creating compelling double exposure effects. When selecting images for your double exposure, consider how their colors will interact and complement each other. Look for color harmonies that will enhance the overall aesthetic of your composition.
Start by choosing a dominant color palette for your main subject. Then, select a secondary image with colors that either contrast or complement this palette. For instance, if your primary image features warm tones, you might opt for a cooler-toned secondary image to create visual interest. Alternatively, you could choose analogous colors to create a more harmonious blend.
Don't shy away from experimenting with unexpected color combinations. Sometimes, the most striking double exposures come from bold color choices. You can also play with the opacity of each layer to adjust how the colors blend together.
Remember that the goal is to create a cohesive final image where the colors work together to tell a story or evoke a specific mood. By carefully considering color harmony, you'll elevate your double exposure effects from simple overlays to truly artistic compositions.
Subject Matter Relationships
The success of a double exposure effect largely depends on how well the subjects of your chosen images complement each other. When selecting photos for this technique, consider how the shapes, lines, and textures of one image can enhance or interact with the other. For instance, combining a portrait with a landscape can create a stunning visual metaphor, where the person's silhouette is filled with natural scenery.
Look for images that tell a story when combined. You might pair a cityscape with wildlife to juxtapose urban and natural elements, or blend two different cultures to create a thought-provoking composition. The key is to find a balance where both images contribute to the overall narrative without overpowering each other.
To evoke emotion in your double exposure creations, consider these combinations:
- A close-up portrait merged with a starry night sky
- Architectural details overlaid with flowing water or waves
- Human hands intertwined with tree branches or roots
Experiment with different subject matter relationships to discover unique and powerful visual stories.
Blending Modes and Opacity
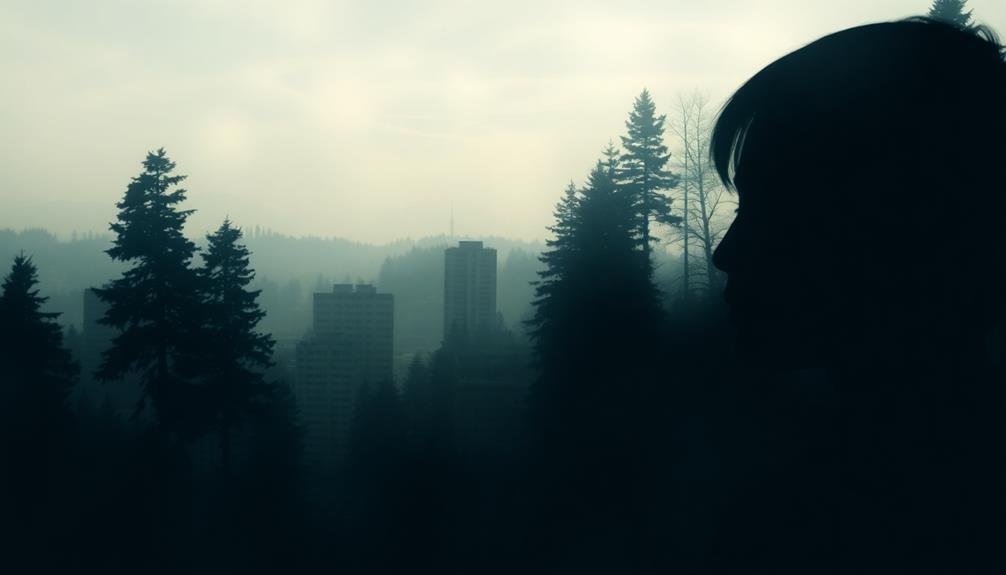
Mastering blending modes and opacity is essential for creating compelling double exposure effects in mobile photography. Blending modes determine how your layers interact, while opacity controls the transparency of each layer.
You'll find various blending modes in most mobile editing apps. Common ones include Overlay, Screen, and Multiply. Overlay enhances contrast and saturation, ideal for combining textures. Screen lightens the overall image, perfect for incorporating bright elements. Multiply darkens the image, useful for adding depth and shadows.
Experiment with different modes to achieve your desired effect. Don't be afraid to mix and match; you might use Screen for one layer and Multiply for another. Adjust the opacity of each layer to fine-tune the blend. Lower opacity creates a subtle, ethereal look, while higher opacity produces a bolder, more dramatic effect.
As you work, continuously assess how the layers interact. Small adjustments in blending mode or opacity can greatly impact your final image.
Adjusting Contrast and Brightness
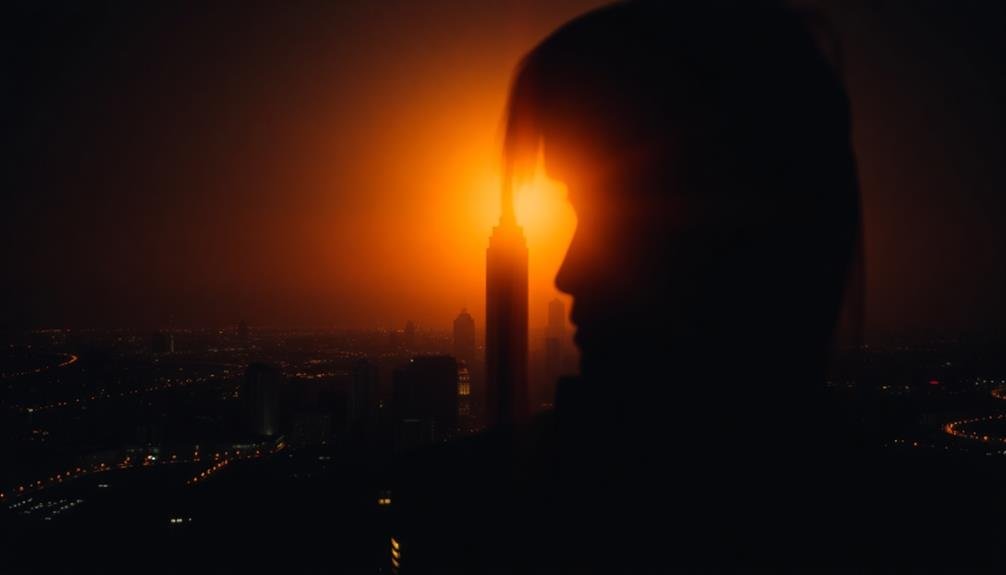
Once you've mastered blending modes and opacity, adjusting contrast and brightness becomes your next focus for creating stunning double exposures. These adjustments can greatly enhance the visual impact of your composite image, making it more striking and memorable.
Start by tweaking the contrast of both images independently. Increase the contrast of your main subject to make it stand out, while reducing the contrast of the background image to create a softer, more ethereal effect.
Then, adjust the brightness levels to guarantee a balanced exposure throughout the composition.
Pay special attention to the interaction between light and dark areas in your double exposure. You'll want to:
- Highlight key features of your subject
- Create depth by manipulating shadows
- Enhance the overall mood through strategic lighting
Don't be afraid to experiment with extreme adjustments. Sometimes, pushing the contrast or brightness to their limits can yield unexpected and intriguing results.
Adding Textures to Double Exposures
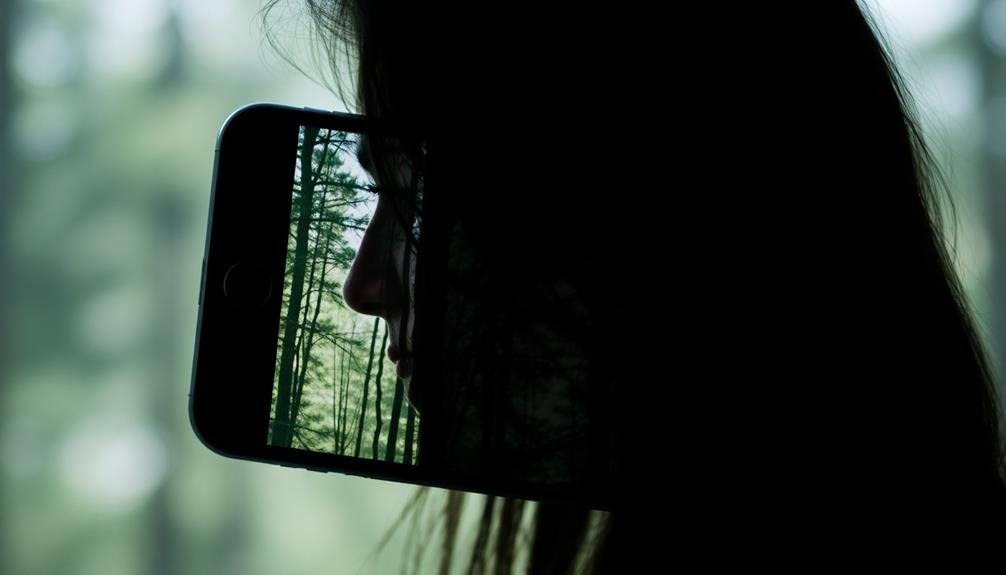
Adding textures to double exposures can elevate your mobile photography to new heights of creativity and visual interest. When you incorporate textures, you're adding depth and complexity to your images, creating a more immersive visual experience.
To add textures, start by selecting a textured image that complements your base photos. This could be anything from a close-up of tree bark to a pattern of raindrops on a window. In your photo editing app, overlay this texture onto your double exposure. Adjust the opacity to blend the texture seamlessly with your existing images.
Experiment with different blending modes to achieve various effects. "Overlay" or "Soft Light" modes often work well for subtle textures, while "Multiply" can create more dramatic results. Don't be afraid to try unconventional textures like fabric patterns or abstract designs.
You can also use masks to apply textures selectively to specific areas of your double exposure. This technique allows you to highlight certain elements while maintaining clarity in others.
Creating Silhouettes for Impact
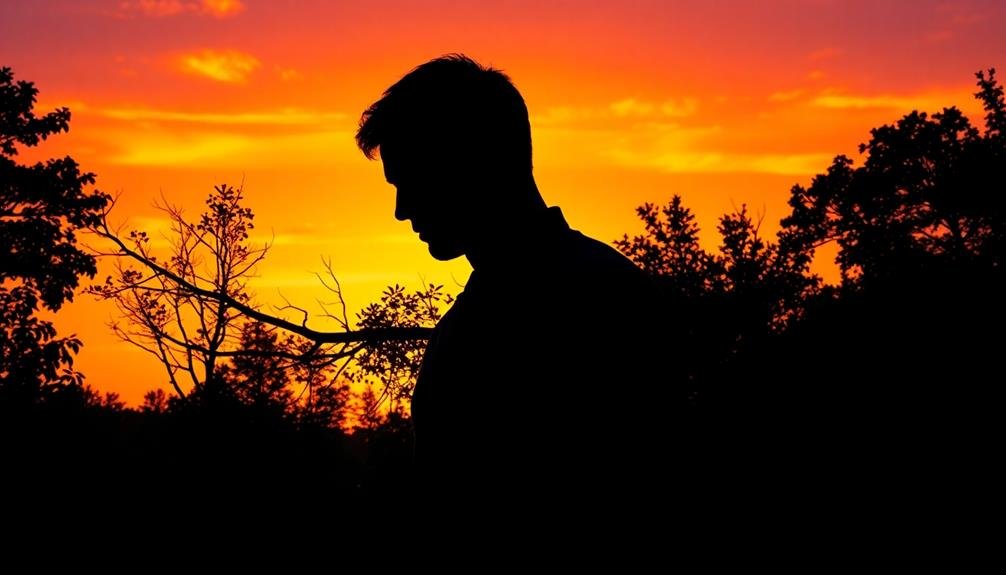
Silhouettes can transform your double exposure photos into striking visual narratives. By creating a stark contrast between a darkened foreground subject and a vibrant background image, you'll add depth and intrigue to your compositions.
To achieve this effect, start by capturing a well-defined silhouette against a bright background. Then, overlay it with a complementary image that fills the silhouette's shape.
When selecting your silhouette subject, choose forms with distinctive outlines. Human profiles, trees, or architectural elements work exceptionally well. For the overlay image, opt for textures or scenes that enhance the silhouette's story. A cityscape within a human profile, for instance, can symbolize urban thoughts or memories.
To maximize the impact of your silhouette double exposures:
- Use high-contrast lighting to create crisp, clean edges
- Experiment with unexpected pairings to evoke curiosity
- Play with scale to create surreal or dreamlike effects
Remember to adjust the opacity of your overlay image to fine-tune the balance between the silhouette and the fill.
This technique allows you to create visually arresting images that invite viewers to explore the interplay between shape and content, making your mobile photos truly stand out.
Common Mistakes to Avoid
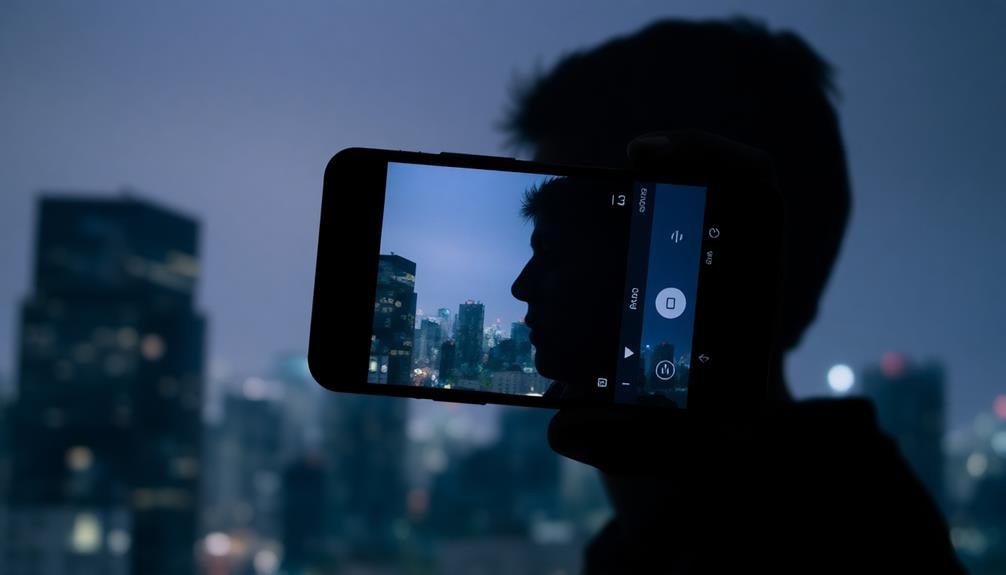
Mastering double exposure effects on mobile devices requires avoiding common pitfalls that can diminish the impact of your images. One frequent mistake is choosing incompatible images that clash rather than complement each other. Verify your base image and overlay have contrasting tones and complementary subjects to create a cohesive final result.
Another error is overcomplicating the composition. Stick to simple, clean lines and shapes to maintain visual clarity. Don't overcrowd your image with too many elements, as this can confuse the viewer and dilute your intended message.
Poor blending is a common issue that can ruin the illusion of a seamless double exposure. Pay attention to the opacity and blending modes you're using, adjusting them carefully to achieve a natural-looking fusion of images.
Neglecting proper lighting can also lead to disappointing results. Aim for images with strong contrast and well-defined shadows to create depth and dimension in your double exposure.
Lastly, don't forget about color harmony. Mismatched color palettes can create a jarring effect. Stick to complementary or analogous color schemes for a more visually pleasing outcome.
Frequently Asked Questions
Can Double Exposure Effects Be Applied to Existing Photos on My Phone?
Yes, you can apply double exposure effects to existing photos on your phone. Many photo editing apps offer this feature, allowing you to blend two images together. Simply select the photos you want to combine and adjust the settings accordingly.
Are There Any Copyright Concerns When Using Images for Double Exposures?
You should be cautious about copyright when creating double exposures. If you're using images that aren't yours, you'll need permission or to guarantee they're in the public domain to avoid legal issues.
How Does Double Exposure Differ From Image Overlays or Collages?
You'll find double exposure creates a blended, ethereal effect by combining two exposures in-camera. Unlike overlays or collages, which layer separate images, double exposure merges photos seamlessly, producing a more unified, artistic result.
Can I Create Double Exposures With Videos Instead of Still Images?
You can create double exposures with videos! It's called "video double exposure" or "multi-layered video." You'll blend two or more video clips, creating a dreamy, artistic effect. Many video editing apps now offer this feature.
What File Formats Work Best for Creating and Saving Double Exposure Photos?
You'll want to use high-quality formats for double exposure photos. RAW files are ideal for editing, while JPEG or PNG work well for final images. TIFF's also great but can be large. Avoid lossy formats like GIF.
In Summary
You've now got the tools to create stunning double exposure effects on your mobile device. Remember to experiment with different image combinations, blending modes, and adjustments. Don't be afraid to push the boundaries and try new techniques. With practice, you'll develop your unique style. Keep exploring and refining your skills, and soon you'll be producing enchanting double exposure photos that'll impress your friends and followers. The creative possibilities are endless!


Leave a Reply