To craft compelling stories with smartphone photography, start by choosing a theme that guides your narrative. Plan your visual sequence using storyboards and thumbnails to structure your photo essay. Scout locations that enhance your story and master your smartphone's camera settings for best results. Apply composition techniques like the Rule of Thirds and Leading Lines to create visually appealing images. Sequence your photos thoughtfully to maintain flow and engagement. Add text overlays to enhance your message, and share your story on suitable platforms. Collaborate with other photographers to expand your skills and perspectives. The world of visual storytelling awaits your unique vision.
Choose Your Story's Theme
When starting your smartphone photography journey, it's crucial to choose a theme for your story. A theme provides focus and coherence to your visual narrative, helping you capture images that convey a unified message.
Consider what inspires you or what story you want to tell through your photos. It could be urban life, nature, human emotions, or cultural traditions.
Once you've selected a theme, brainstorm specific subjects that align with it. For example, if your theme is "urban decay," you might look for abandoned buildings, rusted metal, or faded street art.
Keep a list of potential subjects and locations to explore.
Your theme should also influence your visual style. Decide on a consistent color palette, lighting approach, or composition technique that complements your chosen theme.
This consistency will tie your images together and strengthen your narrative.
Plan Your Visual Narrative
To plan your visual narrative, start by storyboarding your photo sequence.
Sketch out the key shots you'll need to tell your story effectively, considering the order and flow of images.
Next, scout and choose locations that will enhance your narrative, ensuring each setting contributes to the overall theme and mood you're aiming to capture.
Storyboard Your Photo Sequence
Three key steps can elevate your smartphone photography from random snapshots to a cohesive visual story. First, sketch out your narrative arc. Identify the beginning, middle, and end of your story, and decide which key moments you'll capture. This outline will serve as your roadmap, ensuring you don't miss vital shots.
Next, create thumbnail sketches for each planned photo. These rough drawings will help you visualize composition, framing, and subject placement before you start shooting. Consider different angles, perspectives, and focal points to add variety to your sequence.
Finally, arrange your thumbnails in a logical order. This step allows you to see how your images will flow together, creating a cohesive narrative. You might realize you need linking shots or that certain images work better in a different order.
Don't be afraid to rearrange or add new thumbnails as needed.
Choose Narrative-Enhancing Locations
Selecting the right locations is essential for crafting a compelling visual narrative with your smartphone photography. Choose settings that complement your story and evoke the desired emotions in your viewers. Start by researching potential locations that align with your narrative's theme and mood. Consider factors like lighting, background elements, and accessibility when scouting spots.
Look for locations that offer visual variety and depth. A mix of wide, medium, and close-up shots will add dynamism to your sequence. Don't shy away from unconventional or unexpected places that can add intrigue to your story. Urban landscapes, nature settings, or even indoor locations can all serve as powerful backdrops.
Pay attention to the time of day and how it affects the ambiance of your chosen locations. Golden hour lighting can add warmth and drama, while overcast skies can create a moody atmosphere. If possible, visit locations at different times to determine the best shooting conditions.
Remember that your smartphone's portability allows you to explore and capture unique perspectives. Get creative with angles and vantage points to make the most of each location's potential.
Scout Locations for Impact
When scouting for impactful photo locations, don't overlook the hidden gems in your urban environment.
Look for unexpected angles, interesting architectural details, or vibrant street art that can add character to your shots.
For dramatic natural landscapes, seek out scenic overlooks, winding paths, or bodies of water that can serve as stunning backdrops for your smartphone photography.
Explore Hidden Urban Gems
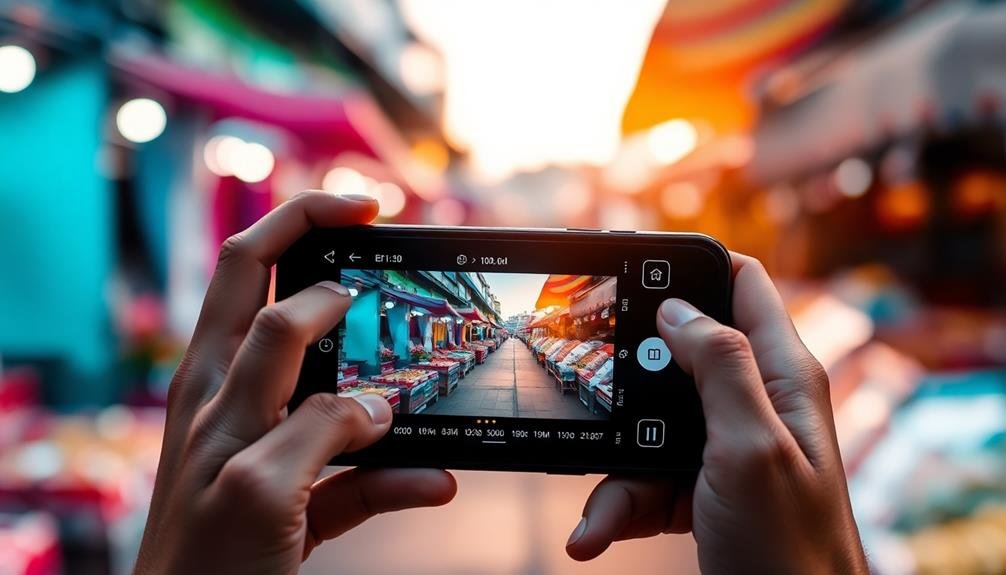
Urban exploration is a goldmine for smartphone photographers seeking unique shots. To uncover hidden gems, venture beyond tourist hotspots and main streets. Look for abandoned buildings, forgotten alleyways, and lesser-known neighborhoods. These areas often offer raw, authentic scenes that'll make your photos stand out.
When exploring, prioritize safety and respect for private property. Always obtain permission when necessary and be aware of your surroundings. Carry a portable charger to keep your smartphone powered throughout your urban adventure.
Pay attention to textures, colors, and patterns in unexpected places. Rusty metal, peeling paint, or weathered brick can create striking visuals. Don't forget to look up – rooftops, fire escapes, and overhead wires can add interesting elements to your compositions.
Here's a quick guide to urban exploration photography:
| Location | Potential Subjects | Composition Tips |
|---|---|---|
| Abandoned Factory | Machinery, Graffiti | Use leading lines |
| Old Train Yard | Rusted trains, Tracks | Experiment with angles |
| Hidden Courtyard | Plants, Architecture | Frame within elements |
| Narrow Alleyway | Street art, Shadows | Play with perspective |
Natural Landscapes for Drama
Moving from the gritty urban landscape to nature's grand vistas, dramatic natural settings offer smartphone photographers endless opportunities for jaw-dropping shots. To capture nature's majesty, you'll need to scout locations that pack a visual punch. Start by researching local parks, forests, mountains, and coastlines.
Look for unique geological formations, striking vantage points, and areas known for their diverse flora and fauna.
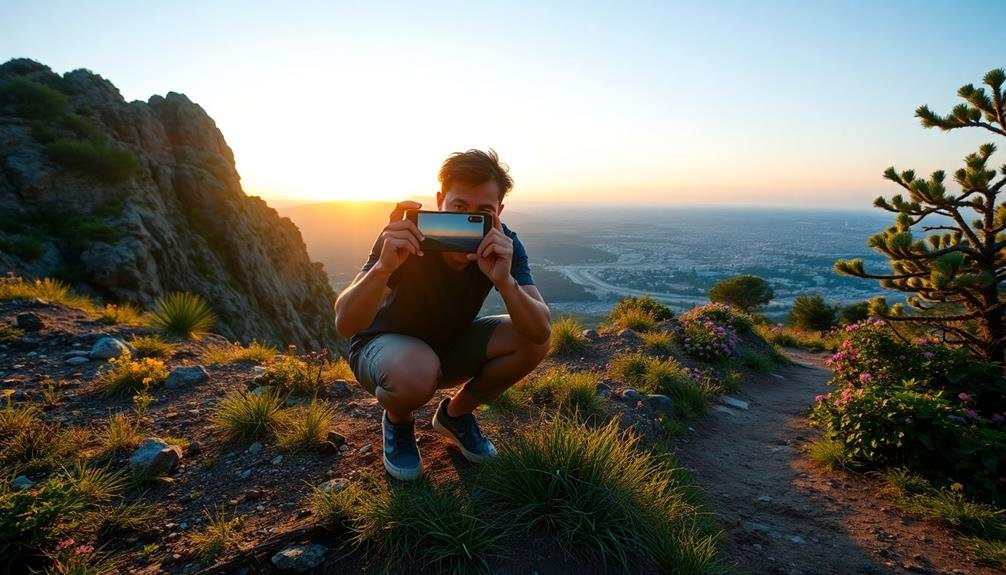
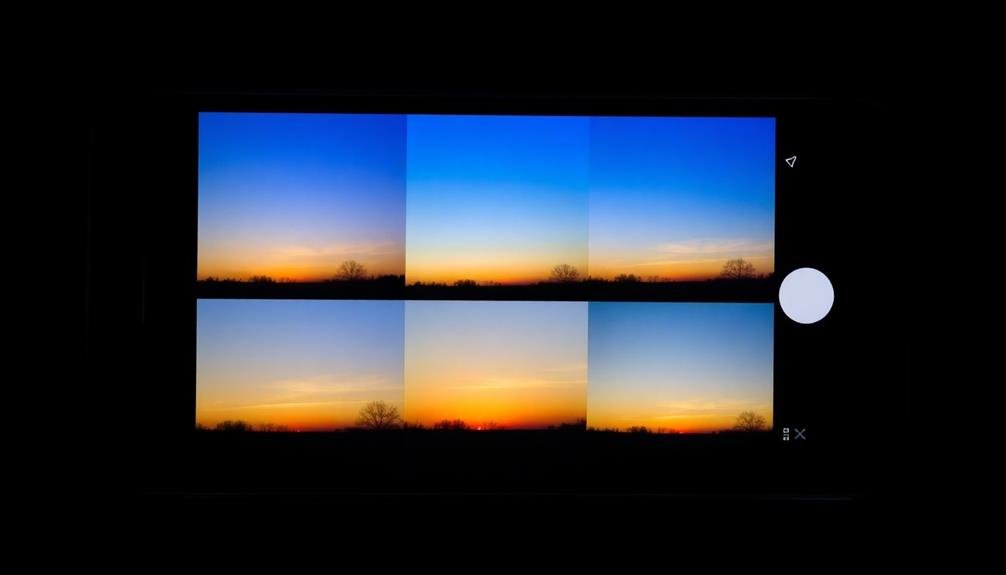
Timing is essential when photographing natural landscapes. Plan your shoots around the golden hour – just after sunrise or before sunset – when the light is soft and warm. Consider weather conditions too; stormy skies or misty mornings can add atmosphere to your images.
Don't shy away from challenging terrain; sometimes the best shots require a bit of hiking or climbing.
Use your smartphone's panorama mode to capture sweeping vistas, and experiment with HDR for high-contrast scenes. Frame your shots carefully, using natural elements like trees or rock formations to guide the viewer's eye.
Master Smartphone Camera Settings
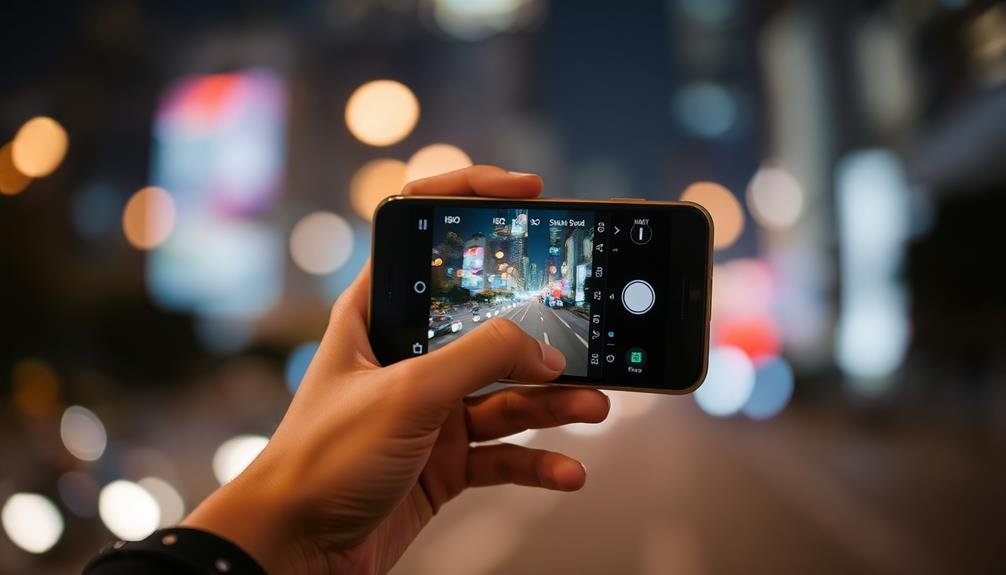
Your smartphone's camera settings are the key to releasing its full photographic potential. Start by exploring your camera app's manual or "pro" mode, which gives you control over essential settings.
Adjust the ISO to manage light sensitivity; lower values for bright scenes, higher for dimly lit environments. Experiment with shutter speed to capture motion or create artistic blur. For sharp images, use faster speeds; for light trails or smooth water, opt for slower speeds.
Play with white balance to accurately represent colors in different lighting conditions. Use exposure compensation to fine-tune brightness without altering other settings.
Don't forget focus – tap on your subject or use manual focus for precise control. Utilize grid lines to compose shots following the rule of thirds.
Many smartphones offer HDR mode, which combines multiple exposures for better dynamic range. Use it in high-contrast scenes.
Explore RAW format for maximum editing flexibility later. Finally, familiarize yourself with your phone's night mode for low-light photography.
Composition Techniques for Storytelling
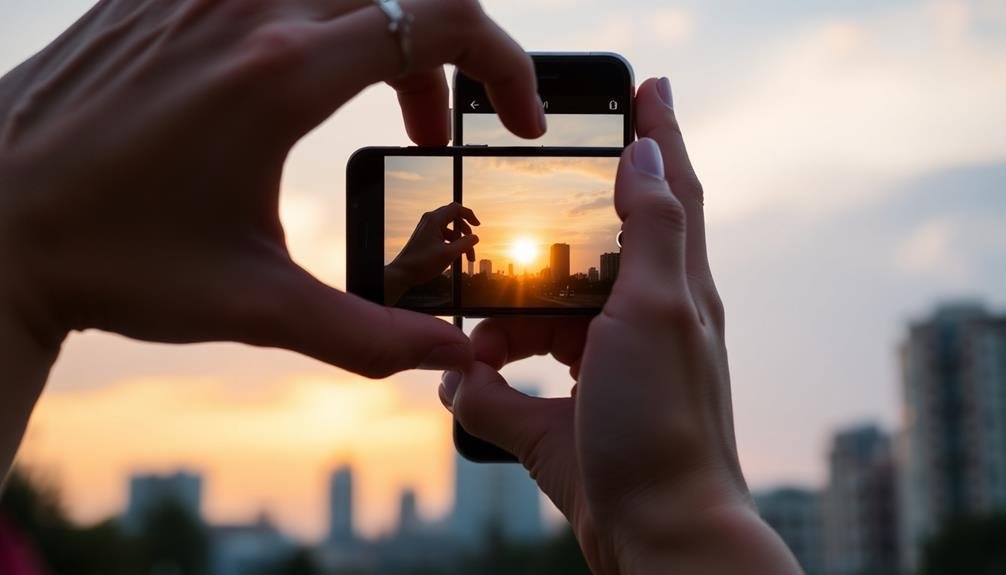
Once you've mastered your smartphone's camera settings, it's time to focus on composition techniques that will elevate your storytelling.
You'll want to start with the Rule of Thirds, which helps create balanced and visually appealing images.
Next, explore the Leading Lines Technique and learn how to frame your subject effectively to guide viewers' eyes and create more impactful photographs.
Rule of Thirds
The rule of thirds is one of the most powerful composition techniques in smartphone photography. It involves dividing your frame into a 3×3 grid and placing key elements along these lines or at their intersections. This creates a more balanced and visually appealing image that naturally draws the viewer's eye to the important parts of your photo.
To apply the rule of thirds, turn on your smartphone's grid feature in the camera settings. As you frame your shot, position your subject or main points of interest along the gridlines or at their intersections. This technique works well for various types of photos, from landscapes to portraits.
| Subject Placement | Effect | Example |
|---|---|---|
| Left Vertical Line | Creates tension | Person looking right |
| Right Vertical Line | Feels resolved | Person looking left |
| Top Horizontal Line | Emphasizes sky | Landscape with clouds |
| Bottom Horizontal Line | Grounds the image | Beach scene with sand |
Leading Lines Technique
While the rule of thirds helps balance your composition, leading lines take your smartphone photography to the next level by guiding viewers through your image. These lines can be straight, curved, or implied, drawing attention to your main subject or creating a sense of depth and movement.
To use leading lines effectively, look for natural or man-made elements in your environment that can serve as visual pathways.
When incorporating leading lines into your smartphone photos:
- Position your subject at the end of the line or where lines intersect
- Use diagonal lines for a dynamic, energetic feel
- Experiment with converging lines to create depth and perspective
Consider using roads, fences, rivers, or architectural features as leading lines. Even shadows can create compelling lines in your composition.
As you frame your shot, think about how these lines will guide the viewer's eye through the image. Remember that leading lines don't always have to be obvious; subtle lines can be just as effective in creating a visual journey.
Framing Your Subject
Framing your subject is a powerful composition technique that can transform ordinary smartphone photos into compelling visual stories. By using elements in the foreground to create a natural border around your main subject, you'll add depth and context to your images.
Look for opportunities to frame your subject using:
| Natural Elements | Man-made Structures |
|---|---|
| Tree branches | Doorways |
| Rock formations | Windows |
| Leaves | Arches |
| Clouds | Bridges |
| Water reflections | Fences |
To effectively frame your subject:
- Position yourself to align the framing element with your subject.
- Experiment with different angles and distances.
- Use the frame to direct the viewer's eye towards the main subject.
- Make sure the frame doesn't overpower the subject.
- Consider using negative space within the frame for added impact.
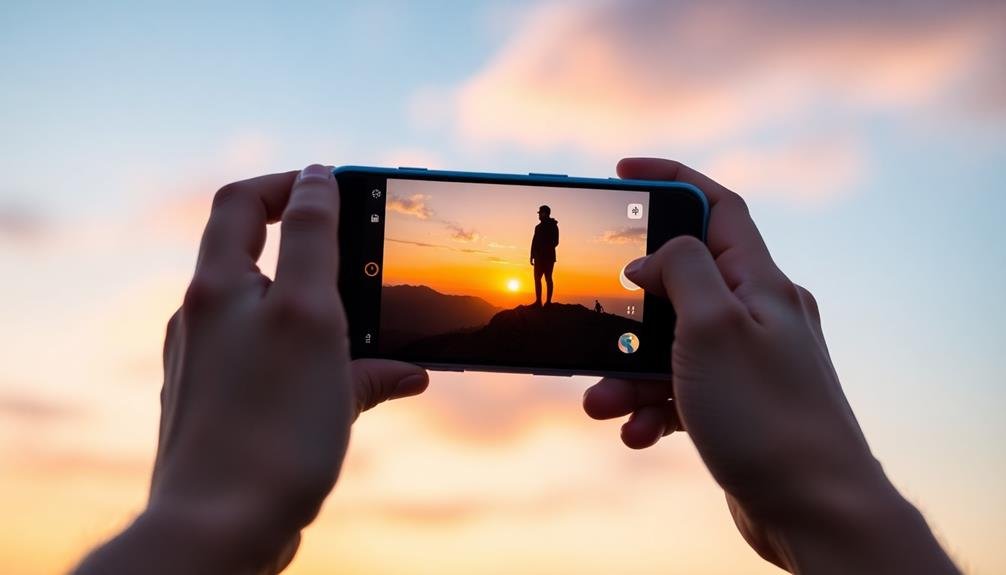
Lighting Tricks for Mood
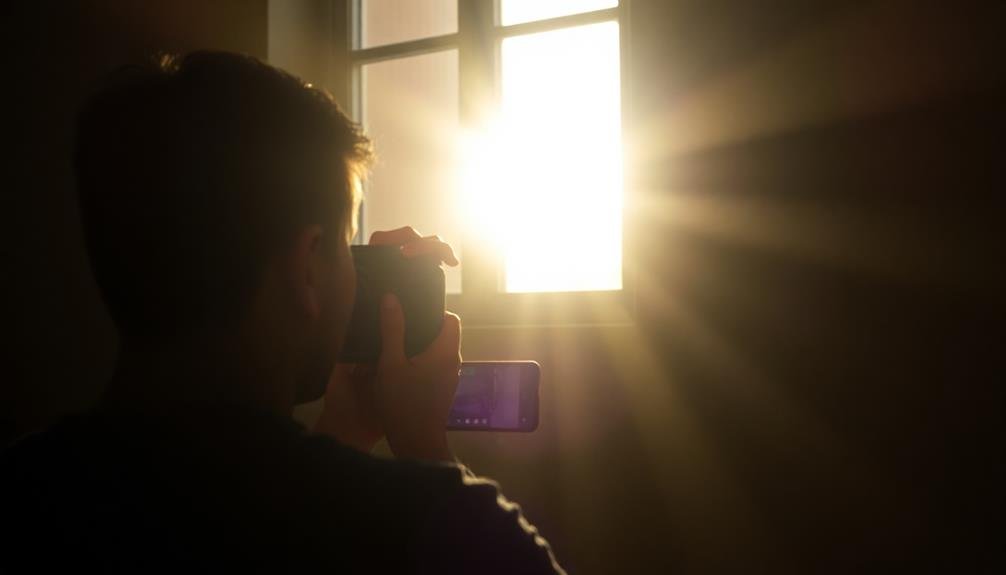
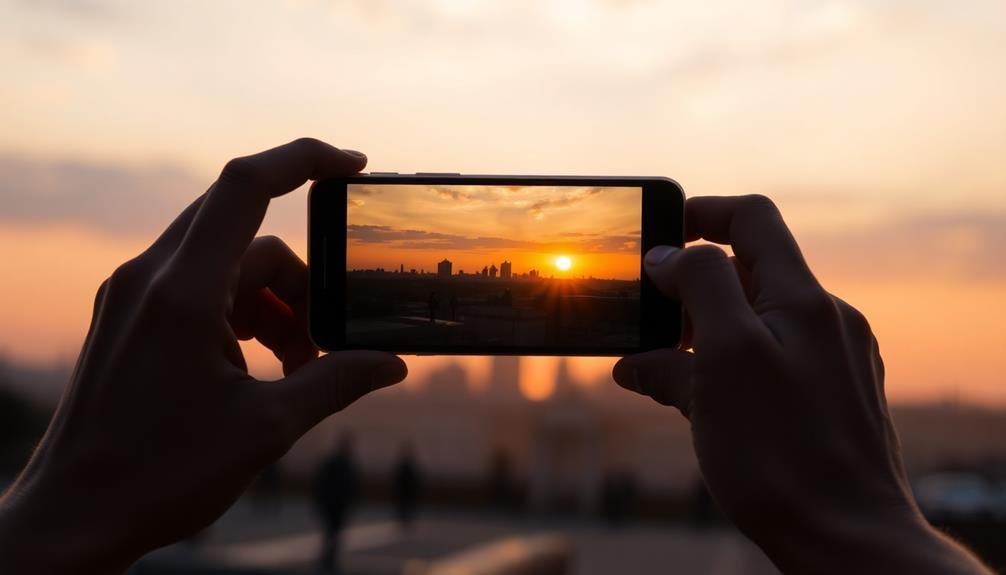
Mastering lighting techniques can dramatically transform the mood of your smartphone photos. Natural light is often your best ally, so try to position your subject near windows or in well-lit outdoor spaces. For a softer, more flattering look, shoot during the golden hours—just after sunrise or before sunset.
If you're indoors, experiment with artificial light sources like lamps or candles to create interesting shadows and highlights.
Don't shy away from playing with contrast. High-contrast lighting can add drama and depth to your images, while low-contrast lighting creates a more subdued, ethereal atmosphere. Remember, your smartphone's flash isn't always the enemy; use it creatively to fill in shadows or create a unique look.
Here are some quick lighting tricks to enhance mood:
- Use backlighting to create silhouettes or a dreamy halo effect
- Experiment with side lighting to emphasize texture and form
- Try low-angle lighting for an eerie or mysterious ambiance
Lastly, don't forget about your smartphone's built-in editing tools. Adjusting exposure, highlights, and shadows can further enhance the mood you're trying to convey.
With practice, you'll develop an intuitive sense of how to manipulate light to tell your visual story effectively.
Capturing Candid Moments
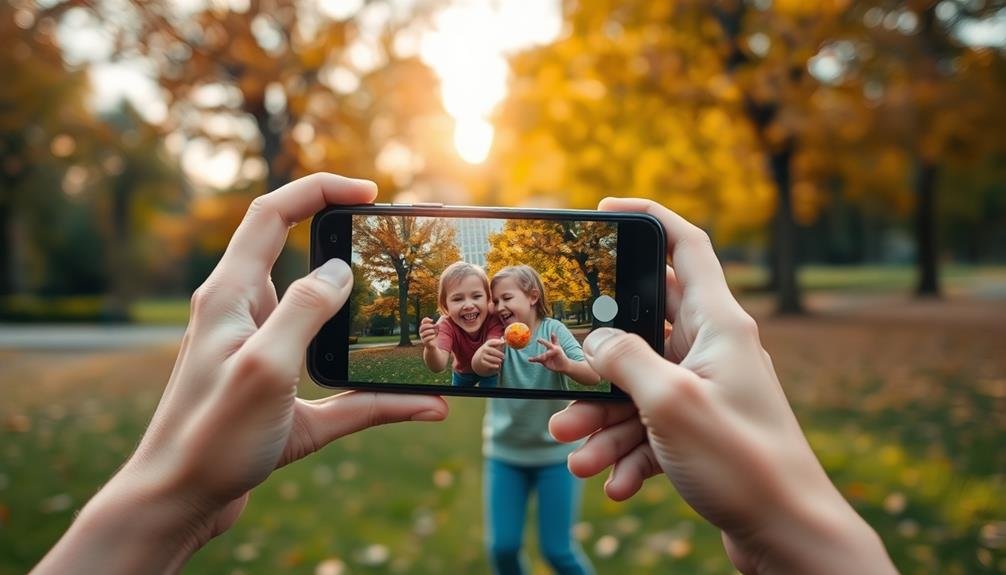
To capture authentic candid moments, you'll need to master the art of being unobtrusive. Keep your smartphone ready but discreet, and learn to anticipate moments before they happen. Use your phone's burst mode to capture a series of shots, increasing your chances of getting the perfect image.
Practice shooting from the hip or using your phone's volume buttons as shutter release to avoid drawing attention. Consider using a small tripod or stabilizer to maintain steadiness while remaining inconspicuous. Familiarize yourself with your camera app's settings, so you can quickly adjust exposure and focus without fumbling.
Look for natural reactions and interactions. Public spaces, family gatherings, and social events are ideal for candid photography. Be patient and observant, waiting for genuine expressions and gestures to unfold. Use environmental elements to frame your subjects naturally, adding context to the scene.
When editing, resist the urge to over-polish. Slight imperfections often contribute to the authenticity of candid shots. Instead, focus on subtle adjustments to enhance the mood and emphasize the spontaneity of the moment.
Editing Apps for Cohesive Look
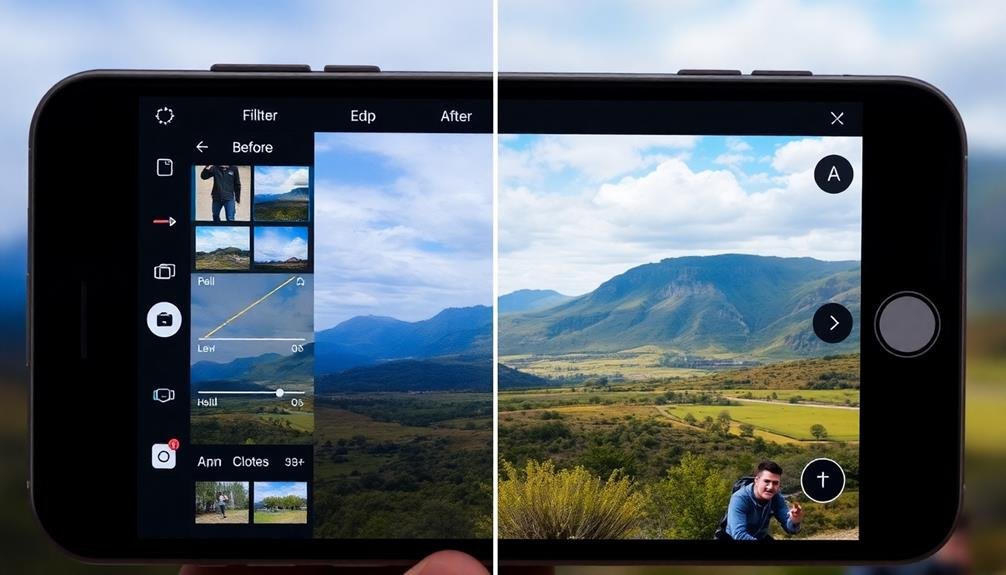
A handful of well-chosen editing apps can transform your smartphone photos into a cohesive collection. Start by selecting a primary editing app that offers a wide range of adjustments, such as VSCO, Snapseed, or Lightroom Mobile. These apps allow you to fine-tune exposure, contrast, and color balance, ensuring consistency across your images.
To create a unified look, develop a signature editing style. This could involve:
- Applying a specific filter or preset to all your photos
- Adjusting color temperature to achieve a warm or cool tone throughout
- Using consistent cropping ratios for a uniform layout
Experiment with specialty apps to add unique touches to your images. For instance, try Lens Distortions for light leaks and fog effects, or TouchRetouch for removing unwanted objects.
Creating Photo Essays
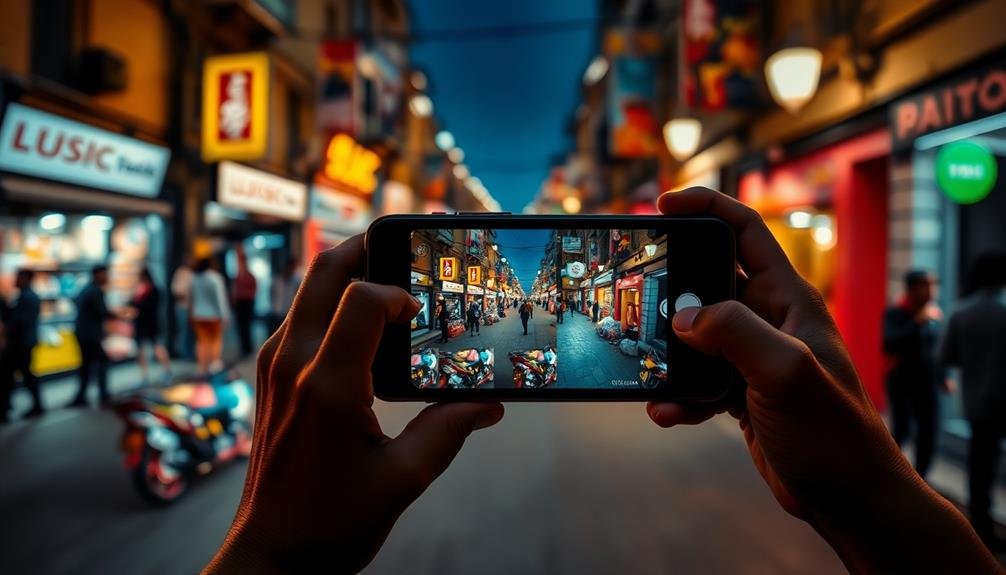
Photo essays tell powerful visual stories through a carefully curated series of images. They're an excellent way to showcase your smartphone photography skills while conveying a narrative or exploring a theme. To create a compelling photo essay, start by choosing a clear subject or concept. Then, plan your shots to capture different aspects of your story.
When shooting for your essay, vary your compositions and perspectives. Include wide shots to establish context, medium shots for detail, and close-ups for emotional impact. Pay attention to lighting and color consistency to maintain a cohesive look throughout your series.
Here's a guide to structuring your photo essay:
| Type of Shot | Purpose | Example |
|---|---|---|
| Opening Shot | Set the scene | Landscape view |
| Establishing Shot | Provide context | Location overview |
| Portrait | Introduce characters | Subject close-up |
| Detail Shot | Highlight specifics | Object or texture |
| Closing Shot | Conclude the story | Symbolic image |
After shooting, carefully select and sequence your images to create a natural flow. Consider using captions or brief text to provide additional context or insights. Remember, each image should contribute to the overall narrative and evoke an emotional response from your viewers.
Sequencing Images for Flow
Sequencing images is a key skill in creating a compelling photo essay. When you arrange your photos thoughtfully, you guide your viewer through a visual narrative that's both engaging and coherent.
Start by selecting your strongest images that best represent your story's key moments. Then, consider the emotional journey you want your audience to experience.
To create a powerful flow in your photo essay:
- Begin with an attention-grabbing opener that sets the scene
- Use connecting images to link different aspects of your story
- End with a memorable closing shot that leaves a lasting impression
As you sequence your images, pay attention to visual elements like color, composition, and subject matter.
Create a rhythm by alternating between wide shots and close-ups, or by grouping similar themes together. Don't be afraid to experiment with different arrangements until you find the most impactful order.
Adding Text to Photos

Text overlay can transform a simple smartphone photo into a powerful visual message. When adding text to your images, consider the font, size, color, and placement carefully. Choose fonts that complement your image's mood and guarantee they're legible. Experiment with text size to create hierarchy and emphasis. Color selection is vital; opt for hues that contrast well with your photo's background.
Many photo editing apps offer text overlay features. Here's a quick comparison of popular options:
| App Name | Free/Paid | Ease of Use | Font Options | Custom Colors |
|---|---|---|---|---|
| Canva | Both | Easy | Extensive | Yes |
| Snapseed | Free | Moderate | Limited | Yes |
| VSCO | Both | Easy | Limited | No |
| Over | Both | Easy | Extensive | Yes |
| Phonto | Free | Moderate | Extensive | Yes |
When adding text, keep your message concise and impactful. Use short phrases or single words for maximum effect. Consider the rule of thirds when positioning your text, and don't overcrowd the image. Remember, the text should enhance your photo, not overpower it. Practice different layouts and styles to find what works best for your storytelling goals.
Sharing Your Story Online
Once you've captured and perfected your smartphone photos, it's time to share your visual story with the world. Choose the right platform for your audience and goals. Instagram is ideal for visual-centric content, while Facebook caters to a broader demographic. Twitter's fast-paced environment suits quick updates and news-style posts.
Consider creating a cohesive feed that reflects your personal brand or story. Use consistent filters, color schemes, or themes to make your profile visually appealing. Craft engaging captions that provide context, evoke emotions, or encourage interaction with your followers.
To maximize your reach and engagement:
- Use relevant hashtags to make your content discoverable
- Post at prime times when your audience is most active
- Engage with your followers by responding to comments and messages
Don't forget to cross-promote your content across different platforms to reach a wider audience. You can share Instagram posts to Facebook or tweet links to your blog posts.
Remember to respect platform-specific best practices and image dimensions for each social media site to guarantee your photos look their best wherever they're shared.
Collaborating With Other Photographers

While developing your smartphone photography skills, collaborating with other photographers can greatly enhance your creative journey. Seek out local photography groups or online communities to connect with like-minded individuals.
Participate in photo walks, where you'll explore new locations and techniques alongside fellow enthusiasts. These events offer opportunities to learn from others' perspectives and challenge yourself creatively.
Join online challenges or themed projects to push your boundaries and gain inspiration. Share your work and provide constructive feedback to others, fostering a supportive environment for growth.
Consider collaborating on joint projects, such as photo series or exhibitions, to combine your unique styles and visions.
Don't hesitate to reach out to more experienced photographers for mentorship. Many are willing to share their knowledge and provide guidance.
Attend workshops or webinars to learn advanced techniques and network with professionals. Embrace the power of social media platforms to showcase your work and connect with photographers worldwide.
Frequently Asked Questions
How Do I Protect My Camera Lens From Scratches While on Location?
To protect your camera lens from scratches while on location, you'll want to use a lens cap, invest in a protective filter, and keep your camera in a padded case when not in use. Always handle your equipment carefully.
What's the Best Way to Approach Strangers for Portrait Photography?
When approaching strangers for portraits, be friendly and respectful. Explain your project briefly, compliment them, and ask for permission. Offer to share the photos. Be prepared for rejection, and always respect their decision. Stay confident and genuine.
How Can I Stabilize My Smartphone for Long Exposure Shots?
You can stabilize your smartphone for long exposure shots by using a tripod or leaning it against a stable surface. Try using a timer or remote shutter to avoid camera shake. Don't forget to activate your phone's night mode.
Are There Any Legal Considerations When Photographing in Public Spaces?
When photographing in public spaces, you'll need to be aware of privacy laws. You're generally allowed to capture images in public areas, but you can't use them commercially without consent. Always respect people's privacy and property rights.
How Do I Maintain Image Quality When Printing Smartphone Photos?
To maintain image quality when printing smartphone photos, you'll want to use the highest resolution settings, edit carefully, and choose a high-quality printer. Don't forget to select the right paper and adjust your printer settings accordingly.
In Summary
You've now got the tools to craft compelling visual stories with just your smartphone. Remember, it's not about having the fanciest gear, but about telling authentic stories that resonate. Keep practicing, experimenting, and pushing your creative boundaries. Don't be afraid to break the rules and develop your unique style. With each story you tell, you'll grow as a photographer and storyteller. So go out there, capture life's moments, and share your perspective with the world.


Leave a Reply