You can easily create a DIY macro lens for your phone camera using just water and plastic wrap. Start by cleaning your phone's camera lens, then place a small droplet of water (1-5mm) directly on it. Cover the lens with clear plastic wrap to hold the droplet in place. This simple setup allows you to capture intricate details invisible to the naked eye. Experiment with different droplet sizes to find the best magnification for your subject. Remember to use a steady hand or tripod for sharp images, and adjust your lighting for ideal results. Dive deeper to reveal the full potential of your new macro photography tool.
Understanding Macro Photography
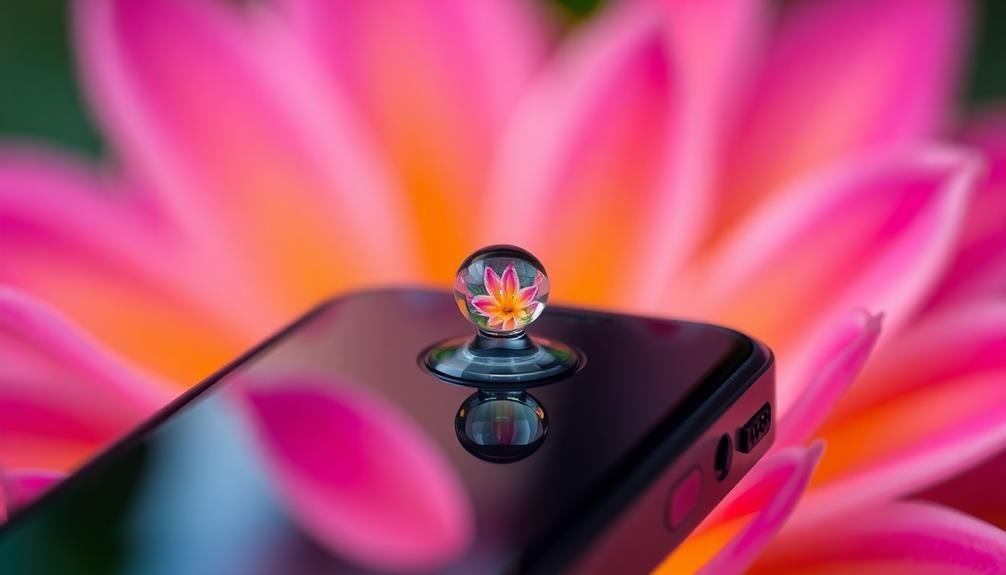
Macro photography opens up a world of intricate details often invisible to the naked eye. It allows you to capture extreme close-ups of small subjects, revealing textures, patterns, and structures you'd otherwise miss.
Typically, macro photography produces images where the subject appears life-size or larger on the camera sensor. To achieve true macro results, you'll need a lens capable of 1:1 magnification or greater. This means the image projected onto the sensor is the same size as the actual subject. Many smartphone cameras can't achieve this level of magnification without additional accessories.
Understanding depth of field is essential in macro photography. As you get closer to your subject, the area in focus becomes extremely narrow. You'll need to master techniques like focus stacking or precise aperture control to get sharp images.
Lighting is another critical factor. As you move closer to your subject, less light reaches the sensor. You might need to use external light sources or adjust your camera settings to compensate.
Practice different lighting techniques to highlight textures and create dramatic effects in your macro shots.
Required Materials
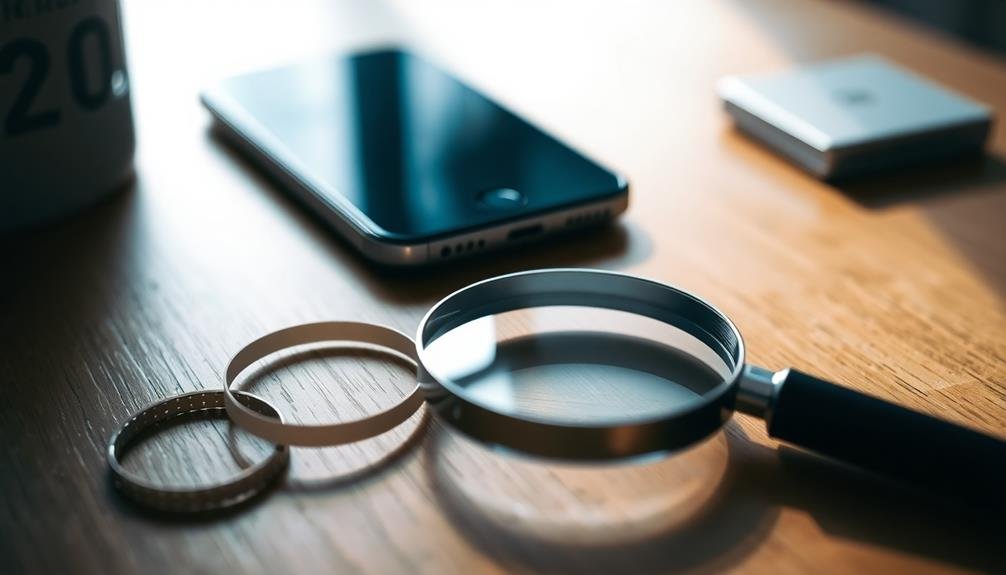
For this DIY macro lens project, you'll need a few simple materials that are easy to find and won't break the bank. The main component is a small glass lens, which you can salvage from an old DVD player or purchase online. You'll also need a piece of black cardboard or craft foam to create a housing for the lens, and some strong adhesive to hold everything together.
Here's a list of the essential materials you'll need:
| Item | Purpose |
|---|---|
| Glass lens | Main optical element |
| Black cardboard/foam | Lens housing |
| Strong adhesive | Assembly |
Additional items that'll come in handy include scissors or a craft knife for cutting the cardboard, and a ruler for precise measurements. If you want to get creative, consider adding a small magnet to attach the lens to your phone's camera easily.
Selecting the Right Droplet Size
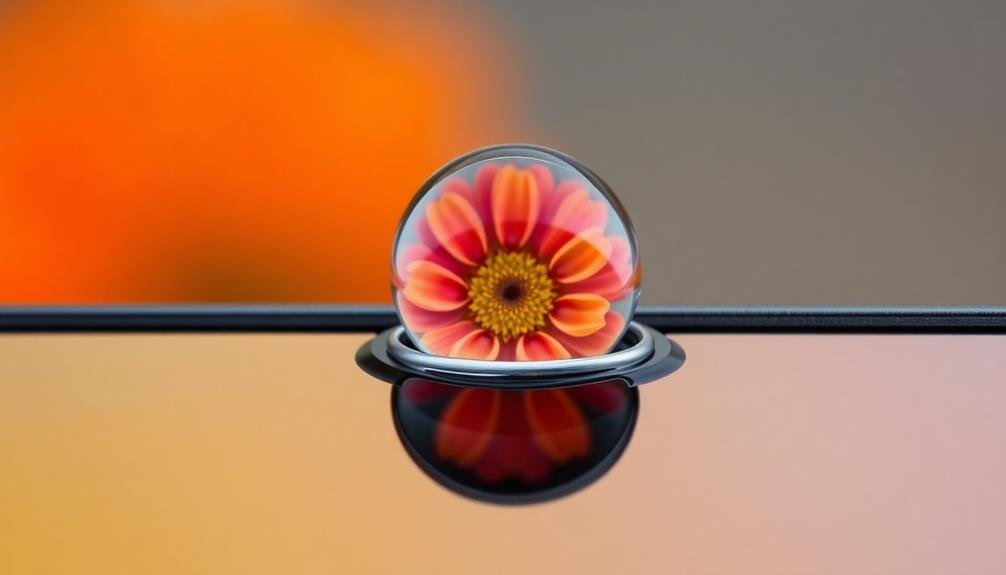
While the glass lens is a key component of your DIY macro setup, you can also create a simple macro lens using just water. The size of the water droplet you use is essential for achieving the desired magnification and image quality. You'll need to experiment to find the best droplet size for your specific phone camera.
Start with a small droplet, about 1-2mm in diameter, and gradually increase the size. Use a syringe or eyedropper for precise control. Larger droplets (3-5mm) generally provide higher magnification but may introduce more distortion. Smaller droplets offer less magnification but often produce sharper images.
Consider your subject when selecting droplet size. For tiny insects or plant details, a larger droplet might be necessary. For larger objects, a smaller droplet could suffice. Remember, the droplet's surface tension affects its shape and stability. If it's too large, it may collapse or run down your phone's camera lens.
Test different sizes by taking sample photos and comparing the results. Pay attention to focus, clarity, and the amount of visible detail. With practice, you'll develop a sense for the ideal droplet size for various subjects and lighting conditions.
Preparing Your Phone Camera
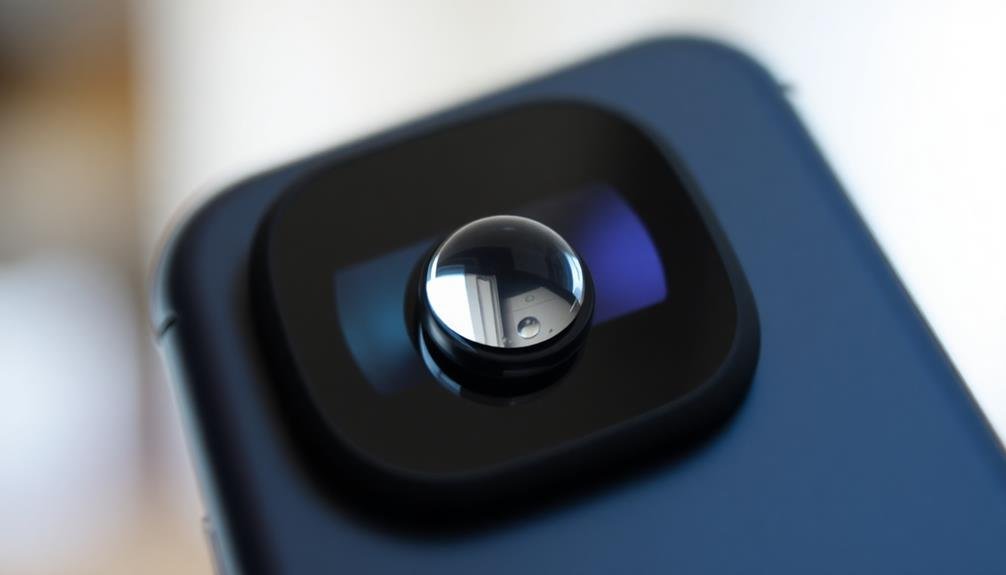
Before creating your DIY macro lens, you'll need to prep your phone camera.
Start by thoroughly cleaning the camera lens to guarantee clear, crisp images.
Check your camera settings and adjust them for best macro photography.
Don't forget to remove any existing phone case that might interfere with the DIY lens attachment.
Clean Camera Lens Thoroughly
Cleanliness is paramount when preparing your phone's camera for a DIY macro lens. Even the tiniest speck of dust or smudge can greatly impact the quality of your macro shots. To guarantee ideal results, you'll need to clean your phone's camera lens thoroughly.
Start by powering off your device to avoid accidental button presses. Use a soft, lint-free microfiber cloth to gently wipe the lens surface. For stubborn smudges, lightly dampen the cloth with distilled water or a specialized lens cleaning solution. Avoid using tap water, as it may leave mineral deposits.
Be careful not to apply excessive pressure, as this could scratch the lens or damage its coating. Work in a circular motion from the center outward, making sure you cover the entire lens surface. Pay special attention to the corners where dirt often accumulates.
If you notice any dust particles, use a small, soft-bristled brush or compressed air to remove them. Be cautious with compressed air, holding the can upright and at a distance to prevent moisture from settling on the lens.
Check Camera Settings
Camera settings play an important role in achieving high-quality macro shots with your DIY lens. Before attaching your homemade macro lens, you'll need to adjust your phone's camera settings for best results.
Start by opening your camera app and switching to manual or pro mode if available. This will give you more control over vital settings.
First, set your focus to manual. Auto-focus often struggles with macro subjects, so you'll want to control this yourself.
Next, adjust your ISO to a low setting, ideally between 100-400, to minimize noise in your images. Set your white balance according to your lighting conditions, or use auto if you're unsure.
For shutter speed, aim for 1/60th of a second or faster to avoid motion blur. If your phone allows, shoot in RAW format for maximum editing flexibility later.
Disable HDR mode, as it can create unwanted artifacts in macro photography. Finally, turn off any digital zoom or filters that might interfere with your DIY lens's performance.
Remember to experiment with these settings as you shoot, as different subjects and lighting conditions may require adjustments.
Remove Existing Phone Case
Most phone cases can interfere with the proper attachment of your DIY macro lens, so you'll need to remove yours before proceeding.
Start by examining your case to determine how it's attached. For snap-on cases, gently pry at the corners until the case releases. If you have a multi-piece case, disassemble it carefully, keeping track of all components.
For adhesive cases, apply heat with a hairdryer to loosen the glue, then slowly peel it off. Be cautious not to damage your phone's exterior.
Sliding cases typically come off easily by pushing from the bottom. Once you've removed the case, clean your phone's surface with a microfiber cloth to remove any dirt or residue.
Inspect your phone's camera lens for any debris or smudges. Clean it gently with a soft, lint-free cloth or a specialized lens cleaning solution.
Confirm the area around the camera is completely clear and dry. This step is essential for achieving the best results with your DIY macro lens.
Creating the Water Droplet Lens
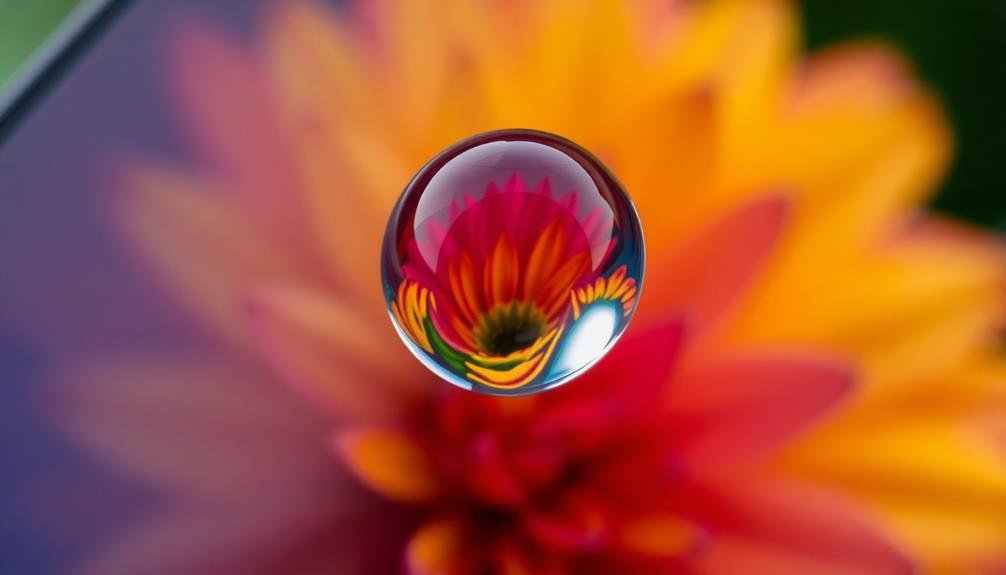
To create your DIY water droplet macro lens, you'll need a small piece of clear plastic wrap and a dropper or syringe.
Carefully place a single water droplet onto the plastic wrap, ensuring it's centered and the right size for your phone's camera lens.
Once you've formed the perfect droplet, gently position the plastic wrap over your phone's camera, securing it with tape or a small clamp for stability.
Materials and Tools Needed
Equipped with just a few household items, you can create a simple yet effective macro lens for your phone camera using a water droplet. To get started, you'll need a clean, flat surface like a piece of clear plastic or glass. This will serve as the base for your water droplet lens.
You'll also need a small amount of water and an eyedropper or syringe for precise water placement. To secure your DIY lens to your phone, gather some tape or a small binder clip. A steady hand is essential, so consider using a tripod or phone stand if available.
Finally, make sure you have good lighting to capture the best macro shots.
Here's a quick list of the essential materials and tools:
- Clear plastic or glass surface
- Water
- Eyedropper or syringe
- Tape or small binder clip
- Tripod or phone stand (optional)
With these items at your disposal, you're ready to transform your smartphone into a powerful macro photography tool. The water droplet lens technique allows you to capture intricate details of small objects, bringing a new dimension to your mobile photography skills.
Forming the Water Droplet
Creating the water droplet lens is a delicate process that requires patience and precision. To begin, take your phone and position it with the camera lens facing upward.
Next, grab your eyedropper or syringe filled with clean water. Carefully squeeze a small droplet of water onto the phone's camera lens. Start with a tiny amount, as it's easier to add more than to remove excess.
The key is to create a symmetrical, dome-shaped droplet that sits centered on the lens. If the droplet is too large or off-center, use a tissue to gently dab it away and start over. You'll want to experiment with different sizes to find the ideal magnification for your needs.
Once you've formed a satisfactory droplet, avoid moving your phone too much, as this can cause the water to shift or spill. If you're working in a dry environment, you might need to replenish the droplet periodically as it evaporates.
Attaching to Phone Camera
The process of attaching your newly created water droplet lens to your phone's camera is surprisingly straightforward.
You'll need a small piece of transparent plastic or glass, such as a clear phone screen protector or a thin microscope slide. Place the water droplet on this surface, then carefully position it over your phone's camera lens.
To secure the water droplet lens, you can use a small amount of tape or putty around the edges of the plastic or glass, ensuring it doesn't interfere with the droplet itself. Make sure the surface is clean and free from dust or debris before attaching it to your phone.
Here are some key points to remember when attaching your DIY macro lens:
- Align the water droplet precisely with your phone's camera lens
- Use minimal adhesive to avoid obstructing the view
- Keep the setup as stable as possible to prevent the droplet from moving
- Experiment with different droplet sizes for varied magnification levels
- Remove the lens carefully after use to avoid water damage to your device
With your water droplet lens securely attached, you're now ready to explore the microscopic world around you using your phone's camera.
Positioning the Droplet Correctly
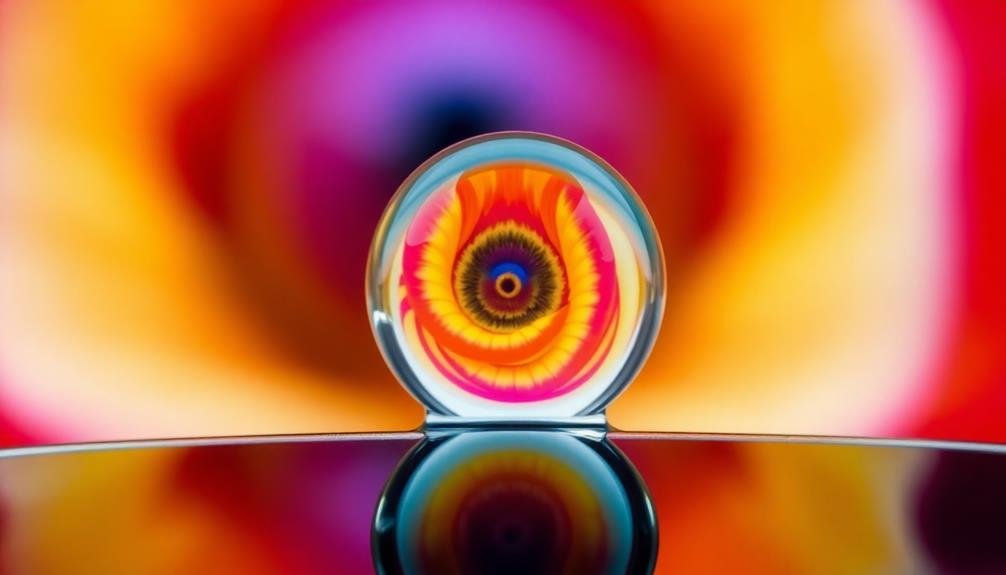
With the water droplet in place, positioning it correctly is vital for achieving the best macro effect. You'll need to align the droplet precisely with your phone's camera lens to guarantee ideal focus and magnification.
Start by holding your phone steady and slowly moving the droplet-covered surface closer to the lens. You'll notice the image on your screen becoming increasingly magnified as you approach the correct distance.
Pay attention to the center of the droplet, as this is where you'll get the clearest, most magnified view. Adjust the angle slightly to find the sweet spot where the subject appears sharp and in focus. It's essential to maintain a steady hand during this process, as even slight movements can affect the image quality.
If you're having trouble finding the right position, try using a small tripod or prop to stabilize your phone. This will give you more control over fine adjustments.
Remember that different droplet sizes may require slight variations in positioning, so don't be afraid to experiment. With practice, you'll develop a feel for the ideal distance and angle for your DIY macro lens.
Focusing Techniques for Macro Shots
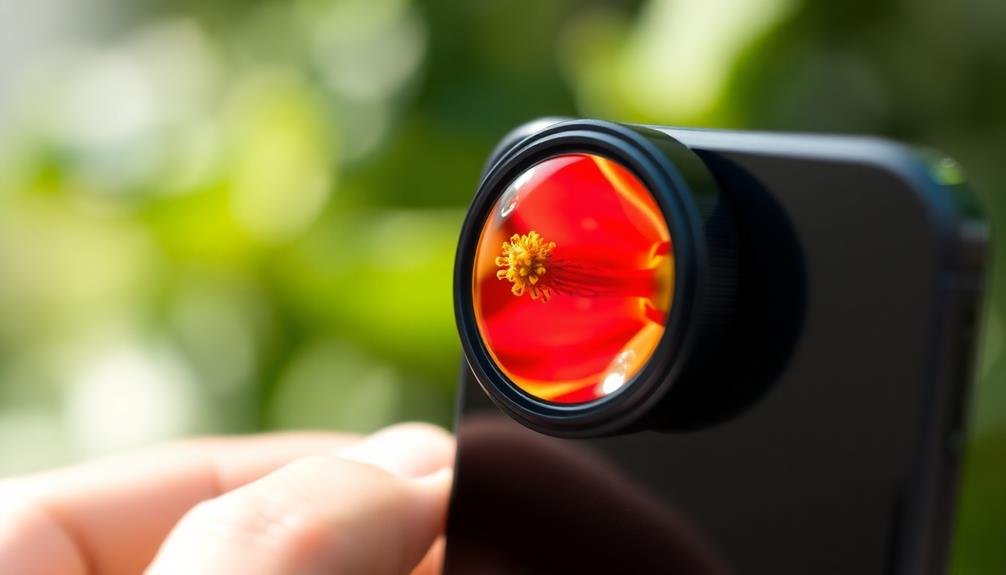
To capture stunning macro shots with your DIY phone lens, you'll need to master a few key focusing techniques.
Start by using your phone's manual focus adjustment to fine-tune the sharpness of your subject. For extra stability, mount your phone on a tripod, and consider employing focus stacking to achieve greater depth of field in your close-up images.
Manual Focus Adjustment
Mastering manual focus adjustment is essential for capturing stunning macro shots with your DIY phone camera lens. Most smartphone cameras rely on autofocus, which can struggle with extreme close-ups. By taking control of the focus manually, you'll achieve sharper, more detailed images.
To adjust focus manually, use your phone's camera app settings or a third-party app that offers manual controls. Slowly move the focus slider while observing the image on your screen. Look for the point where your subject appears sharpest. Remember, the depth of field in macro photography is extremely shallow, so precision is vital.
Here are some tips to improve your manual focus skills:
- Use focus peaking if available in your camera app
- Zoom in digitally to check focus accuracy
- Experiment with focus stacking for greater depth of field
- Try rocking back and forth slightly instead of adjusting the slider
- Use a tripod to minimize camera shake during focus adjustment
With practice, you'll develop a keen eye for precise focus. Don't be discouraged if your first attempts aren't perfect – macro photography requires patience and persistence.
Keep experimenting with different subjects and lighting conditions to refine your technique and create fascinating close-up images with your DIY macro lens.
Tripod for Stability
When it comes to macro photography, stability is paramount. Even the slightest movement can blur your image or throw off your focus. That's why using a tripod for your DIY macro lens setup is essential.
You don't need an expensive, professional-grade tripod. A small, portable one designed for smartphones will do the job. Look for one with flexible legs that can wrap around objects, giving you more versatility in positioning your phone.
To use the tripod effectively, set it up on a stable surface. Adjust the legs to get the right height and angle for your shot. Once you've positioned your phone, use the timer function to avoid any shake from pressing the shutter button.
If you don't have a tripod, improvise with household items. A stack of books, a bean bag, or even a rolled-up towel can provide stability. The key is to keep your phone as still as possible.
Focus Stacking Technique
With your DIY macro lens and stable setup in place, it's time to tackle one of the biggest challenges in macro photography: achieving sharp focus throughout your image. The focus stacking technique can help you overcome the limited depth of field in macro shots. This method involves taking multiple photos of the same subject at different focus points, then combining them in post-processing.
To use focus stacking effectively:
- Start with your subject's closest point in focus
- Take a series of shots, gradually shifting focus towards the back
- Maintain consistent exposure and composition between shots
- Aim for about 20-30% overlap between focus areas
- Capture more images than you think you'll need
You'll need software like Photoshop, Helicon Focus, or Zerene Stacker to blend your images. These programs align your shots and combine the sharpest areas from each frame, resulting in a final image with extended depth of field.
While it takes practice, focus stacking can dramatically improve the quality of your macro photos, allowing you to capture intricate details that would otherwise be impossible with a single shot.
Lighting for DIY Macro Photography
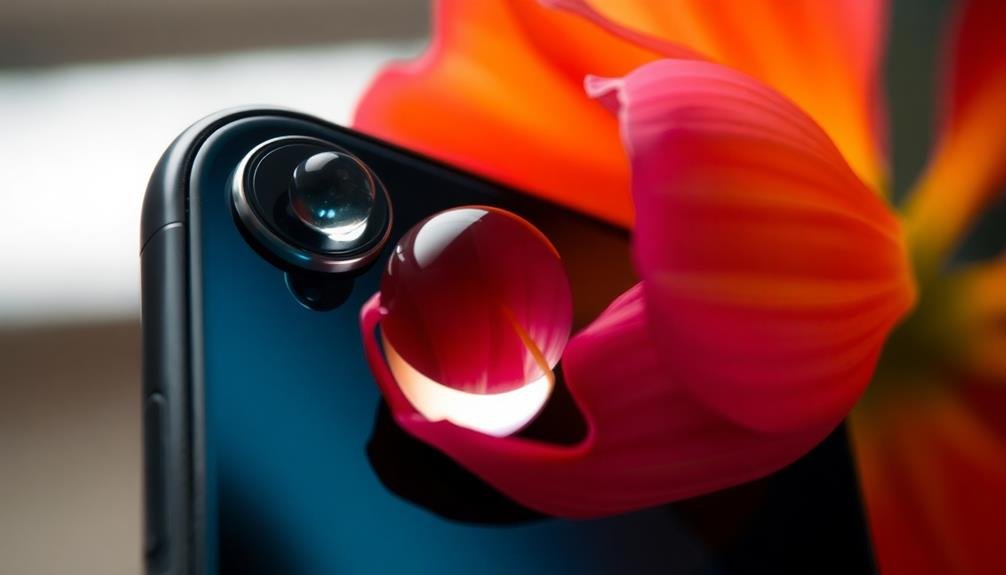
Proper lighting is essential for successful macro photography with your DIY phone lens. You'll need to maximize light on your subject while minimizing shadows.
Natural light is often your best option, so try shooting outdoors on an overcast day for soft, diffused light. If you're indoors, position your subject near a window for ideal natural lighting.
For more control, consider using a small LED light panel or ring light designed for smartphones. These affordable accessories can provide consistent illumination and help you achieve better results.
You can also experiment with DIY lighting solutions, such as using a white card to reflect light onto your subject or creating a mini lightbox from a cardboard box and tissue paper.
When shooting, pay attention to the direction of light. Side lighting can enhance texture and depth, while front lighting may reduce shadows but potentially create a flatter image.
Backlighting can produce interesting silhouettes or highlight translucent subjects. Don't be afraid to move around your subject to find the best angle and lighting combination.
Stabilizing Your Phone Camera
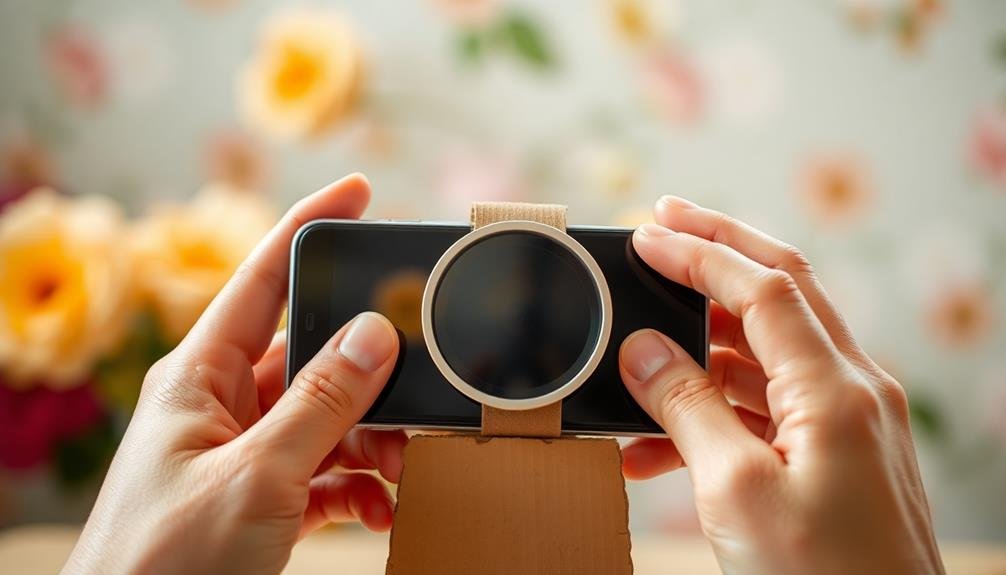
Stability is essential when using your DIY macro lens for phone photography. Even the slightest movement can result in blurry images, so it's vital to keep your phone steady. You can achieve this by using a tripod or a makeshift support.
If you don't have a tripod, try leaning against a wall or resting your elbows on a stable surface to minimize shake.
When shooting handheld, control your breathing and use the volume buttons on your phone or headphones as a remote shutter release. This helps reduce camera shake caused by tapping the screen. For added stability, consider using a phone grip or case that provides better handling.
Here are five key tips for stabilizing your phone camera:
- Use both hands to hold your phone
- Keep your arms close to your body
- Lean against a stable object for support
- Use burst mode to increase your chances of a sharp shot
- Invest in a small, portable phone tripod
Choosing Subjects for Macro Photos
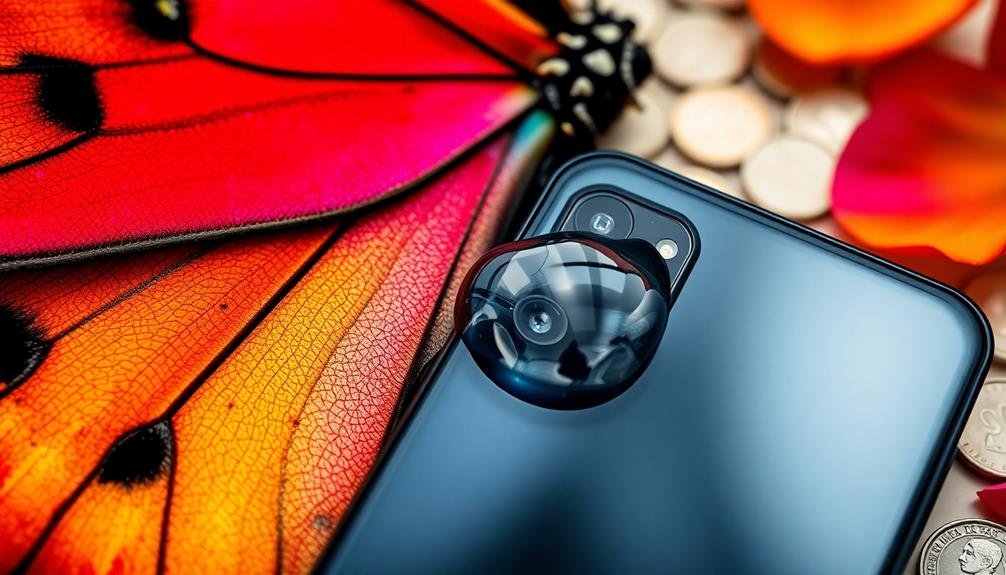
Once you've mastered the technique of using your DIY macro lens, it's time to explore the world of tiny subjects. Start by looking for small, intricate objects around your home. Flowers, insects, and textured surfaces like fabric or wood grain make excellent choices.
Don't overlook everyday items like coins, jewelry, or even food – they can reveal fascinating details when magnified.
When choosing subjects outdoors, focus on nature's miniature marvels. Seek out small insects, dewdrops on leaves, or the delicate patterns on butterfly wings.
Remember that lighting is essential for macro photography, so consider the time of day and available light when selecting your subjects.
As you gain confidence, challenge yourself with more complex subjects. Try capturing the compound eyes of a fly or the fine hairs on a spider's leg.
Water droplets can create stunning refraction effects, while snowflakes offer unique crystalline structures.
Don't be afraid to experiment with unconventional subjects like electronic components or the textures of various foods.
The key is to look for details that aren't easily visible to the naked eye, revealing a hidden world through your DIY macro lens.
Composition Tips for Macro Images
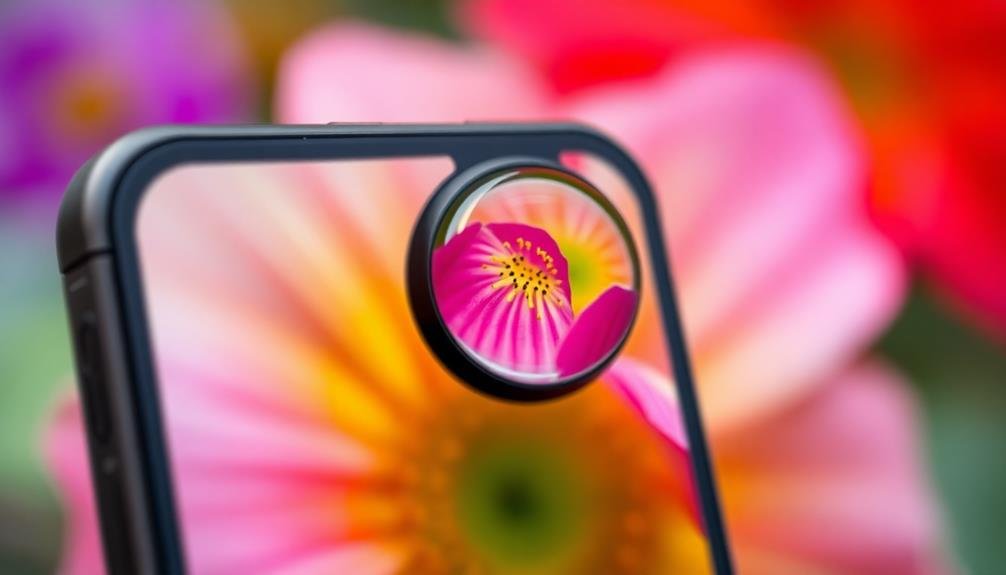
Composing striking macro images goes beyond simply magnifying your subject. You'll need to take into account several elements to create visually appealing and impactful photos.
Focus on a single point of interest, and use the rule of thirds to place your subject off-center for a more dynamic composition. Pay attention to the background, ensuring it complements rather than distracts from your main subject.
Experiment with different angles and perspectives to find unique viewpoints. Get low, shoot from above, or try unconventional angles to add interest to your macro shots. Use leading lines or natural frames within your composition to guide the viewer's eye to the main subject.
Don't forget about lighting – soft, diffused light often works best for macro photography, highlighting textures and details.
Here are five key composition tips for macro images:
- Simplify your composition to emphasize your subject
- Use negative space to create balance and focus
- Experiment with symmetry and patterns
- Incorporate contrasting colors or textures
- Play with depth of field to isolate your subject
Editing Macro Photos on Smartphone
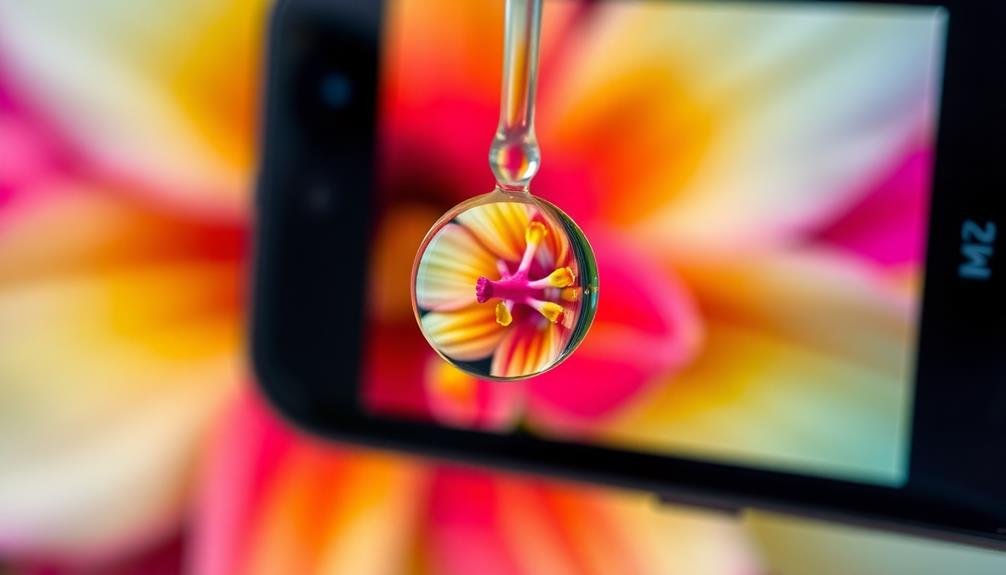
Enhancing your macro photos doesn't end with capturing the image. Post-processing is essential to bring out the best in your close-up shots. Most smartphones come with built-in editing tools that can greatly improve your macro photography.
Start by adjusting the exposure and contrast to guarantee your subject stands out. Increase the shadows slightly to reveal hidden details in darker areas. Tweak the highlights to prevent overexposure in bright spots. Use the sharpening tool sparingly to enhance textures without introducing noise.
Color adjustments can make a substantial difference in macro photos. Boost the saturation to make colors pop, but be careful not to overdo it. Adjust the white balance to correct any color casts and achieve a natural look.
Many smartphone apps offer advanced editing features. Try using selective adjustments to enhance specific areas of your image. Experiment with vignetting to draw focus to the center of your macro shot.
Don't be afraid to crop your image to improve composition and eliminate distractions.
Troubleshooting Common Issues
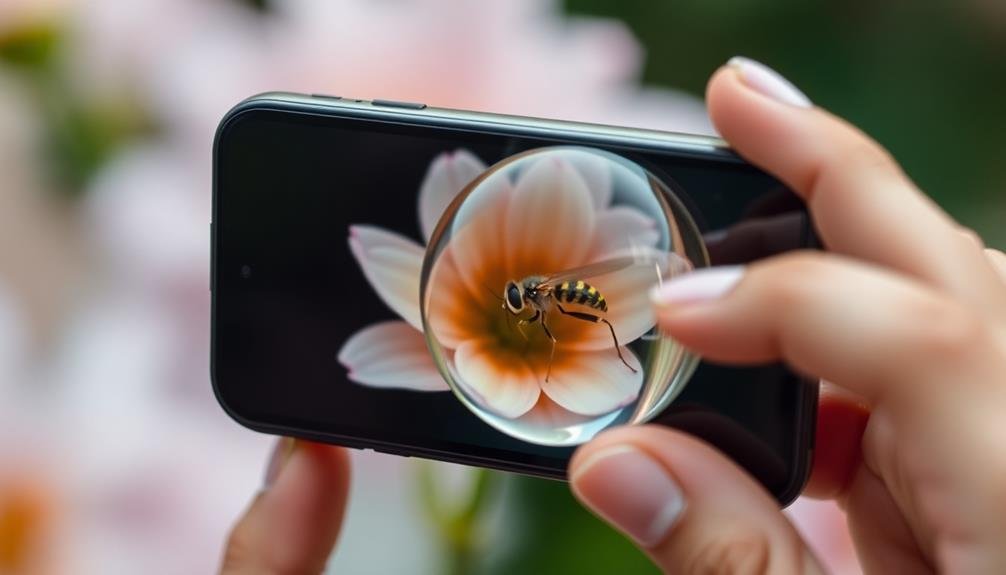
Despite your best efforts, you may encounter some common issues when using a DIY macro lens for your phone camera. These problems can range from blurry images to difficulty focusing on your subject.
To help you overcome these challenges, here are some troubleshooting tips:
- Confirm your DIY lens is clean and free from smudges or debris
- Stabilize your phone using a tripod or steady surface to reduce camera shake
- Adjust your phone's focus manually if auto-focus isn't working properly
- Experiment with different lighting conditions to improve image quality
- Try varying distances between your subject and the lens to find the best focal point
If you're still experiencing issues, consider adjusting your phone's camera settings. Increase the ISO in low-light situations, but be mindful of increased noise.
Use a timer or remote shutter to minimize camera movement when capturing images. Remember that practice makes perfect, so don't get discouraged if your first attempts aren't ideal.
With patience and persistence, you'll soon master the art of DIY macro photography on your smartphone. If problems persist, double-check your lens construction and consider making adjustments or trying a different DIY method.
Exploring Advanced DIY Macro Techniques
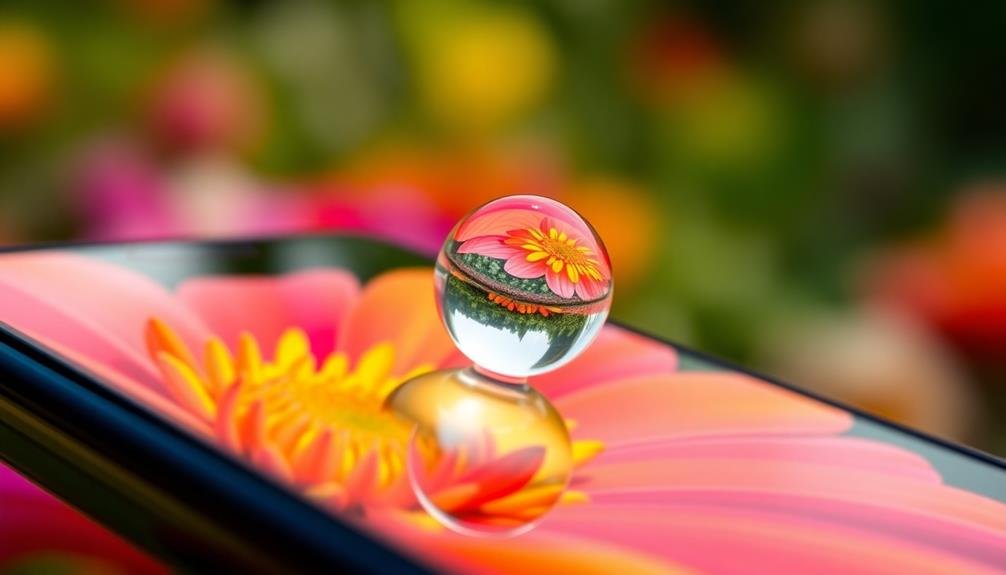
Curiosity drives innovation in DIY macro photography. As you master basic techniques, you'll naturally want to push the boundaries of your phone's macro capabilities.
One advanced method is stacking multiple lenses. Try combining your DIY macro lens with a clip-on telephoto lens for even greater magnification. Experiment with different combinations to find the sweet spot between magnification and image quality.
Another technique is creating a light diffuser. Cut a small piece of translucent plastic and attach it around your DIY macro lens. This will soften harsh shadows and create more even lighting for your subjects.
For even more control, try building a mini light box using a small cardboard box and white tissue paper.
You can also explore reverse lens adapters for your phone. These allow you to mount a DSLR lens backwards onto your phone, creating a powerful macro setup. While more complex, this method can yield impressive results.
Don't forget to experiment with focus stacking software. By taking multiple shots at slightly different focus points, you can combine them into a single, ultra-sharp image with extended depth of field.
Frequently Asked Questions
Can This DIY Macro Lens Work With Protective Phone Cases?
You'll likely face challenges using a DIY macro lens with a phone case. It may not fit properly or align with your camera. For best results, you'd need to remove the case or find a lens that's compatible with it.
How Long Does the Water Droplet Lens Typically Last Before Evaporating?
You'll find that the water droplet lens typically lasts only a few minutes before evaporating. It's a short-lived solution, so you'll need to work quickly. If you're patient, you can reapply the droplet as needed.
Is It Possible to Create Multiple Water Droplet Lenses Simultaneously?
Yes, you can create multiple water droplet lenses at once. You'll need a steady hand and patience. Try using a dropper or syringe for precision. Place them carefully on your phone's camera lens, spacing them evenly.
Can This Technique Be Used for Underwater Macro Photography?
You can't directly use water droplets for underwater macro photography. However, you could adapt the technique by creating a waterproof housing for your phone and using a clear, water-resistant material to form the lens instead of water.
Are There Any Risks of Water Damage to the Phone?
Yes, there's a significant risk of water damage to your phone when using it underwater. You'll need a waterproof case or housing to protect it. Even then, you're taking a chance with your device's safety. Be cautious!
In Summary
You've now got the tools to create stunning macro shots with just your phone and a water droplet. Don't be afraid to experiment with different droplet sizes and subjects. Remember to keep your hand steady and play with composition. As you practice, you'll develop your own unique style. With patience and creativity, you'll soon be capturing intricate details you've never seen before. So grab your phone and start exploring the miniature world around you!



Leave a Reply