Shaky hands can sabotage your mobile photography by causing blurry, unfocused images. Even slight movements are magnified when you're holding a smartphone, especially in low light or when zooming. Camera shake results from natural hand tremors, breathing, and improper grip techniques. To combat this, use both hands to steady your device, brace your elbows against your body, and lean on stable objects when possible. Burst mode can help capture clearer shots, while image stabilization features and editing software can further reduce blur. Mastering proper shooting techniques and exploring stabilization tools will greatly improve your mobile photography skills.
Understanding Camera Shake
Camera shake is often the culprit behind blurry mobile photos. It occurs when your hands move slightly while capturing an image, causing the entire frame to shift. This movement results in a loss of sharpness and detail, especially in low-light conditions where longer exposure times are necessary.
You'll notice camera shake more prominently when zooming in or using slower shutter speeds. The further you zoom, the more noticeable even tiny movements become. Similarly, slower shutter speeds give your hands more time to introduce unwanted motion during exposure.
Various factors contribute to camera shake, including your breathing, pressing the shutter button too forcefully, or simply holding your device incorrectly. Even your heartbeat can cause subtle vibrations that affect image quality.
Understanding camera shake is vital for improving your mobile photography. It's not just about having steady hands; it's about recognizing how your movements impact the final image.
Proper Grip Techniques
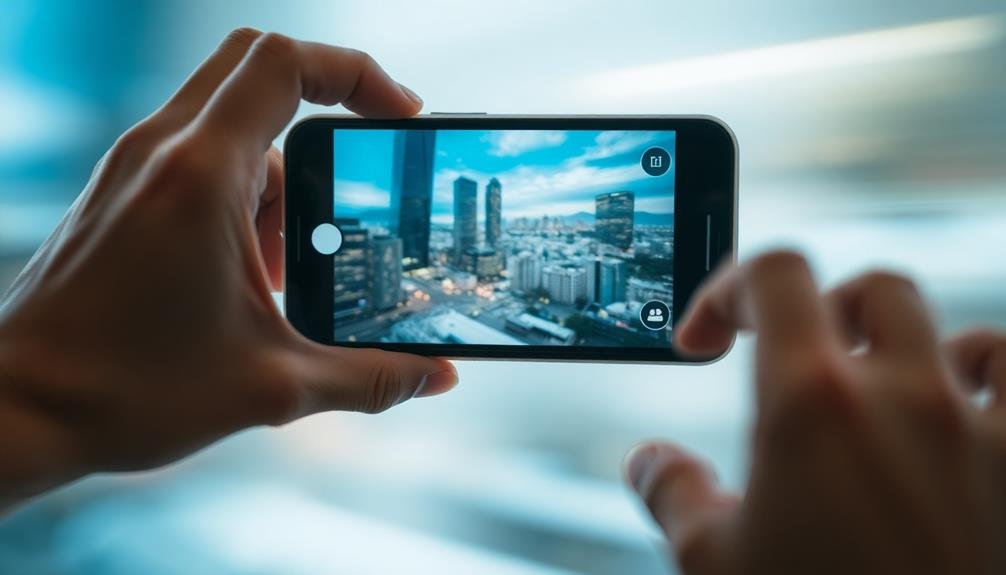
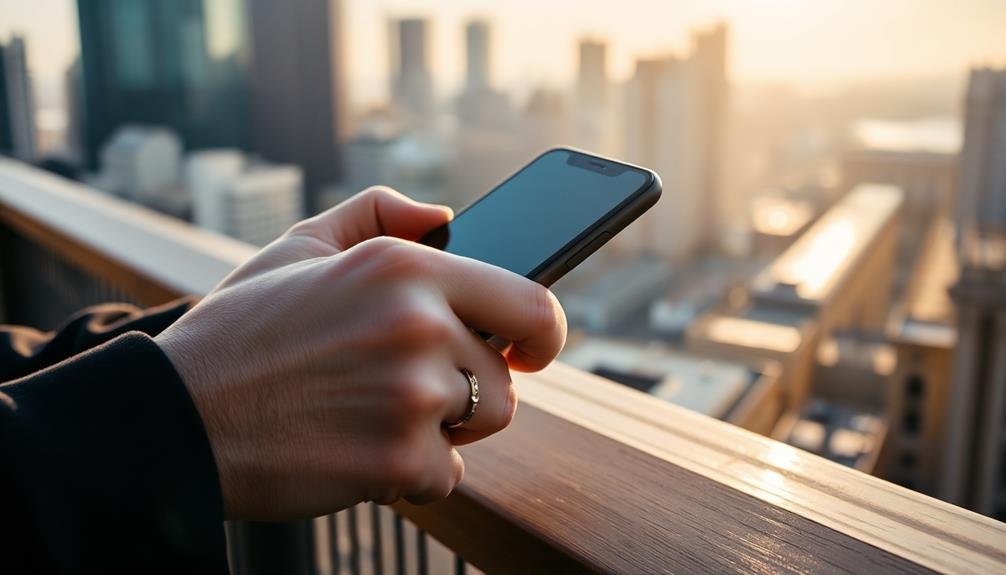
To take on camera shake, mastering proper grip techniques is essential. Hold your phone with both hands, keeping your elbows tucked close to your body for stability. Use your thumbs to support the back of the device while your fingers grip the sides. This creates a stable platform for shooting.
When taking photos, press the shutter button gently to avoid jerking the phone. If possible, use your phone's volume buttons as a shutter release, as they're often easier to press without causing movement. For added stability, lean against a wall or rest your elbows on a solid surface.
Here's a quick reference guide for proper grip techniques:
| Grip Type | Hand Position | Body Posture |
|---|---|---|
| Two-handed | Both hands on sides | Elbows tucked |
| Landscape | Thumbs on back | Fingers on sides |
| Portrait | One hand bottom, one side | Elbows close to body |
| Stabilized | Two hands, rest on surface | Lean on stable object |
| One-handed | Thumb on side, fingers wrapped | Arm close to body |
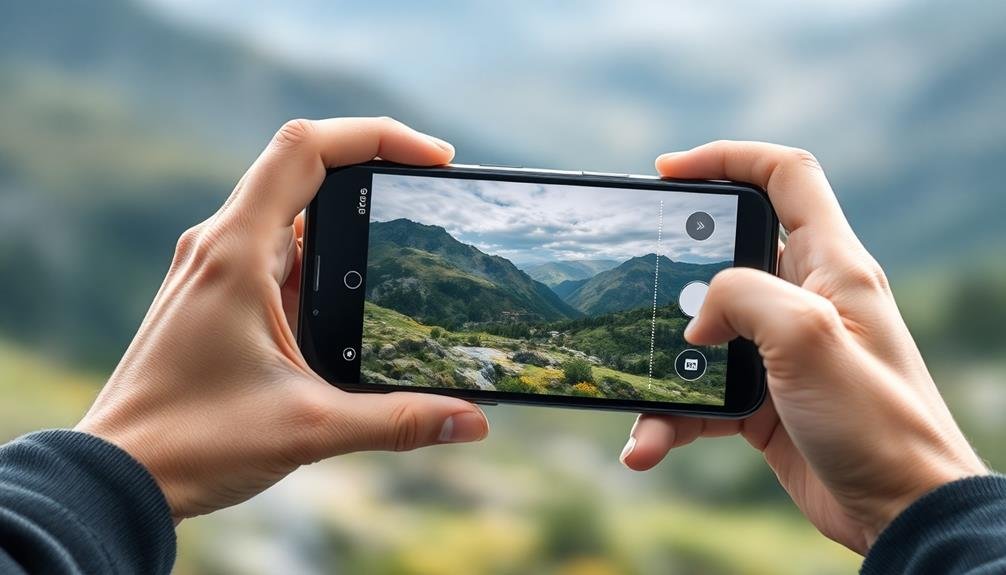
Utilizing Two-Handed Support
To enhance stability when taking photos with your mobile device, use both hands to grip your phone firmly.
You'll want to brace your elbows against your body, creating a more solid foundation for your shot.
Distribute the weight of your device evenly between your hands to minimize movement and reduce the risk of camera shake.
Grip for Stability
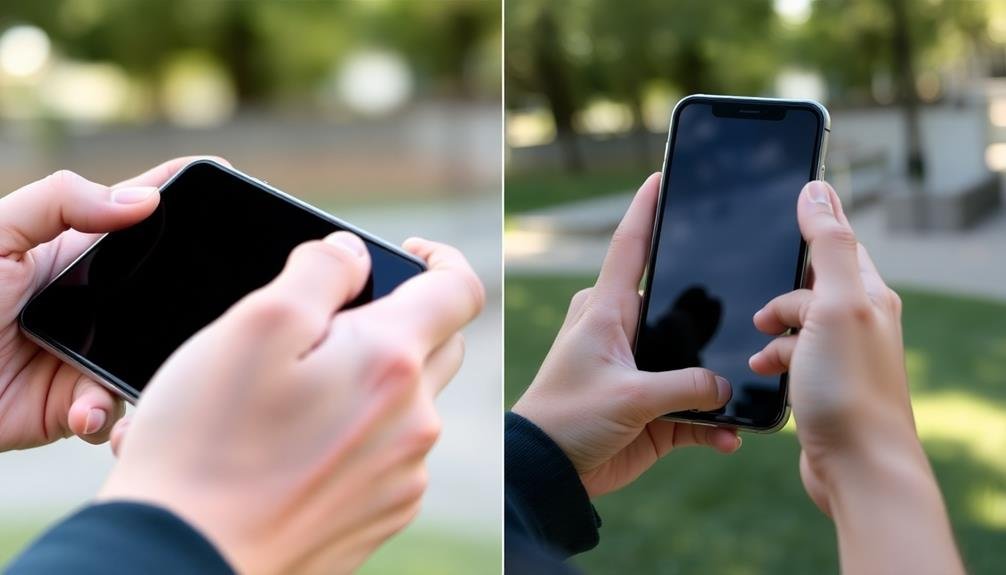
Steady hands are the foundation of sharp mobile photography, and a proper grip is essential. To achieve stability, hold your phone with both hands and keep your elbows tucked close to your body. This creates a triangular support system that minimizes camera shake.
Place your thumbs on either side of the screen, using them to tap the shutter button or adjust settings. Wrap your fingers around the edges of the phone, distributing the weight evenly. This grip allows for better control and reduces the risk of dropping your device.
When holding your phone vertically, use your right hand as the primary support and your left hand to stabilize the bottom. For landscape orientation, reverse this grip. If you're using a larger phone or tablet, consider resting the device against your body for added support.
Practice different grip techniques to find what works best for you. Remember that a firm but relaxed grip is key – squeezing too tightly can introduce unwanted movement.
Brace Against Body
Building on the foundation of a stable grip, bracing your phone against your body offers an additional layer of support. You'll find that this technique greatly reduces camera shake, resulting in sharper images. To implement this method, tuck your elbows close to your body and rest your arms against your chest or stomach. This creates a more stable platform for your phone, minimizing unwanted movement.
When you're shooting in landscape orientation, press your elbows against your sides. For portrait shots, keep one elbow tucked and use your other hand to support the phone from underneath. Remember to breathe steadily and gently press the shutter button to avoid introducing additional shake.
Here's a quick reference guide for body bracing techniques:
| Shooting Position | Elbow Placement | Body Contact Point |
|---|---|---|
| Standing | Tucked | Chest |
| Sitting | Rested | Knees |
| Kneeling | Supported | Thighs |
| Prone | Grounded | Ground |
| Leaning | Anchored | Wall or Object |
Distribute Weight Evenly
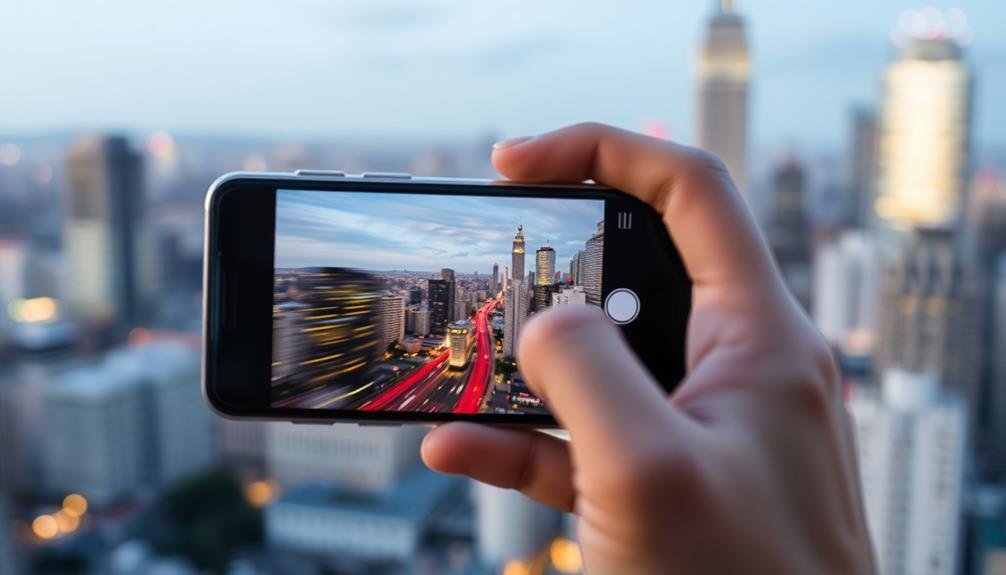
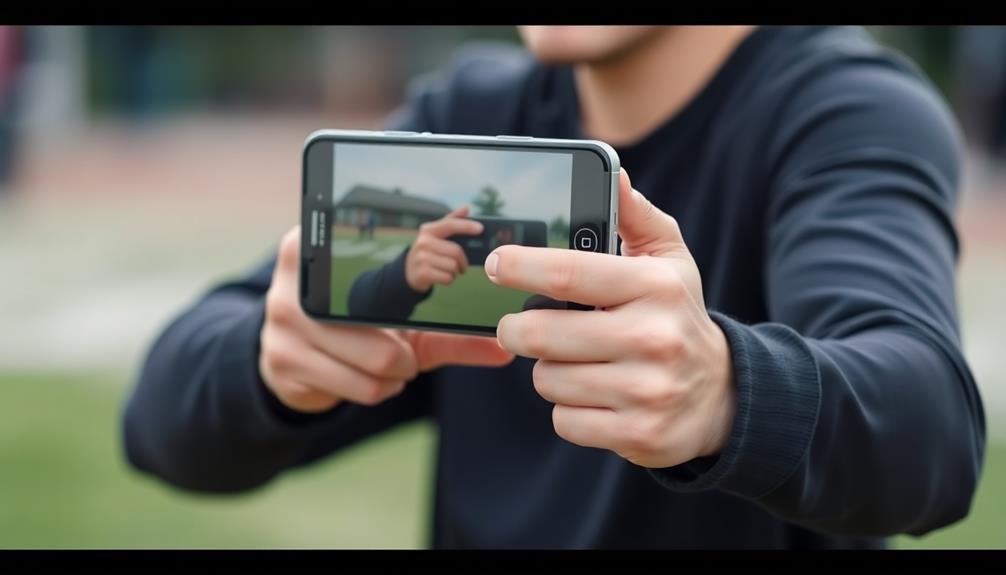
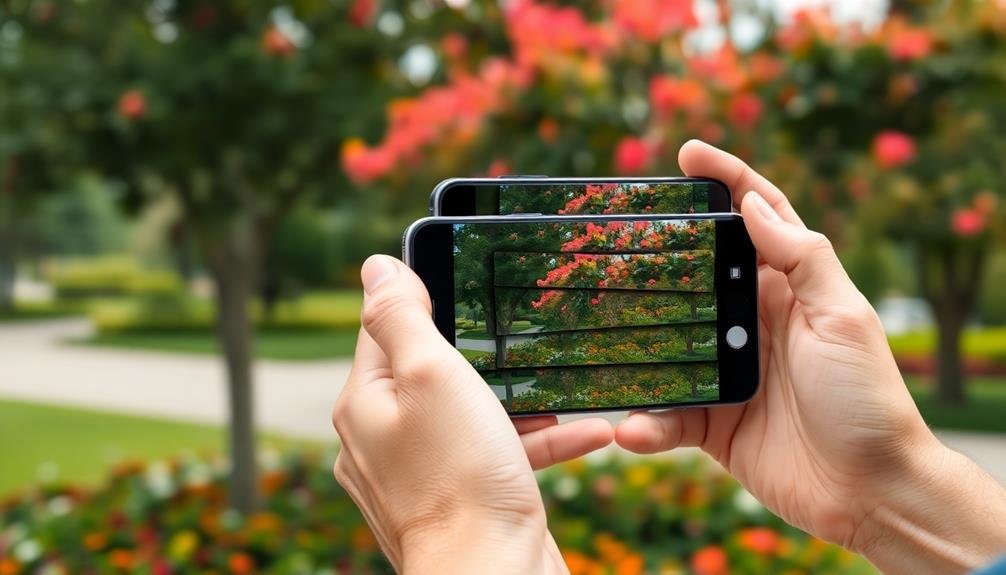
Balance is key when it comes to minimizing camera shake in mobile photography. To achieve this, you'll want to distribute the weight of your device evenly between both hands. Grip your smartphone with your dominant hand, placing your thumb on one side and your fingers on the other.
Then, use your non-dominant hand to support the bottom of the phone or the opposite side. This two-handed technique provides a stable platform for your device, reducing the impact of small movements and tremors.
It's especially useful when shooting in low light conditions or using zoom, where even tiny vibrations can blur your images.
Remember to keep your elbows tucked close to your body, creating a triangle between your arms and torso. This further stabilizes your stance.
As you frame your shot, gently press the phone against your face if you're using the viewfinder, or hold it slightly away from your body if using the screen.
Bracing Against Stable Objects
Finding stable objects to brace against can greatly improve your mobile photography when dealing with shaky hands. Look for solid surfaces like walls, lamp posts, or trees to steady your arms and reduce camera shake.
When you're indoors, use tables, chairs, or doorframes as support. Even leaning against a car or fence can make a considerable difference in stabilizing your shot.
To effectively brace yourself, press your elbows or upper arms firmly against the object. This creates a triangle of stability between your body and the phone. If you're using a table, rest your elbows on the surface while holding your phone.
For vertical objects, press your back or side against them while extending your arms.
Don't forget to use everyday items as makeshift supports. A rolled-up jacket or bag can serve as a cushion on hard surfaces. In a pinch, you can even use another person's shoulder for stability.
Remember to maintain proper posture and keep your breathing steady while bracing. This technique, combined with other stability methods, will considerably reduce blur in your mobile photos, especially in low-light conditions or when using zoom.
Mastering the Elbow Tuck
You'll find that mastering the elbow tuck technique can greatly improve your mobile photography.
By tucking your elbows close to your body, you create a more stable platform for your smartphone camera.
This simple adjustment helps minimize hand shake, resulting in sharper, clearer images even in challenging lighting conditions.
Stabilize Your Upper Body
While many focus on hand steadiness, stabilizing your upper body is essential for capturing sharp mobile photos. Your torso, shoulders, and arms all play significant roles in maintaining stability. Start by planting your feet shoulder-width apart, creating a solid foundation. Tuck your elbows close to your body, as discussed in the previous section, to minimize camera shake.
Next, focus on your breathing. Take slow, deep breaths and try to shoot between exhalations when your body is most still. Engage your core muscles to keep your upper body rigid and reduce unwanted movement.
Here's a quick guide to upper body stabilization techniques:
| Technique | Description | Difficulty | Effectiveness | Best For |
|---|---|---|---|---|
| Wall Lean | Lean against a wall or tree | Easy | High | Low-light scenes |
| Shoulder Brace | Press phone against your shoulder | Medium | Medium | Portrait shots |
| Tripod Stance | Spread legs, bend slightly | Easy | High | Landscape photos |
| Breath Control | Shoot between exhales | Hard | Very High | All situations |
| Core Engagement | Tighten abdominal muscles | Medium | High | Action shots |
Increase Camera Steadiness
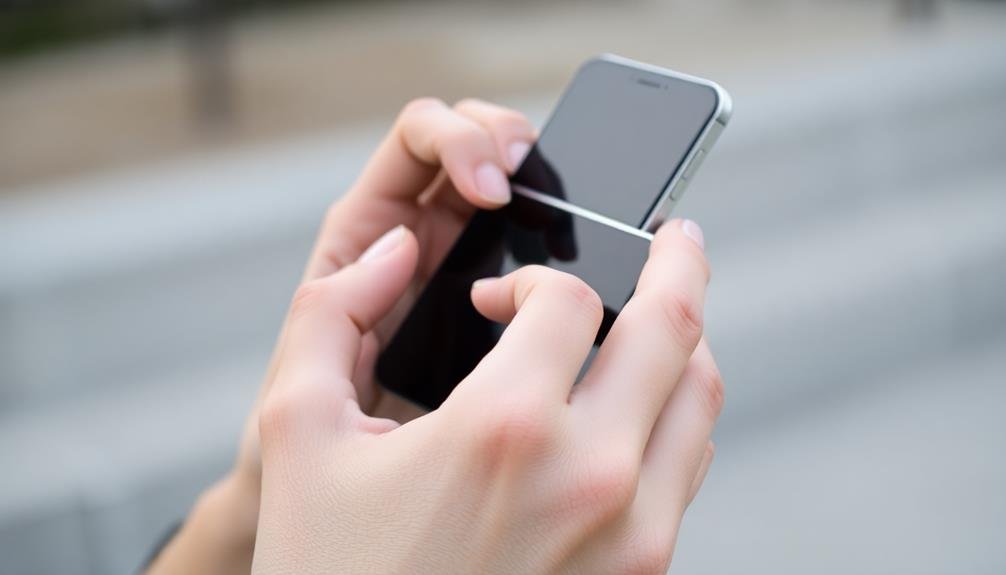
The elbow tuck technique is perhaps the most essential skill for increasing camera steadiness in mobile photography. To master this technique, start by holding your phone with both hands, gripping the sides firmly.
Now, bring your elbows in close to your body, tucking them against your ribcage. This creates a stable triangle between your arms and torso, greatly reducing camera shake.
As you're taking the shot, keep your elbows pressed against your body. This limits the range of motion in your arms, making it easier to hold the phone steady. Remember to breathe slowly and evenly, as rapid breathing can cause subtle movements.
When you're ready to capture the image, gently press the shutter button or use your phone's volume button if it's configured as a shutter release.
Practice this technique in various situations – standing, sitting, or even leaning against a wall. You'll find that it becomes more natural over time, and you'll be able to maintain steadiness even in challenging conditions.
The elbow tuck is particularly useful in low light situations where longer exposure times are necessary, helping you avoid blur and capture sharper images.
Exhaling Before Shooting
Before pressing the shutter button, take a deep breath and slowly exhale. This simple technique can greatly reduce camera shake and improve the sharpness of your mobile photos. When you exhale, your body naturally relaxes, minimizing muscle tension that can cause unwanted movement.
As you breathe out, you'll notice your shoulders drop and your arms become steadier. This controlled breathing method helps stabilize your entire body, creating a more solid foundation for your shot. It's particularly effective when you're shooting in low light conditions or using zoom, where even the slightest movement can blur your image.
To make the most of this technique, time your shot with the end of your exhale. At this moment, your body is at its most relaxed state, and you'll have the best chance of capturing a crisp, clear photo.
Practice this method regularly, and you'll soon find it becomes second nature. Remember, combining breath control with proper hand positioning and camera support will give you the best results in combating shaky hands and producing stunning mobile photographs.
Employing the Burst Mode
Burst mode is a powerful tool in your mobile photography arsenal for combating shaky hands. When you activate burst mode, your phone's camera takes multiple shots in rapid succession. This increases your chances of capturing at least one clear, shake-free image.
To use burst mode, simply hold down the shutter button or volume key (depending on your phone model) instead of tapping it. Your camera will continue taking photos until you release the button. This technique is especially useful in low-light conditions or when photographing moving subjects.
After taking a burst of photos, you can review them and select the best one. Look for the sharpest image with the least amount of blur. Some phones even have built-in AI that can suggest the best shot from a burst.
Don't forget to enable burst mode in your camera settings if it's not already activated. While it may fill up your storage more quickly, the benefits of capturing that perfect, shake-free shot far outweigh the drawbacks.
Practice using burst mode regularly to become more comfortable with this technique and improve your mobile photography skills.
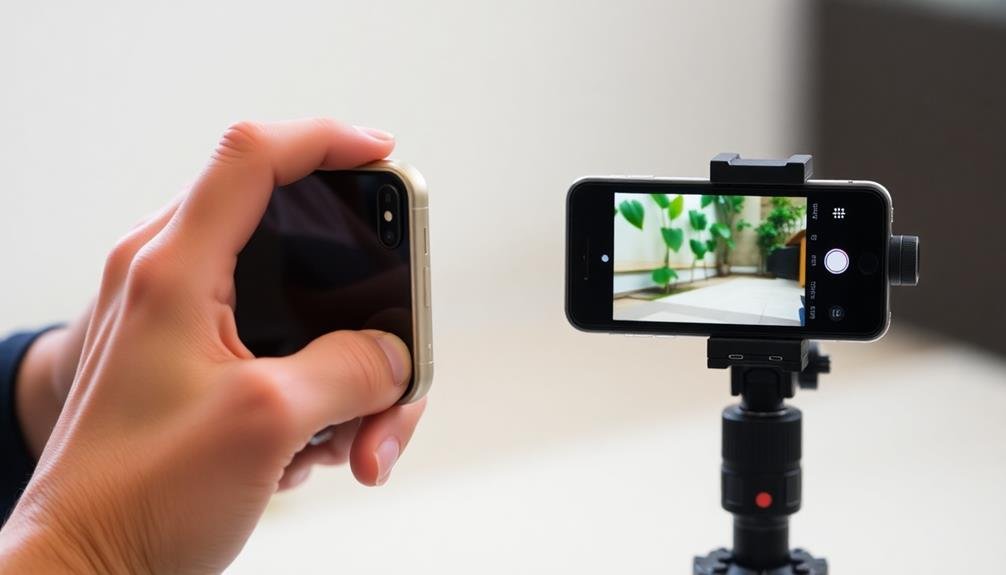
Makeshift Tripods From Everyday Items

In lieu of a professional tripod, you can create makeshift stabilizers from everyday items to combat shaky hands in mobile photography. Look around your environment for objects that can provide a steady base for your smartphone. A stack of books, for instance, can serve as a stable platform. Simply place your phone on top and adjust the stack's height as needed.
If you're outdoors, use natural elements like tree branches, rocks, or fence posts to rest your phone against. For a DIY solution, try the string tripod method: tie a long string to your phone case, step on the other end, and pull it taut to create tension. This technique helps minimize camera shake.
Another option is to repurpose household items. A cup or mug turned upside down can act as a phone stand. For added stability, fill it with sand or small pebbles. You can also use binder clips to create a simple phone holder that can be attached to various surfaces.
When all else fails, remember that leaning against a wall or adopting a stable stance can greatly reduce hand tremors while shooting.
DIY Smartphone Stabilizing Rigs
You can create your own smartphone stabilizing rigs to combat shaky hands in mobile photography.
A simple PVC pipe camera rig offers a sturdy and customizable solution for smoother shots.
If you're looking for a quick fix, try the rubber band stabilizer hack, which uses household items to reduce camera shake.
PVC Pipe Camera Rig
Many budget-conscious photographers turn to DIY solutions for stabilizing their smartphone cameras, and a PVC pipe camera rig stands out as a popular choice. This simple yet effective design uses readily available materials to create a sturdy support for your mobile device.
To build your own PVC pipe camera rig, you'll need PVC pipes, connectors, a smartphone mount, and basic tools. Cut the pipes to size, assemble them using the connectors, and attach the smartphone mount. The result is a lightweight, customizable rig that greatly reduces camera shake.
Here's a quick comparison of PVC pipe camera rigs to other stabilizing options:
| Feature | PVC Rig | Gimbal | Tripod | Handheld Grip | Selfie Stick |
|---|---|---|---|---|---|
| Cost | Low | High | Medium | Low | Low |
| Stability | Good | Excellent | Excellent | Moderate | Poor |
| Portability | Moderate | Good | Poor | Excellent | Excellent |
| Customization | High | Low | Low | Low | Low |
| Learning Curve | Low | High | Low | Low | Low |
While not as advanced as professional stabilizers, a PVC pipe camera rig offers a cost-effective solution for reducing shakiness in your mobile photography. It's an excellent starting point for those looking to improve their shots without breaking the bank.
Rubber Band Stabilizer Hack
Building on the DIY trend, the rubber band stabilizer hack offers an even simpler and more affordable solution for reducing camera shake. You'll need just a few rubber bands and your smartphone to create this makeshift stabilizer.
To set it up, wrap one rubber band around your phone horizontally, ensuring it's tight enough to stay in place. Then, take two more rubber bands and stretch them vertically across the phone, creating an X-shape on the back. This configuration adds tension and resistance to your hand movements.
When you're ready to shoot, hold your phone with both hands, using your thumbs to press the rubber bands against the back of the device. This extra pressure helps dampen vibrations and steadies your grip. As you take photos or record videos, you'll notice a significant reduction in shake and blur.
While not as sophisticated as commercial stabilizers, this hack is perfect for impromptu shoots or when you're traveling light.
It's also easily adjustable and won't interfere with your phone's buttons or screen. Give it a try on your next outing and see how it improves your mobile photography results.
Handheld Gimbals for Smartphones
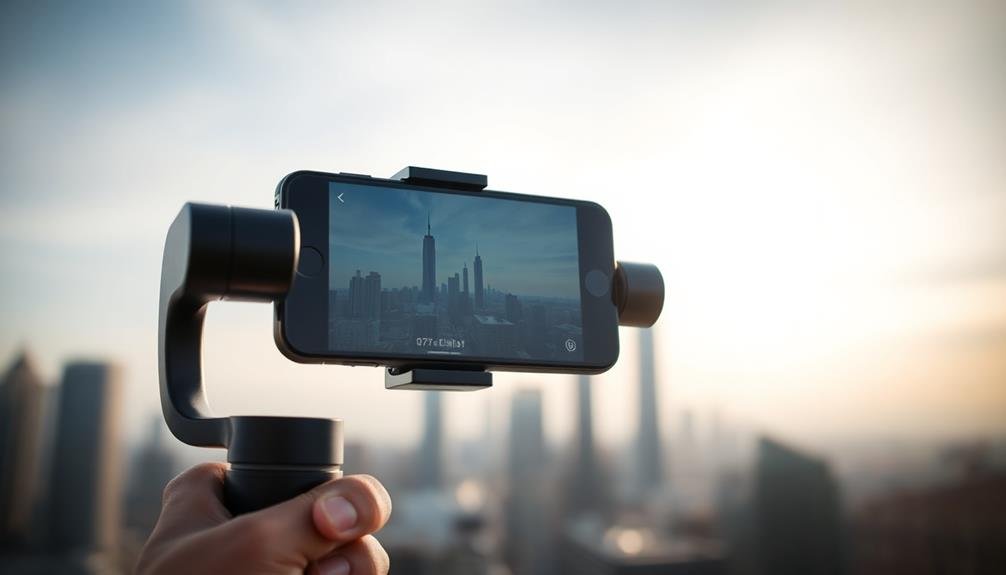
Smartphone photographers seeking silky-smooth footage have found a powerful ally in handheld gimbals. These devices use motorized stabilization to counteract your hand movements, resulting in steady, professional-looking videos and photos.
When you're shopping for a smartphone gimbal, consider factors like battery life, weight, and compatibility with your device. Most gimbals offer 3-axis stabilization, which corrects pitch, roll, and yaw movements. Look for models with intuitive controls and companion apps that enhance functionality.
Using a gimbal is straightforward: attach your phone, power on the device, and start shooting. Many gimbals feature modes like time-lapse, panorama, and object tracking. You'll find that these tools open up new creative possibilities, allowing you to capture smooth panning shots or walk-and-talk videos with ease.
While gimbals aren't cheap, they're a worthwhile investment if you're serious about mobile videography or photography. They're especially useful for action shots, low-light situations, or any scenario where hand tremors might ruin your footage.
With practice, you'll master techniques like the "vertigo effect" and smooth shifting movements, elevating your mobile content to new heights.
Leveraging Image Stabilization Features
How can you make the most of your smartphone's built-in stabilization features? Start by familiarizing yourself with your device's specific stabilization options. Most modern smartphones offer optical image stabilization (OIS) or electronic image stabilization (EIS), or a combination of both. Enable these features in your camera settings for smoother shots.
When shooting, hold your phone with both hands and keep your elbows close to your body for added stability. Use the volume buttons or a Bluetooth remote to trigger the shutter, avoiding screen taps that can cause movement.
If your phone has a "night mode" or similar low-light feature, use it—these modes often employ multiple exposures and advanced stabilization algorithms.
For video, look for specialized stabilization modes like "cinematic" or "super steady." These can greatly reduce shake in your footage. Remember that stabilization features work best when you're relatively still; they can't compensate for excessive movement. When possible, lean against a wall or rest your phone on a stable surface.
Editing Software for Shake Correction

Utilizing editing software can be a game-changer for correcting shake in your mobile photos. Many apps and programs offer tools specifically designed to address camera shake issues. You'll find options ranging from basic auto-correction features to more advanced manual adjustments.
When using editing software for shake correction, you'll typically encounter three main approaches:
- Automatic shake reduction: The software analyzes your image and applies corrections without user input.
- Manual adjustment sliders: You control the intensity of shake reduction and fine-tune the results.
- Selective area correction: You can target specific parts of the image for shake reduction.
It's important to note that while editing software can greatly improve shaky photos, it's not a magic solution. Severely blurred images may still be beyond repair.
For best results, combine shake correction with other editing techniques like sharpening and noise reduction.
Popular mobile apps for shake correction include Snapseed, Adobe Lightroom Mobile, and VSCO. On desktop, you'll find more powerful options in programs like Adobe Photoshop, DxO PhotoLab, and Topaz Sharpen AI.
Practicing Steady Shooting Exercises

To improve your mobile photography skills, it's essential to practice steady shooting exercises on a regular basis. Start by adopting a proper stance: keep your feet shoulder-width apart, tuck your elbows close to your body, and hold your phone with both hands. Breathe steadily and exhale slowly as you press the shutter button.
Try the wall lean technique: find a stable surface to rest your back against, then extend your arms fully while holding your phone. This creates a triangle between your body and arms, increasing stability.
Another effective exercise is the string method: tie a piece of string to your phone case and step on the other end, creating tension to stabilize your device.
Practice the burst mode technique by taking multiple shots in quick succession. This enhances your chances of capturing a sharp image. Experiment with different shutter speeds to understand how they affect motion blur.
Frequently Asked Questions
Can Certain Medications Cause Shaky Hands and Affect Photography?
Yes, certain medications can cause shaky hands, which may affect your photography. You'll notice tremors when holding your camera, making it difficult to capture sharp images. If you're experiencing this, consult your doctor about possible alternatives.
How Does Alcohol Consumption Impact Hand Steadiness for Mobile Photography?
Alcohol consumption can substantially impact your hand steadiness for mobile photography. You'll likely experience tremors and reduced coordination, making it harder to hold your phone still. Even small amounts of alcohol can affect your ability to capture sharp images.
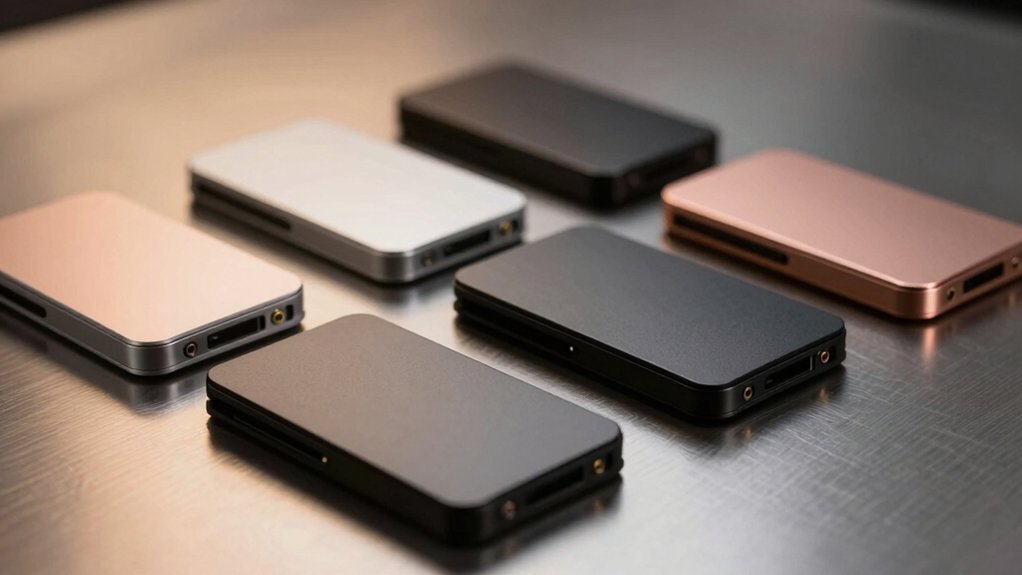
Are There Specific Smartphone Cases That Help Reduce Camera Shake?
Yes, there are specialized smartphone cases designed to reduce camera shake. You'll find options with built-in grips, stabilizing handles, or even mini tripods. They'll help steady your shots and improve your mobile photography results considerably.
Do Weather Conditions Like Extreme Cold Affect Hand Stability When Taking Photos?
Yes, extreme cold can affect your hand stability when taking photos. You'll likely experience shivering and reduced dexterity, making it harder to hold your camera steady. Consider wearing thin, insulated gloves to maintain warmth and control.
Can Regular Hand Exercises Improve Steadiness for Mobile Photography Over Time?
Yes, you can improve your hand steadiness for mobile photography through regular exercises. Try activities like squeezing stress balls, finger taps, or wrist rotations. You'll notice increased control and stability over time, enhancing your photo-taking abilities.
In Summary
You've now learned several techniques to combat camera shake and improve your mobile photography. Remember, practice makes perfect. Keep experimenting with different grips, supports, and stabilization methods. Don't forget to leverage your phone's built-in features and explore editing software options. With time and effort, you'll notice a significant improvement in your shots' sharpness and clarity. So get out there, steady those hands, and start capturing stunning images with your smartphone!

Leave a Reply