
Transform your mobile macro photography with these three pro-level editing tricks. First, adjust highlights and shadows to reveal hidden textures and details in bright and dark areas. Don't be afraid to push the sliders further than you initially think. Next, enhance sharpness and clarity to add crispness to your main subject while keeping the background softer. Apply these adjustments selectively for precise control. Finally, fine-tune color balance using presets or manual tweaks to guarantee accurate representation and create unique moods. Experiment with individual color channels and vibrancy for stunning results. These simple techniques will elevate your macro shots to new heights.
Adjust Highlights and Shadows
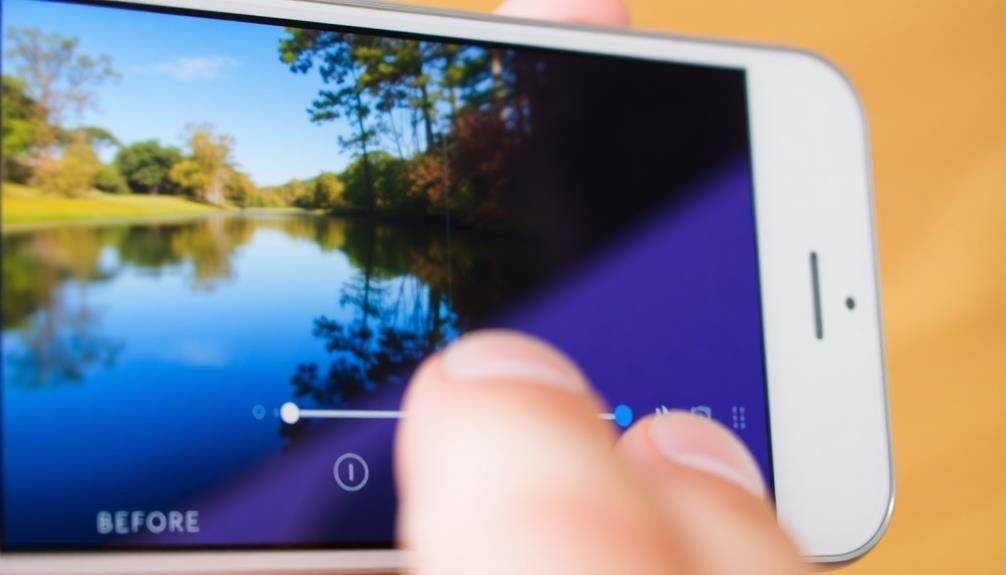
Sliders are your best friends when it comes to adjusting highlights and shadows in mobile photo editing. These tools allow you to fine-tune the brightest and darkest areas of your macro shots, bringing out hidden details and balancing the overall exposure.
Start by reducing highlights if your image appears washed out, revealing textures in bright areas like flower petals or insect wings. Conversely, lift the shadows to uncover details in darker regions, such as the underside of leaves or crevices in bark.
Don't be afraid to push these adjustments further than you initially think necessary. Mobile editing apps often have built-in safeguards that prevent extreme changes from degrading image quality.
Experiment with the contrast slider to enhance the separation between light and dark areas, creating depth and dimensionality in your macro subjects. For a more nuanced approach, try adjusting the whites and blacks independently. This can help maintain a natural look while still achieving the desired level of detail and drama.
Remember to periodically toggle the before and after view to gauge your progress and verify you're not overcooking the edit. With practice, you'll develop an intuitive sense of how far to push these adjustments for each unique macro shot.
Enhance Sharpness and Clarity
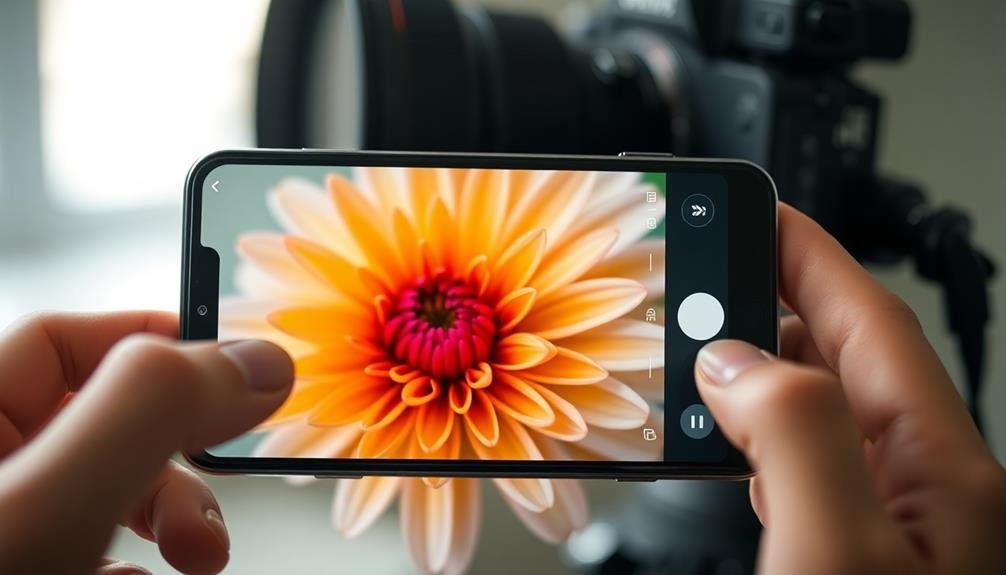
With your highlights and shadows balanced, it's time to sharpen your macro image and boost its clarity. Most mobile editing apps offer sharpening and clarity tools, which can greatly enhance the details in your macro shots.
Start by applying a small amount of sharpening, focusing on the main subject of your image. Be careful not to overdo it, as excessive sharpening can create unnatural-looking edges and introduce noise.
Next, adjust the clarity slider to bring out texture and definition in your macro subject. This tool enhances mid-tone contrast, making your image appear more detailed and crisp.
Again, use it judiciously – too much clarity can make your photo look artificial or overly processed.
For more precise control, consider using selective sharpening. Many apps allow you to apply sharpening to specific areas of your image using brush tools.
This technique is particularly useful for macro photography, as you can sharpen your main subject while leaving the background slightly softer, creating a more professional look.
Fine-tune Color Balance
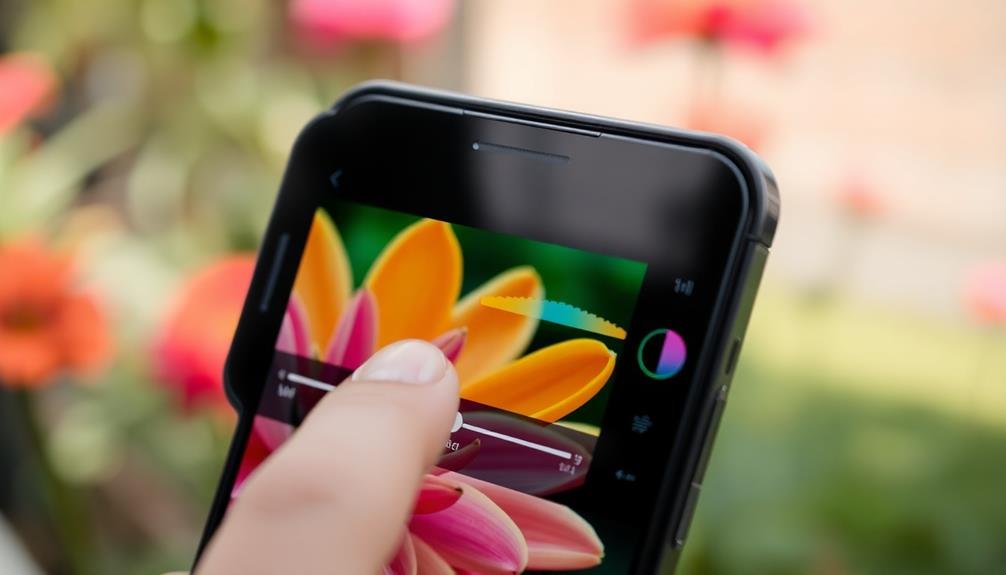
After enhancing sharpness and clarity, it's time to fine-tune your macro photo's color balance. This step can make or break your image, transforming it from ordinary to extraordinary.
Start by adjusting the white balance to guarantee accurate color representation. Most editing apps offer presets like daylight, cloudy, or tungsten, but don't hesitate to manually tweak the temperature and tint sliders for precise control.
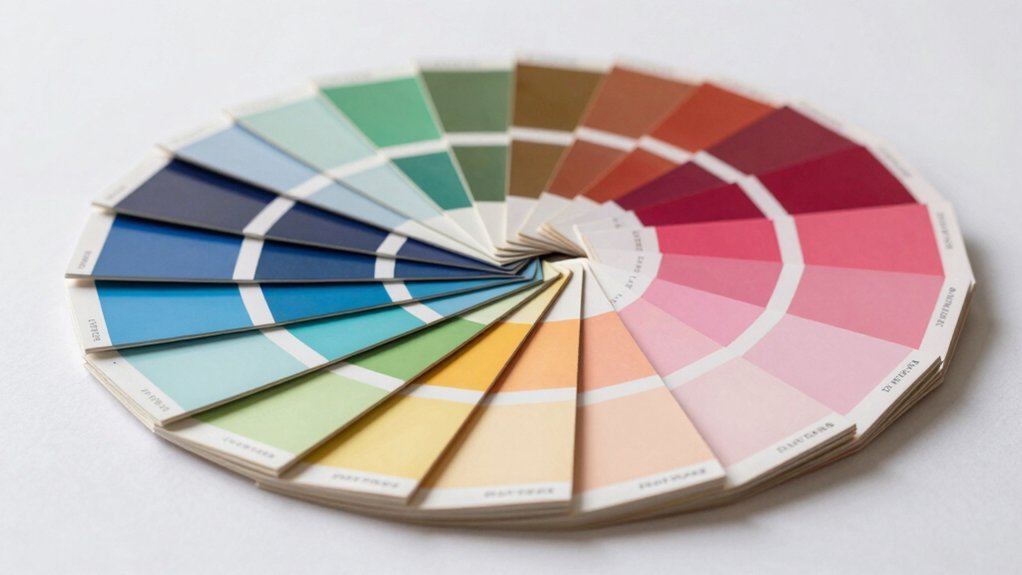
Next, focus on individual color channels. Boost or reduce the saturation of specific hues to make certain elements pop or create a more cohesive palette. Pay special attention to complementary colors, as they can create striking contrasts in macro photography.
Adjust the vibrancy to enhance muted tones without oversaturating already bright areas. Consider using selective color adjustments to target specific parts of your image. This technique allows you to fine-tune colors in shadows, midtones, and highlights separately.
Experiment with split-toning to add subtle color casts to your shadows and highlights, creating a unique mood or atmosphere. Finally, use the HSL (Hue, Saturation, Luminance) sliders to make precise adjustments to individual color ranges, guaranteeing your macro subject stands out beautifully against its background.
Frequently Asked Questions
What Equipment Do I Need for Mobile Macro Photography?
You'll need a smartphone with a good camera, a clip-on macro lens, and a tripod for stability. Don't forget a diffuser for soft lighting and a remote shutter for shake-free shots. Optional extras include a light ring and reflectors.
How Do I Maintain Focus When Shooting Close-Up Subjects?
To maintain focus on close-up subjects, you'll want to keep your phone steady. Use a tripod or rest your elbows on a stable surface. Tap the screen to set focus, and try burst mode for multiple shots.
Which Apps Are Best for Advanced Mobile Macro Editing?
You'll find Snapseed, VSCO, and Lightroom Mobile excellent for advanced macro editing on your phone. They offer powerful tools for fine-tuning details, adjusting exposure, and enhancing colors. Don't forget Adobe Photoshop Express for more complex edits.
Can I Use External Lenses With My Smartphone for Macro Shots?
Yes, you can use external lenses with your smartphone for macro shots. They'll greatly enhance your close-up photography capabilities. Simply attach them to your phone's camera lens, and you'll be able to capture incredibly detailed, magnified images.
What Lighting Techniques Work Best for Mobile Macro Photography?
You'll get the best results using natural light. Position your subject near a window or outdoors. For more control, try a small LED light panel or ring light. Avoid harsh shadows by diffusing light with translucent material.
In Summary
You've now got the tools to take your mobile macro photography to the next level. By adjusting highlights and shadows, enhancing sharpness and clarity, and fine-tuning color balance, you'll create stunning close-up images that pop. Don't be afraid to experiment with these techniques; practice makes perfect. Remember, the best edits are often subtle, so trust your eye and make adjustments that feel right to you. Now go out there and capture some amazing macro shots!

Leave a Reply