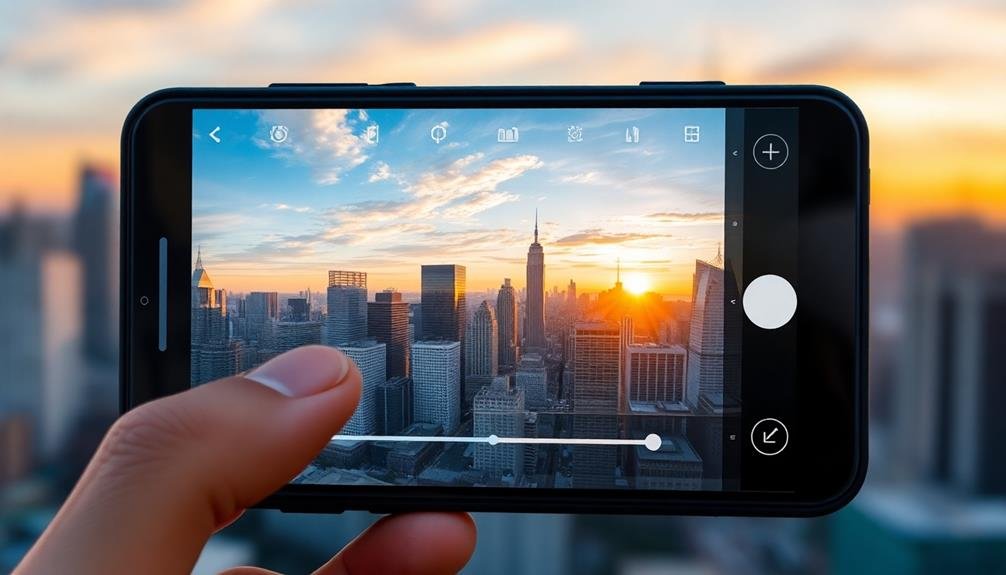
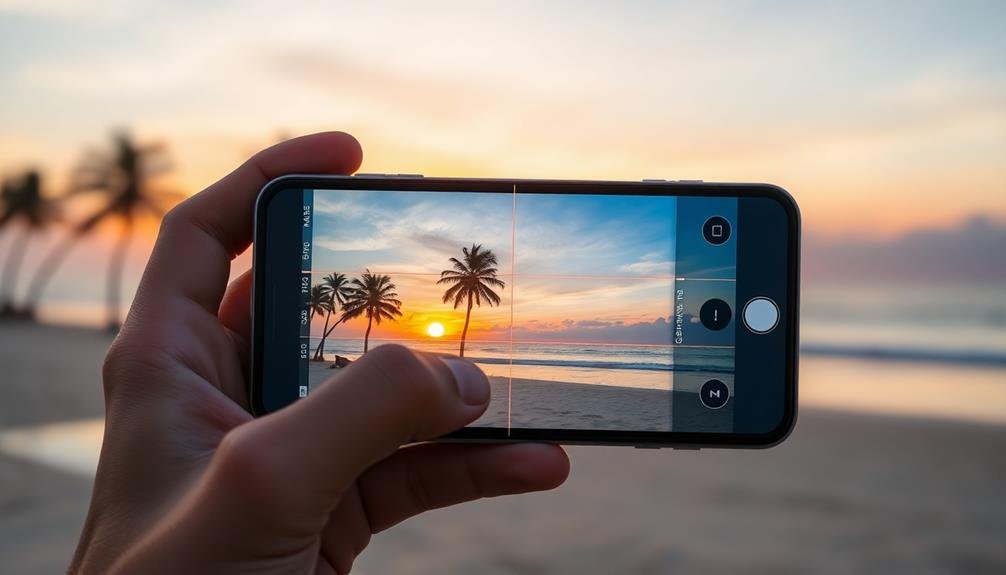
To edit panoramas on your mobile device, start by choosing a user-friendly app like Snapseed or Adobe Lightroom Mobile. Use cropping tools to refine composition and focus on key elements. Adjust exposure, contrast, and color balance to enhance the overall look. Straighten and align the horizon for a polished appearance. Apply filters and effects to set the mood, but use them sparingly. Don't forget to sharpen details and reduce noise for clarity. Add text or watermarks if desired, then export your masterpiece in the appropriate format for sharing. With these tips, you'll be well on your way to creating stunning panoramic images that captivate viewers.
Choosing the Right Panorama App
When it comes to editing panoramas on your mobile device, choosing the right app can make all the difference. With numerous options available, it's crucial to take into account your specific needs and skill level. Look for apps that offer intuitive interfaces and a range of editing tools tailored for panoramic images.
For beginners, apps like Snapseed or Adobe Lightroom Mobile provide user-friendly experiences with basic panorama editing features. These apps allow you to adjust exposure, contrast, and color balance while maintaining the integrity of your wide-angle shots.
If you're more experienced, think about advanced options like PTGui or Hugin. These apps offer powerful stitching capabilities and fine-tuned controls for perfecting your panoramas. They're ideal for handling complex scenes or multiple image inputs.
Don't overlook built-in editing tools on your device. Both iOS and Android have native panorama capture and basic editing features that might suffice for quick adjustments.
Before committing to an app, read user reviews and try free versions when available. Look for apps that regularly update and support the latest mobile operating systems to guarantee compatibility and access to new features.
Understanding Panorama Editing Tools
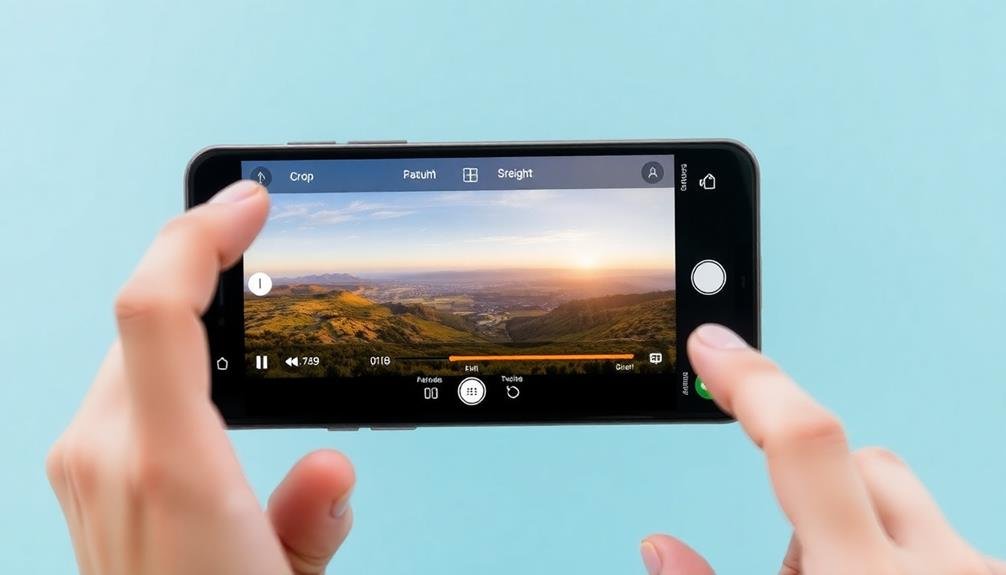
Once you've chosen the right app for your panorama editing needs, it's time to familiarize yourself with the tools at your disposal. Most panorama editing apps offer a range of basic and advanced features to enhance your images.
Common tools include cropping, which allows you to adjust the frame and aspect ratio of your panorama. You'll also find exposure and color correction tools to fine-tune brightness, contrast, saturation, and white balance.
Look for straightening and leveling options to correct any horizon issues or distortions. More advanced tools may include perspective correction, which helps fix any warping or bending in your image.
Some apps offer selective editing, allowing you to adjust specific areas of your panorama without affecting the entire image. You might also find stitching tools to combine multiple images into a seamless panorama or remove visible seams.
Pay attention to features like healing brushes for removing unwanted objects, and sharpening tools to enhance details. Many apps also include filters and presets to quickly apply stylized effects.
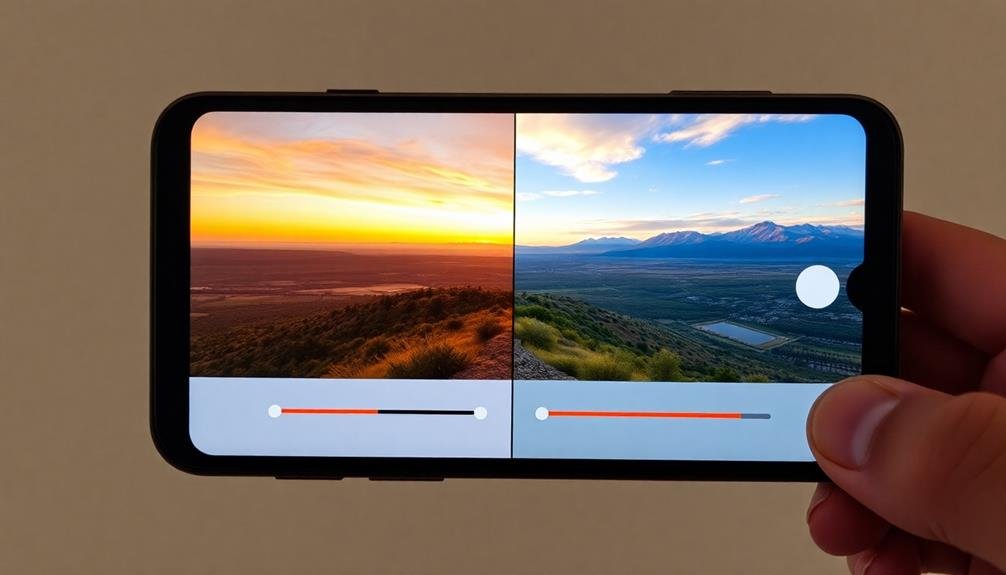
Adjusting Exposure and Contrast
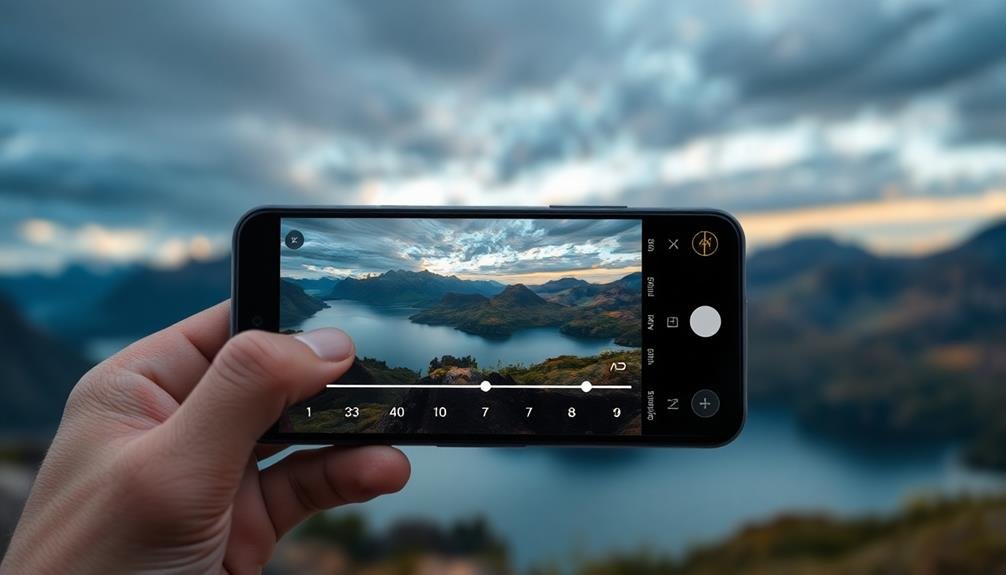
One of the most vital steps in editing panoramas is adjusting exposure and contrast. These adjustments can make or break your panoramic image, so it's essential to understand how to use them effectively.
Start by evaluating your panorama's overall brightness. If it's too dark or too bright, adjust the exposure slider to bring out more detail. Remember, you're working with a wide scene, so you might need to make different exposure adjustments for various parts of the image.
Next, focus on contrast. Increasing contrast can add depth and dimension to your panorama, making it more visually striking. However, be careful not to overdo it, as excessive contrast can lead to loss of detail in highlights and shadows.
Many mobile editing apps offer advanced tools like highlights, shadows, whites, and blacks. Use these to fine-tune specific areas of your panorama. For instance, you can recover detail in overexposed skies or bring out textures in shadowy areas.
Don't forget to use the histogram as a guide. It'll help you confirm you're not clipping highlights or crushing shadows.
As you make adjustments, keep an eye on how they affect the entire panorama, not just specific sections.
Correcting Color Balance
After adjusting exposure and contrast, it's time to tackle color balance in your panorama. Color balance guarantees your image accurately represents the scene you captured, without unwanted color casts. Most mobile editing apps offer tools to adjust temperature and tint, allowing you to fine-tune the overall color tone of your panorama.
To correct color balance effectively:
- Identify the white balance: Look for neutral elements in your image that should appear white or gray.
- Adjust temperature: Slide the temperature control to make the image warmer (more yellow) or cooler (more blue).
- Fine-tune tint: Use the tint slider to remove any green or magenta color casts.
- Check different areas: Since panoramas cover a wide area, verify color corrections work across the entire image.
Remember that color perception can vary based on lighting conditions and personal preference. Trust your eye, but don't hesitate to use reference points in the image.
If your panorama includes people, pay special attention to skin tones to guarantee they look natural. For landscape panoramas, focus on making elements like sky, water, and foliage appear true to life.
With practice, you'll develop an intuitive sense for achieving perfect color balance in your panoramic shots.
Removing Unwanted Objects
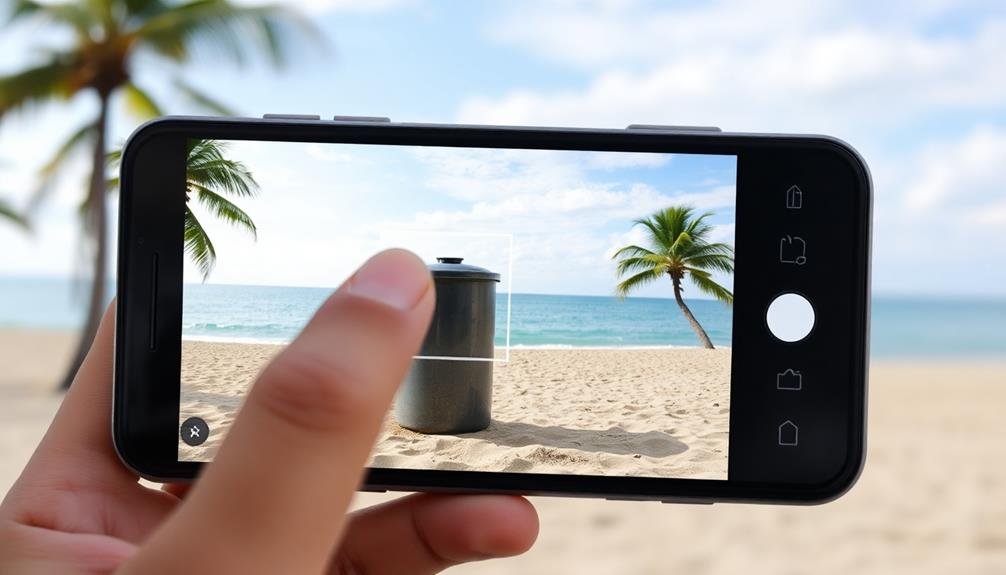
With your panorama's colors looking their best, it's time to address any unwanted elements in the image. Most mobile editing apps offer tools to remove distracting objects from your panoramas. Look for features like "healing," "clone," or "content-aware fill" in your app's toolbar.
To remove small objects, use the healing brush tool. Simply tap or swipe over the unwanted item, and the app will blend it with surrounding pixels.
For larger objects, try the clone stamp tool. Select a clean area of the image as your source, then paint over the object you want to remove. The app will copy the source area to cover the unwanted element.
For complex removals, consider using a content-aware fill tool. This advanced feature analyzes the surrounding area and intelligently fills in the space left by the removed object. Be patient and experiment with different tools and settings to achieve the best results.
Remember to zoom in and check your work closely. Small imperfections can be noticeable in large panoramic prints.
If you're having trouble with a particularly challenging removal, consider using a desktop editing program for more precise control.
Straightening the Horizon Line
When editing panoramas, you'll often need to straighten uneven horizon lines for a more polished look.
First, carefully examine your image to identify any tilted horizons that detract from the overall composition.
Then, utilize your mobile editing app's alignment tools to adjust and level the horizon, ensuring a straight and professional appearance in your final panoramic image.
Identify Uneven Horizons
One of the most common issues with panoramic photos is an uneven horizon line. This can make your otherwise stunning panorama look off-kilter and unprofessional. To identify an uneven horizon in your panoramic shot, you'll need to train your eye to spot subtle inconsistencies.
Here's how you can identify uneven horizons in your panoramas:
- Look for obvious tilts: Check if the horizon line is clearly slanting to one side or the other. This is often most noticeable when water is present in the image.
- Use gridlines: Enable the gridlines feature in your photo editing app. These horizontal lines will help you quickly spot any misalignments with the horizon.
- Check vertical elements: Look at buildings, trees, or other vertical structures in your panorama. If they're not perfectly upright, it's a sign your horizon might be off.
- Compare edges: Examine the left and right edges of your panorama. If the horizon appears at different heights on each side, you've got an uneven horizon.
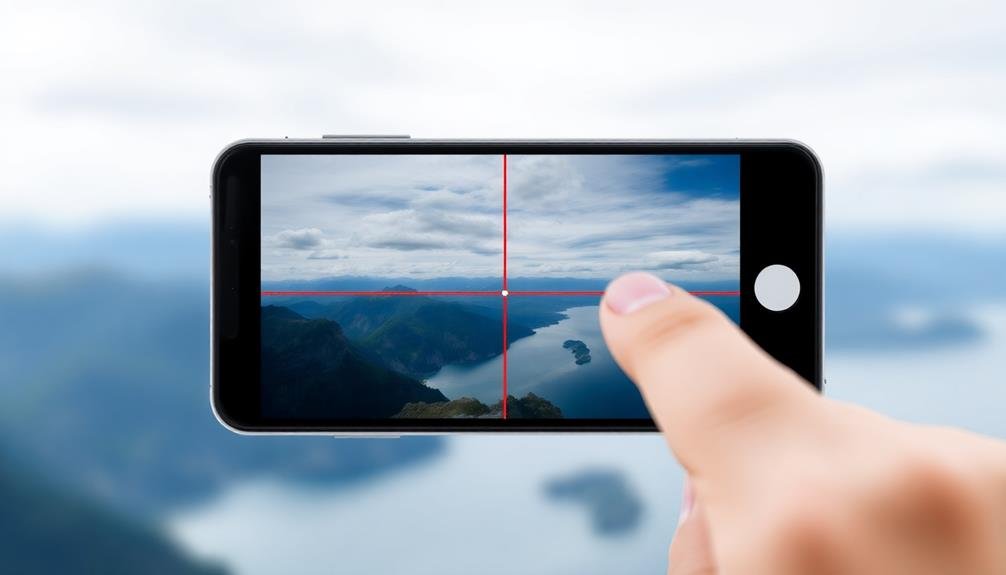
Use Alignment Tools
Alignment tools are your best friend when it comes to straightening uneven horizons in panoramic photos. Most mobile editing apps offer grid overlays or horizon line tools to help you perfectly align your image. To use these tools effectively, first enable the grid or horizon line feature in your chosen app. Then, rotate your image until the horizon matches the guide lines.
Pay attention to key elements in your panorama:
| Horizon | Vertical Lines | Composition |
|---|---|---|
| Level | Straight | Balanced |
| Aligned | Perpendicular | Symmetrical |
| Smooth | Parallel | Harmonious |
Once you've aligned the horizon, check for any distortions in vertical elements like buildings or trees. If necessary, use perspective correction tools to fine-tune these lines. Remember, a straight horizon doesn't always guarantee a perfect panorama – sometimes a slight tilt can add drama to your shot.
After aligning, crop your image to remove any empty areas created during the straightening process. This step guarantees your final panorama looks polished and professional. With practice, you'll develop an eye for alignment, making the editing process quicker and more intuitive.
Applying Filters and Effects
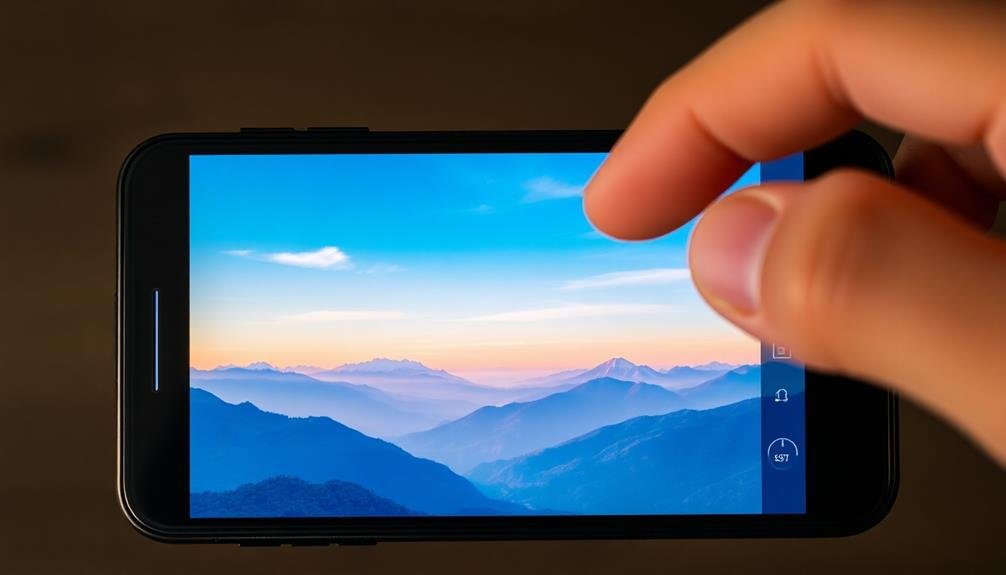
You'll find a variety of filter options to enhance your panoramic photos on mobile editing apps.
These filters can dramatically alter the mood and atmosphere of your expansive scenes, from vintage-inspired looks to dramatic high-contrast effects.
Don't hesitate to experiment with color adjustments and contrast levels to fine-tune your panorama's overall impact.
Popular Panorama Filter Options
Applying filters and effects can transform your panoramic images, giving them a unique look and feel. When it comes to panoramas, certain filters work particularly well to enhance the expansive nature of these shots. You'll find that many mobile editing apps offer a range of filter options specifically designed for panoramic images.
Some popular panorama filter options include:
- HDR: This filter enhances the dynamic range of your panorama, bringing out details in both shadows and highlights.
- Dramatic Sky: Ideal for landscape panoramas, this filter intensifies cloud formations and adds depth to the sky.
- Vintage: Gives your panorama a nostalgic feel with warm tones and slight color fading.
- Black and White: Creates a timeless look, emphasizing contrasts and textures in your panoramic scene.
When applying filters, remember to use them judiciously. Overuse can detract from the natural beauty of your panorama.
Adjust the filter's intensity to find the right balance between enhancement and authenticity. Don't be afraid to experiment with different options to discover which filter best complements your specific panoramic image.
With practice, you'll develop an eye for selecting the most effective filters to showcase your panoramic photography.
Enhancing Mood and Atmosphere
Mood and atmosphere play essential roles in elevating your panoramic photos from good to great. To enhance these elements, you'll want to experiment with various filters and effects available in your mobile editing app.
Start by adjusting the overall tone of your image. Use warmth filters to create a cozy, golden-hour feel, or cool tones for a crisp, modern look. Vignetting can add depth and draw attention to the center of your panorama. For a dramatic effect, try a high-contrast black and white filter, which can emphasize textures and shapes in landscapes.
Consider using light leaks or lens flare effects to add a dreamy, nostalgic quality to your panoramas. These work particularly well for sunrise or sunset shots.
For moody, atmospheric scenes, try adding a subtle fog or mist overlay. This can create depth and mystery, especially in nature or cityscape panoramas.
Don't forget about color grading. Adjusting individual color channels can help you achieve specific moods, like making greens more vibrant for lush landscapes or enhancing blues for ocean scenes.
Adjusting Color and Contrast
Adjusting color and contrast in your panoramic photos can breathe new life into the image. Most mobile editing apps offer a range of tools to fine-tune these aspects, allowing you to enhance the visual impact of your panoramas.
Start by adjusting the overall exposure to guarantee the image isn't too dark or bright. Then, focus on the color balance, tweaking the warmth or coolness to match the mood you're aiming for.
For more advanced color and contrast adjustments, consider using these techniques:
- Adjust the highlights and shadows separately to bring out details in both bright and dark areas of your panorama.
- Use the vibrance tool to enhance colors without oversaturating them, maintaining a natural look.
- Experiment with the clarity or structure settings to add depth and definition to your image.
- Apply selective color adjustments to emphasize specific hues or create a unique color palette.
Don't be afraid to experiment with different combinations of these adjustments.
Cropping for Optimal Composition
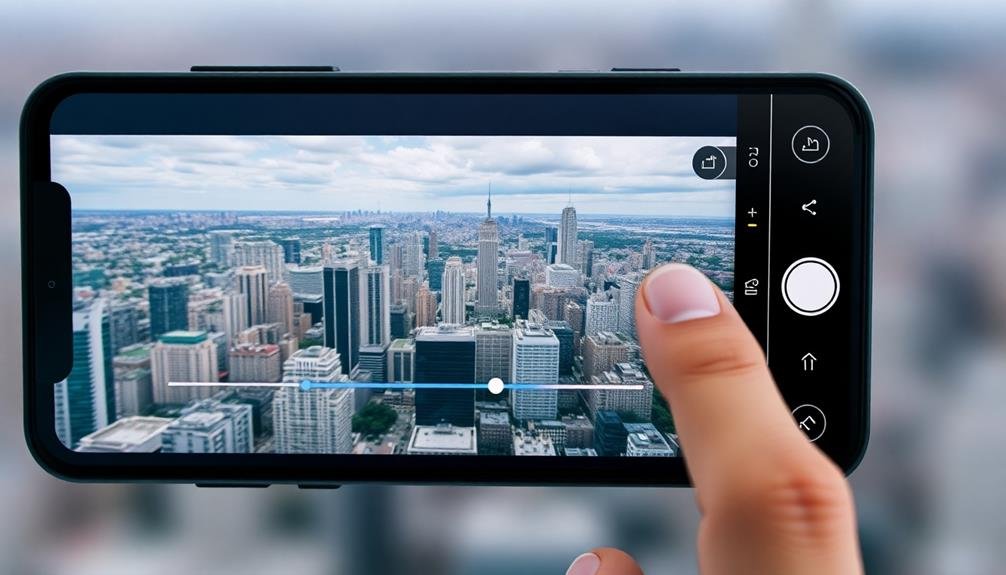
The art of cropping can make or break a panoramic image. When editing your panorama on mobile, focus on creating a balanced composition that draws the viewer's eye to the most important elements.
Start by identifying the key focal points in your image and consider how you can emphasize them through cropping. Use your mobile editing app's cropping tool to experiment with different aspect ratios.
While panoramas are typically wide, don't be afraid to crop vertically if it enhances the overall impact. As you crop, pay attention to the rule of thirds, placing key elements along these imaginary lines or at their intersections.
Look for distracting elements near the edges of your panorama that you can eliminate through cropping. This might include unwanted objects, people, or areas of empty space that don't contribute to the composition.
Be mindful of horizon lines, ensuring they're straight and properly positioned within the frame. Consider leaving some breathing room around your main subject to create a sense of context and scale.
However, don't hesitate to crop tightly if it creates a more dramatic effect. Remember, the goal is to guide the viewer's eye through the panorama, highlighting its most enchanting features.
Sharpening and Noise Reduction
When editing panoramas on your mobile device, you'll want to focus on sharpening and noise reduction to enhance image quality.
You can use selective sharpening techniques to emphasize key areas while leaving others untouched, and employ noise reduction tools to smooth out grainy sections.
It's essential to strike a balance between these processes to preserve important details while creating a clean, professional-looking panorama.
Selective Sharpening Techniques
Selective sharpening techniques can transform your panoramic photos from good to great. By focusing on specific areas of your image, you'll enhance details without oversharpening the entire panorama. To achieve this, use masking tools in your mobile editing app to isolate the areas you want to sharpen.
Start by identifying the key elements in your panorama that would benefit from extra sharpening, such as architectural details or textures in nature.
Then, follow these steps to apply selective sharpening:
- Create a mask over the area you want to sharpen
- Adjust the brush size and hardness for precise control
- Apply sharpening gradually, increasing intensity as needed
- Blend the sharpened areas with the rest of the image for a natural look
Remember to zoom in frequently to check your work and avoid oversharpening, which can introduce unwanted artifacts.
Pay special attention to edges and high-contrast areas, as these tend to show sharpening effects more prominently.
Noise Reduction Tools
After applying selective sharpening, it's crucial to tackle image noise, which can be especially noticeable in panoramic photos.
Most mobile editing apps offer noise reduction tools to help you smooth out grainy areas without losing too much detail. Look for options like "Noise Reduction," "Denoise," or "Luminance Smoothing" in your app's editing menu.
Start by applying a small amount of noise reduction to your panorama. You'll want to find a balance between reducing visible noise and maintaining image sharpness.
Pay close attention to areas of uniform color or gradients, as noise is often most apparent in these regions. Use the zoom function to inspect your image closely as you adjust the noise reduction settings.
If your app allows it, consider using selective noise reduction. This technique lets you apply noise reduction to specific areas of your panorama, preserving detail in sharper regions.
Some advanced apps also offer separate controls for luminance and color noise, allowing for more precise adjustments. Remember, it's better to slightly under-reduce noise than to over-smooth your image, as this can result in a loss of texture and detail.
Balancing Detail Preservation
Achieving the perfect balance between sharpening and noise reduction is key to preserving detail in your panoramic photos. As you edit your panoramas, you'll need to carefully adjust these settings to enhance image clarity without introducing unwanted artifacts.
Start by applying minimal sharpening to bring out fine details, then use noise reduction to smooth out any graininess.
When balancing detail preservation, consider these factors:
- Image resolution: Higher resolution images can withstand more aggressive sharpening.
- ISO setting: Photos taken at higher ISOs typically require more noise reduction.
- Subject matter: Scenes with intricate textures may benefit from less noise reduction.
- Viewing distance: Consider how the image will be displayed and viewed.
Use your mobile editing app's preview function to zoom in and examine different areas of your panorama. Pay close attention to edge details and smooth areas to guarantee you're not over-sharpening or over-smoothing.
Adding Text or Watermarks
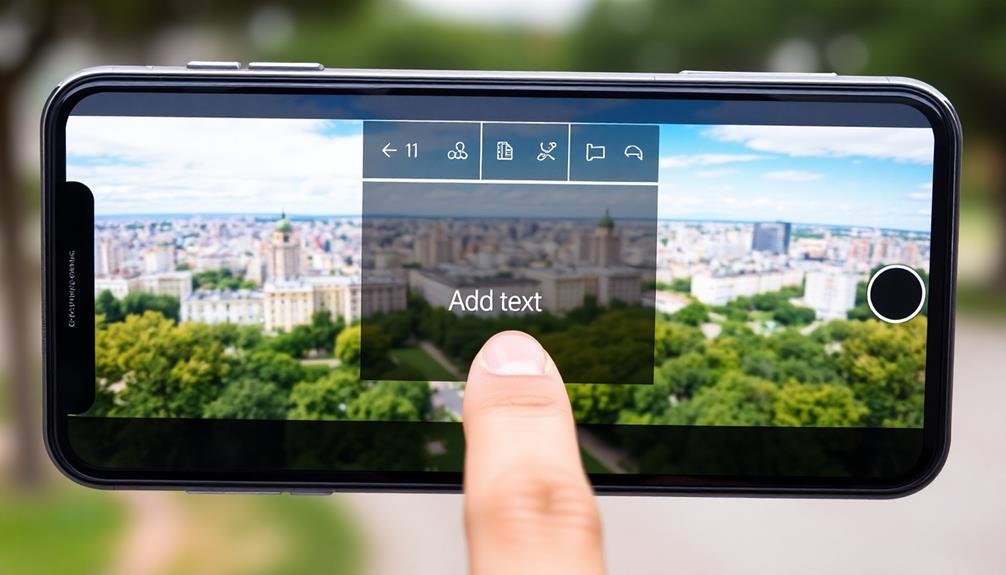
Adding text or watermarks to your panoramic images can personalize your work and protect it from unauthorized use. Most mobile photo editing apps offer text and watermark features, allowing you to add your name, logo, or copyright information to your panoramas.
To add text, select the text tool in your editing app and choose your desired font, size, and color. Place the text where it's visible but doesn't obstruct the main subject of your panorama.
For watermarks, create a transparent PNG of your logo or signature and import it into the app. Adjust its opacity to make it subtle yet noticeable.
Consider the placement carefully. Text and watermarks in the corners or along the bottom edge of your panorama are less likely to interfere with the image's overall impact. You can also use the rule of thirds to guide your placement, ensuring your additions complement the composition.
Remember to keep your text or watermark consistent across all your panoramas for a cohesive look. This practice not only protects your work but also helps build your brand as a photographer.
Exporting and Sharing Options

The final step in your panorama editing journey is exporting and sharing your masterpiece. Most mobile editing apps offer various options for saving and sharing your edited panoramas. You'll typically find these options in the app's menu or by tapping a share icon.
When exporting, consider the following:
- File format: Choose between JPEG for smaller file sizes or PNG for higher quality.
- Resolution: Select the appropriate resolution based on your intended use.
- Compression: Adjust compression levels to balance file size and image quality.
- Metadata: Decide whether to include or remove metadata like location information.
After exporting, you can share your panorama through various channels. Social media platforms like Instagram and Facebook support panoramic images, allowing viewers to scroll through them.
You can also send your panorama via email or messaging apps, but be mindful of file size limitations. For professional use, consider uploading your panorama to cloud storage services or portfolio websites that support large image files.
Some apps even offer direct integration with these platforms, streamlining the sharing process.
Remember to respect copyright laws and obtain necessary permissions if you're using or sharing panoramas that include recognizable people or private property.
Frequently Asked Questions
Can I Create Panoramas From Existing Photos Instead of Shooting New Ones?
Yes, you can create panoramas from existing photos. You'll need specialized software or apps that allow you to stitch multiple images together. These tools align and blend your photos to create a seamless panoramic view from separate shots.
How Do I Fix Stitching Errors in Panoramas Taken With My Smartphone?
To fix stitching errors in your smartphone panoramas, you'll need to use photo editing apps. Try adjusting alignment, blending, and cropping. You can also manually retouch problem areas or use AI-powered tools for seamless corrections.
What's the Best Aspect Ratio for Sharing Panoramas on Social Media?
You'll want to use a 2:1 aspect ratio for most social media platforms. It's a good balance between width and height, allowing viewers to see the full panorama without excessive scrolling or zooming. Adjust as needed for specific platforms.
Are There Any Legal Issues With Editing Panoramas of Public Landmarks?
You're generally free to edit panoramas of public landmarks for personal use. However, if you're publishing or selling them, you'll need to contemplate copyright laws and potential restrictions on commercial use of iconic buildings or structures.
How Can I Create Tiny Planet Effects From My Panoramic Images?
You can create tiny planet effects from panoramas using specialized apps like Tiny Planet FX or Rollworld. Simply import your panoramic image, adjust the settings, and watch as it's transformed into a spherical miniature world.
In Summary
You've now got the tools to transform your panoramas into stunning works of art right on your mobile device. Don't be afraid to experiment with different editing techniques and apps. Remember, practice makes perfect. As you continue to refine your skills, you'll create more impressive panoramas that truly capture the essence of the scenes you've photographed. So get out there, shoot some panoramas, and start editing to bring your vision to life.


Leave a Reply