Transform your RAW landscape photos into stunning masterpieces with pro mobile editing tips. Start by using apps like Lightroom Mobile or Snapseed to access advanced editing tools. Adjust exposure, highlights, and shadows to balance your image's dynamic range. Fine-tune white balance for natural colors, and use selective editing to enhance specific areas. Apply lens corrections to fix distortions, and experiment with HDR techniques for dramatic skies. Don't forget to sharpen details and reduce noise for a polished look. With these techniques, you'll elevate your mobile landscape photography to new heights. Discover how to release the full potential of your RAW files on the go.
Understanding RAW in Mobile Photography
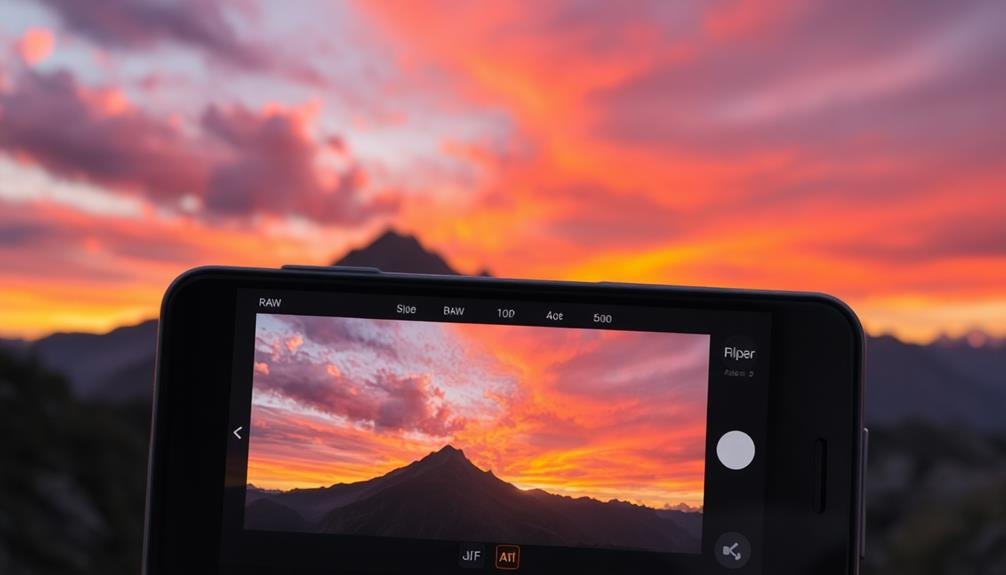
RAW files are the holy grail of mobile photography. When you shoot in RAW, you're capturing all the data your phone's camera sensor can detect, without any processing or compression. This gives you unparalleled flexibility in post-processing, allowing you to adjust exposure, white balance, and color with minimal loss of quality.
Unlike JPEGs, which are processed and compressed by your phone, RAW files preserve details in highlights and shadows that would otherwise be lost. This means you can rescue overexposed skies or bring out details in dark areas of your landscape shots.
To shoot in RAW on your mobile device, you'll need a camera app that supports it, such as Lightroom Mobile or ProCam. Once you've captured your RAW file, you'll need to edit it using a RAW-compatible editing app.
When editing RAW files, you'll have access to a wider range of adjustments than with JPEGs. You can fine-tune white balance, recover blown-out highlights, and adjust colors with greater precision. This level of control allows you to create stunning landscape images that truly reflect your creative vision.
Essential Apps for RAW Editing
To elevate your mobile RAW editing game, you'll need the right tools at your fingertips.
Let's explore the top RAW editing apps available for smartphones and tablets.
We'll compare their key features to help you choose the best app for your editing workflow.
Top RAW Editing Apps
When it comes to mobile RAW editing, having the right apps can make all the difference.
Lightroom Mobile stands out as a top choice, offering powerful tools and seamless integration with its desktop counterpart. You'll find a thorough suite of adjustments, including exposure, contrast, and color grading, all optimized for touchscreen use.
Snapseed, a free option from Google, provides an intuitive interface with advanced features like selective editing and healing brush. It's particularly user-friendly for those new to RAW editing.
For iOS users, Darkroom offers a robust set of tools and supports RAW files from various cameras.
If you're looking for more specialized options, RawTherapee and Capture One for iPad deliver professional-grade editing capabilities.
RawTherapee excels in noise reduction and demosaicing, while Capture One brings its renowned color editing tools to mobile.
VSCO, known for its filters, also supports RAW editing with a clean, minimalist interface.
For a more hands-on approach, try Affinity Photo, which offers desktop-class editing features in a mobile package.
App Features Comparison
For a thorough look at essential RAW editing apps, let's compare their key features.
Lightroom Mobile offers advanced color grading, selective adjustments, and seamless cloud syncing. It's ideal if you're already using Adobe's ecosystem.
Snapseed, while not exclusively for RAW, provides powerful tools like healing brush and perspective correction. Its intuitive interface makes it perfect for quick edits on the go.
Capture One for iPad excels in tethered shooting and color management, making it a pro favorite. However, it's currently limited to iPadOS.
VSCO stands out with its film-like presets and social sharing features, but lacks some advanced editing tools.
RNI Films specializes in authentic film emulations, offering a unique look for your RAW images.
DarkRoom boasts a clean interface and non-destructive editing, with powerful curves and color tools.
Affinity Photo for iPad provides desktop-grade functionality, including layers and masks, at a one-time cost.
Each app has its strengths, so consider your specific needs, workflow, and budget when choosing.
Try their free versions to find the best fit for your mobile RAW editing.
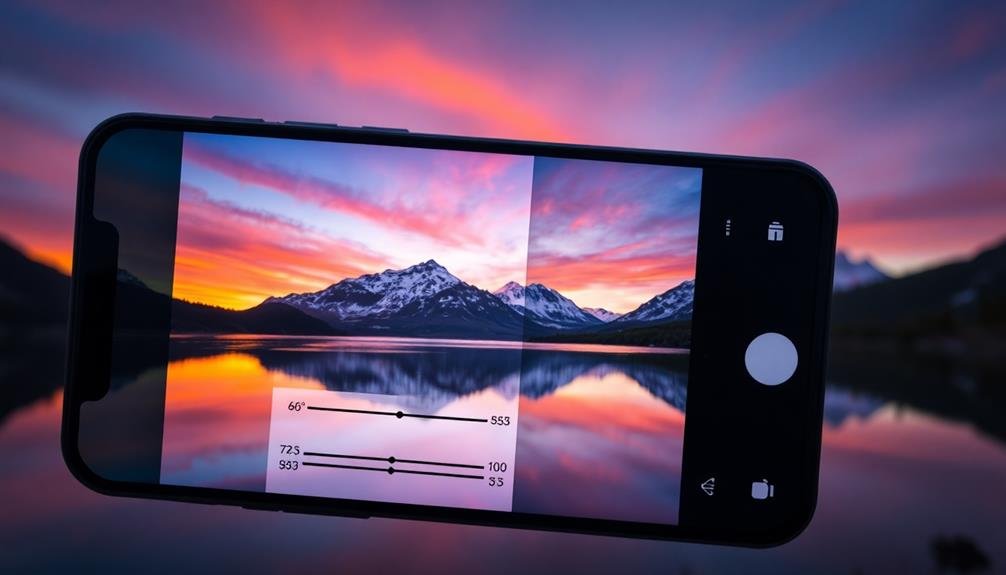
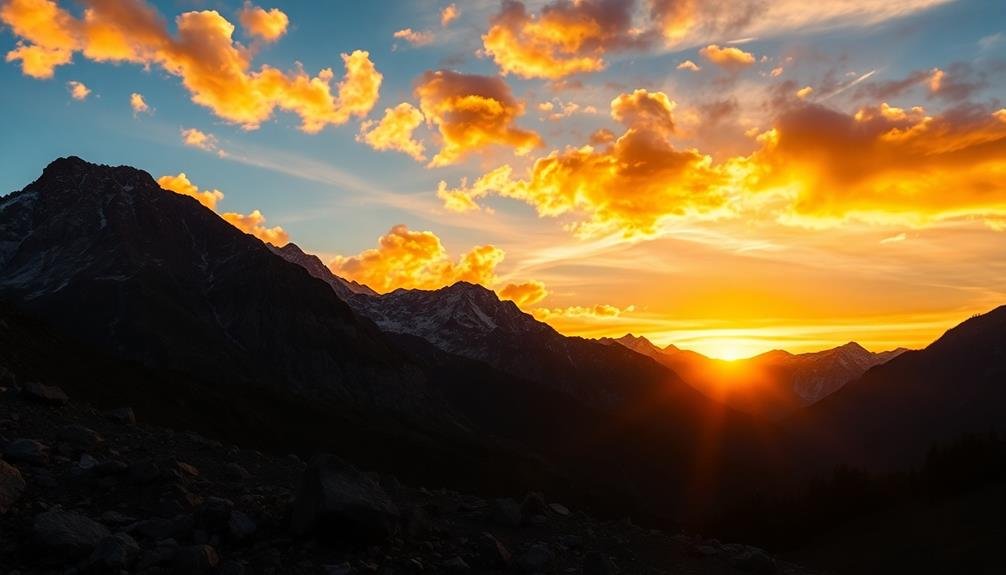
Exposure Adjustments for Dramatic Skies
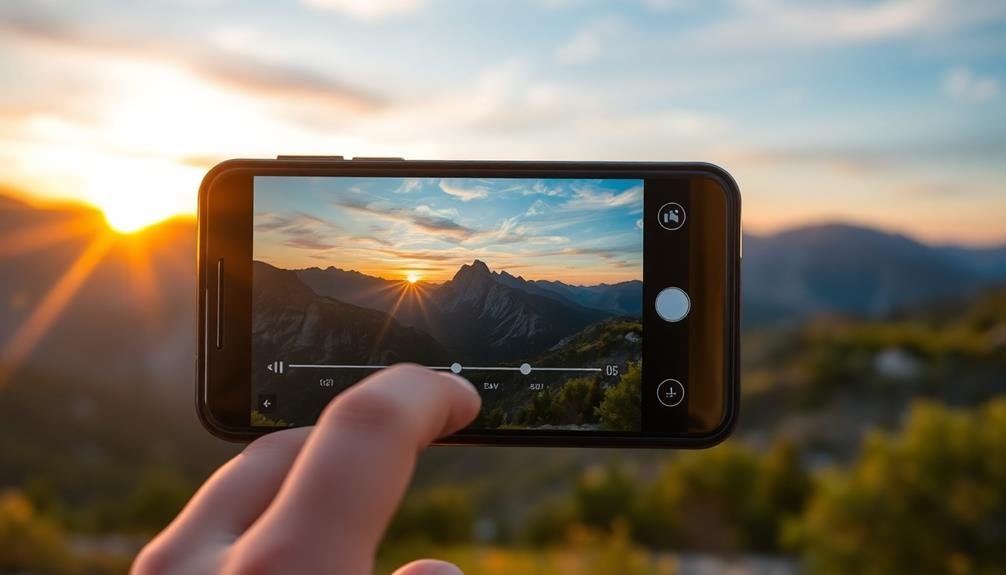
To create dramatic skies in your mobile photos, mastering exposure adjustments is essential.
You'll need to balance highlights and shadows carefully, bringing out cloud definition without losing detail in darker areas.
Using gradient filters can add depth to your sky, creating a more dynamic and visually striking image.
Balancing Highlights and Shadows
Dramatic skies can make or break your mobile photography, but they often present a unique challenge. When capturing scenes with bright skies and darker foregrounds, you'll need to balance highlights and shadows to preserve detail in both areas.
Start by using your phone's HDR mode to capture a wider range of tones. If that's not enough, take multiple exposures and blend them later.
In post-processing, use the highlights and shadows sliders to fine-tune the balance. Reduce highlights to recover detail in bright areas, and lift shadows to reveal information in darker regions.
Pay attention to the histogram to guarantee you're not clipping highlights or crushing shadows. If necessary, use selective adjustments to target specific areas of your image.
Gradient filters can help balance exposure between sky and land.
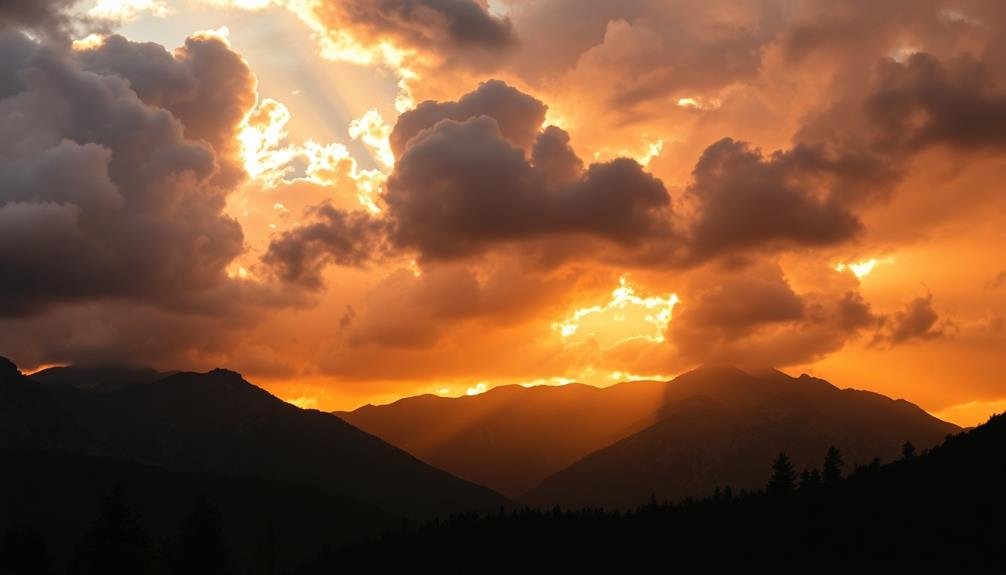
Enhancing Cloud Definition
Enhancing cloud definition can transform an ordinary sky into a breathtaking masterpiece. When editing RAW landscape photos on your mobile device, pay close attention to the sky's details. You'll want to bring out the texture and depth of the clouds without overdoing it.
Start by adjusting the highlights and shadows in the sky area, then fine-tune with contrast and clarity tools.
To create dramatic skies, focus on these key aspects:
- Exposure: Slightly underexpose the sky to reveal cloud details
- Contrast: Increase to separate light and dark areas within clouds
- Highlights: Reduce to prevent white, blown-out areas
- Dehaze: Apply sparingly to enhance cloud structure
Don't be afraid to use selective adjustments or masks to target only the sky area. This allows you to make more dramatic changes without affecting the rest of your image.
Remember, the goal is to enhance the natural beauty of the clouds, not create an unrealistic scene. Experiment with different combinations of these adjustments to find the perfect balance for your specific image.
With practice, you'll develop an eye for bringing out the best in any sky.
Gradient Filters for Depth
Gradient filters are powerful tools for adding depth and drama to your landscape photos. They allow you to selectively adjust exposure, creating a gradual shift between different areas of your image.
To use them effectively, start by identifying the horizon line in your photo. Place the gradient filter along this line, with the effect strongest at the top and gradually fading towards the bottom.
For dramatic skies, lower the exposure of the upper portion of your image. This darkens the sky, enhancing cloud definition and creating contrast with the foreground. You can also adjust highlights and shadows within the gradient to fine-tune the effect.
Don't be afraid to experiment with multiple gradients, layering them for more complex adjustments.
Color temperature adjustments within the gradient can further enhance depth. Cooling the sky slightly while warming the foreground can create a sense of distance.
Remember to use subtle adjustments; overdo it, and your image may look unnatural. As you refine your technique, you'll find gradient filters invaluable for balancing exposure across your entire landscape, resulting in more impactful and professional-looking images.
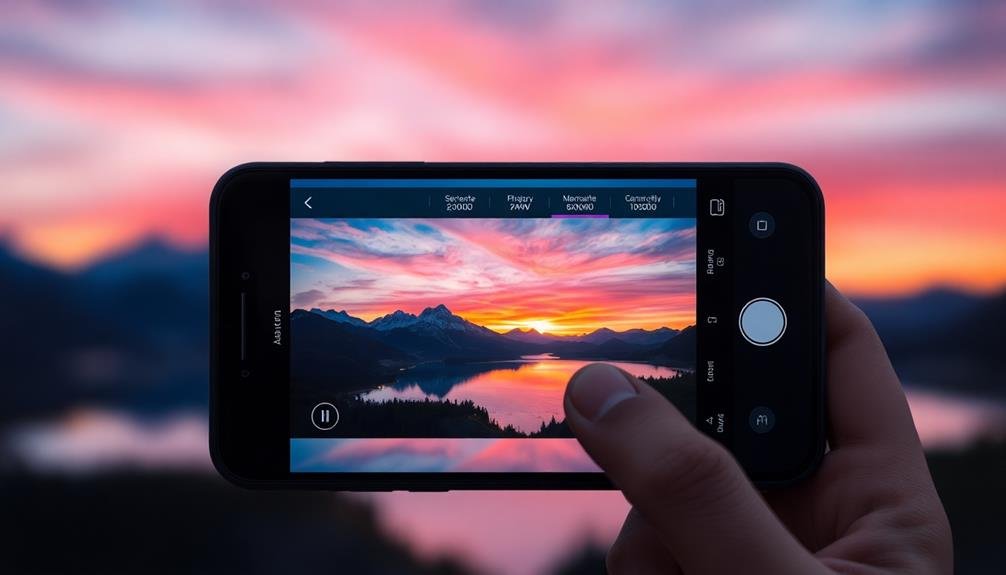
Mastering White Balance on Mobile
In light of mobile photography's growing popularity, mastering white balance on your smartphone is essential for achieving professional-looking images. White balance affects the overall color temperature of your photos, ensuring they appear natural and true to life. Most mobile editing apps offer preset white balance options, but learning to adjust it manually gives you greater control over your final image.
To master white balance on your mobile device, focus on these key aspects:
- Understand color temperature: Familiarize yourself with the Kelvin scale and how different light sources affect your images.
- Use the eyedropper tool: Many apps feature this tool, allowing you to select a neutral gray or white area to set the correct white balance.
- Experiment with presets: Try various presets to see how they affect your image, then fine-tune as needed.
- Learn to read histograms: This skill helps you identify color casts and make precise adjustments.
When editing RAW files on your mobile device, you'll have more flexibility in adjusting white balance without losing image quality.
Don't be afraid to make bold changes – you can always reset and start over. With practice, you'll develop an eye for perfect white balance, elevating your mobile photography to new heights.
Enhancing Colors With Saturation Tools
Color enthusiasts know that saturation tools are a game-changer for mobile photo editing. These powerful features allow you to breathe life into your landscape photos, enhancing their vibrancy and impact.
When using saturation tools, start by adjusting the overall saturation of your image. Be careful not to overdo it, as excessive saturation can make your photo look unnatural and garish.
For more precise control, use selective saturation tools to target specific colors. This technique lets you boost the blues in a sky or the greens in foliage without affecting other hues. Many mobile editing apps offer HSL (Hue, Saturation, Luminance) sliders, giving you even more control over individual color channels.
Don't forget to experiment with vibrance tools, which intelligently increase saturation in less saturated areas while leaving already vibrant colors untouched. This can help create a more balanced and natural-looking result.
As you work, frequently toggle between the original and edited versions to guarantee you're not going overboard. Remember, subtle adjustments often yield the most professional-looking results. With practice, you'll develop an eye for enhancing colors that make your landscape photos truly pop.
Creating Depth With Contrast Techniques
How can you make your photos leap off the screen? The secret lies in mastering contrast techniques to create depth. By manipulating light and dark areas, you'll transform flat images into enchanting, three-dimensional landscapes.
Contrast isn't just about black and white; it's about creating visual interest and guiding the viewer's eye through your composition.
Start by adjusting the overall contrast of your image, then focus on specific areas to enhance depth. Use the highlights and shadows sliders to bring out details in both bright and dark areas.
Don't be afraid to push the limits, but be careful not to lose important details in the process.
Here are four key contrast techniques to create depth:
- Emphasize foreground elements by increasing their contrast
- Reduce contrast in distant objects to simulate atmospheric haze
- Use selective contrast adjustments to separate overlapping elements
- Create depth by darkening the edges of the frame (vignette)
Sharpening Details for Crisp Landscapes
Landscape photographers know that sharpness can make or break an image. To achieve crisp details in your mobile-edited landscapes, you'll need to master selective sharpening techniques.
Start by identifying the key focal points in your image, such as a lone tree or a striking rock formation. These areas will benefit most from sharpening.
Use your editing app's masking tools to isolate these elements. Apply a moderate sharpening effect, being careful not to overdo it, as this can introduce unwanted noise. Pay special attention to edges and textures, where sharpening can really enhance the overall impact.
Don't forget to sharpen the foreground elements, as they often contribute to the sense of depth in landscapes. However, be mindful of over-sharpening distant objects like mountains or clouds, which can look unnatural if too crisp.
For a more advanced approach, try using multiple sharpening layers with varying intensities. This allows you to fine-tune the effect across different parts of your image, creating a more balanced and natural-looking result.
Noise Reduction in Low-Light Scenes
Low-light photography presents unique challenges, with noise being a primary concern. When shooting in dim conditions, your camera's sensor often struggles to capture clean images, resulting in grainy, speckled photos.
To combat this issue, you'll need to master noise reduction techniques during the editing process. Start by examining your image closely, identifying areas where noise is most prominent. You'll typically find it in darker regions and shadows.
Use your editing app's noise reduction tool, but be cautious not to overdo it. Excessive noise reduction can lead to a loss of detail and create an unnatural, plastic-like appearance.
Here are four key steps to effectively reduce noise in low-light scenes:
- Adjust the luminance noise reduction to target graininess
- Fine-tune color noise reduction to address color speckling
- Increase sharpness slightly to restore lost detail
- Apply selective noise reduction to preserve important textures
Cropping for Stronger Compositions
Perfecting your composition doesn't end when you press the shutter button. Cropping is a powerful tool that lets you refine your image's framing and impact after the fact.
When cropping landscape photos on your mobile device, consider the rule of thirds to create a more balanced composition. Place key elements along the grid lines or at their intersections for added visual interest.
Don't be afraid to crop tightly to eliminate distracting elements and focus on the most compelling parts of your scene. Experiment with different aspect ratios to see how they affect the overall mood and story of your image. A square crop can work well for symmetrical compositions, while a panoramic crop can emphasize the vastness of a landscape.
Pay attention to leading lines and use them to guide the viewer's eye through the frame. Adjust your crop to strengthen these lines and create a more dynamic composition.
Remember that less is often more – a well-executed crop can transform a cluttered image into a powerful, focused statement. Always keep the final output in mind, whether it's for social media, print, or other purposes, and crop accordingly to guarantee your image looks its best in its intended format.
Utilizing Curves for Tonal Control
Mastery of tonal control is essential for creating stunning mobile edits, and curves are your secret weapon. This powerful tool allows you to fine-tune the brightness, contrast, and color balance of your images with precision.
By manipulating the curve's shape, you'll have granular control over specific tonal ranges, enabling you to enhance shadows, highlights, and midtones independently.
To effectively utilize curves for tonal control:
- Start with the RGB curve to adjust overall brightness and contrast
- Use individual color curves (red, green, blue) to correct color casts
- Create an S-curve for increased contrast and drama
- Apply targeted adjustments with anchor points for specific tonal ranges
Don't be afraid to experiment with different curve shapes to achieve your desired look.
Remember that subtle adjustments often yield the most natural results. Pay attention to how changes in one part of the curve affect other areas of your image.
As you become more comfortable with curves, you'll find they're an indispensable tool for achieving professional-quality edits on your mobile device.
With practice, you'll develop an intuitive understanding of how to manipulate curves to bring out the best in your landscape photos.
Applying Selective Edits With Masks
While global adjustments can enhance your entire image, selective editing through masks allows you to target specific areas with precision. Masks act as barriers, controlling where your edits are applied. In mobile editing apps, you'll often find brush tools or gradient masks to create these selective edits.
To apply a mask, start by selecting the adjustment you want to make, such as exposure or saturation. Then, choose your masking tool. Use the brush tool for intricate selections, painting over the areas you want to affect. For broader, gradual changes, opt for a gradient mask. Adjust the mask's opacity to fine-tune the effect's intensity.
Don't forget to refine your mask's edges. Many apps offer feathering options to create smooth shifts between edited and unedited areas. You can also invert masks to apply edits to the inverse of your selection.
Experiment with multiple masks on a single layer to create complex edits. This technique is particularly useful for enhancing specific elements like skies, water, or foreground objects in landscape photos.
Lens Correction for Mobile Cameras
Mobile phone cameras have come a long way, but they're not immune to lens distortions. These distortions can affect your landscape photos, causing straight lines to appear curved or skewing the perspective.
Fortunately, many mobile editing apps now offer lens correction tools to help you fix these issues.
To apply lens correction effectively, you'll need to understand the types of distortions you're dealing with. Here are the most common ones:
- Barrel distortion: Objects appear to bulge outward from the center
- Pincushion distortion: Objects appear to be squeezed inward toward the center
- Chromatic aberration: Colored fringes along high-contrast edges
- Vignetting: Darkening of the image corners
When correcting lens distortions, start with the automatic settings in your editing app. These often do a good job of fixing the most obvious issues.
If you're not satisfied with the results, try manual adjustments. Pay close attention to straight lines near the edges of your frame, as they'll show distortion most clearly.
Don't overdo the corrections, as this can lead to unnatural-looking images. Subtle adjustments usually yield the best results, maintaining the integrity of your landscape while improving its overall appearance.
HDR Techniques for Dynamic Range
HDR techniques can greatly enhance your mobile photos' dynamic range.
You'll want to start by bracketing exposures, capturing multiple shots at different brightness levels to later combine.
As you blend these images, focus on balancing highlights and shadows, and decide whether you're aiming for a realistic look or a more stylized HDR effect.
Bracketing Exposures for HDR
Capturing the full dynamic range of a scene can be challenging with mobile devices. That's where bracketing exposures for HDR comes in handy. By taking multiple shots at different exposure levels, you'll have more data to work with when creating your final image.
To bracket exposures effectively, you'll need to:
- Use your phone's manual or pro mode
- Set up a stable shooting position, preferably with a tripod
- Adjust exposure compensation between shots
- Take at least three images: underexposed, properly exposed, and overexposed
Start by setting your base exposure for the mid-tones. Then, take additional shots, adjusting the exposure compensation by 1 to 2 stops in each direction. This guarantees you've captured details in both the shadows and highlights.
Many modern smartphones offer built-in HDR modes, but manual bracketing gives you more control. You can merge these exposures later using HDR software or mobile apps like Snapseed or Lightroom Mobile.
Balancing Highlights and Shadows
One of the most powerful tools in your mobile editing arsenal is the ability to balance highlights and shadows. This technique allows you to bring out details in both bright and dark areas of your landscape photos, creating a more balanced and visually appealing image.
Start by adjusting the overall exposure of your photo to find a middle ground. Then, use the highlights slider to recover detail in bright areas like skies or reflections. Don't be afraid to pull it down considerably; you'll be surprised how much information you can retrieve.
Next, lift the shadows to reveal details in darker areas. Be careful not to overdo it, as this can lead to a flat, unnatural look. Aim for a balance that maintains depth and dimension in your image.
Fine-tune your adjustments by using the whites and blacks sliders. These help you set precise white and black points, enhancing overall contrast and tonal range.
Realistic vs. Stylized HDR
When it comes to HDR techniques, you'll encounter two main approaches: realistic and stylized.
Realistic HDR aims to faithfully represent what your eyes see, maintaining a natural look while expanding the dynamic range. Stylized HDR, on the other hand, pushes boundaries and creates dramatic, often surreal effects.
To achieve realistic HDR, focus on subtle adjustments. Use your mobile editing app to gently lift shadows and recover highlights. Avoid oversaturating colors or pushing contrast too far. The goal is to enhance details without making the image look artificial.
For stylized HDR, you can be more creative. Experiment with extreme shadow and highlight adjustments, boost saturation, and play with local contrast. This approach can create striking, eye-catching images but may not appeal to everyone's taste.
Consider these factors when choosing between realistic and stylized HDR:
- Your artistic vision
- The subject matter
- Your target audience
- The intended use of the image
Ultimately, the choice between realistic and stylized HDR depends on your personal style and the message you want to convey.
Don't be afraid to experiment with both approaches to find what works best for your landscape photography.
Exporting and Sharing Edited RAW

The final step in your mobile RAW editing journey is exporting and sharing your masterpiece. After perfecting your image, you'll need to choose the right export settings to maintain quality while considering file size and compatibility.
Most mobile editing apps offer various export options. For maximum quality, export as a TIFF or PNG file. These formats preserve more detail but result in larger file sizes. If you're sharing on social media or need a smaller file, opt for a high-quality JPEG.
When exporting, pay attention to color space settings. sRGB is the safest choice for online sharing and viewing on most devices. For print, consider Adobe RGB or ProPhoto RGB for a wider color gamut.
Don't forget to resize your image appropriately for its intended use. Social media platforms often have specific size requirements, while prints may need larger dimensions.
Finally, consider watermarking your work to protect your copyright. Many apps offer built-in watermarking tools, allowing you to add your logo or signature discreetly.
Once exported, you can easily share your edited RAW landscape directly from your mobile device to various platforms or cloud storage services.
Frequently Asked Questions
How Do RAW Files Affect Storage Space on My Mobile Device?
RAW files take up considerably more storage space on your mobile device than compressed formats like JPEG. They're larger because they contain unprocessed, high-quality image data. You'll need to manage your storage carefully when shooting RAW.
Can I Edit RAW Photos From My DSLR on My Smartphone?
Yes, you can edit RAW photos from your DSLR on your smartphone. You'll need to transfer the files to your phone and use a compatible editing app. Many mobile apps now support RAW editing, offering professional-level control over your images.
Are There Any Cloud-Based RAW Editing Solutions for Mobile Photographers?
Yes, there are cloud-based RAW editing solutions for mobile photographers. You'll find options like Adobe Lightroom Mobile, Snapseed, and VSCO. They allow you to edit RAW files on your phone and sync changes across devices.
How Do I Organize and Manage Multiple Versions of Edited RAW Files?
You'll want to use a file management system with versioning. Create folders for each project, use descriptive filenames, and consider color-coding or tagging. Don't forget to back up your files regularly to protect your work.
What Are the Best Practices for Backing up RAW Files on Mobile?
You'll want to back up your RAW files regularly. Use cloud storage services like Dropbox or Google Drive, and sync automatically. Don't forget to keep local copies on an external hard drive too. Always maintain multiple backups.
In Summary
You've now got the tools to transform your raw landscapes into stunning masterpieces. Remember, practice makes perfect. Don't be afraid to experiment with different techniques and apps. As you refine your skills, you'll develop your unique editing style. Keep pushing the boundaries of mobile photography, and you'll soon be creating professional-quality images right from your smartphone. Share your work, get feedback, and continue learning. The world's waiting to see your vision!
Leave a Reply