To master exposure compensation on your smartphone, start by understanding your device's exposure meter. Recognize high contrast scenes and adjust accordingly. Compensate for backlit subjects to avoid silhouettes. When shooting in snow or on beaches, increase exposure to capture the scene's brilliance. For night photography, use longer exposures and adjust ISO settings. Create striking silhouettes by underexposing deliberately. Try bracketing exposures for HDR images. Use AE Lock for consistent shots across multiple frames. Fine-tune exposure in post-processing to perfect your images. With these tips, you'll be well on your way to capturing stunning, professional-quality photos with your smartphone.
Understand Your Smartphone's Exposure Meter
Your smartphone's exposure meter is the key to accessing perfect lighting in your mobile photos. It's a built-in tool that measures the amount of light in your scene and automatically adjusts settings to achieve a balanced exposure.
To understand how it works, you'll need to familiarize yourself with your camera app's interface. Most smartphone cameras use center-weighted metering, which means they prioritize the light in the center of the frame.
When you tap on the screen to focus, you're also telling the camera where to meter the exposure. The camera will then adjust settings like ISO, shutter speed, and aperture to properly expose that area.
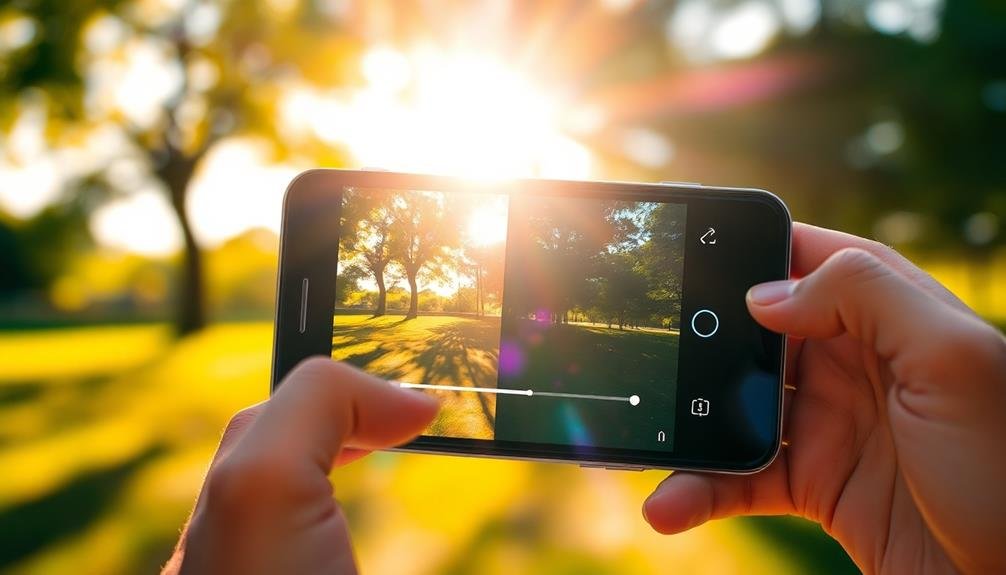
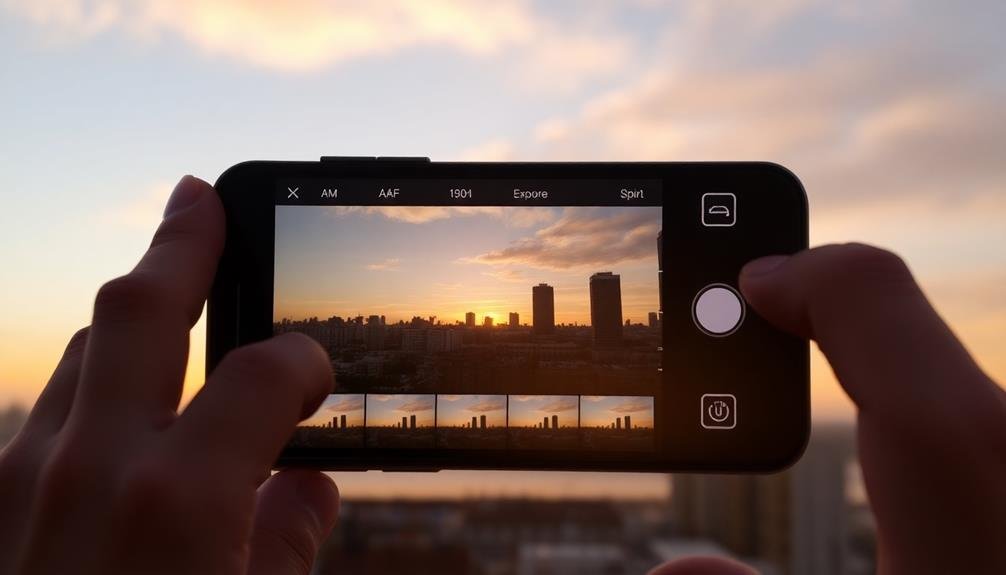
Look for an exposure slider or compensation control in your camera app. It's often represented by a sun icon or "+/-" symbol. This allows you to override the camera's automatic exposure settings.
Sliding towards "+" brightens the image, while "-" darkens it. Pay attention to the histogram, if available, to guarantee you're not clipping highlights or shadows.
With practice, you'll learn to quickly assess scenes and make necessary adjustments to capture the perfect exposure in your mobile photos.
Recognize High Contrast Scenes
When shooting high contrast scenes, you'll often encounter situations that challenge your smartphone's exposure meter.
Be particularly aware of bright skies paired with dark foreground subjects, or backlit scenes where your main subject appears shadowed.
In these cases, you'll need to adjust your exposure compensation to guarantee proper detail in both highlights and shadows.
Bright Skies, Dark Subjects
In spite of their advanced capabilities, smartphone cameras can struggle with high-contrast scenes featuring bright skies and dark subjects. These situations often result in overexposed skies or underexposed foregrounds, leaving you with disappointing images.
To tackle this challenge, you'll need to use exposure compensation effectively. When faced with a bright sky and dark subject, start by tapping on your subject to set focus and exposure. Then, adjust the exposure compensation by sliding your finger up or down on the screen. Aim to slightly underexpose the sky while maintaining detail in your subject. This approach helps preserve highlights and creates a more balanced image.
Consider these emotional benefits of mastering exposure compensation:
- Capture breathtaking landscapes that reflect the beauty you see
- Preserve cherished memories with stunning clarity and detail
- Release your creativity by controlling light in challenging situations
Backlit Scenes Require Adjustment
Backlit scenes present a unique challenge for mobile photographers due to their extreme contrast. When your subject is positioned in front of a bright light source, like the sun, your phone's camera often struggles to balance the exposure. The result? A silhouetted subject against a properly exposed background.
To tackle this issue, you'll need to use exposure compensation. First, identify the backlit situation. Look for scenes where light is coming from behind your subject, creating a halo effect.
Once you've recognized the high contrast, tap on your subject in the camera app to set the focus point. You'll likely see the background become overexposed.
Now, adjust the exposure by sliding your finger up on the screen to increase brightness. This will help reveal details in your subject that were previously hidden in shadow. Be careful not to overdo it, as you might lose detail in the highlights.
If your phone has an HDR mode, consider using it for backlit scenes. It can help balance the exposure across both bright and dark areas.
Compensate for Backlit Subjects
When faced with backlit subjects, you'll need to increase the brightness to reveal more detail.
Use your phone's exposure compensation feature to boost the light on your subject while preserving some of the background.
Increase Brightness for Detail
A common challenge in mobile photography is capturing detail in backlit subjects. When your subject is backlit, it often appears as a dark silhouette against a bright background. To overcome this, you'll need to increase the brightness of your image to reveal more detail in the shadowed areas.
Start by tapping on the darkest part of your subject in your camera app. This tells your phone to expose for that area. Then, use the exposure compensation slider to increase the brightness. Don't be afraid to push it quite far; you can always adjust it later in editing.
Remember, it's better to have a slightly overexposed image than one that's too dark to recover details.
As you increase the brightness, you'll notice:
- Hidden textures and features emerging from the shadows
- A more balanced overall exposure
- The subject's true colors becoming visible
Be careful not to overdo it, though. You don't want to blow out the highlights completely. Aim for a balance where you can see details in both the bright and dark areas of your image.
With practice, you'll develop an eye for the right exposure compensation in challenging lighting situations.
Preserve Background While Exposing
While increasing brightness can reveal subject details, it's equally important to maintain the background's integrity in backlit scenes. When you're faced with a backlit subject, you'll often find that exposing for the foreground can blow out the background, losing important details and atmosphere.
To preserve the background while properly exposing your subject, try using exposure compensation in combination with HDR mode. Start by tapping on your subject to focus, then slightly reduce the exposure using the compensation slider. This will help retain some of the background details.
Next, enable HDR mode if your phone supports it. HDR will capture multiple exposures and combine them, giving you a more balanced final image.
If HDR isn't available, you can manually create a similar effect. Take two photos: one exposed for the subject and another for the background. Later, blend these images using a photo editing app.
Another technique is to use a reflector or white surface to bounce light onto your subject, reducing the exposure difference between foreground and background. Remember, the goal is to find a balance that showcases your subject without sacrificing the scene's overall ambiance.
Adjust for Snow and Beaches
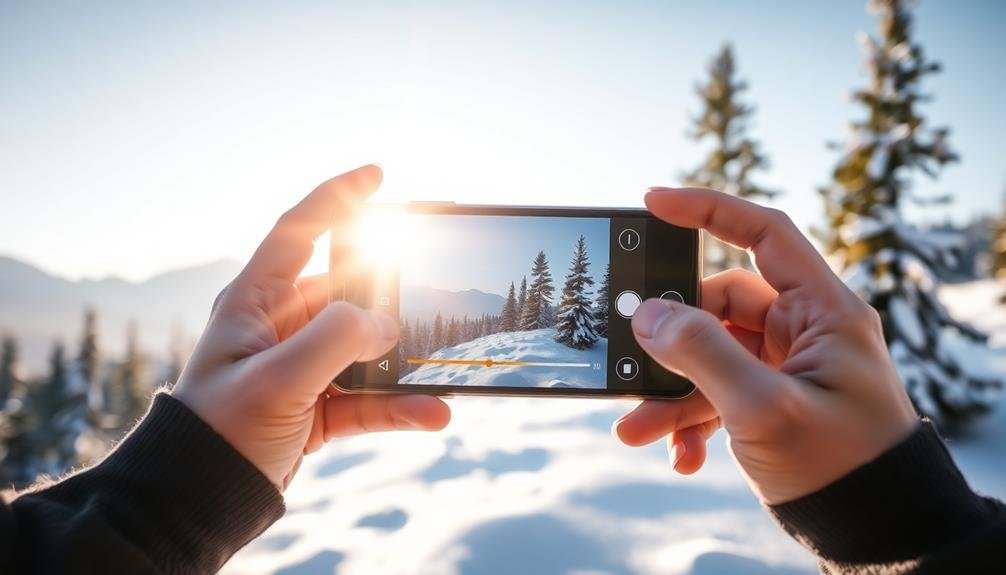
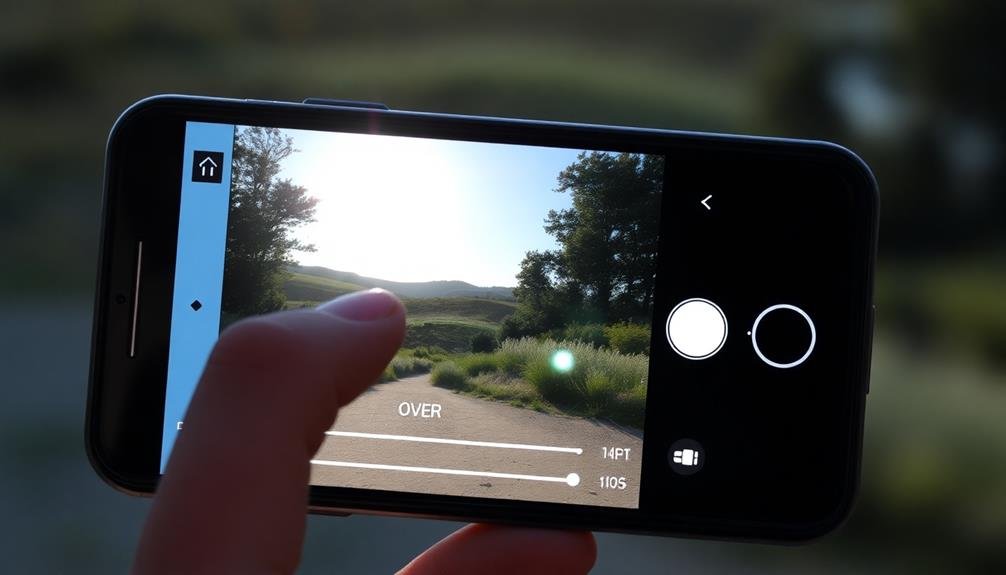
Most smartphone cameras struggle to accurately expose scenes with snow or bright beaches. These high-contrast environments often trick your phone's light meter, resulting in underexposed images with dull, grayish snow or sand. To combat this, you'll need to use exposure compensation.
Start by tapping on the brightest area of your scene, then slide the exposure slider up by about 1 to 2 stops. This will help your camera capture the true brilliance of the snow or sand. Remember, it's better to slightly overexpose than underexpose in these situations.
For beach scenes, consider using HDR mode to balance the bright sand with darker elements like people or objects. In snowy landscapes, pay attention to shadows, as they can add depth and contrast to your image.
When adjusting for snow and beaches, keep these emotional aspects in mind:
- The joy of capturing pristine, glistening snow
- The excitement of preserving sun-soaked beach memories
- The satisfaction of mastering challenging lighting conditions
Experiment with different exposure levels to find the sweet spot that best represents the scene as you see it.
With practice, you'll develop an intuitive sense for adjusting exposure in these tricky environments.
Master Night Photography Exposures
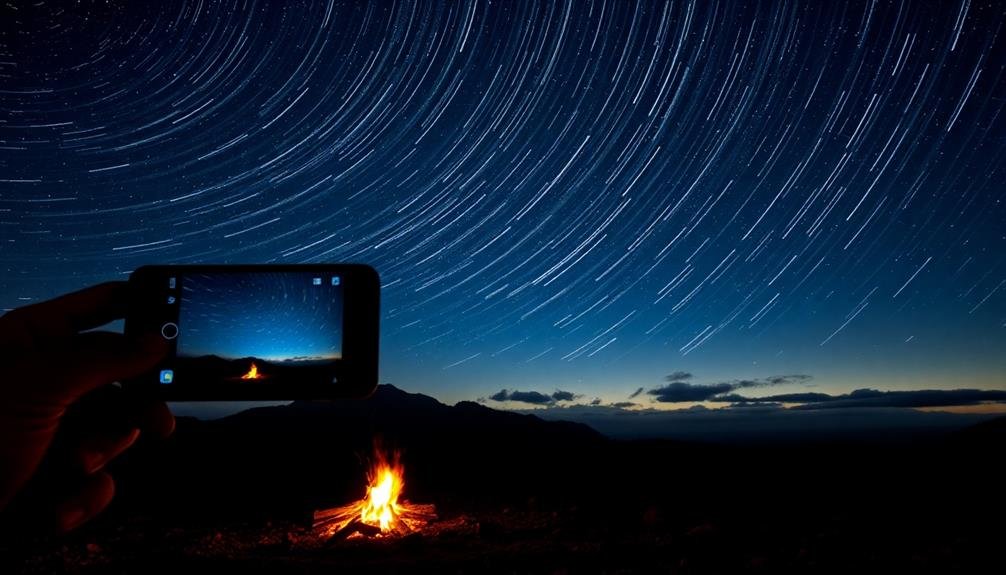
How can you capture stunning night scenes with your smartphone? Mastering night photography exposures requires a combination of technique and the right settings.
First, enable your phone's night mode if available. This feature automatically adjusts exposure for low-light conditions. If you don't have night mode, manually increase your camera's ISO and lower the shutter speed.
Use exposure compensation to fine-tune your shot. In dark scenes, try increasing exposure by +1 or +2 to bring out more detail. However, be cautious not to overexpose bright elements like streetlights.
For scenes with contrasting light sources, experiment with HDR mode to balance exposure across the frame.
Stabilization is essential for night shots. Use a tripod or rest your phone on a stable surface to avoid camera shake. If handheld, brace your elbows against your body and hold your breath while shooting.
Consider using the volume button or a remote shutter to minimize movement.
Lastly, focus on bright points in the scene, as autofocus may struggle in low light. Tap to focus manually, and if available, use your phone's focus peaking feature to guarantee sharpness.
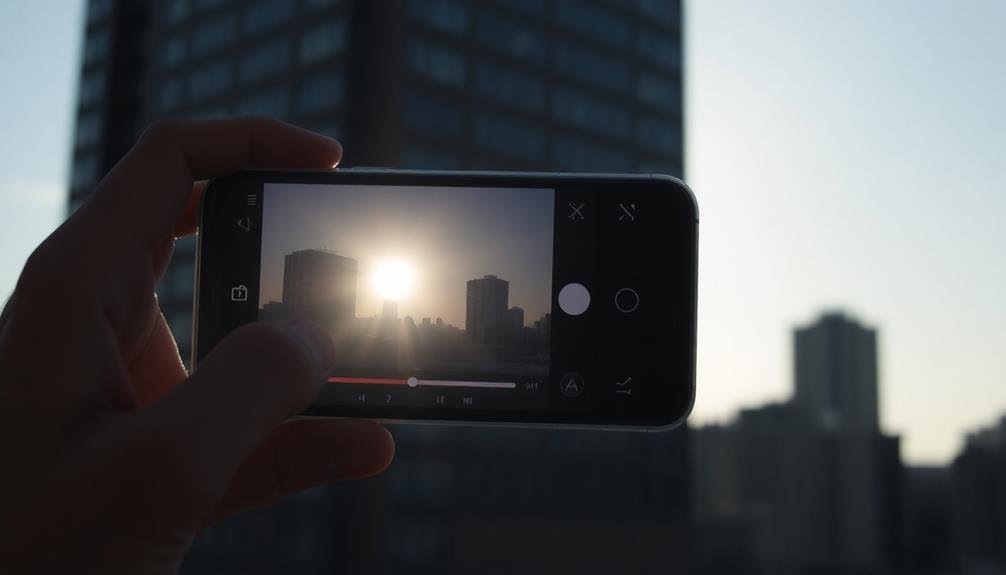
Preserve Highlights in Bright Scenes
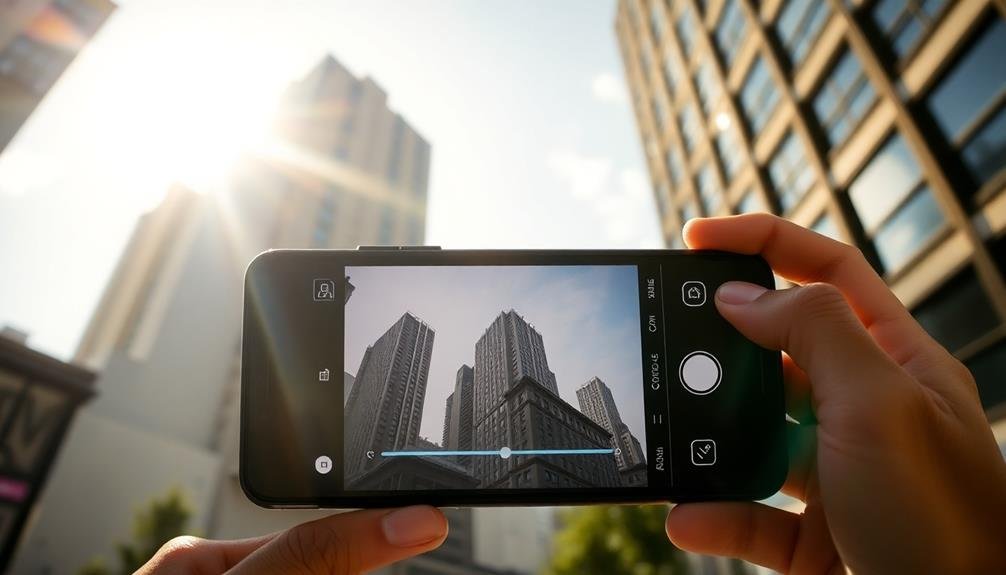
When photographing bright scenes, you'll often need to preserve highlights to avoid overexposure.
To capture detail in skies, try reducing your exposure compensation by 0.5 to 1 stop, which can help retain cloud textures and color gradients.
For scenes with extreme contrast, you can bracket exposures and combine them later for a high dynamic range (HDR) image, ensuring both highlights and shadows are well-exposed.
Reduce Exposure for Skies
Bright skies can easily overwhelm your mobile camera's sensor, resulting in washed-out highlights and a loss of detail. To combat this, you'll need to reduce exposure specifically for the sky.
Start by tapping on the brightest area of the sky in your frame. This will tell your camera to adjust its exposure settings based on that area. You'll notice the overall image darkens, but don't worry – this is exactly what you want.
Next, use your phone's exposure compensation feature to fine-tune the exposure. Slide it down slightly to further darken the sky and reveal more details in the clouds. Remember, it's easier to brighten shadows in post-processing than it's to recover blown-out highlights.
When capturing skies, keep these emotional benefits in mind:
- Awe-inspiring: Properly exposed skies can evoke a sense of wonder and vastness
- Dramatic: Detailed clouds add depth and drama to your images
- Serene: Well-balanced exposures create a calming effect in landscape shots
Bracket Exposures for HDR
For scenes with extreme contrast between bright and dark areas, bracketing exposures can be a game-changer. This technique involves taking multiple shots of the same scene at different exposure levels, which you'll later combine into a high dynamic range (HDR) image.
To bracket exposures on your mobile device, use the HDR mode if available, or manually adjust exposure compensation for each shot. Start by taking a standard exposure, then capture underexposed and overexposed versions. Aim for at least three shots: -2 EV, 0 EV, and +2 EV. This range helps preserve details in both highlights and shadows.
When shooting, keep your phone steady or use a tripod to guarantee alignment between shots. After capturing your bracketed exposures, use HDR processing apps like Adobe Lightroom Mobile or Snapseed to merge them. These apps intelligently blend the best parts of each exposure, creating a final image with enhanced dynamic range.
Remember to adjust the HDR strength to avoid an unnatural look. With practice, you'll master the art of bracketing exposures, allowing you to capture stunning images in challenging lighting conditions that were once impossible with mobile photography.
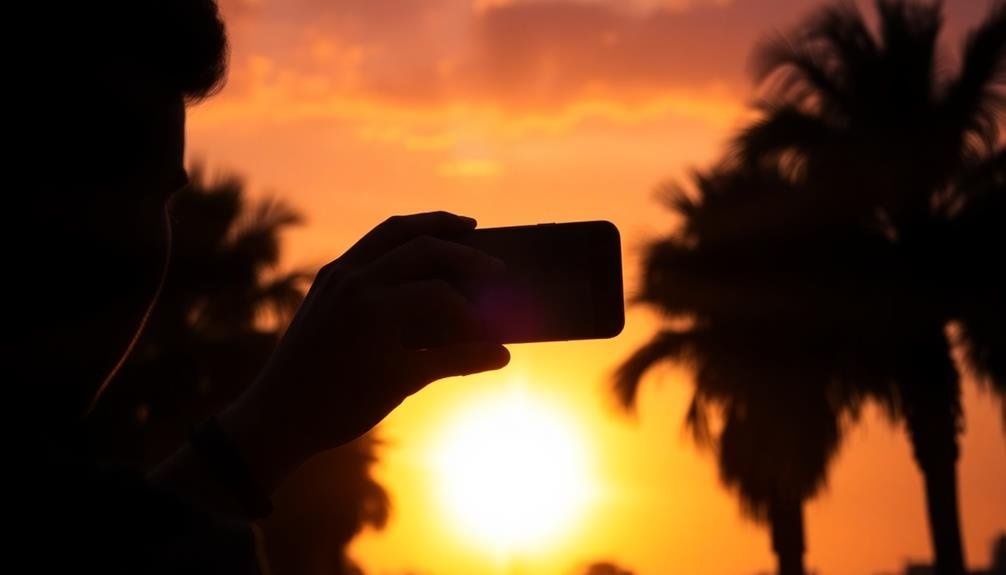
Capture Silhouettes Effectively
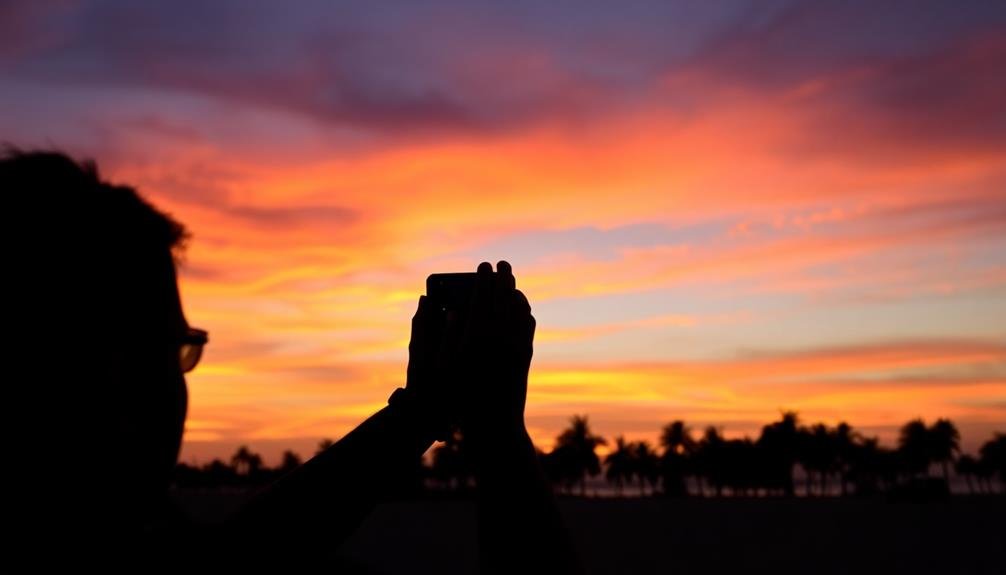
Creating stunning silhouettes requires mastering exposure compensation on your mobile device. To capture effective silhouettes, you'll need to underexpose your subject deliberately.
Start by tapping on the brightest part of your scene, usually the sky or background. This will cause your camera to adjust its exposure for that bright area, naturally darkening your subject.
Next, use your device's exposure compensation feature to further reduce the overall brightness. Slide the exposure down until your subject appears as a dark, distinct shape against the bright background. Remember, you're aiming for a strong contrast between the silhouetted subject and its surroundings.
Experiment with different angles and compositions to create more dynamic silhouettes. Position your subject against a colorful sunset or a bright, clear sky for maximum impact. Don't be afraid to get creative with poses and shapes to add interest to your shots.
Silhouettes can evoke powerful emotions:
- Mystery: The hidden details spark curiosity
- Drama: Strong contrasts create visual tension
- Serenity: Clean lines and simplicity promote calm
When editing, fine-tune the contrast and blacks to enhance the silhouette effect. Adjust highlights to bring out details in the background, creating a more balanced and striking image.
With practice, you'll master the art of capturing enchanting silhouettes using your mobile device's exposure compensation tools.
Bracket Exposures for HDR

When it comes to capturing high dynamic range (HDR) images, bracketing exposures is a powerful technique you can employ on your mobile device. This method involves taking multiple shots of the same scene at different exposure levels, typically underexposed, properly exposed, and overexposed.
To bracket exposures on your smartphone, use your camera app's manual mode or a third-party app with exposure compensation controls. Start by taking a standard shot at the camera's recommended exposure. Then, adjust the exposure compensation by -1 or -2 stops for an underexposed image, and +1 or +2 stops for an overexposed image.
For best results, use a tripod or stabilize your phone to guarantee all images align perfectly. After capturing your bracketed shots, use HDR merging software or your phone's built-in HDR feature to combine the images. This process allows you to retain details in both highlights and shadows, creating a final image with a broader dynamic range.
Remember to experiment with different exposure values and the number of bracketed shots to find the ideal combination for your specific scene and lighting conditions.
Use AE Lock for Consistent Shots
While bracketing exposures helps capture a wide dynamic range, maintaining consistent exposure across multiple shots is equally important. That's where AE (Auto Exposure) Lock comes in handy. This feature allows you to lock the exposure settings for a specific area of your frame, ensuring that subsequent shots maintain the same brightness and contrast.
To use AE Lock, simply tap and hold on the area of your screen where you want to set the exposure. Most smartphones will display a small lock icon, indicating that the exposure is now fixed. This technique is particularly useful when shooting a series of photos in challenging lighting conditions or when capturing panoramas.
AE Lock offers several benefits:
- Consistency: Maintain uniform exposure across multiple shots
- Control: Prevent unwanted exposure shifts due to moving subjects or changing light
- Efficiency: Save time by avoiding constant exposure adjustments
Remember to release the AE Lock when you're done or when lighting conditions change considerably.
Fine-tune Exposure in Post-Processing
Although capturing the perfect exposure in-camera is ideal, post-processing offers valuable opportunities to fine-tune your images. Most mobile photo editing apps provide exposure adjustment tools that let you brighten or darken your shots after the fact.
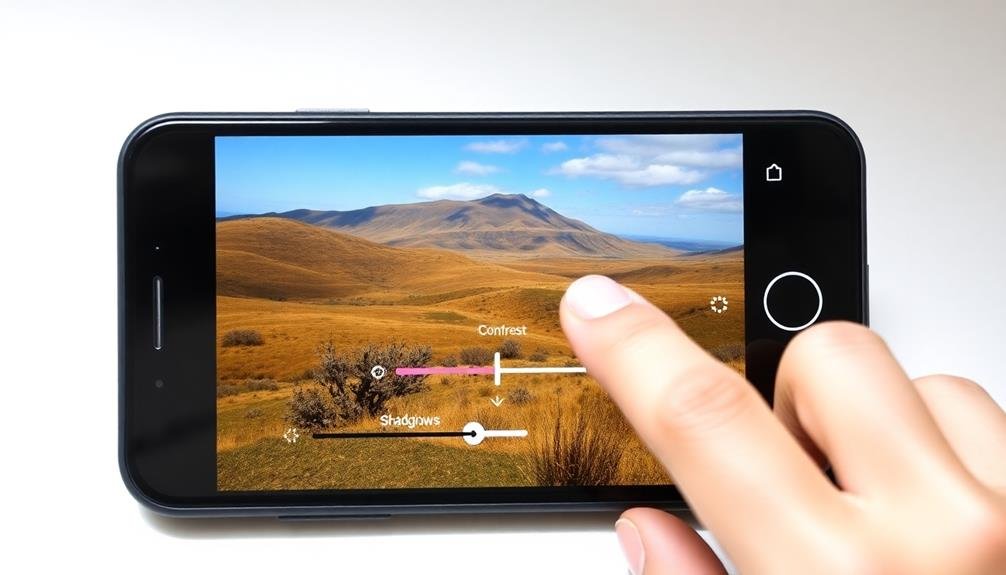
Look for sliders labeled "Exposure," "Brightness," or "Lightness" to make global changes to your image's luminosity. For more precise control, use tools like "Highlights" and "Shadows" to adjust specific tonal ranges. Increasing shadows can reveal details in dark areas, while reducing highlights can recover information in bright spots.
Don't forget about the "Contrast" slider, which can add depth and dimension to your photos. If your image has uneven lighting, try using selective adjustments. Many apps offer brush or gradient tools that allow you to apply exposure changes to specific areas of your photo.
This technique is particularly useful for balancing skies against foregrounds or brightening faces in backlit scenes.
Frequently Asked Questions
How Does Exposure Compensation Affect Battery Life on My Smartphone?
Exposure compensation doesn't greatly impact your smartphone's battery life. It's a software adjustment that doesn't require extra power. However, if you're constantly adjusting settings and retaking photos, you might see a slight increase in battery consumption.
Can I Use Exposure Compensation With Third-Party Camera Apps?
Yes, you can use exposure compensation with many third-party camera apps. They often offer this feature, giving you more control over your shots. Check the app's settings or manual controls to find and adjust exposure compensation as needed.
Does Exposure Compensation Work Differently for RAW vs. JPEG Images?
When you use exposure compensation, it affects both RAW and JPEG images differently. For RAW files, you're adjusting the metadata, allowing more post-processing flexibility. With JPEGs, you're directly altering the image's exposure during capture, limiting later adjustments.
How Do Smartphone Lens Attachments Impact Exposure Compensation Settings?
Smartphone lens attachments can affect your exposure compensation settings. They may alter light transmission, requiring you to adjust exposure accordingly. Pay attention to how different lenses impact your image's brightness and adjust your settings as needed.
Is There a Way to Save Custom Exposure Compensation Presets?
You'll find that most smartphones don't offer custom exposure compensation presets. However, you can use third-party camera apps that allow you to save custom settings, including exposure compensation, for quick access when shooting.
In Summary
You've now got the tools to take your mobile photography to the next level. By mastering exposure compensation, you'll capture stunning images in challenging lighting conditions. Remember, practice makes perfect. Don't be afraid to experiment with different settings and techniques. Keep these tips in mind, and you'll soon be creating professional-looking photos right from your smartphone. So go ahead, get out there, and start shooting with confidence!


Leave a Reply