Elevate your mobile photography with these focus peaking tricks. Customize peaking colors to suit your scenes, and master manual focus for precise control. Use focus magnification to zoom in on details, and experiment with different subjects to hone your skills. Try focus stacking for extended depth of field, and combine peaking with exposure zebras for balanced shots. Practice rack focus for dynamic videos, and utilize depth of field preview for creative compositions. Fine-tune sensitivity settings for ideal performance in various lighting conditions. By mastering these techniques, you'll reveal new levels of sharpness and creativity in your mobile photography. Discover how these tricks can transform your images from good to extraordinary.
Customize Focus Peaking Colors
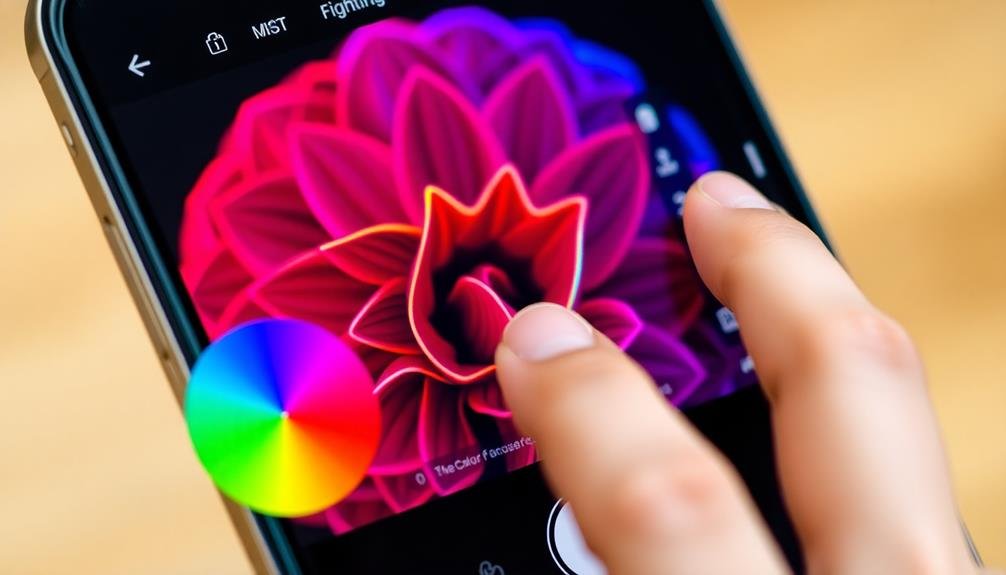
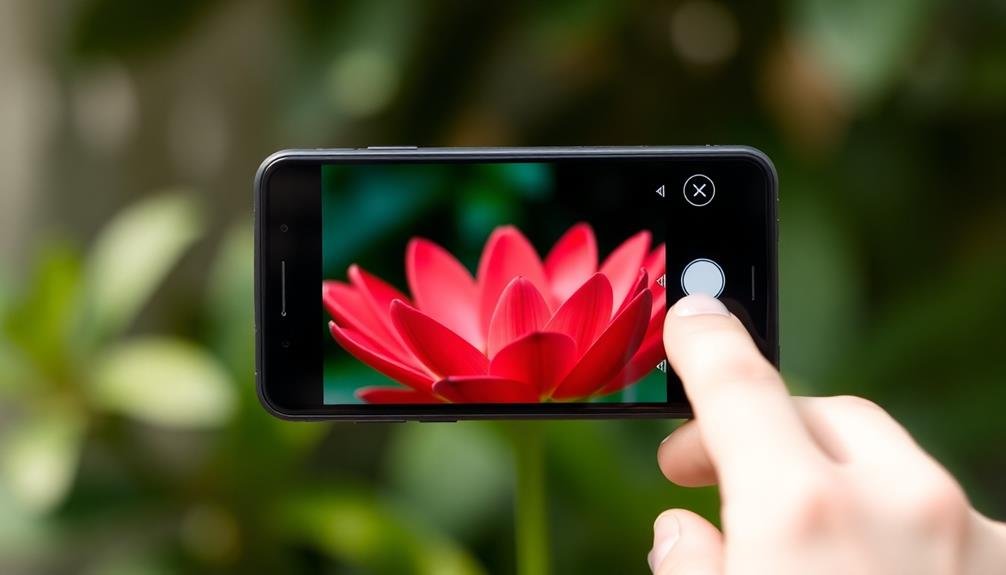
Your phone's focus peaking feature can be even more useful when you customize its colors. Most smartphones allow you to change the highlight color used to indicate areas in focus. Experiment with different hues to find what works best for your shooting style and environment.
Bright colors like red, yellow, or green often stand out well against most scenes, while softer tones like blue or purple can be less distracting in certain situations.
Consider the subject matter when choosing your focus peaking color. For landscape photography, opt for a color that contrasts with natural elements. In portrait sessions, select a hue that doesn't clash with skin tones. If you're shooting in low light, a brighter color might be more visible.
Don't forget to adjust the intensity of the focus peaking effect. Some phones let you control how pronounced the highlighting appears. A stronger effect can be helpful when you're learning to use the feature, but a more subtle approach might be preferable as you become more experienced.
Use Manual Focus Mode
Three key benefits make manual focus mode an essential tool for mobile photographers. First, it gives you complete control over your focus point, allowing you to capture precisely what you want. Second, it's ideal for challenging lighting conditions where autofocus might struggle. Third, it enables creative techniques like focus stacking and intentional blur effects.
To use manual focus effectively, follow these steps:
| Step | Action | Tip |
|---|---|---|
| 1 | Enable manual focus | Look for "MF" or gear icon |
| 2 | Adjust focus ring | Use focus peaking as a guide |
| 3 | Fine-tune | Zoom in for precise adjustments |
Practice is key to mastering manual focus. Start with stationary subjects and gradually move to more challenging scenarios. You'll find it particularly useful for macro photography, low-light situations, and when shooting through obstacles like fences or glass.
Leverage Focus Magnification
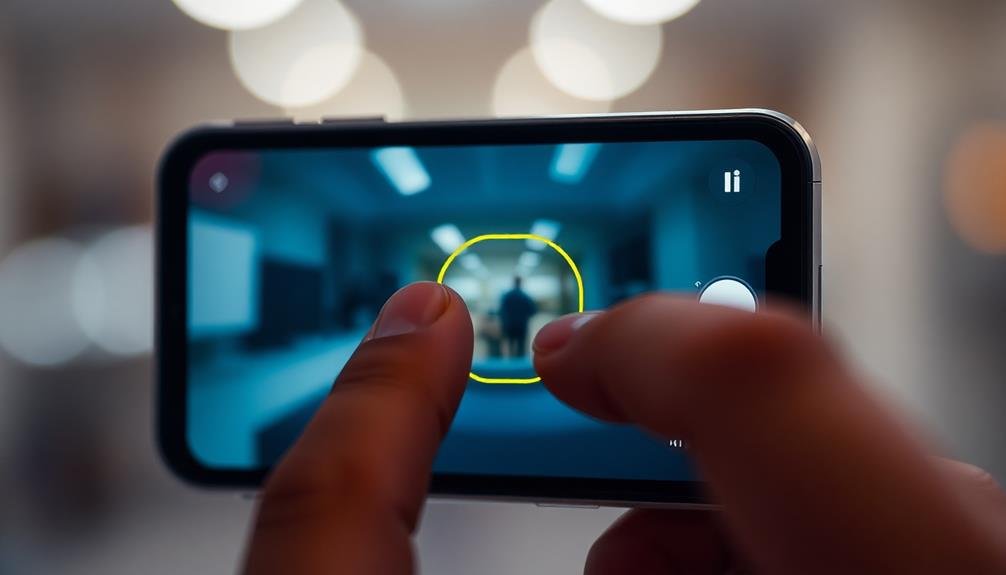
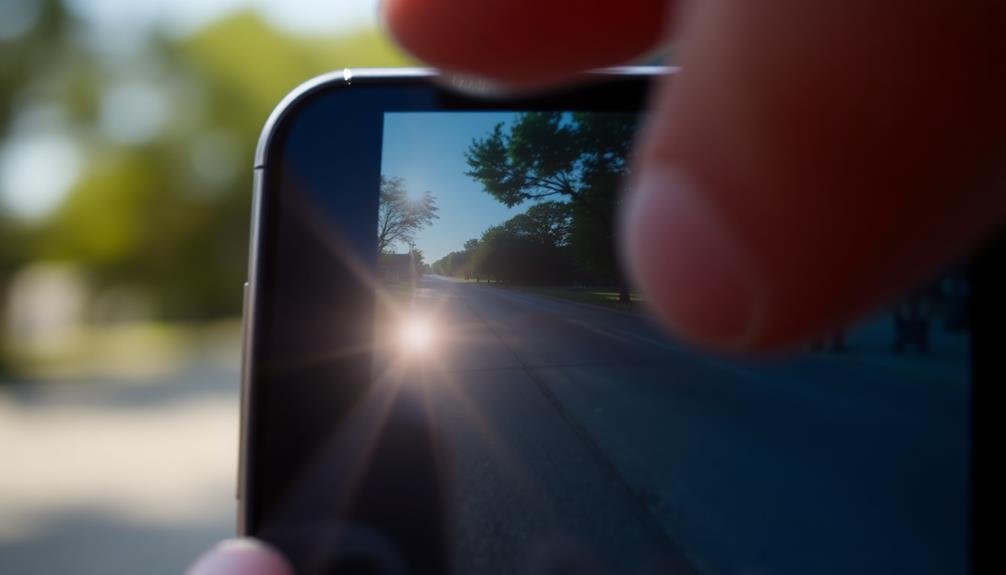
Focus magnification is a powerful tool that complements focus peaking in manual focus mode. When you're shooting with your smartphone, you can use this feature to zoom in on a specific area of your frame, allowing for more precise focusing.
To leverage focus magnification, start by activating manual focus mode in your camera app. Then, tap the area you want to focus on, and your phone will automatically zoom in on that spot.
As you adjust the focus, you'll notice the magnified view changing. This enlarged view helps you see even the tiniest details, making it easier to achieve perfect focus. You can often adjust the level of magnification, typically by pinching to zoom in or out.
Once you've set the focus, simply tap outside the magnified area to return to the full frame view.
Combine focus magnification with focus peaking for even better results. The peaking highlights will be more visible in the magnified view, giving you a clearer indication of which areas are in focus.
This technique is particularly useful for macro photography, portraits, and any situation where precise focus is essential.
Experiment With Different Subjects
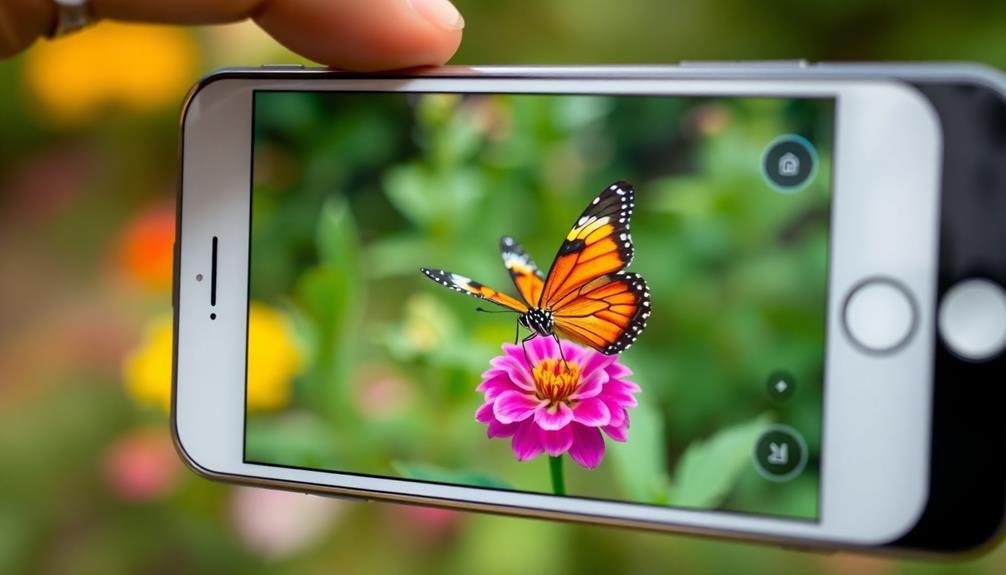
Try focus peaking with various subjects to master its versatility.
You'll notice differences when shooting portraits versus landscapes, or when capturing macro close-ups compared to wider scenes.
Test how focus peaking performs on moving objects like vehicles or athletes, and contrast this with its effectiveness on static subjects such as architecture or still life arrangements.
Portraits vs. Landscapes
Subject selection plays an essential role when experimenting with focus peaking in mobile photography.
When comparing portraits and landscapes, you'll notice distinct differences in how focus peaking works for each genre.
For portraits, focus peaking helps you achieve sharp eyes and facial features. You'll want to set a wider aperture to create a shallow depth of field, isolating your subject from the background. As you adjust focus, watch for the peaking highlights around the eyes and other key facial elements.
Landscapes, on the other hand, often require a deeper depth of field to keep multiple elements in focus. Here, focus peaking can help you guarantee sharpness across the entire scene. You'll typically use a smaller aperture and focus on the foreground, middle ground, and background.
Consider these tips when using focus peaking for portraits and landscapes:
- For portraits, use face detection to assist with focus peaking
- In landscapes, try focus stacking for maximum sharpness
- Experiment with manual focus override for precise control
- Use focus peaking in conjunction with exposure aids for best results
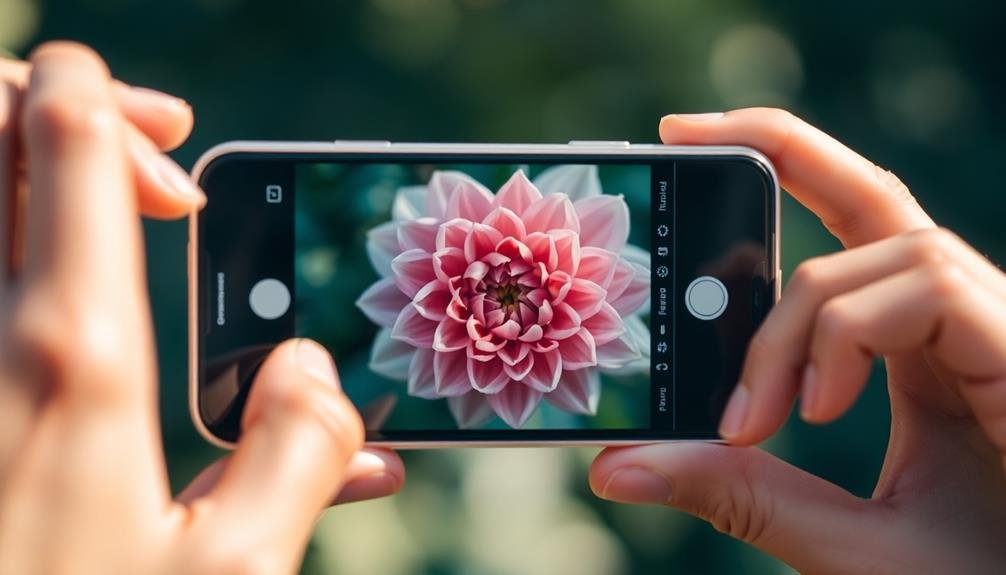
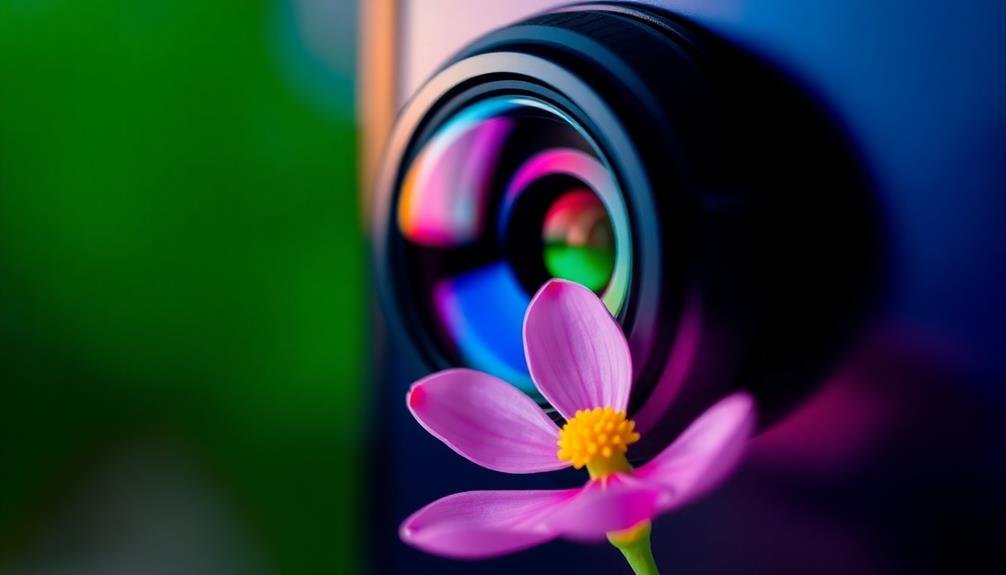
Macro and Close-ups
When venturing into the world of macro and close-up photography, focus peaking becomes an invaluable tool for capturing intricate details. You'll find that it's particularly useful for highlighting the razor-thin focal plane typical in macro shots.
To make the most of focus peaking for macro subjects, start by enabling the feature in your camera app's settings. As you frame your shot, pay close attention to the highlighted areas. These indicate the parts of your image that are in sharp focus.
For subjects with complex textures, like flower petals or insect wings, experiment with different angles to maximize the visible details. You might need to adjust your position slightly to guarantee the most important elements are within the focal plane.
Don't be afraid to try unconventional subjects. Everyday objects like fabric textures, food items, or even electronic components can yield fascinating results when viewed up close.
Remember to keep your hand steady or use a tripod for the sharpest possible images. If your phone supports it, consider using a manual focus mode in conjunction with focus peaking for even greater control over your macro shots.
Moving vs. Static Objects
Through experimentation with both moving and static subjects, you'll discover that focus peaking behaves differently for each. Static objects are easier to capture with focus peaking, as you have more time to adjust your focus and composition. Moving subjects, however, require quick reflexes and anticipation of their movement.
When working with static subjects, take your time to fine-tune the focus. Experiment with different angles and compositions to achieve the desired effect.
For moving subjects, pre-focus on the area where you expect the action to occur, then use burst mode to capture multiple shots.
To improve your focus peaking skills with both types of subjects:
- Practice tracking moving objects before they enter the frame
- Use a higher shutter speed for moving subjects to freeze motion
- Experiment with different focus modes, like continuous autofocus for action shots
- Try manual focus override for precise control in challenging situations
Remember that lighting conditions can affect focus peaking performance. In low light, you may need to adjust your camera settings or use additional lighting to maintain accurate focus peaking.
With practice, you'll develop a keen sense of when and how to use focus peaking effectively for both static and moving subjects.
Master Focus Stacking Techniques
Focus stacking is a powerful technique that elevates your mobile photography to new heights. It allows you to create images with an extended depth of field, ensuring sharpness throughout your entire composition. To master focus stacking, you'll need to capture multiple shots of the same scene, each focusing on a different area.
Start by setting up your smartphone on a stable surface or tripod. Choose your composition and identify the nearest and farthest points you want in focus. Take a series of photos, adjusting the focus point for each shot. Aim for at least 3-5 images, but complex scenes may require more.
Here's a breakdown of focus stacking steps:
| Step | Action | Purpose | Tips |
|---|---|---|---|
| 1 | Stabilize | Prevent camera shake | Use tripod or stable surface |
| 2 | Compose | Frame your shot | Identify focus range |
| 3 | Capture | Take multiple images | Adjust focus between shots |
| 4 | Process | Combine images | Use dedicated stacking software |
After capturing your images, you'll need to merge them using specialized software. Many mobile apps now offer focus stacking capabilities, making it easier than ever to create stunning, sharp images directly on your smartphone.
Optimize for Low Light
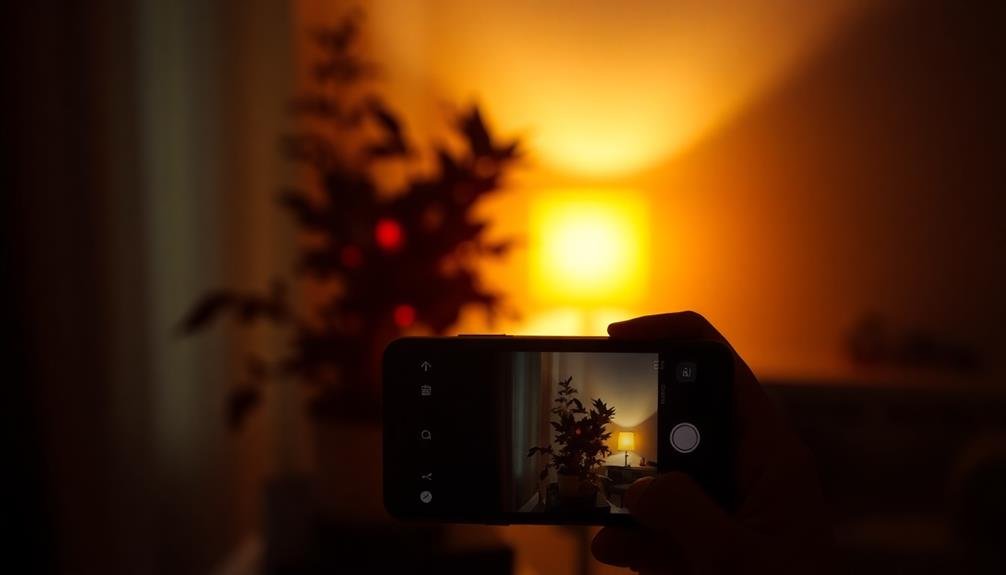
Low light photography presents unique challenges, but it's also an opportunity to capture stunning images with your smartphone. When using focus peaking in dim conditions, you'll need to adjust your technique to guarantee sharp, well-focused shots.
Start by finding a stable surface or using a tripod to minimize camera shake. Increase your ISO, but be mindful of noise; experiment to find the sweet spot for your device.
To optimize focus peaking in low light:
- Use the flashlight from another phone to temporarily illuminate your subject
- Tap the screen to set focus, then fine-tune using manual focus options
- Look for high-contrast edges in your scene, as they're easier for focus peaking to detect
- Consider using longer exposure times to gather more light, enabling clearer focus peaking
Remember that focus peaking may be less visible in low light, so take your time and double-check your focus.
If your phone has a night mode, use it in conjunction with focus peaking for improved results. Don't be afraid to take multiple shots, slightly adjusting focus each time, to guarantee you capture the perfect image.
With practice, you'll master the art of focus peaking in challenging lighting conditions.
Combine With Exposure Zebras
Combining focus peaking with exposure zebras can greatly enhance your mobile photography skills. These two features work together to help you achieve both sharp focus and proper exposure in your shots. Focus peaking highlights the areas of your image that are in focus, while exposure zebras indicate areas that are potentially over or underexposed.
To use these tools effectively, follow these steps:
- Enable both focus peaking and exposure zebras in your camera app settings.
- Frame your shot and tap to focus on your subject.
- Adjust your exposure while watching the zebra patterns.
- Fine-tune your focus using the peaking highlights.
Here's a quick reference table for using these features:
| Feature | Purpose | Color | Adjustment |
|---|---|---|---|
| Focus Peaking | Sharpness | Red/Green | Manual Focus |
| Exposure Zebras | Highlights | White | Decrease Exposure |
| Exposure Zebras | Shadows | Black | Increase Exposure |
| Combined Use | Balance | Multiple | Fine-tune Both |
Practice Rack Focus
Mastering rack focus can elevate your mobile photography by creating smooth shifts between subjects.
You'll want to practice shifting focus from one point to another, gradually moving the focal plane through your scene.
This technique not only adds a cinematic quality to your shots but also allows you to create compelling depth effects that draw viewers' attention to specific elements within your frame.
Techniques for Smooth Transitions
Perfecting smooth focus shifts, often called rack focus, can elevate your mobile photography to cinematic levels. To achieve seamless changes, start by identifying your focal points before shooting. This pre-planning allows you to move between subjects effortlessly.
When executing rack focus, move slowly and steadily. Rapid shifts can appear jarring and unprofessional. Practice controlled movements to maintain a consistent speed throughout the change. You'll also want to experiment with different focal lengths, as wider angles often provide smoother changes than telephoto shots.
Consider these techniques to enhance your rack focus skills:
- Use manual focus controls for precise adjustments
- Incorporate a mobile gimbal for added stability
- Leverage foreground elements to create depth
- Experiment with focus peaking colors for better visibility
Remember that lighting plays a significant role in focus changes. Make certain your subjects are well-lit to maintain clarity throughout the shift.
If you're struggling with smooth movements, try using a slider or makeshift dolly to guide your phone's motion.
With practice, you'll develop an intuitive sense for timing and pacing, allowing you to create engaging focus changes that draw viewers into your mobile photography compositions.
Creative Depth Effects
Through creative depth effects, you can transform ordinary mobile photos into visually striking compositions. One powerful technique to master is rack focus, which allows you to shift focus between foreground and background subjects within a single shot.
To practice this, start by selecting two subjects at different distances from your camera. Frame your shot with both elements visible, then use your phone's manual focus feature to focus on the closer subject. Capture this image, then quickly shift focus to the farther subject and take another photo.
As you become more comfortable with rack focus, try incorporating it into video. Many smartphones now offer a "cinematic mode" that simulates this effect. Experiment with different subject combinations and distances to create engaging visual narratives.
You can also use depth effects to highlight specific elements in your composition. Try placing a small object in the foreground, slightly out of focus, to frame your main subject. This technique adds depth and context to your images.
Utilize Depth of Field Preview

When you're using focus peaking, don't overlook the depth of field preview feature on your mobile device. This powerful tool allows you to visualize how your final image will look before you take the shot.
By activating depth of field preview, you'll see exactly which areas of your composition will be in focus and which will be blurred.
To make the most of this feature, try these techniques:
- Experiment with different aperture settings to see how they affect your depth of field
- Use it to fine-tune your focus point for maximum impact
- Combine it with focus peaking to guarantee critical sharpness where you want it
- Utilize it for creative effects, like isolating subjects or creating dreamy backgrounds
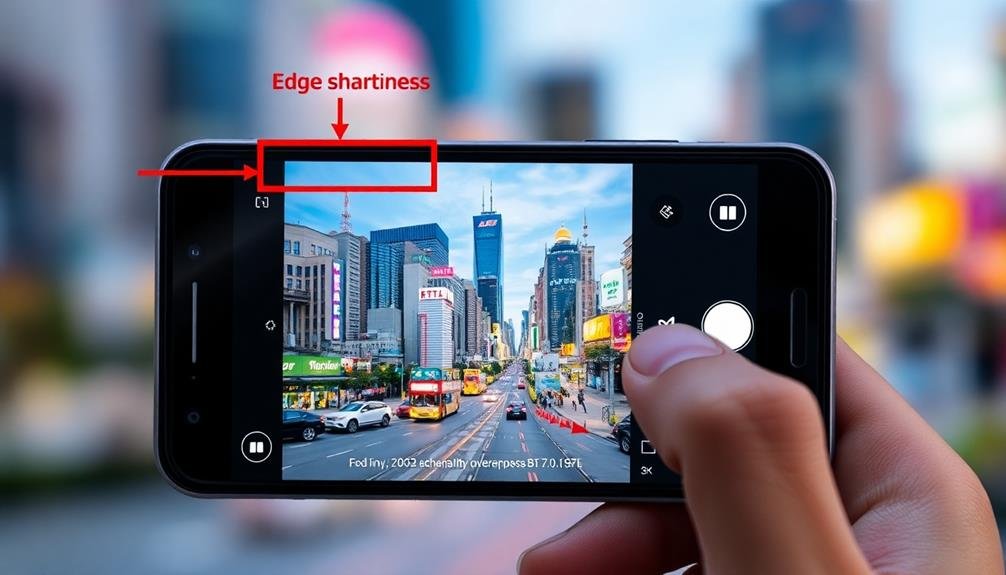
Fine-tune Focus Peaking Sensitivity
Focus peaking sensitivity can make or break your mobile photography. It's essential to fine-tune this setting to achieve the perfect balance between accuracy and usability. Most mobile photography apps allow you to adjust the sensitivity level, typically ranging from low to high.
Start by experimenting with different sensitivity levels in various lighting conditions. You'll notice that higher sensitivity highlights more edges, which can be helpful in low-light situations but may become overwhelming in bright environments. Conversely, lower sensitivity provides a cleaner view but might miss subtle details.
Here's a quick guide to help you choose the right sensitivity:
| Lighting Condition | Recommended Sensitivity | Benefits |
|---|---|---|
| Bright Outdoors | Low to Medium | Reduces visual clutter |
| Indoor/Mixed | Medium | Balanced performance |
| Low Light | High | Catches subtle details |
Frequently Asked Questions
Can Focus Peaking Be Used With Autofocus?
Yes, you can use focus peaking with autofocus. It'll highlight areas in sharp focus as your camera's autofocus system works. This combination helps you confirm proper focus and make quick adjustments if needed, enhancing your overall shooting experience.
How Does Focus Peaking Affect Battery Life on Mobile Devices?
Focus peaking can drain your phone's battery faster as it requires continuous processing. You'll notice a slight decrease in battery life when using it frequently. To conserve power, only enable focus peaking when you're actively shooting photos.
Are There Any Apps That Offer Advanced Focus Peaking Features?
You'll find several apps with advanced focus peaking features. Try FiLMiC Pro, ProCam, or Manual for iOS. On Android, check out Camera FV-5 or Open Camera. These apps offer customizable peaking colors and sensitivity settings for precise focusing.
Does Focus Peaking Work Equally Well on All Smartphone Camera Lenses?
Focus peaking doesn't work equally on all smartphone lenses. You'll find it's most effective on your main camera. It can be less reliable on ultra-wide or telephoto lenses due to their different optical characteristics and limitations.
Can Focus Peaking Be Used Effectively for Video Recording on Smartphones?
Yes, you can use focus peaking effectively for video recording on smartphones. It'll help you maintain sharp focus on your subject, even when they're moving. You'll need to enable it in your camera settings before starting to record.
In Summary
You've now got a toolkit of focus peaking tricks to elevate your mobile photography. Don't be afraid to experiment and push the boundaries of what you can achieve. Remember, practice makes perfect, so keep honing your skills. As you become more comfortable with these techniques, you'll find your images becoming sharper and more professional. Embrace the learning process, and soon you'll be capturing stunning shots that'll make your followers do a double-take.


Leave a Reply