Transform your food photography with these easy DIY backdrop ideas. Start with simple white paper for a clean, versatile look. Add texture using fabrics like burlap or linen. Create rustic charm with weathered wooden boards or sleek elegance with marble contact paper. Colored cardstock offers vibrant options, while faux tile backdrops bring pattern and depth. Natural stone slabs provide a luxurious touch, and chalkboard paint backgrounds allow for endless customization. Don't overlook repurposed window frames for unique framing opportunities. With these techniques, you'll elevate your food photos from amateur to professional-looking in no time. Explore further to reveal even more creative possibilities for your culinary shots.
Simple White Paper Backdrops
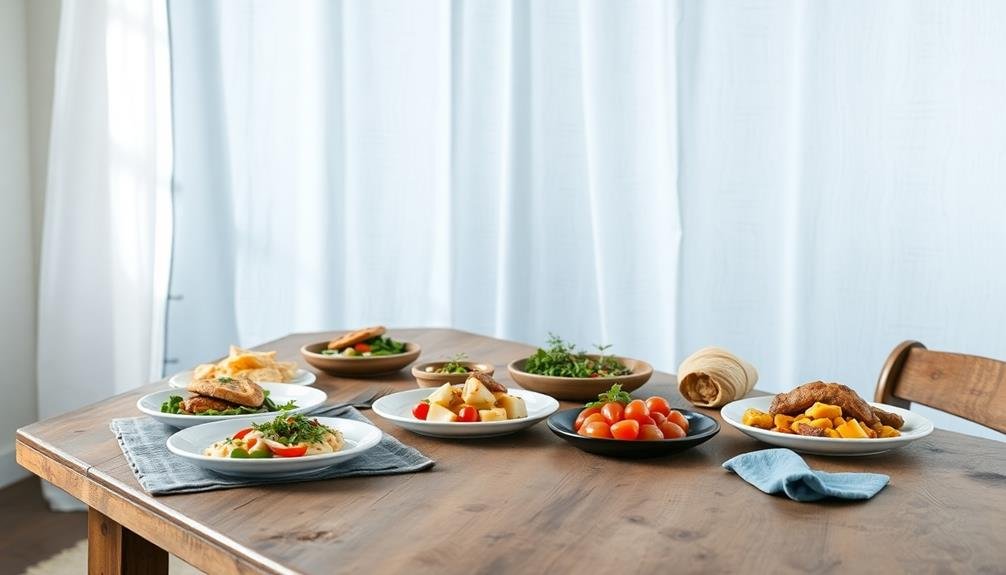
When it comes to food photography, simple white paper backdrops are a classic choice.
They're versatile, affordable, and easy to set up, making them perfect for beginners and seasoned photographers alike. You'll find that white paper provides a clean, neutral background that allows your food to take center stage.
To create this backdrop, you'll need a large roll of white paper or poster board.
Position it on a flat surface, letting it curve gently upwards to form a seamless background. Secure the edges with tape to prevent slipping. For added stability, you can use a standalone backdrop stand or simply tape the paper to a wall.
Lighting is essential when working with white backdrops.
Natural light works best, so set up near a window if possible. If you're using artificial light, position it at a 45-degree angle to minimize harsh shadows. You can soften the light further by diffusing it with a translucent screen or white sheet.
Don't forget to keep your white backdrop clean and wrinkle-free.
Store it carefully between shoots and replace it when necessary to maintain that pristine look.
Textured Fabric Backgrounds
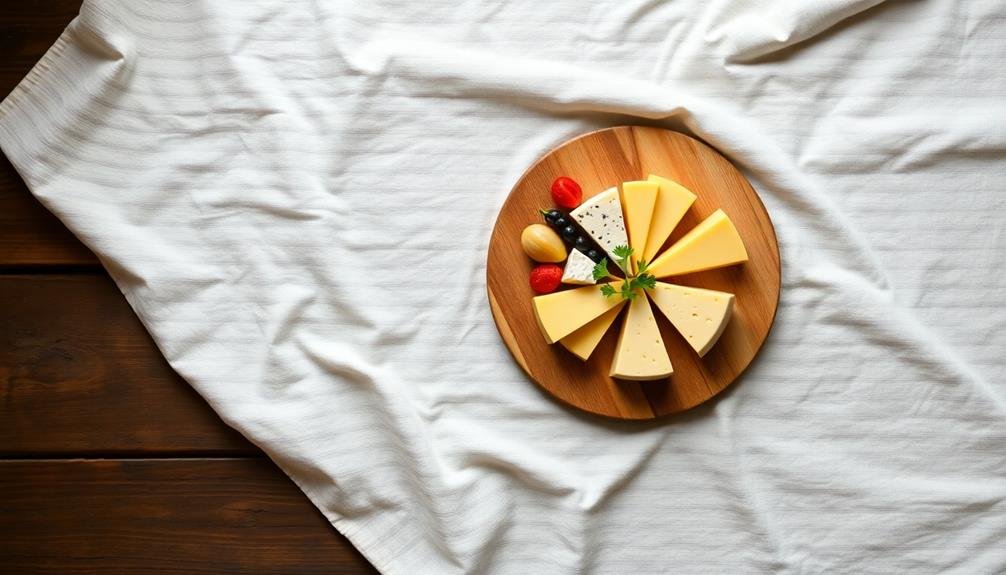
Plunge into the world of textured fabric backgrounds to add depth and interest to your food photography. Textured fabrics offer a versatile and affordable option for creating unique backdrops.
Start by selecting fabrics with interesting textures like burlap, linen, or velvet. These materials provide subtle visual interest without overpowering your food subjects.
To create your backdrop, simply drape the fabric over a flat surface or attach it to a foam board for easy handling. Experiment with different colors and patterns to complement your food styling. Neutral tones like beige, gray, or soft pastels work well for most dishes, while bolder hues can add a pop of color when needed.
Don't limit yourself to traditional fabric stores. Explore thrift shops, garage sales, or even your own closet for unique textiles. Old tablecloths, curtains, or scarves can make excellent backdrops.
Remember to iron or steam your fabric before use to eliminate wrinkles and creases that might distract from your food presentation. With a collection of textured fabric backgrounds, you'll have endless possibilities for creating stunning food photographs.
Rustic Wooden Boards
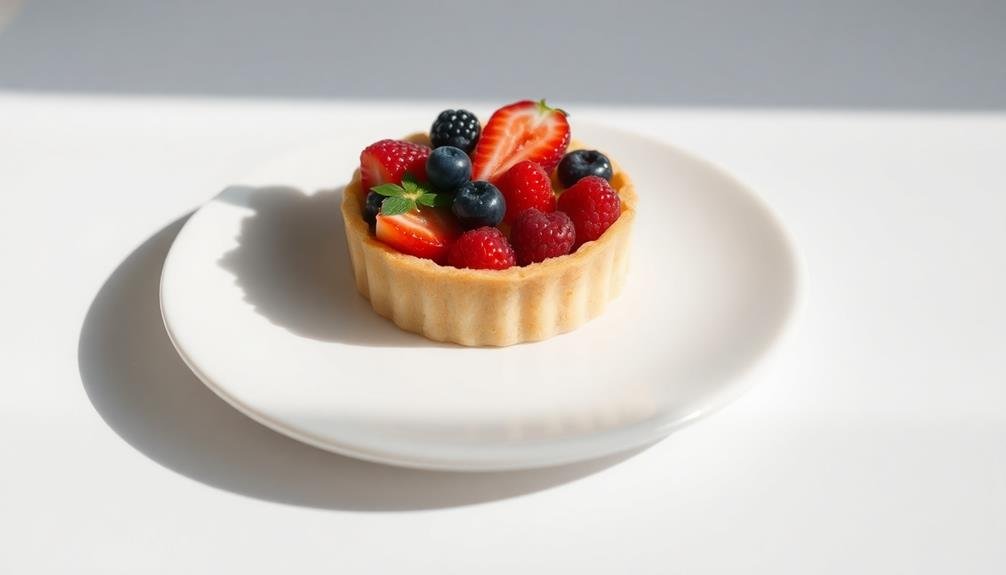
Rustic wooden boards offer a timeless and versatile backdrop for food photography. They provide a natural, earthy texture that complements a wide range of dishes, from rustic comfort foods to elegant desserts.
You'll find that wooden boards can add warmth and character to your images, creating a cozy, homestyle atmosphere that's perfect for showcasing your culinary creations.
To create your own rustic wooden backdrop, start by sourcing reclaimed wood or purchasing weathered boards from a hardware store. Sand the surface lightly to remove any splinters, but be careful not to eliminate the natural texture.
You can enhance the wood's appearance by staining it in various shades or leaving it natural for a lighter look.
When using wooden boards in your food photography, keep these tips in mind:
- Experiment with different wood grains and colors to match your food's style
- Use boards horizontally or vertically to create visual interest
- Incorporate props like utensils or ingredients that complement the wood's texture
Colored Cardstock Sheets
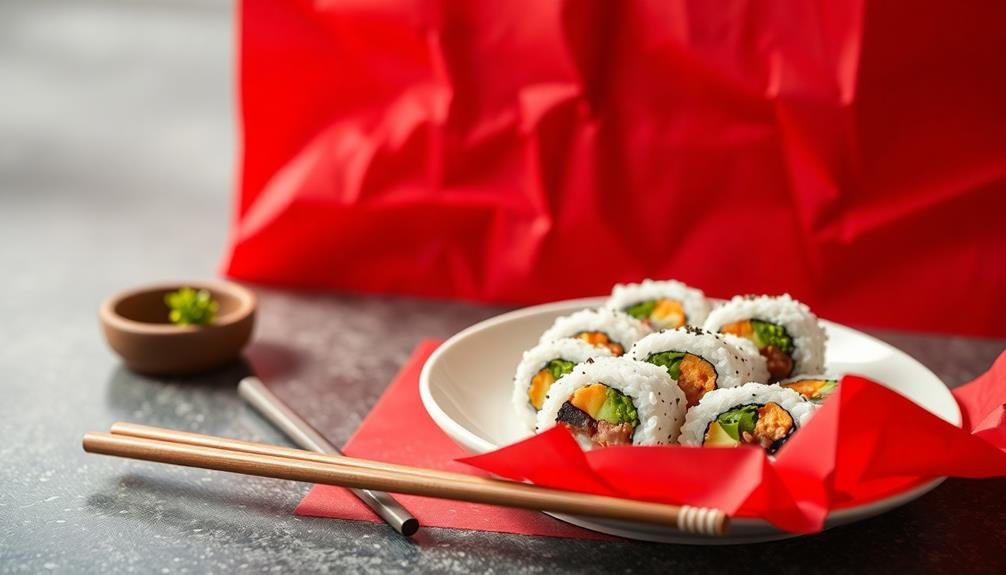
Colored cardstock sheets offer a quick and affordable solution for creating vibrant backdrops in food photography. You'll find these versatile sheets at most craft stores in a wide range of colors and textures. Choose matte finishes to reduce glare and enhance your food's appearance.
To use cardstock as a backdrop, simply tape a sheet to a flat surface or prop it up behind your subject. You can create a seamless background by gently curving the paper from the surface to the wall. For added interest, try layering different colors or creating geometric patterns with cut-out shapes.
Don't limit yourself to solid colors. Experiment with ombré effects by blending two or more shades together. You can also add texture by lightly crumpling the paper or using a textured cardstock variety. If you want to reuse your backdrops, consider laminating the sheets for durability.
Remember that different colors can affect the mood of your photo. Warm tones like red, orange, and yellow can make food appear more appetizing, while cool tones like blue and green can create a rejuvenating atmosphere.
Match your backdrop color to your food's theme or use contrasting hues to make your subject pop.
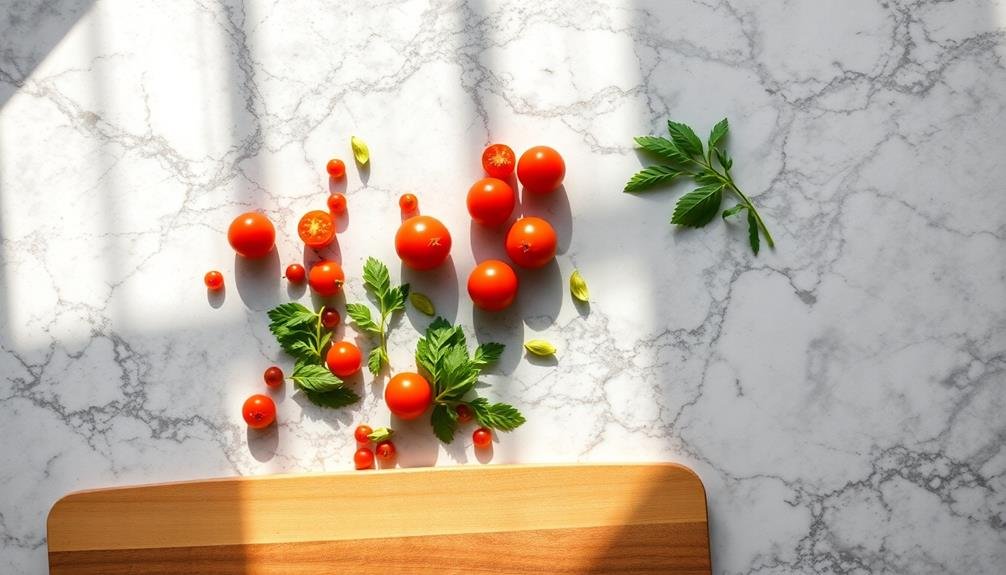
Marble Contact Paper Surfaces
You'll love how easy it's to apply marble contact paper to create stunning food photo backdrops.
With a wide range of colors available, you can match your marble surface to any food styling theme.
The realistic marble appearance adds a touch of elegance to your images, elevating the overall look of your food photography.
Easy Application Process
Featuring a surprisingly simple application process, marble contact paper offers a quick and elegant solution for food photography backdrops. You'll find it easy to transform any flat surface into a luxurious marble-like setting for your food shots.
Start by cleaning the surface thoroughly and measuring the area you want to cover. Cut the contact paper slightly larger than needed, allowing for adjustments.
To apply, peel off a small section of the backing and align the paper with your surface. Slowly remove more backing as you smooth out the paper, using a credit card or squeegee to eliminate air bubbles. Work your way across the surface, ensuring a seamless application.
If you make a mistake, don't worry – you can easily peel it off and reposition it.
Here are three key benefits of using marble contact paper:
- Cost-effective alternative to real marble
- Lightweight and portable for on-location shoots
- Easy to clean and maintain between photo sessions
With practice, you'll become proficient at applying marble contact paper, creating professional-looking backdrops in minutes.
This versatile material allows you to experiment with different marble patterns and colors, expanding your creative possibilities without breaking the bank.
Versatile Color Options
Variety is the spice of life, and marble contact paper offers a wealth of color options to suit any food photography style.
You'll find classic white and gray marbles that provide a clean, elegant backdrop for almost any dish. These neutral tones can make your food pop without overwhelming the image.
If you're looking for something bolder, consider black marble contact paper. It creates a dramatic contrast, especially for light-colored foods or vibrant desserts.
For a warmer feel, opt for beige or cream marble patterns that complement earthy tones in rustic dishes.
Don't limit yourself to traditional marble colors. You can find contact paper in unexpected hues like pink, blue, or green marble. These unique options can add a modern twist to your food photos and help create a distinct style for your brand or blog.
Mix and match different marble patterns to create depth and interest in your shots.
Combine a light marble backdrop with darker marble props, or use contrasting colors to frame your food. You'll be amazed at how these versatile color options can transform your food photography and give you endless creative possibilities.
Realistic Marble Appearance
Thanks to advancements in printing technology, marble contact paper now offers an incredibly realistic appearance that can fool even the most discerning eye. This affordable and easy-to-use option allows you to create stunning marble backdrops for your food photography without breaking the bank.
Simply cut the contact paper to size, peel off the backing, and carefully apply it to a flat surface like foam board or a wooden panel.
When using marble contact paper for your food photos, keep these tips in mind:
- Choose patterns that complement your food: Opt for subtle veining and neutral colors that won't overpower your dishes.
- Avoid air bubbles: Use a credit card or squeegee to smooth out the paper as you apply it, working from the center outward.
- Mix and match: Combine different marble patterns to create visual interest and depth in your photos.
Don't limit yourself to traditional white marble; explore gray, black, or even colorful options to add variety to your backdrops.
With proper care, these surfaces can be wiped clean and reused multiple times, making them a cost-effective solution for elevating your food photography game.
Vintage Plates as Bases
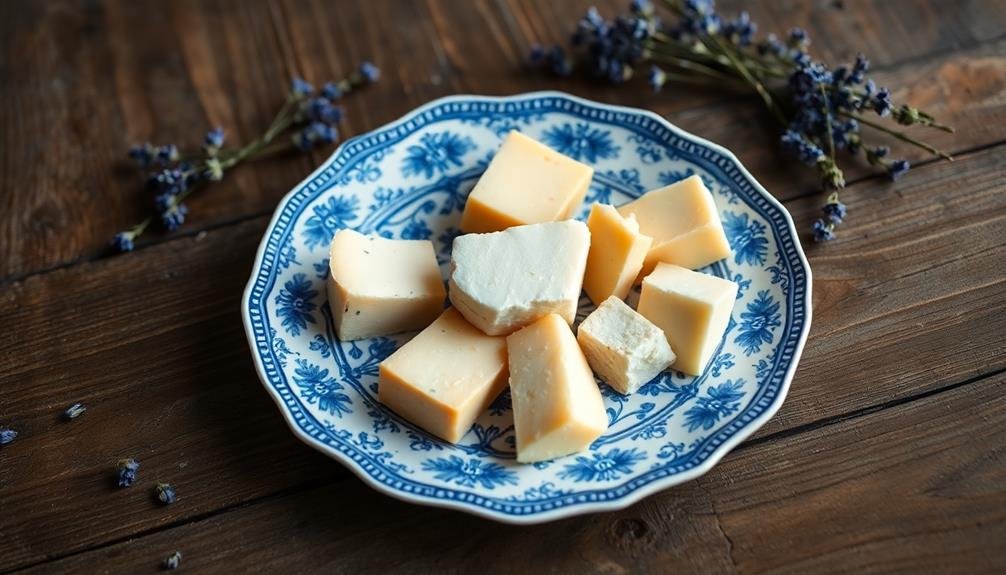
Vintage plates' charm and character make them excellent bases for food photography. You'll find that these unique dishes add depth and interest to your images, creating a nostalgic or rustic feel. To get started, scour thrift stores, flea markets, or antique shops for plates with interesting patterns, colors, or textures.
When selecting vintage plates, look for a variety of sizes and shapes to accommodate different food items. Choose plates with minimal chips or cracks to guarantee they're still functional and visually appealing. Don't shy away from mix-and-match sets; the eclectic combination can add visual interest to your photos.
Before using vintage plates, clean them thoroughly and check for any food-safe concerns. If you're worried about potential lead content in older glazes, use the plates solely for photography purposes rather than serving food.
To enhance your vintage plate backdrops, experiment with complementary props like antique silverware, linen napkins, or weathered wooden boards. These elements can further emphasize the timeless appeal of your food photos.
Remember to take into account the plate's design when styling your food, ensuring that the dish complements rather than competes with your culinary creation.
Faux Tile Backdrops
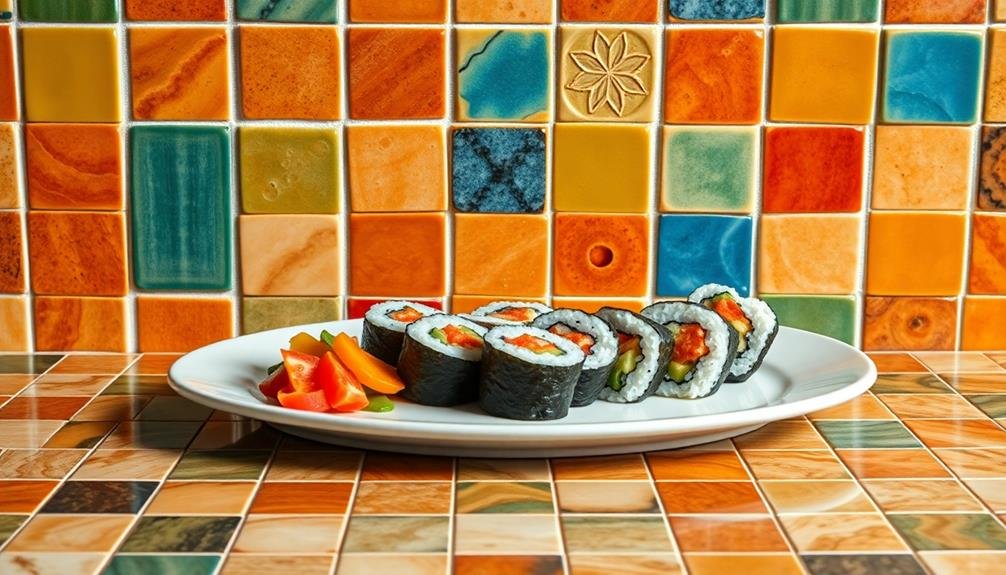
To create stunning faux tile backdrops for your food photos, you'll need materials like foam boards, paint, and adhesive vinyl.
Experiment with various tile patterns by using stencils or cutting your own shapes from contact paper.
Position your faux tile backdrop carefully and adjust your lighting to enhance the texture and depth of your DIY creation.
Materials and Tools Needed
Creating faux tile backdrops for your food photography can be surprisingly simple with the right materials and tools.
You'll need a sturdy base material, such as foam board or plywood, to serve as the foundation for your faux tiles. For the tile effect, consider using contact paper, peel-and-stick tiles, or even craft paper with printed tile patterns. Don't forget adhesive to secure your chosen material to the base.
Essential tools include a ruler or measuring tape, scissors or a craft knife, and a pencil for marking. If you're using peel-and-stick tiles, a smoothing tool will help eliminate air bubbles. For more advanced designs, you might want to invest in a tile spacer to guarantee consistent gaps between your faux tiles.
When selecting materials and tools, keep these key points in mind:
- Durability: Choose materials that can withstand repeated use and cleaning.
- Versatility: Opt for neutral colors or patterns that complement various food styles.
- Portability: Consider lightweight options if you plan to transport your backdrops.
With these materials and tools at hand, you'll be well-equipped to create stunning faux tile backdrops that'll elevate your food photography to new heights.
Creating Tile Patterns
Once you've gathered your materials, it's time to plunge into the exciting world of faux tile patterns. Start by sketching your desired tile design on paper, considering geometric shapes or intricate patterns that complement your food photography style.
Transfer this design onto your backdrop board using a pencil and ruler for precision. Next, apply painter's tape along the lines of your pattern, ensuring crisp edges between "tiles." Choose your base color and paint the entire surface, allowing it to dry completely.
For a realistic tile effect, select contrasting colors for the grout lines and individual tiles. Remove the tape carefully and touch up any imperfections with a small brush.
To add depth and texture, consider using stencils or stamps to create patterns within each tile. You can also experiment with different painting techniques like sponging or dry brushing to achieve a unique look.
For a glossy finish, apply a clear sealant over the entire surface. Don't forget to create multiple tile patterns in various colors and styles to suit different food photography needs.
With practice, you'll develop a collection of professional-looking, customized backdrops that elevate your food photos.
Positioning and Lighting Tips
With your faux tile backdrop ready, it's time to focus on positioning and lighting to maximize its impact in your food photography.
Place your backdrop at a 45-degree angle to create depth and interest in your shots. This angle allows you to capture both the vertical and horizontal planes of your tile pattern, adding dimension to your images.
Consider the direction of your light source when positioning your faux tile backdrop. Natural light from a window works best, but if you're using artificial lighting, position it to create subtle shadows that enhance the texture of your tiles.
Experiment with different angles to find the sweet spot that highlights your food while showcasing the backdrop's details.
To make the most of your faux tile backdrop, keep these tips in mind:
- Use a shallow depth of field to blur the backdrop slightly, creating a soft, professional look.
- Incorporate props that complement the tile pattern and food styling.
- Adjust your camera's white balance to guarantee accurate color representation of both the food and backdrop.
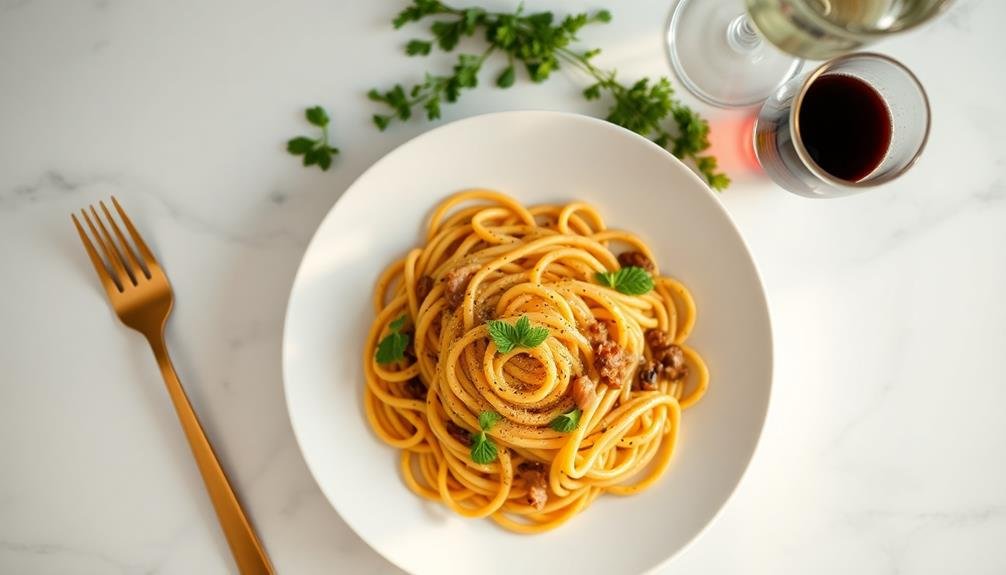
Natural Stone Slabs
Natural stone slabs offer a luxurious and timeless backdrop for food photography. You'll find that marble, granite, and slate are popular choices, each bringing its unique texture and color to your images.
To incorporate these elegant surfaces, you don't need to invest in expensive, full-sized slabs. Instead, look for smaller pieces at home improvement stores or stone yards.
When selecting your stone, consider how it'll complement your food subjects. Light-colored marble works wonders for dark dishes, while darker stones can make vibrant ingredients pop. Before using, clean your stone thoroughly and seal it if necessary to prevent staining.
To maximize the impact of your stone backdrop, experiment with different angles. Try shooting from directly above for a classic flat lay, or position the stone vertically for a more dramatic effect. You can also combine stone with other materials like wood or fabric for added depth and interest.
Remember that natural stone can be heavy, so guarantee you have a stable surface to work on.
With proper care, your stone slab will serve as a versatile and long-lasting tool in your food photography arsenal.
Chalkboard Paint Backgrounds
Chalkboard paint backgrounds offer you a versatile and reusable photo surface for your food photography.
You'll find endless possibilities to customize these backdrops, from simple color changes to intricate designs.
Create eye-catching custom menu boards to showcase your culinary creations, adding a professional touch to your food photos.
Versatile, Reusable Photo Surface
Creating a versatile, reusable photo surface with chalkboard paint offers endless possibilities for food photography. You'll love how this DIY backdrop can transform your images with its matte finish and customizable nature.
To get started, choose a smooth, flat surface like a wooden board or thick cardboard. Apply several thin coats of chalkboard paint, allowing each layer to dry completely before adding the next.
Once your surface is ready, you can release your creativity. Use colored chalk to draw designs, write recipe names, or create themed backdrops for different seasons or holidays. The best part? You can easily erase and start fresh for each new photo shoot.
Here are three key benefits of using a chalkboard paint surface:
- Cost-effective: One surface can be used repeatedly for various shoots
- Customizable: Easily change the look and feel of your backdrop on demand
- Texture-rich: The slightly rough surface adds depth and interest to your images
Remember to experiment with different chalk colors and drawing techniques to find the perfect look for your food photos.
You'll soon discover that this versatile backdrop becomes an indispensable tool in your food photography arsenal.
Create Custom Menu Boards
Beyond its versatility as a photo backdrop, chalkboard paint can be used to create custom menu boards that double as eye-catching props for your food photography. Apply chalkboard paint to a wooden board or even a large picture frame for a polished look. Once dry, you'll have a reusable surface perfect for handwriting menus, ingredient lists, or clever food-related quotes.
To create your custom menu board, use white or colored chalk markers for crisp, vibrant text that won't smudge easily. Practice your lettering skills to achieve different styles, from casual handwriting to more elaborate calligraphy. You can even incorporate simple drawings or icons to enhance your design.
When photographing, position your custom menu board alongside your food subject to add context and visual interest. It's an excellent way to showcase daily specials, highlight key ingredients, or provide nutritional information.
For added dimension, lean the board against a wall or prop it up on a stand. Remember to erase and update your board regularly to keep your photos fresh and engaging. This DIY prop offers endless possibilities for creativity in your food photography.
Repurposed Window Frames

Old window frames offer a charming and versatile backdrop for food photography. You can easily transform these vintage pieces into eye-catching backdrops that add character and depth to your food shots.
Start by cleaning and sanding the frame, then paint it in a color that complements your food styling. Consider using chalk paint for a rustic look or a glossy finish for a more modern feel.
Once you've prepared the frame, you can get creative with the panes. Replace the glass with various materials to achieve different effects:
- Insert textured wallpaper or patterned fabric for a soft, homey backdrop
- Use mirrors to reflect light and create an illusion of space
- Install cork boards to pin recipe cards or small props alongside your food
Don't limit yourself to hanging the frame on a wall. Lay it flat on a table to create a unique surface for overhead shots.
You can also prop it up using easels or stands for a three-dimensional effect. By experimenting with angles and compositions, you'll discover countless ways to incorporate repurposed window frames into your food photography, adding a touch of nostalgia and visual interest to your images.
Frequently Asked Questions
How Do I Prevent Glare When Photographing Food on Shiny Surfaces?
To reduce glare on shiny surfaces, you'll want to diffuse your light source. Use a softbox or white umbrella, adjust your lighting angle, or place a thin white fabric over the food. You can also try polarizing filters on your camera.
What Lighting Setup Works Best for Food Photography With DIY Backdrops?
For food photography with DIY backdrops, you'll want soft, diffused lighting. Use a large window for natural light or set up two softboxes at 45-degree angles. Avoid harsh shadows by using a reflector or white foam board.
How Can I Create Depth in My Food Photos Using Backdrop Techniques?
You can create depth by using layered backdrops. Try placing a textured surface in the foreground, your main subject in the middle, and a contrasting background behind. This'll add dimension and interest to your food photos.
Are There Food-Safe Alternatives for DIY Backdrops When Photographing Edible Arrangements?
You'll find several food-safe backdrop options for edible arrangements. Try using parchment paper, food-grade silicone mats, or ceramic tiles. You can also use clean, food-safe fabrics like linen or cotton. Always sanitize surfaces before use.
What's the Best Way to Store and Transport DIY Food Photography Backdrops?
You'll want to store your DIY food photography backdrops flat or rolled to prevent creases. For transport, use protective cases or tubes. Keep them clean and dry, and consider labeling for easy identification when you're on location.
In Summary
You've now got a range of creative backdrop ideas to elevate your food photography. Whether you choose simple paper, textured fabrics, or faux tile, these DIY options will add depth and interest to your shots. Don't be afraid to experiment with different materials and textures. Remember, the right backdrop can transform an ordinary food photo into a stunning image. So grab your camera, set up your new backdrop, and start capturing mouthwatering photos that'll make everyone hungry!


Leave a Reply