For mobile photography, consider these HDR vs manual exposure tips: Use HDR for high-contrast scenes like landscapes with bright skies and dark foregrounds. Switch to manual mode for more control over ISO, shutter speed, and aperture in challenging lighting conditions. Opt for HDR when capturing sunsets or backlit subjects to preserve detail. Choose manual exposure for moving subjects or when you want to maintain vibrant colors. In post-processing, adjust exposure and contrast for HDR images, while focusing on color correction and local adjustments for manual shots. These techniques will help you capture stunning photos in various situations. Discover how to master both modes and elevate your mobile photography skills.
Understanding HDR and Manual Exposure
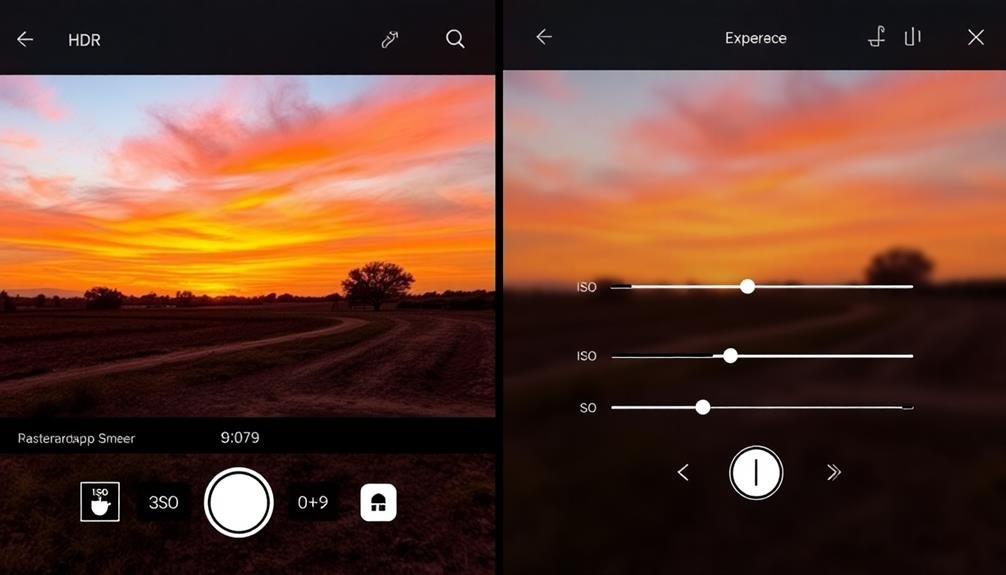
In light of the ever-evolving mobile camera technology, understanding HDR and manual exposure is essential for capturing stunning photos with your smartphone.
HDR, or High Dynamic Range, combines multiple exposures to create a single image with improved detail in both highlights and shadows. It's particularly useful in high-contrast scenes, like landscapes with bright skies and dark foregrounds.
Manual exposure, on the other hand, gives you full control over your camera's settings. You can adjust the ISO, shutter speed, and aperture to achieve your desired effect. This level of control is vital when shooting in challenging lighting conditions or when you want to create specific artistic effects.
To use HDR effectively, keep your phone steady and avoid moving subjects.
For manual exposure, start by setting your ISO to the lowest possible value to minimize noise. Then, adjust your shutter speed to freeze or blur motion as needed. Finally, set your aperture to control depth of field.
When to Use HDR Mode
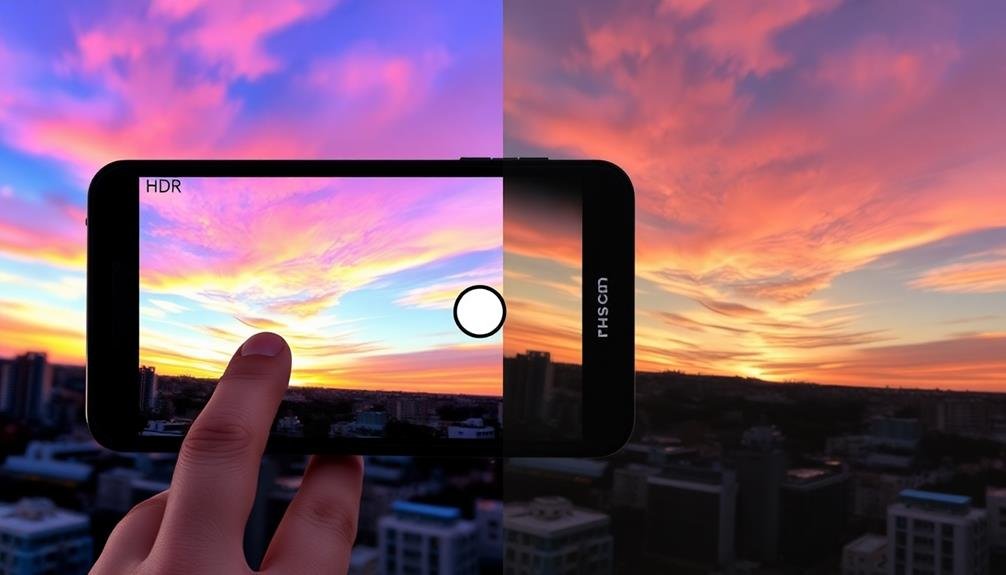
Now that you've grasped the basics of HDR and manual exposure, let's focus on when to use HDR mode effectively.
HDR shines in high-contrast scenes where you want to capture both bright highlights and dark shadows. Use it for landscapes with bright skies and darker foregrounds, or interiors with bright windows and shadowy corners.
HDR works well for backlit subjects, preserving detail in both the subject and the bright background. It's also ideal for capturing intricate textures and details in low-light situations without introducing excessive noise.
However, avoid using HDR for moving subjects or scenes with vibrant, saturated colors, as it can lead to ghosting or unnatural-looking results.
Consider using HDR when photographing sunsets, cityscapes at twilight, or architectural interiors. It's particularly useful for real estate photography, allowing you to capture well-lit rooms while maintaining detail in windows.
Remember, HDR isn't always necessary. In evenly lit scenes or when you want to preserve strong contrasts for artistic effect, stick to manual exposure.
Ultimately, your creative vision should guide your decision to use HDR or not.
Mastering Manual Exposure Settings
Despite the convenience of automatic modes, mastering manual exposure settings empowers you to take full creative control of your mobile photography.
To start, familiarize yourself with the three key elements: ISO, shutter speed, and aperture. ISO controls your camera's sensitivity to light; higher values brighten images but increase noise. Shutter speed determines how long your sensor is exposed to light; faster speeds freeze motion, while slower speeds create blur. Aperture affects depth of field and light intake; wider apertures (lower f-numbers) create a shallower focus.
Begin by setting your ISO to the lowest possible value for the lighting conditions. Then, adjust your shutter speed based on your subject's movement. For static scenes, use slower speeds; for action, opt for faster ones.
Finally, set your aperture to achieve the desired depth of field. Wide apertures are great for portraits, while narrow ones work well for landscapes.
Practice balancing these settings to achieve proper exposure. Don't hesitate to experiment – you'll quickly develop an intuition for what works best in different scenarios.
Balancing Light in Challenging Scenes
Mastery of light is the cornerstone of exceptional mobile photography, especially in challenging scenes. When faced with high-contrast situations, you'll need to balance light effectively to capture all the details. Use HDR mode for scenes with bright skies and dark foregrounds, or when shooting backlit subjects. This technique combines multiple exposures to create a balanced image.
For more control, switch to manual mode. Adjust your exposure compensation to prevent blown-out highlights or loss of shadow details. In low-light conditions, increase ISO cautiously to maintain image quality. Use the phone's built-in light meter to gauge the scene's brightness and adjust settings accordingly.
Consider using external light sources or reflectors to fill in shadows and create a more balanced exposure. Here's a quick reference guide for balancing light in different scenarios:
| Scenario | HDR | Manual Exposure |
|---|---|---|
| Sunset | On | Underexpose slightly |
| Indoor portraits | Off | Increase ISO |
| Landscapes | On | Use graduated filter |
| Night scenes | Off | Long exposure, low ISO |
| Backlit subjects | On | Spot meter on subject |
Post-Processing HDR and Manual Photos
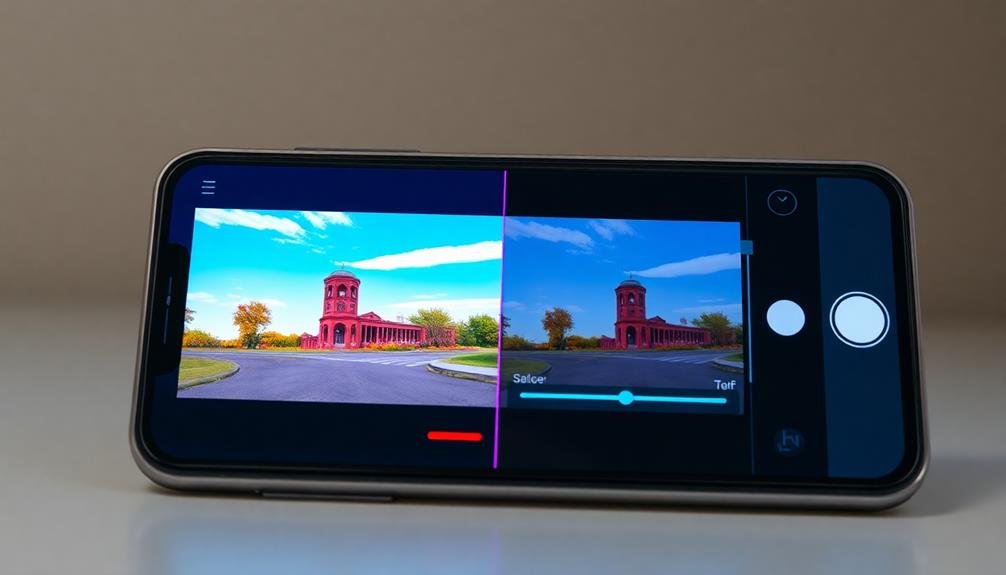
Your mobile photography journey doesn't end with capturing the image; post-processing is vital for enhancing HDR and manual photos. Start by adjusting the exposure and contrast to fine-tune the overall brightness and dynamic range. For HDR images, you might need to reduce highlights and boost shadows to achieve a more balanced look.
Next, focus on color correction. Adjust the white balance to guarantee natural-looking colors, and use saturation and vibrancy tools to make colors pop without appearing unnatural. For manual photos, you'll have more control over individual color channels, allowing for precise adjustments.
Don't forget about sharpening and noise reduction. HDR photos often benefit from subtle sharpening to enhance details, while manual shots might require more aggressive noise reduction, especially if taken in low light.
Experiment with local adjustments using brush tools or graduated filters to target specific areas of your image. This technique is particularly useful for enhancing skies or bringing out details in shadows.
Lastly, consider applying subtle vignettes or creative crops to draw attention to your subject and improve overall composition.
Frequently Asked Questions
Can HDR Mode Be Used for Capturing Fast-Moving Subjects?
HDR mode isn't ideal for fast-moving subjects. You'll likely get blurry or ghosted images. Instead, use your camera's burst mode or sport mode for capturing quick action. These options freeze motion better than HDR can.
How Does HDR Affect Battery Life on Mobile Devices?
HDR can drain your battery faster as it takes multiple shots and processes them. You'll notice increased power consumption when using HDR frequently. It's best to use it sparingly if you're concerned about battery life on your device.
Are There Any Third-Party Apps That Enhance Manual Exposure Controls?
Yes, you'll find several third-party apps that enhance manual exposure controls. Try ProCam, Manual, or Camera+ for iOS, and Camera FV-5, ProShot, or Open Camera for Android. These apps offer advanced features for greater control over your shots.
Can Manual Exposure Settings Be Saved as Presets on Smartphones?
Yes, you can save manual exposure settings as presets on many smartphones. You'll find this feature in some native camera apps and third-party apps. It's a handy way to quickly access your favorite settings for different scenarios.
Does Using HDR Mode Impact the File Size of Photos?
Yes, HDR mode typically increases your photo's file size. It combines multiple exposures into one image, resulting in larger files. You'll notice this difference when comparing HDR shots to standard photos on your smartphone's storage.
In Summary
You've now got the tools to decide between HDR and manual exposure for your mobile photos. Remember, HDR works great for high-contrast scenes, while manual mode gives you ultimate control. Experiment with both to find what suits your style best. Don't be afraid to mix techniques and post-process your shots. With practice, you'll capture stunning images that truly showcase your creative vision. Keep shooting and refining your skills!


Leave a Reply