Your night photos are dark because you're not optimizing your smartphone's camera settings for low-light conditions. To improve, start by adjusting your ISO settings to increase light sensitivity. Utilize your device's Night Mode for automatic adjustments tailored to dim environments. Stabilize your smartphone using a tripod or steady surface to prevent blur from hand movements. Experiment with exposure compensation to brighten underexposed scenes, and leverage external light sources like streetlights or neon signs for added illumination. By mastering these five pro tips, you'll be well on your way to capturing stunning night shots that truly shine.
Adjust ISO Settings
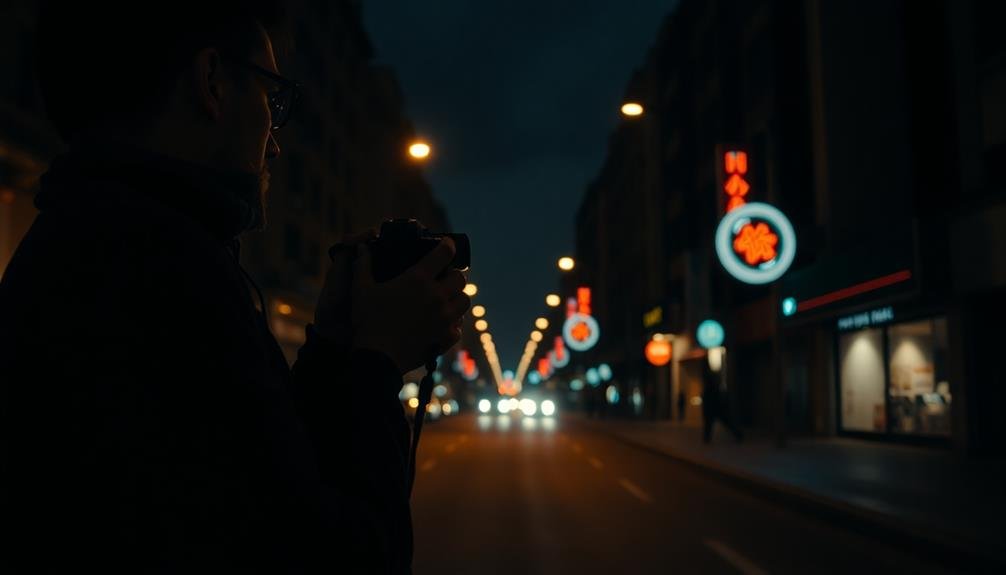
When it comes to night photography, cranking up your ISO settings can make a world of difference. ISO controls your camera's sensitivity to light, and at night, you'll need to increase it markedly. Start by setting your ISO to 800 or 1600, then adjust as needed. Higher ISOs allow you to capture more light, resulting in brighter images even in low-light conditions.
However, be cautious when increasing ISO. Higher values can introduce digital noise, reducing image quality. To find the right balance, experiment with different ISO settings and examine the results. Modern cameras often perform well at ISO 3200 or even 6400, but older models may struggle beyond 1600.
Don't be afraid to push your camera's limits. It's better to have a slightly noisy image than a dark, unusable one. You can always reduce noise in post-processing software.
Remember to adjust your shutter speed and aperture accordingly when changing ISO. A wider aperture (lower f-number) and slower shutter speed can help you maintain a lower ISO while still capturing enough light.
Practice and experimentation are key to mastering night photography and finding the perfect ISO settings for your specific camera and shooting conditions.
Use Night Mode
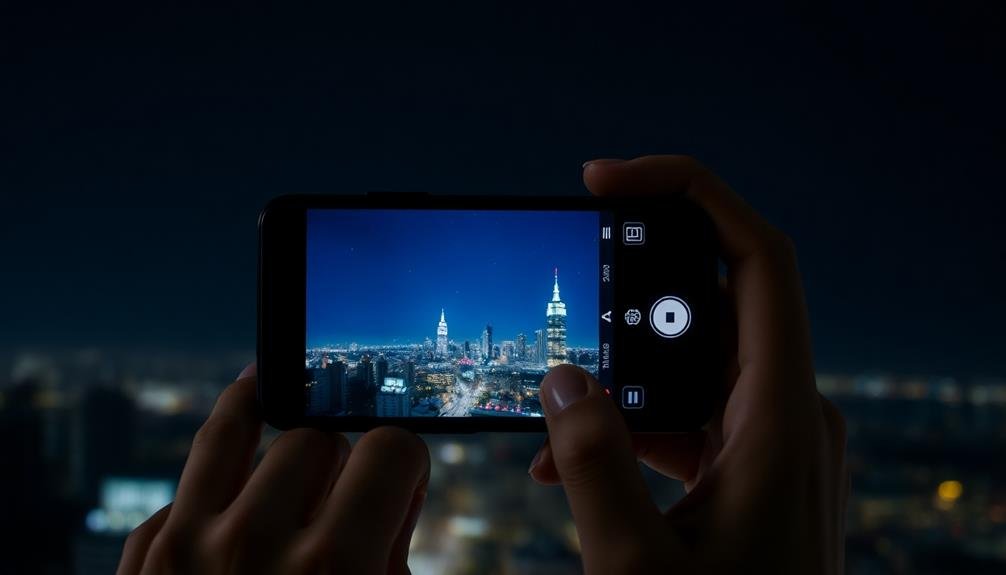
Many modern smartphones and cameras come equipped with a dedicated Night Mode feature, revolutionizing low-light photography. This intelligent setting automatically adjusts various parameters to capture brighter, clearer images in dark environments. When you're struggling with dim photos, don't hesitate to switch on Night Mode.
Night Mode works by taking multiple exposures and combining them into a single, well-lit image. It's particularly effective for:
- Cityscape shots with neon lights
- Starry sky photography
- Indoor scenes with minimal lighting
- Twilight landscapes
To make the most of Night Mode, hold your device steady or use a tripod for the best results. The feature may take a few seconds to process, so patience is key.
Remember that while Night Mode can greatly improve your low-light photos, it's not a cure-all for every dark situation.
If your device lacks a built-in Night Mode, consider third-party apps that offer similar functionality. These apps can help you achieve comparable results by employing advanced image processing techniques.
Experiment with different settings and apps to find the best solution for your specific device and shooting conditions.
Stabilize Your Smartphone
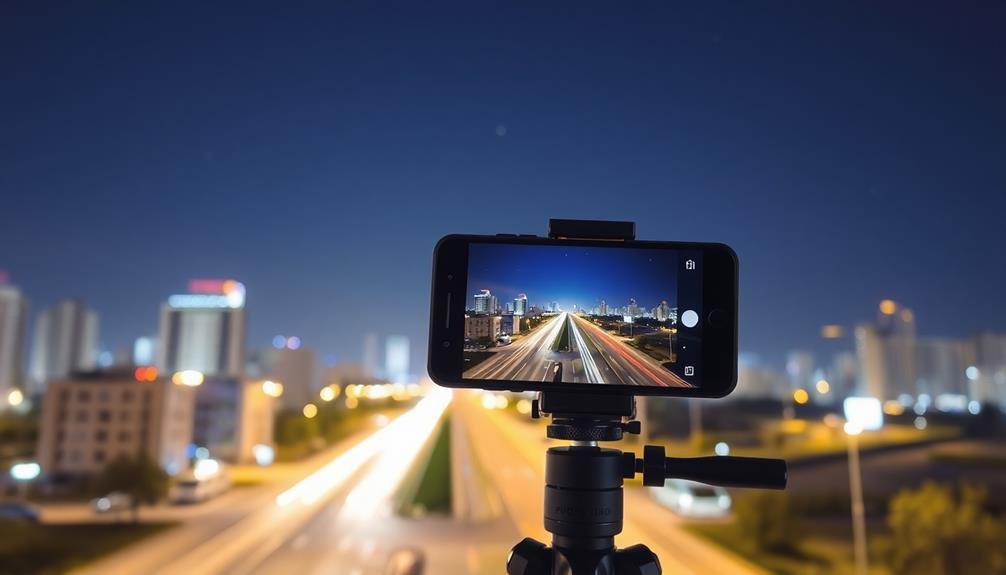
How can you guarantee crisp, clear night photos with your smartphone? The key is stabilization. Even the slightest movement can result in blurry images, especially in low-light conditions. To combat this, use a tripod or rest your phone on a stable surface. If you don't have a tripod, lean against a wall or set your elbows on a table to steady your hands.
Many smartphones now offer built-in stabilization features. Enable optical image stabilization (OIS) or electronic image stabilization (EIS) in your camera settings. These technologies help compensate for small movements, reducing blur.
Use your phone's timer or voice commands to trigger the shutter. This eliminates the need to touch the screen, which can cause vibrations. For longer exposures, consider using a remote shutter release or Bluetooth remote.
Here's a quick guide to stabilization techniques:
| Technique | Indoor | Outdoor | Effectiveness | Convenience |
|---|---|---|---|---|
| Tripod | ✓ | ✓ | High | Medium |
| Lean on objects | ✓ | ✓ | Medium | High |
| Timer/Voice | ✓ | ✓ | High | High |
| OIS/EIS | ✓ | ✓ | Medium | High |
Experiment With Exposure Compensation

Given the challenges of night photography, mastering exposure compensation is essential for capturing stunning low-light images. Most smartphone cameras tend to underexpose night scenes, resulting in dark, grainy photos.
By adjusting the exposure compensation, you'll be able to brighten your images and reveal more details in the shadows.
To experiment with exposure compensation, look for the +/- icon in your camera app. Slide it towards the + side to increase brightness or the – side to decrease it. Start with small adjustments, like +0.5 or +1.0, and gradually increase until you achieve the desired result.
Remember, too much exposure can lead to blown-out highlights, so find the right balance.
Here are some tips to make the most of exposure compensation:
- Use the histogram to guide your adjustments
- Combine exposure compensation with HDR mode for better dynamic range
- Focus on preserving highlight details in bright areas
- Experiment with different exposure levels for creative effects
Leverage External Light Sources
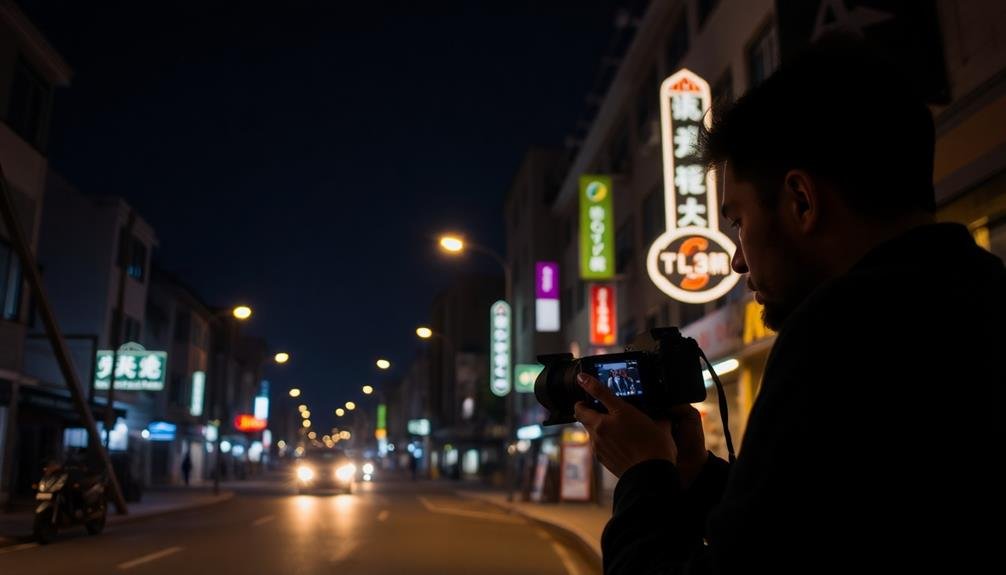
External light sources can dramatically enhance your night photos, adding depth, color, and intrigue to your compositions. Look for streetlights, neon signs, car headlights, and illuminated buildings to incorporate into your shots. These elements not only provide additional light but also create interesting focal points and lead lines in your images.
Don't be afraid to get creative with artificial light sources. Try using a flashlight or your smartphone's torch to "paint" light onto specific areas of your scene. This technique, known as light painting, allows you to highlight particular subjects or add unique effects to your photos.
When shooting cityscapes, take advantage of the blue hour – the period just after sunset when the sky takes on a deep blue hue. This natural light blends beautifully with artificial city lights, creating a balanced and visually appealing image.
Remember to adjust your camera settings accordingly when working with external light sources. You may need to increase your ISO or widen your aperture to capture enough light while maintaining a reasonable shutter speed.
Experiment with different combinations to find the perfect balance for your shot.
Frequently Asked Questions
Can I Use Flash for Night Photography With My Smartphone?
Yes, you can use flash for night photography with your smartphone. However, it's often harsh and limited in range. Instead, try using Night Mode, adjusting exposure, or utilizing available light sources for more natural-looking results.
How Do I Capture Star Trails in Night Sky Photos?
To capture star trails, you'll need a tripod and long exposure. Set your camera to manual mode, use a wide aperture, and choose a shutter speed of 30 seconds or longer. Experiment with different settings for the best results.
What's the Best Smartphone for Low-Light Photography?
You'll want to contemplate smartphones with larger sensors and wide apertures. The iPhone 13 Pro, Google Pixel 6 Pro, and Samsung Galaxy S22 Ultra are top contenders. They offer advanced night modes and AI-enhanced low-light capabilities for impressive results.
Should I Shoot in RAW Format for Night Photos?
Yes, you should shoot in RAW format for night photos. It'll give you more flexibility in post-processing, allowing you to recover details in shadows and highlights. You'll have better control over noise reduction and color adjustments too.
How Can I Reduce Noise in Smartphone Night Photos During Post-Processing?
To reduce noise in smartphone night photos during post-processing, you'll want to use noise reduction software. Apply it selectively, focusing on shadow areas. Don't overdo it, as excessive noise reduction can soften details. Experiment with different settings for best results.
In Summary
You've now got the tools to capture stunning night photos with your smartphone. Don't be afraid to experiment with these techniques. Play around with ISO, try night mode, keep your phone steady, adjust exposure, and use available light creatively. Remember, practice makes perfect. The more you shoot in low light, the better you'll become at managing your camera's settings. So get out there and start capturing the magic of the night!



Leave a Reply