To capture stunning reflection photos in low light, start by using a stable surface or tripod for sharp images. Adjust your ISO and shutter speed to balance exposure and minimize noise. Experiment with manual focus for precise control in dim conditions. Seek out reflective surfaces like water, glass, or polished materials. Utilize available light sources, such as streetlights or neon signs, to create colorful reflections. Keep your smartphone lens clean to avoid glare and maintain image quality. Finally, enhance contrast during post-processing to bring out details and depth. These tips will help you master the art of low-light reflection photography, but there's always more to explore.
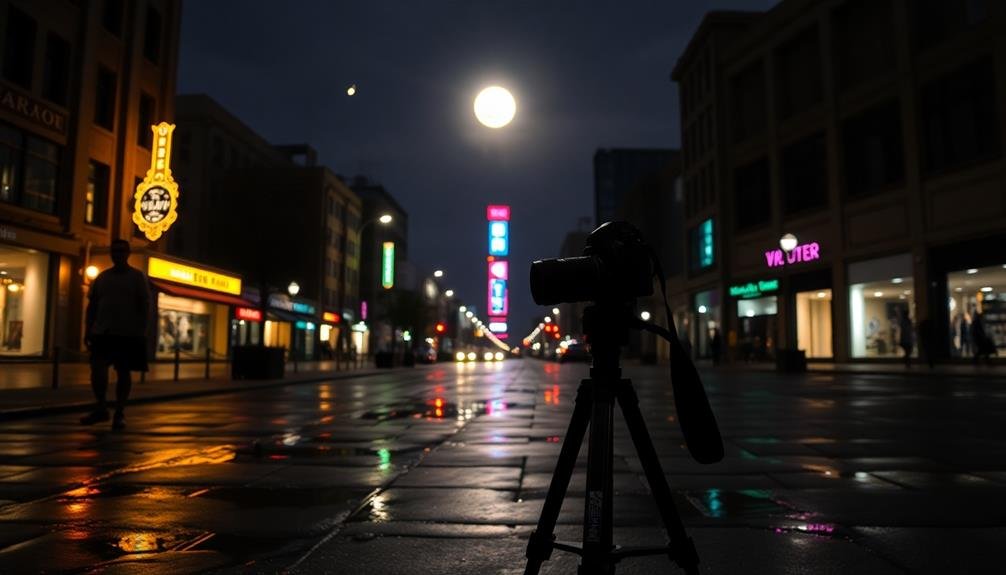
Use a Stable Surface
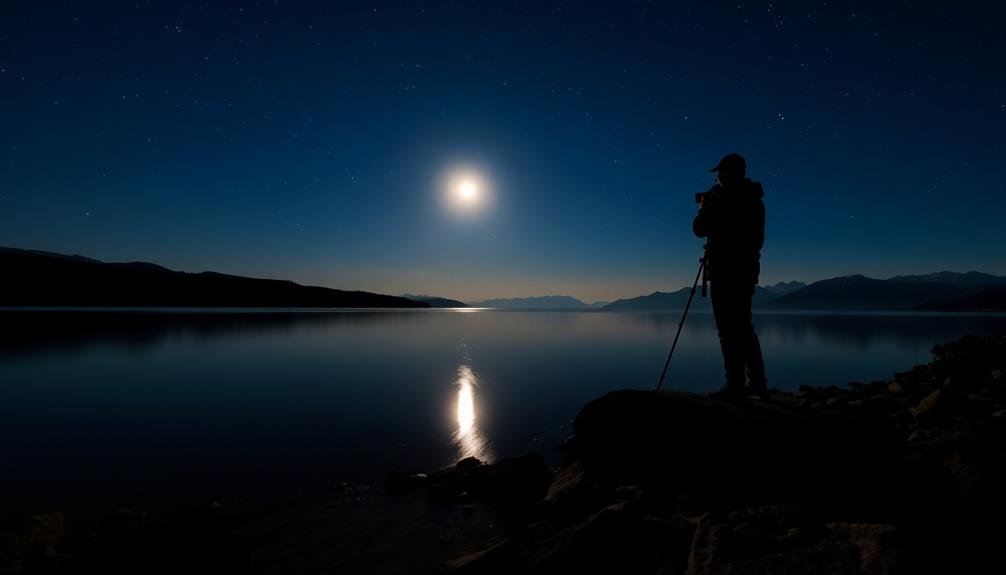
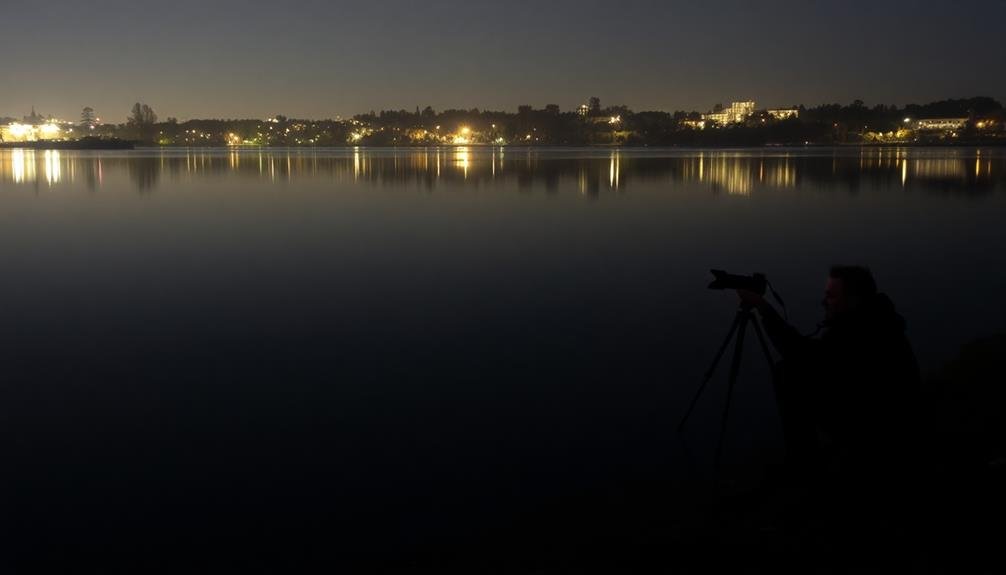
A stable surface is essential for capturing sharp reflection photos in low light conditions. When shooting in dim environments, you'll need longer exposure times, making camera shake more likely. To combat this, always seek out a solid, immovable surface to rest your camera on. Look for flat rocks, railings, or even the ground itself. If you're near water, a pier or dock can provide an excellent platform for your shot.
If you can't find a suitable surface, consider bringing a tripod. It's an invaluable tool for low-light photography, allowing you to use slower shutter speeds without introducing blur. When using a tripod, make sure it's set up on stable ground and that all legs are locked securely.
For added stability, hang your camera bag from the center hook of the tripod.
Don't forget about your camera's self-timer or remote shutter release. These tools help eliminate the vibration caused by pressing the shutter button. If your camera has image stabilization, turn it off when using a tripod to prevent potential conflicts.
Adjust ISO and Shutter Speed
With your camera securely positioned, it's time to focus on optimizing your camera settings for low-light reflection photos.
Start by increasing your ISO to allow more light into the sensor. However, be cautious not to push it too high, as this can introduce unwanted noise. Experiment with ISO settings between 800 and 3200, depending on your camera's capabilities.
Next, adjust your shutter speed. For reflections, you'll want a slower shutter speed to capture more light and create smooth, glassy surfaces. Begin with speeds around 1/30 to 1/15 of a second, and adjust as needed. If you're dealing with moving water, consider even longer exposures of several seconds to create a silky effect.
Balance your ISO and shutter speed settings to achieve the desired exposure. If your image is still too dark, open up your aperture (use a lower f-number) to let in more light.
Remember, a wider aperture will result in a shallower depth of field, so make certain your focus is precise.
Don't hesitate to take multiple shots with different settings. This will give you options to choose from and help you understand how each adjustment affects your reflection photos in low-light conditions.
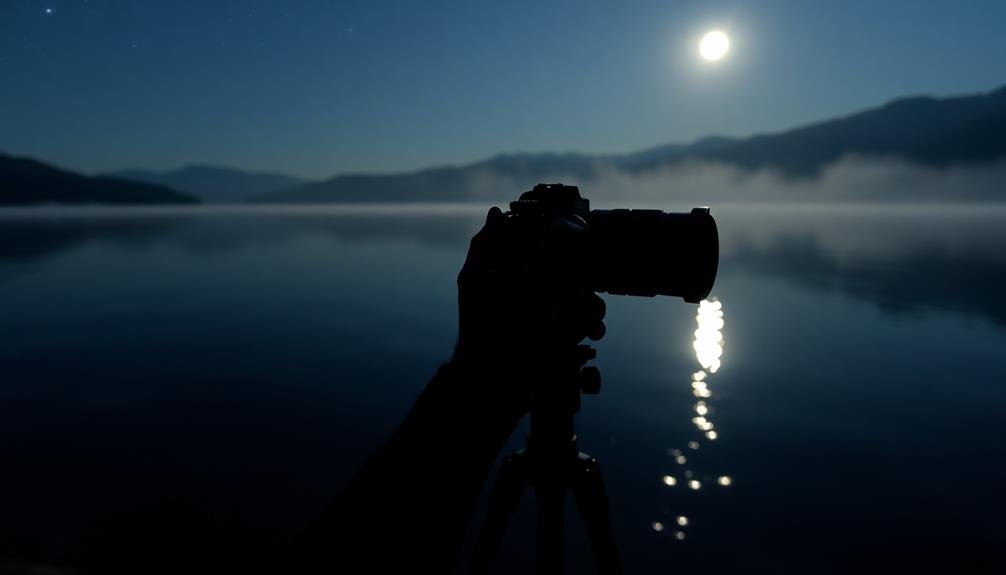
Experiment With Manual Focus
Mastering manual focus can greatly enhance your low-light reflection photos. When shooting reflections in dim conditions, autofocus often struggles to lock onto the correct subject, resulting in blurry or misfocused images. By switching to manual focus, you'll have precise control over your focal point, ensuring both the reflection and the subject are sharp.
To effectively use manual focus, start by setting your lens to its widest aperture. This allows more light to enter the camera, making it easier to see your subject through the viewfinder. Use your camera's focus assist features, such as focus peaking or magnification, to fine-tune your focus. These tools highlight in-focus areas, helping you achieve perfect sharpness.
Here's a quick guide to manual focusing techniques:
| Technique | Description | Best for |
|---|---|---|
| Focus Peaking | Highlights in-focus edges | Detailed subjects |
| Live View Magnification | Zooms in on LCD screen | Precise focusing |
| Hyperfocal Distance | Maximizes depth of field | Landscape reflections |
Remember to take multiple shots at slightly different focus points. This technique, known as focus bracketing, increases your chances of capturing a perfectly focused image. With practice, you'll find that manual focus becomes second nature, allowing you to capture stunning reflection photos even in challenging low-light conditions.
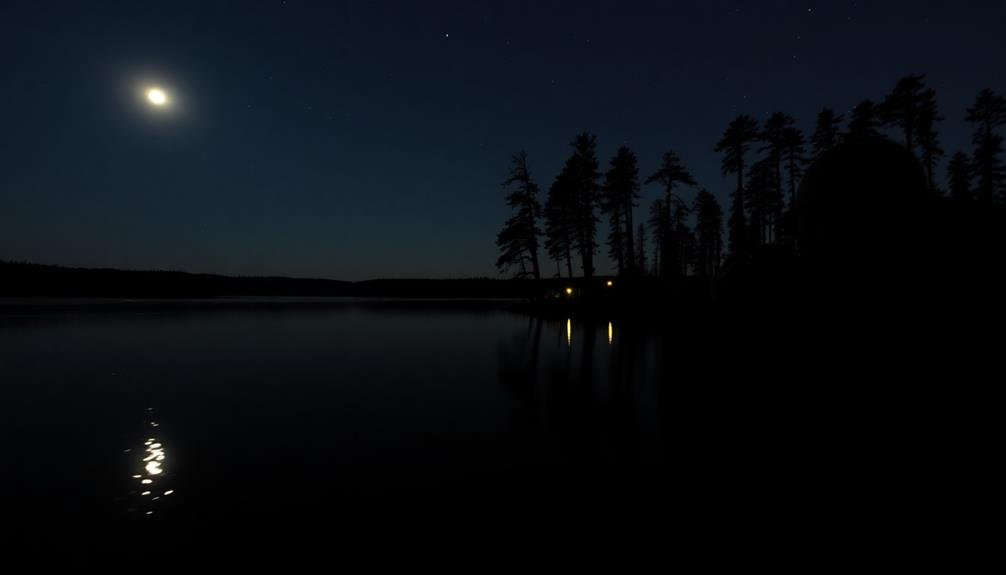
Find Reflective Surfaces
Where can you find the best reflective surfaces for low-light photography? Look for smooth, glossy surfaces that can mirror your subject. Water bodies like puddles, lakes, or even wet pavements after rain are excellent choices.
Glass windows of buildings, polished marble floors, and shiny metal surfaces can also create stunning reflections.
Don't overlook unconventional reflective surfaces. Car hoods, mirrored sunglasses, or even a smartphone screen can offer unique reflection opportunities.
In urban settings, search for reflective architectural elements like chrome fixtures or polished stone facades.
To maximize reflections in low light, position yourself at a low angle relative to the reflective surface. This will help capture more of the reflected image.
Consider using a tripod to keep your camera steady for longer exposures.
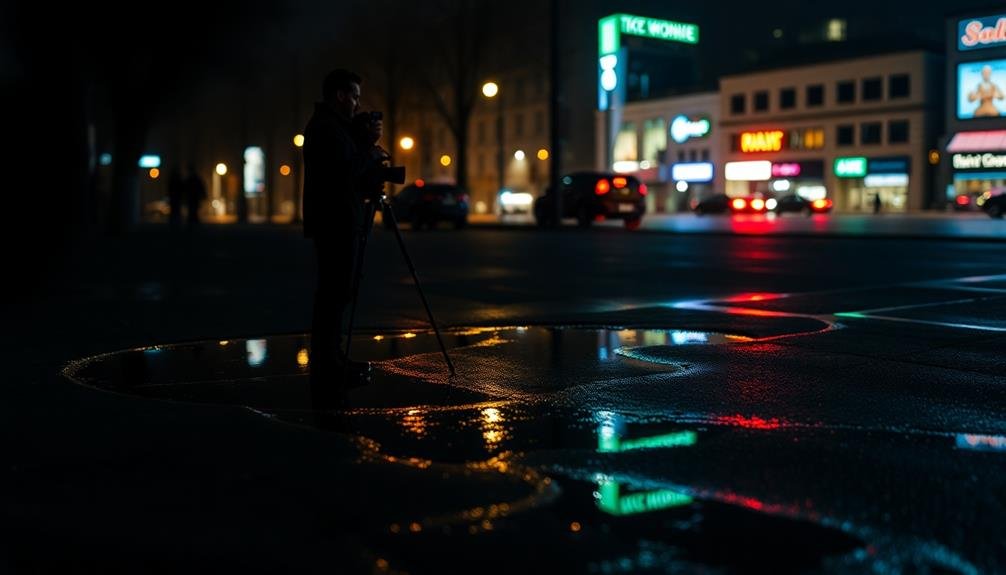
Utilize Available Light Sources
When shooting reflection photos in low light, you'll need to make the most of available illumination sources.
Look for streetlights and neon signs that can create colorful, dramatic reflections on wet surfaces or glass.
Don't overlook the soft glow from windows or the creative possibilities of using handheld light sources like flashlights or your phone's torch to highlight specific areas of your composition.
Streetlights and Neon Signs
City nights come alive with the glow of streetlights and neon signs, offering photographers a rich palette of colors and light sources for reflection photos.
These artificial lights can create stunning effects when reflected in puddles, windows, or other shiny surfaces. To capture these reflections, position yourself to include both the light source and its reflection in your frame. Experiment with different angles to find the most compelling composition.
When shooting neon signs, try to isolate them against a dark background to enhance their vibrancy. Use a wider aperture to create a soft bokeh effect with the surrounding lights.
For streetlights, look for patterns or repetitions that can add depth to your image. You can also use them to create leading lines that guide the viewer's eye through the photo.
Don't be afraid to underexpose slightly to preserve the intensity of the lights and their reflections. Use a tripod or stable surface to keep your camera steady during longer exposures.
If you're shooting handheld, increase your ISO and use image stabilization to minimize camera shake. Remember to adjust your white balance to capture the true colors of the artificial lights and their reflections.
Ambient Window Illumination
While streetlights and neon signs offer vibrant colors, ambient window illumination provides a softer, more intimate lighting source for reflection photos in low-light conditions.
You'll often find this gentle glow emanating from storefronts, restaurants, or residential buildings after dark.
To capture stunning reflection photos using ambient window light, position yourself at an angle where the illumination falls on your subject or reflective surface. This creates a subtle, warm ambiance that can add depth and mood to your images.
Try experimenting with different distances from the light source to adjust the intensity and spread of the illumination.
Don't be afraid to increase your camera's ISO to capture more light, but be mindful of noise in your images. Use a wide aperture to allow more light into your lens and create a shallow depth of field, which can enhance the dreamy quality of reflections.
A tripod is essential for maintaining sharpness in low-light conditions, especially when using slower shutter speeds.
Look for interesting textures or patterns in the reflective surfaces illuminated by window light. Glass, water puddles, or polished metal can all create enchanting effects when bathed in this soft glow.
Handheld Light Sources
Three handheld light sources can dramatically enhance your low-light reflection photography: smartphones, flashlights, and LED panels. Each offers unique advantages and versatility in creating stunning reflection shots.
Your smartphone's flashlight function provides a readily available light source. Position it at various angles to experiment with different reflection effects. You can also use the screen's brightness to create softer illumination for more subtle reflections.
Flashlights offer more powerful and focused beams. They're ideal for highlighting specific areas in your reflection composition. Try using colored gels over the flashlight to add interesting hues to your reflections.
LED panels provide the most control over your lighting. They offer adjustable brightness and color temperature, allowing you to fine-tune the mood of your reflection photos. Some panels even come with built-in effects like simulated candlelight or lightning.
When using these handheld light sources, remember to experiment with distance and angle. Move the light closer for stronger reflections or further away for a more diffused effect.
Don't be afraid to combine multiple light sources to create complex and enchanting reflection images in low-light situations.
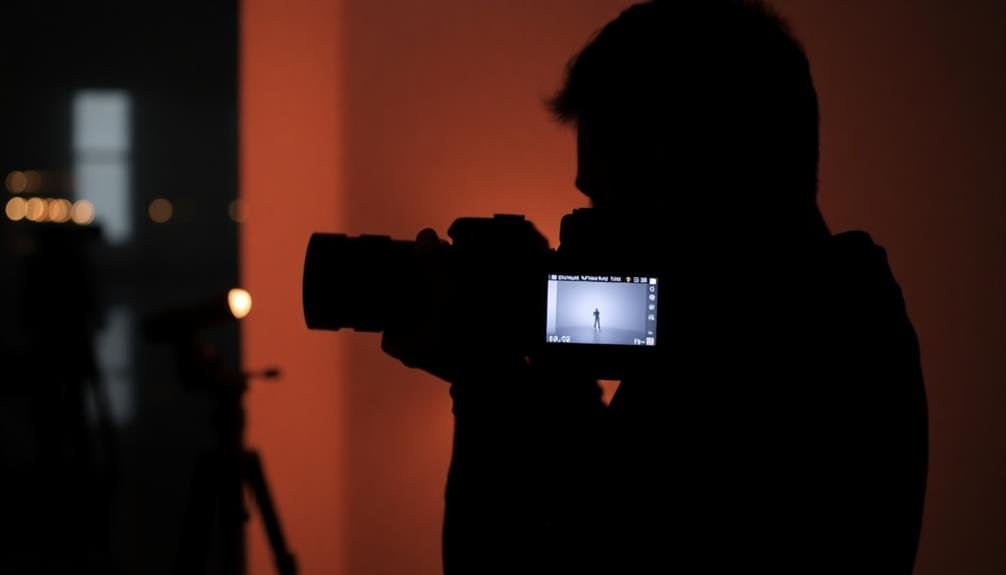
Clean Your Smartphone Lens
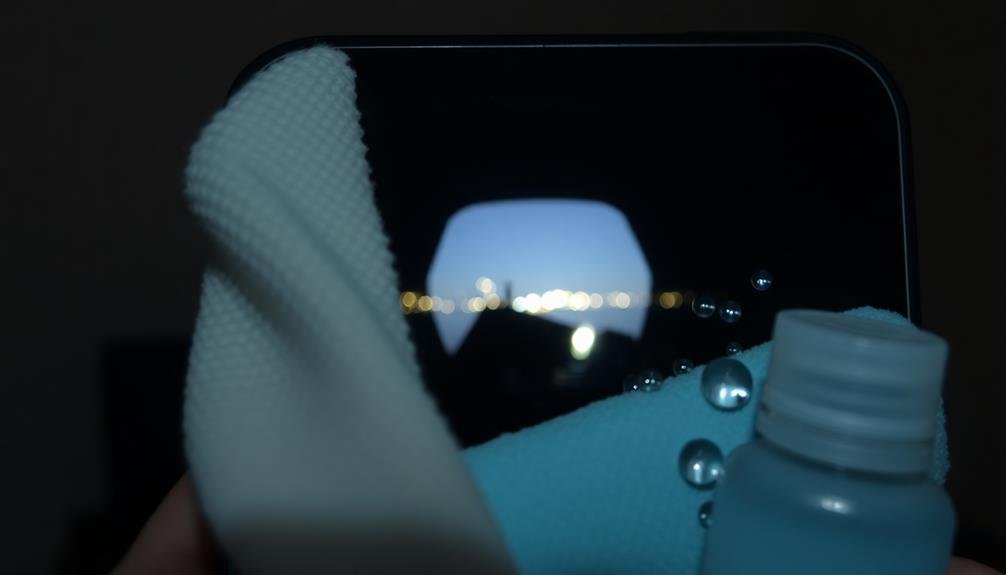
Before capturing reflection photos in low light, ensuring your smartphone lens is clean is essential. A dirty lens can greatly impact image quality, especially in challenging lighting conditions. Smudges, fingerprints, and dust particles on your lens can create unwanted glare, reduce sharpness, and diminish the overall clarity of your reflection photos.
To clean your smartphone lens, start by using a microfiber cloth specifically designed for optical surfaces. Gently wipe the lens in a circular motion, removing any visible dirt or smudges. For stubborn residue, lightly dampen the cloth with distilled water or a lens cleaning solution. Be careful not to use excessive moisture, as it can damage your device.
If you don't have a microfiber cloth on hand, you can use a soft, lint-free fabric like a clean cotton shirt. Avoid using rough materials or paper products, as they can scratch the lens surface.
It's also important to clean the entire camera module, including any additional lenses or sensors.
Make it a habit to clean your smartphone lens regularly, especially before attempting low-light reflection photography. This simple step can greatly improve the quality of your images and help you capture stunning reflections in challenging lighting conditions.
Edit for Enhanced Contrast
To enhance contrast in your low-light reflection photos, start by adjusting the levels and curves in your editing software.
You'll want to fine-tune the shadows, midtones, and highlights to create more definition and depth in your image.
Additionally, try using local contrast enhancement techniques to bring out subtle details and textures, particularly in areas where the reflection meets the surrounding environment.
Adjust Levels and Curves
Nearly every reflection photo in low light can benefit from adjusting levels and curves to enhance contrast. These tools allow you to fine-tune the tonal range and brightness of your image, bringing out details that may be hidden in the shadows or highlights. By manipulating the histogram, you'll create a more balanced and visually striking photograph.
When adjusting levels and curves, focus on these key aspects:
- Shadows: Lift the darkest areas to reveal hidden details without losing depth.
- Midtones: Adjust the middle range to enhance the overall brightness and clarity.
- Highlights: Pull back overexposed areas to preserve texture and prevent loss of information.
- Color channels: Fine-tune individual RGB channels for more precise control over color balance.
Start by setting your black and white points in the levels adjustment to expand the tonal range. Then, use curves to create a subtle S-shape, which will add depth and dimension to your image.
Don't be afraid to experiment with different adjustments, but remember to maintain a natural look. You'll find that small tweaks can make a significant difference in bringing your low-light reflection photos to life.
Utilize Local Contrast Enhancement
Local contrast enhancement is a powerful technique for bringing out subtle details in your low-light reflection photos. It allows you to increase contrast in specific areas of your image without affecting the overall exposure. To utilize this technique, you'll need to use software that offers local adjustments, such as Adobe Lightroom or Capture One.
Start by identifying the areas in your reflection photo that need more definition. These might include textures in water ripples, details in shadowy areas, or intricate patterns in reflective surfaces. Use the adjustment brush or gradient tool to selectively apply contrast to these regions.
Increase the clarity or structure sliders to enhance edge contrast and bring out fine details. Be careful not to overdo it, as excessive local contrast can create an unnatural look. Aim for subtle enhancements that reveal hidden details without making the image appear overly processed.
You can also combine local contrast adjustments with other techniques like dodging and burning to further refine your low-light reflection photo. Experiment with different opacity levels and brush sizes to achieve the perfect balance of contrast and natural-looking results.
Frequently Asked Questions
Can I Use Filters to Enhance Reflections in Low-Light Photography?
Yes, you can use filters to enhance reflections in low-light photography. Try a polarizing filter to reduce glare and increase contrast. Neutral density filters can help you slow shutter speeds, creating smoother water reflections. Experiment with different options.
How Do I Prevent Lens Flare When Shooting Reflections at Night?
To prevent lens flare when shooting reflections at night, you'll want to use a lens hood, avoid direct light sources, and adjust your angle. You can also try shielding your lens with your hand or a piece of cardboard.
What's the Best Time to Capture Reflection Photos in Low Light?
You'll find the best time for low-light reflection photos is during the "blue hour" – just after sunset or before sunrise. It's when there's still some ambient light, but artificial lights are visible too. Don't forget your tripod!
Are There Specific Camera Settings for Capturing Star Reflections in Water?
You'll want to use a wide aperture (f/2.8 or wider), high ISO (1600+), and long exposure (15-30 seconds). Set your focus to infinity, use a tripod, and try a remote shutter to avoid camera shake.
How Can I Create Artistic Blur in Reflection Photos at Night?
You can create artistic blur in night reflection photos by using a slow shutter speed. Try 1-30 seconds, depending on the scene. Use a tripod and experiment with moving your camera slightly during exposure for unique effects.
In Summary
You've now got the tools to capture stunning reflection photos in low light. Remember to stabilize your phone, adjust your settings, and seek out reflective surfaces. Don't forget to clean your lens and experiment with manual focus. Use available light creatively, and don't shy away from post-processing. With practice, you'll be amazed at the atmospheric and moody shots you can capture. So grab your smartphone and start exploring the world of low-light reflections!
Leave a Reply