
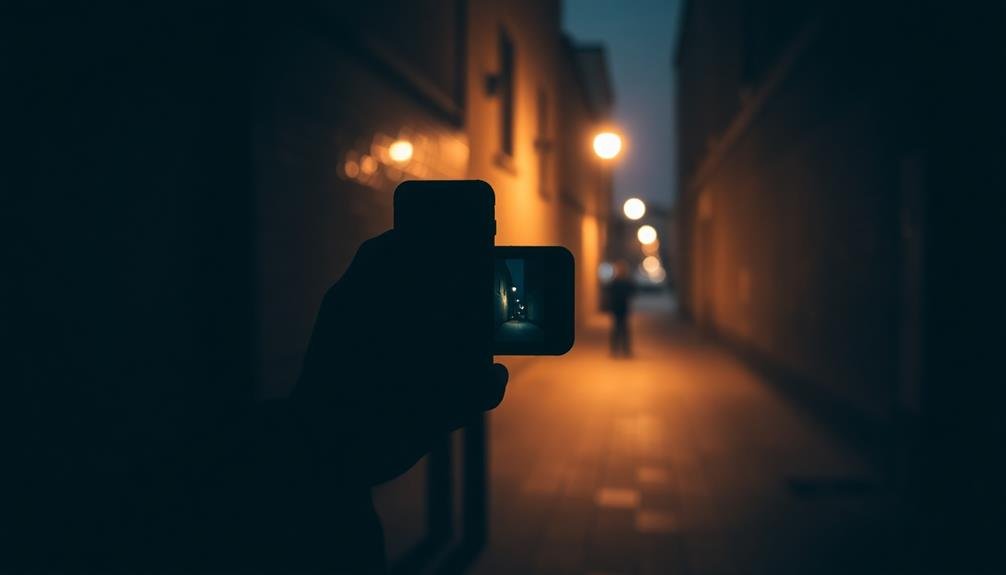
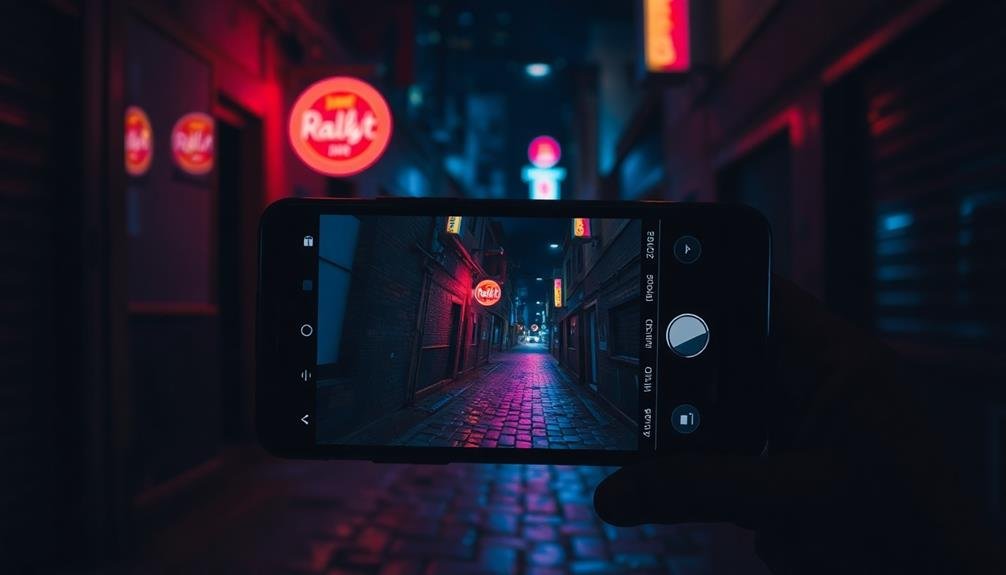
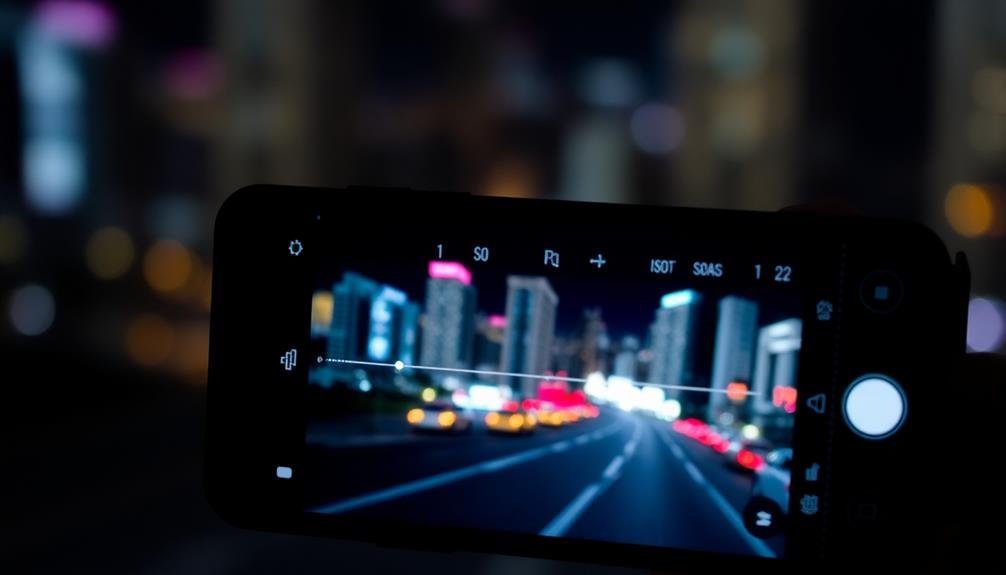
To master low-light mobile photography, focus on essential camera settings. Start by adjusting ISO to balance brightness and noise. Optimize shutter speed, using slower settings for more light, but steady your phone to avoid blur. Control aperture to maximize light intake while considering depth of field.
Fine-tune white balance for accurate colors, and experiment with focus modes to enhance clarity in darkness. Utilize Night Mode for improved low-light capture, and consider HDR for balanced exposures. Shoot in RAW format for greater post-processing flexibility, and apply noise reduction techniques judiciously. By mastering these settings, you’ll transform your night shots into stunning visuals.
Also Read: 10 Best Phone Lens Attachments for Stunning Night Photography
Understanding ISO Settings
When it comes to mastering low-light mobile photography, understanding ISO settings is essential. ISO determines your camera’s sensitivity to light, and it’s a vital tool for capturing clear images in dim conditions. In low-light situations, you’ll often need to increase your ISO to brighten your photos.
However, higher ISO settings come with a trade-off. As you increase the ISO, you’ll introduce more digital noise or grain into your images. This can result in a loss of detail and overall image quality. It’s important to find the right balance between brightening your photo and maintaining acceptable image quality.
Most modern smartphones allow you to adjust ISO manually in their camera apps. Start by experimenting with different ISO values in various lighting conditions.
You’ll quickly learn how your specific device handles higher ISO settings and where the sweet spot lies for your preferred style.
Shutter Speed Optimization
Another key element in low-light mobile photography is shutter speed optimization. Shutter speed determines how long your camera’s sensor is exposed to light. In low-light conditions, you’ll typically need a slower shutter speed to allow more light into the sensor.
Start by experimenting with shutter speeds between 1/30 and 1/4 of a second. These slower speeds can capture more light but may introduce motion blur if you’re not careful. To combat this, steady your phone against a stable surface or use a tripod.
Some mobile phones offer manual shutter speed control, while others have a “Night Mode” that automatically adjusts shutter speed. If your phone lacks these features, third-party camera apps can give you more control.
Remember, slower shutter speeds work best for stationary subjects. For moving subjects, you’ll need to find a balance between light capture and freezing motion. Try using burst mode to increase your chances of getting a sharp image.
Lastly, combine shutter speed optimization with other techniques like ISO adjustment and exposure compensation to achieve the best results in low-light situations.
Practice and experimentation will help you master this essential aspect of mobile night photography.
Aperture Control Techniques
You’ll want to maximize light intake by using your phone camera’s widest aperture setting in low-light conditions.
If your device allows manual aperture control, experiment with different f-stops to find the ideal balance between light gathering and depth-of-field.
Remember that a wider aperture (smaller f-number) will let in more light but reduce your depth-of-field, so you’ll need to take into account your subject and composition when making adjustments.
Widest Aperture Benefits
Why is the widest aperture setting essential for low-light mobile photography? It’s your key to capturing more light in challenging conditions. The widest aperture, represented by the lowest f-number your phone camera offers, allows the maximum amount of light to reach the sensor.
When you’re shooting in dim environments, every bit of light counts. By using the widest aperture, you’ll be able to achieve proper exposure without resorting to extremely slow shutter speeds or excessive ISO values. This helps you maintain image quality and avoid motion blur.
The widest aperture also creates a shallow depth of field, which can be advantageous in low-light situations. It helps separate your subject from the background, making it stand out against potentially distracting elements.
This effect is particularly useful for portraits or close-up shots in dimly lit settings.
Manual Aperture Adjustment
Manual aperture adjustment is a powerful tool for low-light mobile photography, but it’s not available on all smartphone cameras. If your device supports this feature, you’ll typically find it in the “Pro” or “Manual” mode of your camera app. To adjust the aperture, look for an “f” symbol followed by a number, such as f/1.8 or f/2.2.
In low-light situations, you’ll want to use the widest aperture possible (the smallest f-number) to allow more light into the sensor. This will help you capture brighter images without relying on higher ISO settings or slower shutter speeds.
However, remember that a wider aperture also results in a shallower depth of field, which may not be ideal for all compositions. If you’re shooting a scene with multiple subjects at different distances, you might need to compromise by slightly increasing the f-number.
This will extend the depth of field, ensuring more elements are in focus. Experiment with different aperture settings to find the right balance between light gathering and depth of field for your specific low-light scenario.
Balancing Depth-Of-Field
Balancing depth-of-field is a key skill for mastering low-light mobile photography. It’s essential to understand how aperture affects your image’s focus range and overall sharpness.
In low-light conditions, you’ll often need to use a wider aperture to let in more light, but this can result in a shallower depth-of-field.
To balance depth-of-field, start by identifying your main subject and determining how much of the surrounding area you want in focus. If you’re shooting a portrait, a wider aperture (lower f-number) can create a pleasing bokeh effect, isolating your subject from the background.
For landscapes or group shots, you’ll want a narrower aperture (higher f-number) to keep more elements sharp.
Experiment with different aperture settings to find the sweet spot between adequate light exposure and desired depth-of-field.
Don’t be afraid to increase your ISO or use a slower shutter speed to compensate for a narrower aperture if needed.
White Balance Adjustments
Often overlooked, white balance adjustments can dramatically improve your low-light mobile photos. In dimly lit environments, your phone’s auto white balance can struggle, resulting in images with unnatural color casts. To counter this, take control of your white balance settings manually.
Most mobile camera apps offer preset white balance options like tungsten, fluorescent, or daylight. Choose the one that best matches your light source. For more precise control, use the color temperature slider if available. Lower values (measured in Kelvin) produce cooler, bluer tones, while higher values create warmer, orange hues.
In mixed lighting situations, experiment with different settings to find the most pleasing result. You can also use a gray card or white object in the scene to set a custom white balance. This guarantees accurate color reproduction across your entire image.
Focus Modes for Darkness
While managing white balance enhances color accuracy, achieving sharp focus in low light presents its own set of challenges. In darkness, your phone’s autofocus system may struggle to secure subjects. To overcome this, you’ll need to explore different focus modes and techniques.
First, try tapping on your subject to manually set the focus point. If that doesn’t work, some phones offer a “Night” or “Low Light” mode that adjusts focus algorithms for dark conditions.
For stationary subjects, experiment with manual focus if your camera app allows it. This gives you precise control over the focal point.
For moving subjects in dim light, continuous autofocus can be helpful. It constantly readjusts focus as your subject moves.
If all else fails, use the flashlight on another phone to briefly illuminate your subject, allowing your camera to focus before taking the shot.
- Feel the thrill of capturing crisp details in the dark
- Embrace the challenge of mastering your phone’s focus capabilities
- Experience the satisfaction of nailing focus in tricky conditions
- Reveal new creative possibilities in low-light photography
Exposure Compensation Mastery
Exposure compensation is a powerful tool for adjusting your camera’s exposure in challenging low-light situations.
You’ll find this control in your phone’s camera app, usually represented by a “+/-” symbol or slider.
Understanding Exposure Compensation Controls
Mastering exposure compensation controls is a game-changer for low-light mobile photography. These controls allow you to adjust the brightness of your images, overriding your camera’s automatic settings. In low-light situations, your phone’s camera often underexposes shots, resulting in dark, grainy images.
By understanding and using exposure compensation, you’ll capture brighter, clearer photos in challenging lighting conditions.
To use exposure compensation, look for the +/- icon in your camera app. Tapping this will reveal a sliding scale, typically ranging from -2 to +2 in increments of 1/3 or 1/2 stops. Sliding towards the positive values increases exposure, brightening your image, while negative values decrease exposure, darkening it.
In low-light scenarios, you’ll usually want to increase exposure. Experiment with different exposure compensation values to find the sweet spot for each scene. Remember, excessive brightening can lead to overexposed highlights, so find a balance that preserves detail in both shadows and highlights.
- Feel the thrill of capturing stunning low-light scenes
- Experience the satisfaction of mastering a pro-level technique
- Enjoy the confidence of knowing you can shoot in any lighting condition
- Revel in the admiration your improved night photos will receive
Adjusting for Scene Brightness
How can you effectively adjust for scene brightness in low-light mobile photography? Mastering exposure compensation is key. Start by evaluating the overall brightness of your scene. If it’s too dark, increase the exposure compensation; if it’s too bright, decrease it. Most mobile cameras allow adjustments in 1/3 stop increments, giving you fine control over the image’s brightness.
Remember, the camera’s meter aims for a middle gray tone. In low-light situations, this can lead to overexposure of bright areas or underexposure of dark areas. To combat this, use the histogram feature if available. It’ll show you the distribution of tones in your image. Aim for a balanced histogram without clipping at either end.
When shooting high-contrast scenes, prioritize the most important elements. If you’re capturing a subject against a bright background, increase exposure compensation to properly expose the subject, even if it means overexposing the background.
Conversely, for silhouettes, decrease exposure compensation to maintain the dark outline of your subject against a brighter background. Always review your shots and make adjustments as needed to achieve the desired result.
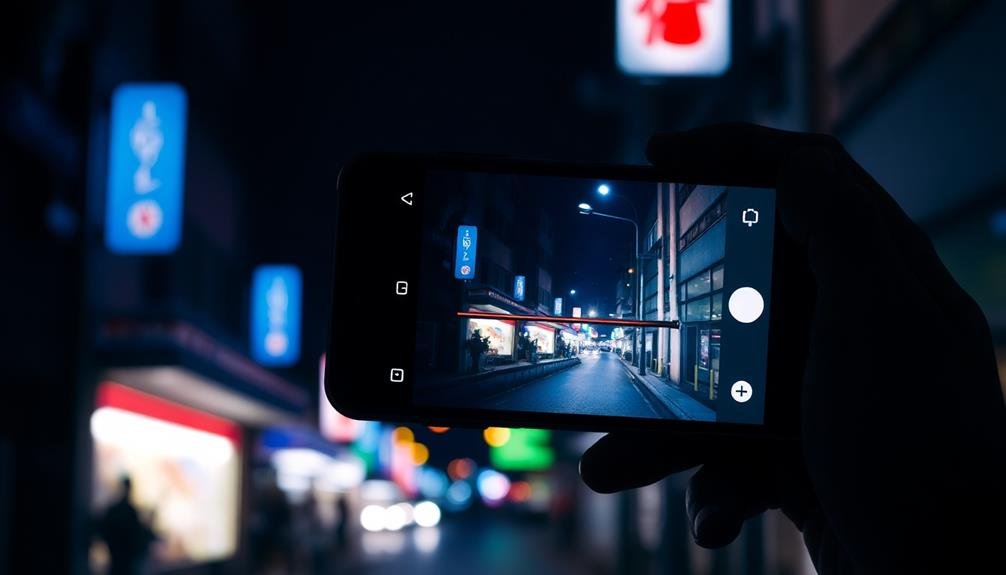
Night Mode Features
Smartphones have revolutionized night photography with the introduction of Night Mode features. These intelligent algorithms allow you to capture stunning low-light images without the need for manual adjustments.
When you activate Night Mode, your phone takes multiple exposures and combines them to create a brighter, clearer photo with reduced noise. To make the most of Night Mode, hold your phone steady for a few seconds while it captures the image. Many phones will guide you through this process with on-screen instructions.
Some advanced devices even use AI to detect when you’re shooting stars or the northern lights, automatically adjusting settings for ideal results. Remember, Night Mode isn’t just for nighttime scenes. You can use it in any low-light situation, such as dimly lit interiors or cloudy days.
Experiment with different subjects to discover the full potential of this feature.
- Capture the magic of a starry sky you’ve always dreamed of photographing
- Preserve the warm glow of a cozy candlelit dinner
- Immortalize the vibrant energy of city lights after dark
- Reveal hidden details in shadowy landscapes that were once impossible to capture
HDR in Low Light
HDR can be a powerful tool for low-light mobile photography, balancing high-contrast scenes and preserving details in both shadows and highlights.
You’ll often find that HDR improves the overall exposure and color accuracy in challenging lighting conditions.
However, be cautious when using HDR for moving subjects or in very low light, as it may introduce artifacts or blur; it’s best suited for static scenes with moderate contrast.
HDR Benefits and Drawbacks
Low-light photography’s arsenal gains a powerful ally in HDR (High Dynamic Range) technology. This feature combines multiple exposures to create a single, well-balanced image, capturing details in both shadows and highlights. When shooting in dim conditions, HDR can help you maintain a broader tonal range, disclosing details that might otherwise be lost.
However, HDR isn’t without its drawbacks. While it can produce stunning results, it may sometimes lead to unnatural-looking images if not used carefully. You’ll need to take into account motion blur, as HDR requires multiple shots, which can be problematic for moving subjects.
Additionally, HDR processing can increase noise in some areas of your photo. Despite these challenges, HDR’s benefits often outweigh its drawbacks in low-light situations. You’ll find it particularly useful for scenes with high contrast, such as cityscapes at night or interiors with bright windows.
- Disclose hidden details in the shadows
- Capture the magic of twilight landscapes
- Bring life to dimly lit urban scenes
- Transform ordinary low-light shots into extraordinary memories
When using HDR, experiment with different settings and preview your results. With practice, you’ll develop an instinct for when and how to use this powerful tool effectively in your low-light mobile photography.
When to Use HDR
Deciding when to use HDR in low-light conditions can considerably impact the quality of your mobile photos.
You’ll want to activate HDR when you’re shooting scenes with high contrast, such as a dimly lit room with bright windows or a cityscape at night with illuminated buildings against a dark sky. HDR can help balance these extreme light differences, capturing details in both the shadows and highlights.
Use HDR when photographing backlit subjects in low light, like a person standing in front of a sunset or city lights. It’ll help prevent your subject from appearing as a silhouette.
HDR is also beneficial for capturing landscapes during twilight or dawn, preserving the subtle colors in the sky while maintaining detail in the darker foreground.
However, avoid using HDR for moving subjects in low light, as it may result in ghosting or blurring.
It’s also not ideal for scenes where you want to maintain strong contrast or dramatic shadows.
In very dark environments with minimal light sources, HDR might introduce noise, so you’re better off using your camera’s night mode or manual settings instead.
Raw Format Benefits
Photography enthusiasts often debate the merits of different file formats, but when it comes to low-light mobile photography, shooting in RAW can be a game-changer.
RAW files retain all the data captured by your phone’s sensor, giving you much more flexibility in post-processing. You’ll have greater control over exposure, white balance, and color correction, which is vital in challenging lighting conditions.
When you shoot in RAW, you’re preserving the maximum amount of information possible. This means you can recover details in shadows and highlights that would be lost in a compressed JPEG file.
You’ll also have more leeway to reduce noise without sacrificing image quality, a common issue in low-light situations.
While RAW files take up more storage space and require processing before sharing, the benefits for low-light photography are undeniable.
You’ll be able to push your creative boundaries and salvage shots that might otherwise be unusable.
- Release your inner artist with unparalleled editing control
- Rescue seemingly hopeless low-light shots
- Capture the true essence of dimly lit scenes
- Transform ordinary night photos into extraordinary memories
Noise Reduction Settings
Graininess can quickly ruin an otherwise great low-light photo. To combat this, you’ll want to familiarize yourself with your phone’s noise reduction settings. Most modern smartphones offer built-in noise reduction features, but it’s essential to use them judiciously.
Start by adjusting your camera app’s noise reduction strength. A moderate setting often yields the best results, preserving detail while minimizing graininess. Be cautious with high noise reduction levels, as they can create an unnatural, smoothed-out look.
If your phone allows manual ISO control, keep it as low as possible while maintaining a proper exposure. Higher ISO values introduce more noise, so finding the right balance is key.
Some advanced camera apps offer multi-frame noise reduction, which combines several shots to reduce noise effectively.
Consider using third-party apps specifically designed for noise reduction in low-light scenarios. These often provide more advanced algorithms and finer control over the process.
Experiment with different settings and apps to find what works best for your specific phone model and shooting conditions.
Frequently Asked Questions
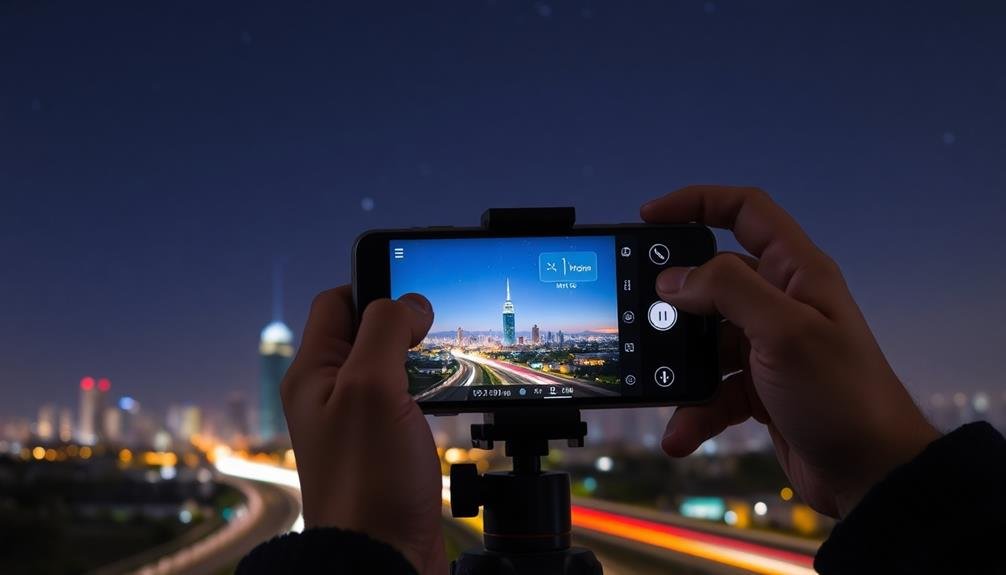
How Can I Stabilize My Phone for Long Exposure Shots?
To stabilize your phone for long exposure shots, you’ll want to use a tripod or stable surface. If you don’t have a tripod, prop your phone against a solid object or use a makeshift stand. Avoid touching the screen when shooting.
What Accessories Are Essential for Low-Light Mobile Photography?
For low-light mobile photography, you’ll want a tripod, remote shutter, and lens attachments. Don’t forget a portable LED light or ring light. A power bank’s essential too, as low-light shots can quickly drain your phone’s battery.
How Do I Capture Moving Subjects in Low-Light Conditions?
To capture moving subjects in low light, you’ll need to increase your ISO and use a faster shutter speed. Try panning with the subject, use burst mode, and consider using flash or external lighting for better results.
Are There Specific Post-Processing Techniques for Enhancing Low-Light Photos?
You can enhance low-light photos by adjusting exposure, reducing noise, and increasing contrast. Try using HDR techniques, selective brightening, and color correction. Don’t forget to sharpen details and experiment with black and white conversions for dramatic effects.
How Can I Prevent Lens Flare When Shooting Night Scenes With Bright Lights?
To prevent lens flare in night scenes, you’ll want to use a lens hood, avoid pointing your camera directly at bright lights, and try shielding your lens with your hand. Experiment with different angles to minimize unwanted flares.
In Summary
You’re now equipped with the essential camera settings for low-light mobile photography. Remember, it’s all about balancing ISO, shutter speed, and aperture. Don’t forget to adjust your white balance and focus modes. Take advantage of night mode and HDR features. Shooting in RAW can give you more flexibility in post-processing. Finally, experiment with noise reduction settings. With practice, you’ll soon be capturing stunning low-light images on your smartphone. Keep shooting and refining your skills!


Leave a Reply