To capture stunning mobile macro close-ups, start by selecting the right focus mode, whether it's a dedicated macro setting or manual focus. Adjust exposure compensation for perfect brightness, and control ISO and shutter speed to balance light sensitivity and freeze motion. Optimize white balance for accurate colors, and use the composition grid to frame your subject effectively. Consider shooting in RAW format for maximum editing flexibility. Don't forget to experiment with different angles and lighting conditions. With these essential settings mastered, you'll be well on your way to revealing the hidden world of tiny details.
Focus Mode Selection
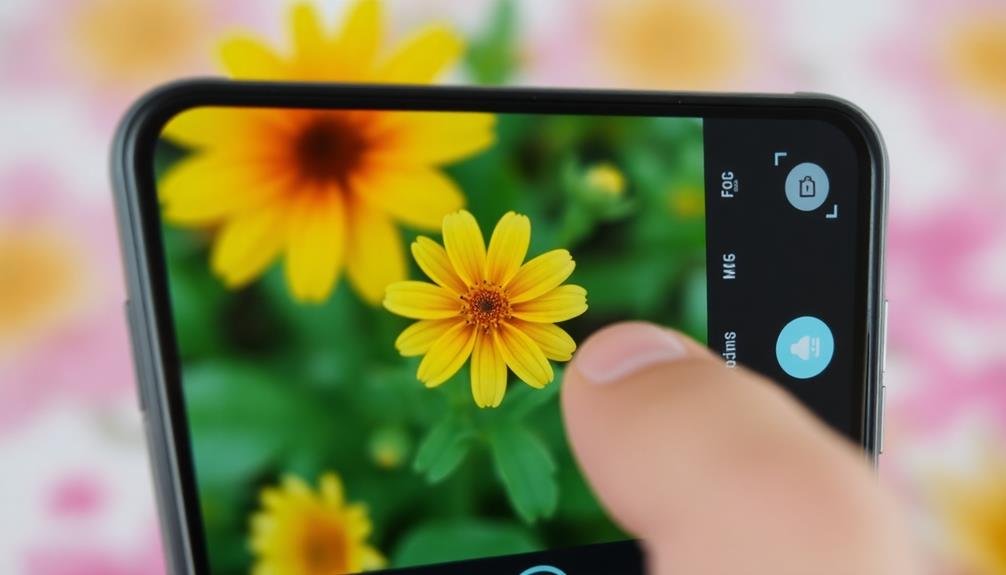
How do you choose the right focus mode for macro photography on your mobile device? The key is understanding your camera app's capabilities and selecting the mode that gives you the most control over your close-up shots.
Most modern smartphones offer a dedicated macro mode, which automatically adjusts settings for close-up photography. If your device has this, it's often the best starting point.
However, don't rely solely on auto macro mode. Experiment with manual focus options if available, as they allow you to fine-tune your focal point precisely.
For devices without a specific macro mode, try using the tap-to-focus feature. This lets you select the exact area you want in sharp focus.
Some apps also offer focus peaking, which highlights in-focus areas, helping you achieve razor-sharp images.
Consider using AE/AF lock (auto-exposure/auto-focus lock) to maintain focus on your subject, especially useful for fidgety insects or swaying flowers.
If your phone supports it, continuous autofocus can be helpful for tracking moving macro subjects.
Exposure Compensation Adjustments
Exposure compensation is an essential tool in your mobile macro photography arsenal. It allows you to override your phone's automatic exposure settings, giving you more control over the brightness of your close-up shots.
When shooting macro subjects, you'll often encounter challenging lighting situations where your camera's metering system might struggle.
To adjust exposure compensation, look for a +/- icon in your camera app's settings. Sliding this control to the positive side will brighten your image, while moving it to the negative side will darken it.
For macro shots, you'll typically need to increase exposure slightly, as small subjects can often appear darker than intended.
Start by making small adjustments, usually in 1/3 or 1/2 stop increments. Take test shots and review them to see if you've achieved the desired effect.
Pay close attention to highlight details, as it's easy to overexpose bright areas when increasing exposure. If you're shooting a reflective subject, like water droplets or shiny insects, you might need to decrease exposure to preserve details.
ISO and Shutter Speed Control
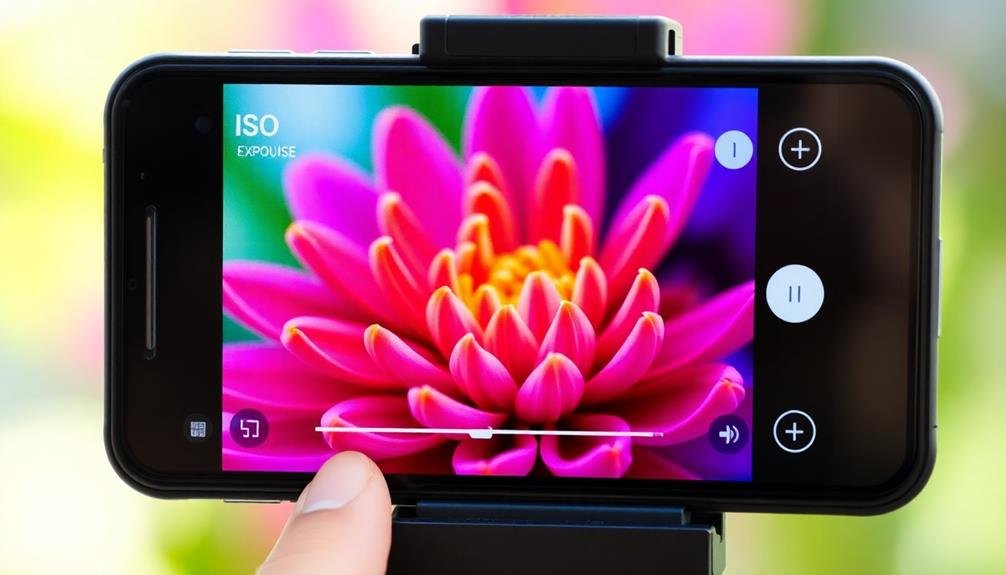
When shooting macro on your mobile device, you'll need to balance ISO and shutter speed for ideal results.
Increasing ISO boosts light sensitivity but can introduce noise, while adjusting shutter speed helps freeze subject motion or allow more light.
Using manual mode gives you full control over these settings, enabling you to fine-tune your macro shots for the best possible outcome.
Balancing Light Sensitivity
In light of the unique challenges posed by macro photography, balancing light sensitivity becomes essential for capturing stunning close-up shots on your mobile device. As you adjust ISO and shutter speed, you'll need to find the perfect equilibrium between light intake and image quality. Higher ISO values increase light sensitivity but can introduce noise, while slower shutter speeds allow more light but may result in motion blur.
To achieve ideal results, start with the lowest possible ISO setting and adjust your shutter speed accordingly. If you're shooting in low light conditions, gradually increase the ISO while maintaining a shutter speed that prevents camera shake. Remember, most mobile devices can handle ISO values up to 400 without significant noise, but you'll want to experiment with your specific phone's capabilities.
| ISO | Shutter Speed | Light Conditions | Image Quality | Best For |
|---|---|---|---|---|
| 100 | 1/60s | Bright | Excellent | Stationary subjects |
| 200 | 1/30s | Moderate | Very Good | Slight movement |
| 400 | 1/15s | Low | Good | Handheld, stable grip |
| 800 | 1/8s | Very Low | Fair | Tripod recommended |
| 1600+ | 1/4s or slower | Extremely Low | Poor | Long exposures, tripod |
Freezing Subject Motion
Building on the principles of light sensitivity, let's focus on freezing subject motion in mobile macro photography. When capturing tiny subjects, even the slightest movement can blur your image. To combat this, you'll need to master ISO and shutter speed control.
Start by setting your shutter speed to at least 1/250th of a second. This fast speed will help freeze most small subject movements. If you're dealing with particularly active subjects, like insects, you might need to go even faster, up to 1/1000th or beyond.
To compensate for the faster shutter speed, you'll likely need to increase your ISO. Many modern smartphones can handle ISO 400-800 without significant noise. However, be cautious about going too high, as this can reduce image quality.
Consider these scenarios where freezing motion is essential:
- A butterfly's wings mid-flutter
- A dewdrop sliding down a leaf
- A bee collecting pollen from a flower
- An ant carrying a crumb
- A spider spinning its web
Manual Mode Advantages
Mastery of manual mode opens up a world of creative possibilities in mobile macro photography. By taking control of your camera settings, you'll achieve superior results in challenging lighting conditions and capture intricate details with precision.
Manual mode allows you to adjust ISO and shutter speed independently. You can increase the ISO to maintain a faster shutter speed in low light, ensuring sharp images without motion blur. Conversely, in bright conditions, you can lower the ISO to minimize noise and preserve image quality.
Shutter speed control is essential for freezing subject motion or creating artistic blur effects. Fast shutter speeds capture crisp details of moving insects or swaying flowers, while slower speeds can produce dreamy, soft water effects or convey movement in your macro subjects.
By fine-tuning these settings, you'll also have better control over depth of field. Combining a wide aperture with a fast shutter speed allows you to isolate your subject against a beautifully blurred background, creating a professional-looking image.
Manual mode empowers you to push your mobile macro photography to new heights, giving you the tools to capture stunning close-ups in any situation.
White Balance Optimization

When optimizing white balance for mobile macro photography, you'll want to focus on custom preset selection and adjusting for light sources.
Start by choosing a preset that matches your current lighting conditions, such as daylight, cloudy, or tungsten.
You can then fine-tune the white balance by manually adjusting the color temperature to account for specific light sources in your macro environment, ensuring accurate color representation in your close-up shots.
Custom Preset Selection
Custom preset selection for white balance optimization empowers you to take control of your mobile macro photography's color accuracy. By choosing the right preset, you'll guarantee your close-up shots maintain true-to-life colors, regardless of lighting conditions. Most smartphones offer a range of white balance presets, including daylight, cloudy, tungsten, and fluorescent.
Experiment with these options to find the best match for your environment.
When selecting a custom preset, consider the following factors:
- Light source: Natural sunlight, artificial indoor lighting, or mixed lighting scenarios
- Time of day: Early morning, midday, or golden hour
- Weather conditions: Clear skies, overcast, or rainy days
- Subject color: Vibrant flowers, muted tones, or metallic surfaces
- Desired mood: Warm and inviting or cool and crisp
Don't hesitate to switch between presets during your shoot. You'll often find that different areas of your subject require unique white balance settings.
For instance, a flower's petals might look best under the daylight preset, while its stem and leaves may benefit from the cloudy option. By mastering custom preset selection, you'll elevate your mobile macro photography, producing images with stunning color accuracy and depth.
Adjusting for Light Sources
While custom presets offer a great starting point, adjusting for specific light sources is essential for achieving ideal white balance in your mobile macro photography. Different light sources emit varying color temperatures, which can affect the overall tone of your close-up images. To optimize your white balance, you'll need to evaluate the dominant light source in your shooting environment.
For outdoor macro shots, natural daylight is often your primary light source. You'll want to adjust your white balance settings based on whether it's a sunny, cloudy, or overcast day. Sunny conditions typically require a cooler white balance, while cloudy or shaded areas benefit from a warmer setting.
When shooting indoors, you'll encounter various artificial light sources, each with its own color temperature. Fluorescent lights tend to cast a greenish tint, while incandescent bulbs produce a warm, yellowish glow. Adjust your white balance accordingly to neutralize these color casts and capture true-to-life colors in your macro subjects.
Don't hesitate to experiment with manual white balance settings on your mobile device. Many smartphones allow you to set a custom white balance by focusing on a neutral gray or white object in your scene. This technique can help you achieve more accurate colors in challenging lighting situations.
Composition Grid Utilization
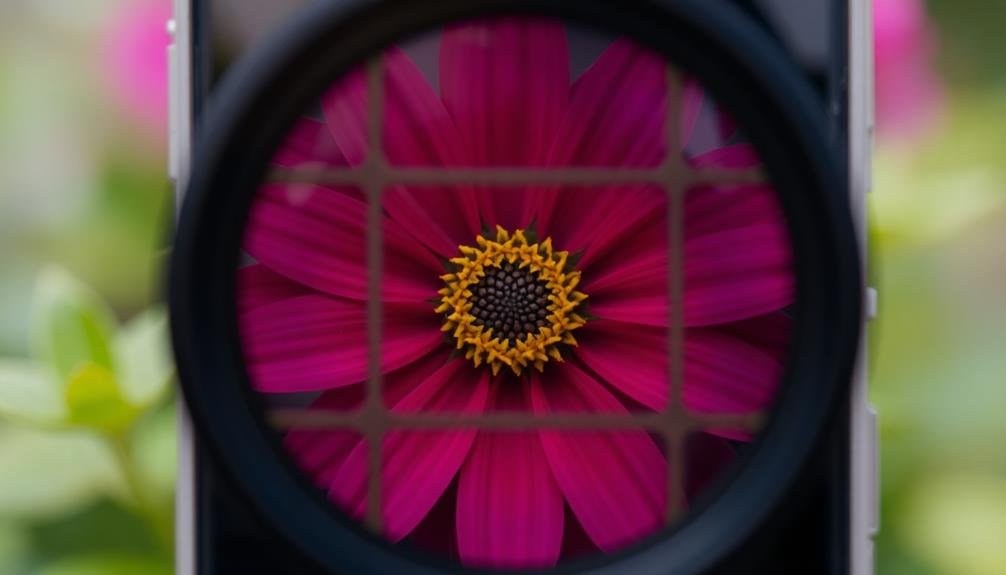
The composition grid is a powerful tool for enhancing your mobile macro photography. When you enable this feature in your camera app, you'll see a series of lines dividing your screen into thirds both horizontally and vertically. These lines help you apply the rule of thirds, a fundamental principle in photography composition.
To make the most of the composition grid, consider these key points:
- Place your main subject along one of the grid lines or at their intersections.
- Use the horizontal lines to align horizon elements in landscape macro shots.
- Position leading lines along the grid to guide the viewer's eye.
- Frame small details in one-third of the image for dramatic effect.
- Utilize negative space in the remaining two-thirds to create balance.
By following these guidelines, you'll create more visually appealing and balanced macro images.
The grid also helps you maintain straight horizons and vertical lines, which is essential in close-up photography where even slight tilts can be noticeable.
File Format Considerations
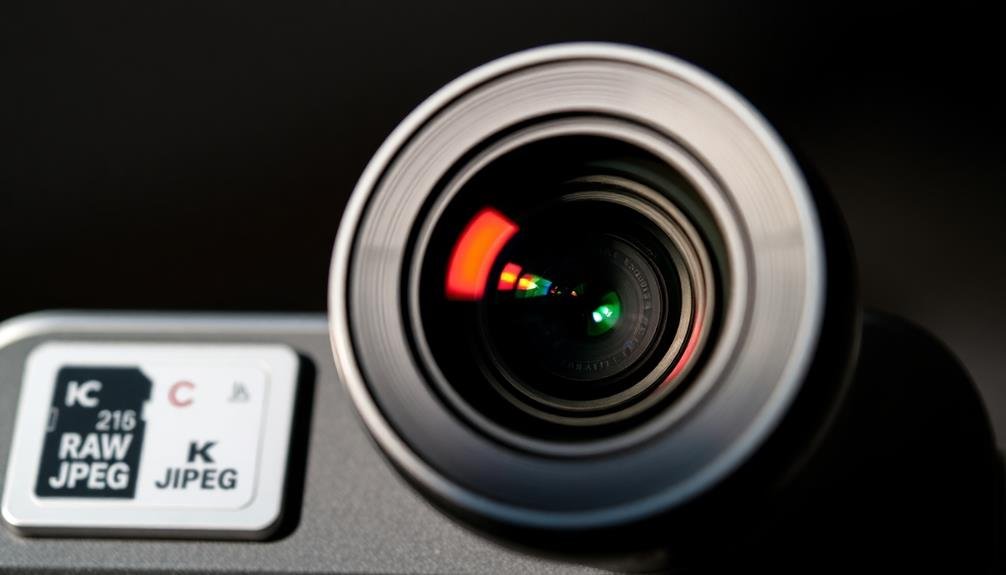
File format plays an essential role in mobile macro photography. When capturing close-up shots, you'll want to choose a format that preserves as much detail as possible. RAW is the go-to choice for serious photographers, as it retains all the image data captured by your phone's sensor. This format gives you more flexibility in post-processing, allowing you to adjust exposure, white balance, and other settings without losing quality.
However, RAW files are larger and may not be supported by all mobile devices. If RAW isn't an option, opt for high-quality JPEG. Set your camera app to save images at the highest resolution and quality level available. This guarantees you're capturing the most detail possible within the JPEG format's limitations.
Consider your storage capacity when choosing a file format. RAW files can quickly fill up your phone's memory, so you might need to transfer files more frequently or use cloud storage.
If you're shooting for social media or quick sharing, JPEG might be more practical. Ultimately, your choice should balance image quality with your workflow and storage needs.
Frequently Asked Questions
How Close Can I Get to My Subject With Mobile Macro Photography?
You can get incredibly close to your subject with mobile macro photography. Depending on your phone's capabilities, you'll typically be able to focus on objects just a few centimeters away, capturing intricate details invisible to the naked eye.
Are Add-On Macro Lenses Necessary for Mobile Close-Up Photography?
You don't necessarily need add-on macro lenses for close-up photography on your phone. Many modern smartphones have built-in macro capabilities. However, add-on lenses can enhance your shots and give you more creative options.
What's the Best Time of Day for Outdoor Mobile Macro Shots?
You'll get the best outdoor macro shots during the golden hours – just after sunrise or before sunset. The soft, warm light enhances details and creates a beautiful glow. Overcast days can also provide diffused lighting for close-ups.
How Do I Prevent Camera Shake When Taking Close-Up Photos?
To prevent camera shake in close-ups, use a tripod or stabilize your phone against a solid surface. Hold your breath when shooting, use a timer or remote shutter, and enable your phone's image stabilization feature if available.
Can I Use Editing Apps to Enhance My Mobile Macro Photographs?
Yes, you can definitely use editing apps to enhance your mobile macro photos. They'll help you adjust exposure, sharpen details, and fine-tune colors. Try apps like Snapseed, VSCO, or Lightroom Mobile for professional-looking results on your close-up shots.
In Summary
You've now got the essential tools to capture stunning macro shots on your mobile device. Remember to experiment with focus modes, adjust exposure, and fine-tune ISO and shutter speed. Don't forget to optimize white balance and use composition grids for perfectly framed close-ups. Finally, consider your file format for the best quality and editing flexibility. With practice and these settings at your fingertips, you'll be creating breathtaking macro photography in no time. Keep exploring and refining your technique!



Leave a Reply