To boost your mobile macro photos, start with a sturdy tripod and compatible phone mount for ultimate stability. If you’re shooting handheld, brace your elbows against your body and use nearby objects for support. Utilize smartphone stabilization apps to enhance built-in gyroscope features. Adjust camera settings like increasing shutter speed and optimizing ISO for sharper images. Natural supports like rocks or branches can serve as improvised tripods. Try remote shutter release options to minimize camera shake. For ultra-sharp results, experiment with image stacking techniques. These tricks will greatly improve your macro photography, but there’s even more to explore in the world of mobile macro mastery.
Tripod and Phone Mount Setup
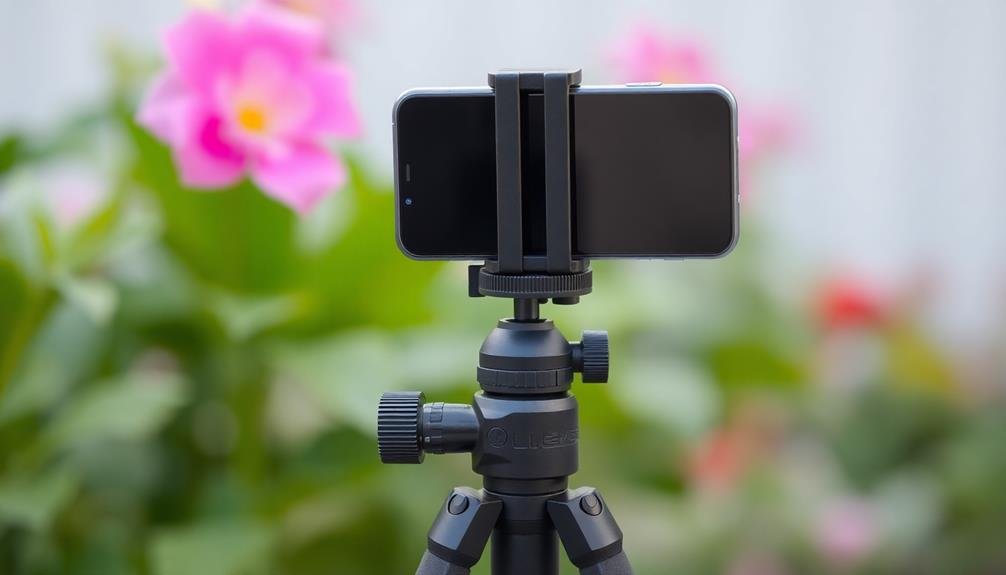
Securing your smartphone to a sturdy tripod is the foundation of stable macro photography. Choose a tripod with adjustable legs and a ball head for versatile positioning. Look for models with rubber feet to prevent slipping on various surfaces.
When selecting a phone mount, opt for one that’s compatible with your device and can securely hold it in both landscape and portrait orientations.
Attach the mount to your tripod’s quick-release plate, ensuring it’s tightly fastened. Place your phone in the mount, centering it for ideal balance. Adjust the tripod’s height and angle to achieve your desired composition.
For low-angle shots, consider using a mini tripod or extending only one leg for a makeshift low-angle support.
To further minimize vibrations, use your phone’s timer or a Bluetooth remote shutter. This prevents camera shake caused by tapping the screen.
If you’re shooting in windy conditions, add weight to your tripod by hanging a bag from its center column. For extra stability on uneven terrain, push the tripod legs firmly into the ground or use sandbags to anchor them.
These techniques will greatly enhance the sharpness of your mobile macro photos.
Smartphone Stabilization Apps
Tech-savvy photographers can enhance their mobile macro shots with specialized stabilization apps. These apps use your smartphone’s built-in gyroscope and accelerometer to detect and counteract hand movements, resulting in sharper images.
Popular options like Camera FV-5 and ProCamera offer advanced stabilization features. They’ll display a real-time level indicator to help you keep your phone perfectly horizontal. Some apps even let you set a stability threshold, only capturing the image when your device is sufficiently still.
For extreme close-ups, try focus stacking apps like Helicon Focus or Zerene Stacker. These tools combine multiple shots at different focus points to create a single, ultra-sharp image with extended depth of field.
Don’t overlook your phone’s native camera app, either. Many recent smartphones include built-in AI-powered stabilization modes.
These can automatically adjust settings like shutter speed and ISO to minimize blur in challenging conditions.
Handheld Bracing Techniques
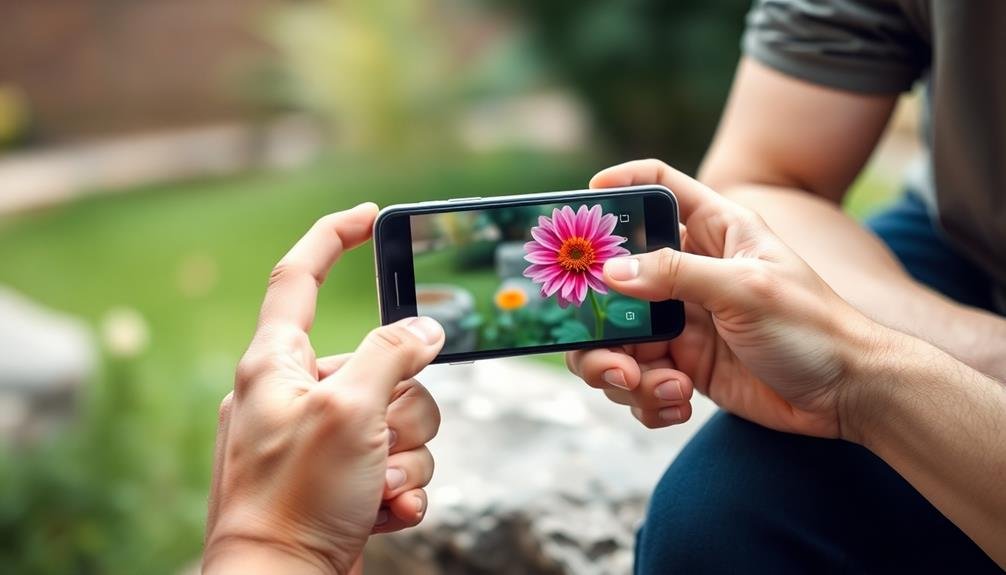
While apps can help, mastering handheld bracing techniques is essential for sharp mobile macro photos. Start by adopting a stable stance: feet shoulder-width apart, elbows tucked in, and your body forming a tripod. Press your arms against your torso for added stability.
Use nearby objects to your advantage. Lean against a wall or tree, or rest your elbows on a table or fence. If there’s nothing around, create your own support by pressing your non-shooting hand against your chest and resting the phone on it.
For ultra-close shots, try the “chest pod” technique. Hold your phone close to your chest, using your body as a stabilizer. Alternatively, employ the “forehead brace” by pressing the top of your phone against your forehead while viewing the screen.
Don’t forget to control your breathing. Take a deep breath, exhale halfway, and hold it as you shoot. This minimizes body movement.
Remote Shutter Release Options
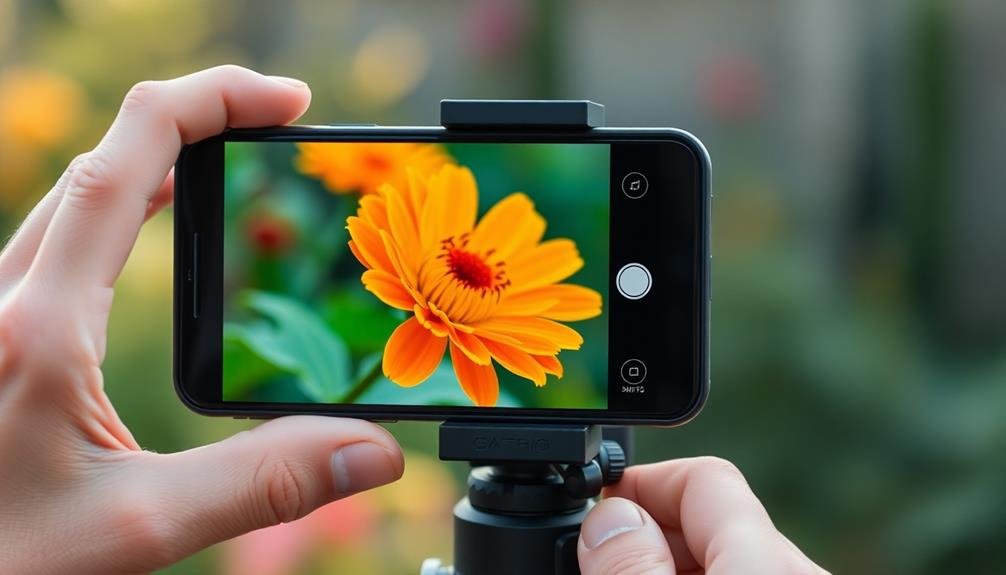
You’ll find several remote shutter release options to further minimize camera shake in your mobile macro photography.
Wireless remote shutter apps allow you to trigger your camera from a distance, while cable release mechanisms provide a physical connection for precise control.
For a hands-free approach, you can explore voice-activated shutter control, which lets you capture images using simple voice commands.
Wireless Remote Shutter Apps
Taking advantage of wireless technology, remote shutter apps offer a hands-free solution for capturing macro shots on your mobile device.
These apps turn your smartwatch, tablet, or another smartphone into a wireless trigger for your camera, eliminating the need for physical contact with your phone during shooting.
To use a wireless remote shutter app, you’ll first need to download and install it on both your primary device (the one taking photos) and your secondary device (the remote).
Popular options include Camera Remote, DSLR Remote, and Moment Pro Camera. Once installed, pair the devices via Bluetooth or Wi-Fi.
With your devices connected, you can now position your phone for the perfect macro shot without worrying about camera shake from touching the screen.
Most apps offer features like adjustable timers, burst mode, and even live view on your secondary device’s screen. This allows you to fine-tune your composition and focus without disturbing your setup.
Some apps also provide advanced features like interval shooting for time-lapse photography or voice-activated shutter release.
Cable Release Mechanisms
For photographers who prefer a more tactile approach, cable release mechanisms offer an excellent alternative to wireless options. These devices connect directly to your smartphone’s headphone jack or charging port, providing a physical button to trigger the shutter without touching the screen.
Cable releases come in various styles, from simple single-button models to more advanced options with intervalometers and timers. You’ll find them particularly useful for long exposures, time-lapses, and situations where minimizing camera shake is essential.
Here’s a comparison of some popular cable release mechanisms:
| Model | Compatibility | Features | Price Range |
|---|---|---|---|
| JJC SR-F2 | iPhone/iPad | Single-button | $15-$20 |
| MIOPS Mobile | Android/iOS | Advanced timing | $80-$100 |
| Neewer Shutter | Android | Multi-function | $20-$30 |
| Pixel TW-283 | Universal | Wireless/Wired | $40-$50 |
When choosing a cable release, consider your specific needs and budget. If you’re primarily shooting macro photos, a simple single-button model may suffice. However, if you’re interested in exploring more advanced techniques, investing in a multi-function release could expand your creative possibilities.
Remember to check compatibility with your specific smartphone model before purchasing. Some newer phones without headphone jacks may require additional adapters or specialized cable releases designed for their charging ports.
Voice-Activated Shutter Control
Voice-activated shutter control represents a hands-free approach to remote shutter release, offering a convenient solution for mobile macro photographers. By using voice commands, you can trigger your camera’s shutter without physically touching the device, reducing camera shake and improving image sharpness.
Most modern smartphones come with built-in voice assistant features that can be configured to take photos on command.
To set up voice-activated shutter control:
- Enable your phone’s voice assistant (e.g., Siri, Google Assistant)
- Learn the specific voice commands for taking photos (e.g., “Take a picture”)
- Practice using voice commands in various environments to guarantee reliability
When using voice-activated shutter control for macro photography, position your phone on a stable surface or tripod before issuing the command. This technique works well in quiet environments but may struggle in noisy settings.
Consider using a Bluetooth headset with a microphone for better voice recognition in challenging conditions. While voice control can be incredibly useful, it’s not foolproof. Always have a backup method, such as a timer or traditional remote, in case voice commands don’t work as expected in certain situations.
Adjusting Camera Settings

When it comes to adjusting camera settings for mobile macro photography, you’ll need to focus on key parameters that enhance stability and image quality.
Start by increasing your shutter speed to reduce motion blur. Aim for at least 1/125th of a second, or faster if possible. This will help freeze any slight movements that might occur during shooting.
Next, adjust your ISO. Keep it as low as possible to minimize noise, but don’t hesitate to increase it if needed to maintain a fast shutter speed. Many modern smartphones perform well at ISO 400 or even 800.
Enable your phone’s burst mode to capture multiple shots in quick succession. This increases your chances of getting a sharp image, as you can select the best one later.
If your phone offers manual focus, use it. Autofocus can sometimes struggle with macro subjects. Lock your focus on the most important part of your subject.
Utilizing Natural Supports
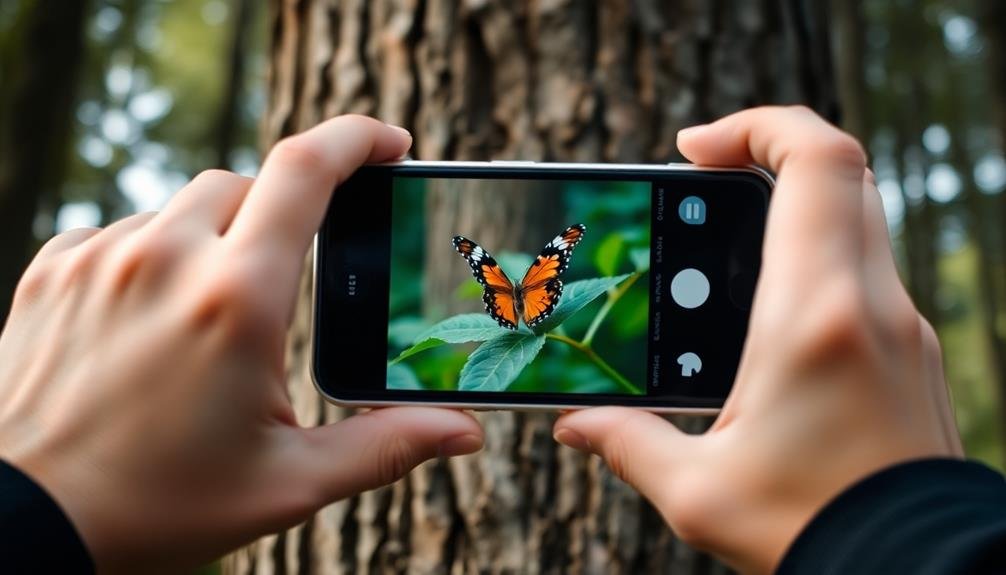
When taking macro photos with your mobile device, don’t overlook the stabilizing power of your surroundings.
You can greatly reduce camera shake by leaning against trees, walls, or other solid objects while shooting.
For even more stability, try resting your phone on rocks, branches, or other natural elements to create an impromptu tripod.
Lean on Solid Objects
Stability is key when capturing macro photos with your mobile device. When you’re out in the field, look for solid objects to lean on for added support. Trees, walls, and fences can become your impromptu tripods, helping you achieve sharper images. By pressing your body or arms against these stable surfaces, you’ll greatly reduce camera shake.
Don’t overlook man-made structures in your environment. Benches, railings, and even parked cars can serve as excellent stabilizers. When using these supports, brace your elbows or the phone itself against the object to maximize stability. Remember to hold your breath while taking the shot to further minimize movement.
Here are three creative ways to use solid objects for macro photography:
- Rest your phone on a flat rock or log to capture ground-level subjects.
- Use a window ledge to steady your shot of indoor plants or small objects.
- Lean against a lamppost to photograph street-level textures or small urban wildlife.
Improvise With Natural Elements
Beyond man-made structures, nature offers a wealth of improvised supports for your mobile macro photography. Look for sturdy tree branches, large rocks, or fallen logs to rest your phone against while shooting. These natural elements can provide a stable base, reducing camera shake and improving image sharpness.
When photographing flowers or small insects, use the stem of a nearby plant to steady your hand. Gently grasp the stem with your non-shooting hand, and rest your phone-holding hand against it for added stability.
For ground-level shots, lay flat on your stomach and use the earth itself as a support, propping your elbows on the ground to create a stable triangle.
In windy conditions, seek out natural windbreaks like dense bushes or large boulders. These can shield your subject and your phone from gusts that might cause blur.
Don’t overlook leaves and petals as potential supports; their flat surfaces can act as impromptu tripods when carefully balanced. By creatively using these natural elements, you’ll enhance your mobile macro photography skills and capture stunning, sharp images in various outdoor settings.
Image Stacking for Sharpness

Image stacking serves as a powerful technique to enhance sharpness in mobile macro photography. By capturing multiple shots of the same subject and combining them, you’ll achieve a final image with increased detail and reduced noise. This method is particularly useful when shooting handheld or in low-light conditions.
To employ image stacking, you’ll need to use a specialized app or software. Many options are available for both iOS and Android devices. Once you’ve taken your series of photos, the app will align and merge them, resulting in a crisp, high-quality macro image.
Here are three key tips for successful image stacking:
- Take more photos than you think you need (aim for at least 10-15 shots)
- Keep your subject as still as possible during the sequence
- Use a consistent focus point across all images
Remember that image stacking works best with stationary subjects, as movement between shots can cause alignment issues.
With practice, you’ll find this technique greatly improves the quality of your mobile macro photography, allowing you to capture intricate details that might otherwise be lost due to camera shake or depth of field limitations.
Frequently Asked Questions
How Does Weather Affect Macro Photography Stability on Mobile Devices?
Weather can greatly impact your macro photography stability on mobile devices. Wind can cause subject movement, while rain or humidity may fog your lens. Cold temperatures can affect your device’s performance and make your hands shaky.
Can Lens Attachments Improve Stability for Smartphone Macro Shots?
Yes, lens attachments can enhance stability for your smartphone macro shots. They’ll provide extra weight and balance, reducing camera shake. You’ll also get closer focus and magnification, allowing you to maintain a steadier hand while shooting.
What Role Does ISO Play in Achieving Stable Macro Photos?
You’ll want to keep ISO low for sharper macro photos. Higher ISO increases noise and reduces image quality. Use the lowest ISO possible while maintaining a fast enough shutter speed to avoid camera shake.
Are There Specific Mobile Phone Models Better Suited for Stable Macro Photography?
You’ll find that newer iPhones and high-end Android models excel at macro photography. They often feature dedicated macro lenses, advanced image stabilization, and powerful processors. Look for phones with optical image stabilization and multi-camera setups for best results.
How Does Focusing Distance Impact Stability in Mobile Macro Photography?
You’ll find that shorter focusing distances amplify camera shake. As you get closer to your subject, even tiny movements become noticeable. It’s essential to keep your phone steady when shooting macro, as stability becomes more challenging.
In Summary
You’ve now got a range of tricks to stabilize your mobile macro shots. Whether you’re using a tripod, apps, bracing techniques, or natural supports, you’ll see a big improvement in sharpness. Don’t forget to experiment with remote shutters and camera settings. For the ultimate clarity, try image stacking. With practice, you’ll master these methods and capture stunning, crisp macro photos right from your smartphone. Keep exploring and refining your skills!


Leave a Reply