
Transform your mobile nature photography with powerful composition techniques. Start with the rule of thirds, placing key elements along imaginary grid lines. Use leading lines to guide the viewer's eye and create depth. Embrace symmetry and patterns for visual interest, while incorporating foreground elements to add context. Frame subjects with natural elements like branches or arches. Capture stunning reflections in water bodies for added dimension. Experiment with depth of field to isolate subjects or showcase expansive landscapes. Apply color theory principles for harmonious or striking images. Finally, explore minimalism to emphasize nature's stark beauty. These simple yet effective techniques will elevate your outdoor shots to new heights.
Rule of Thirds
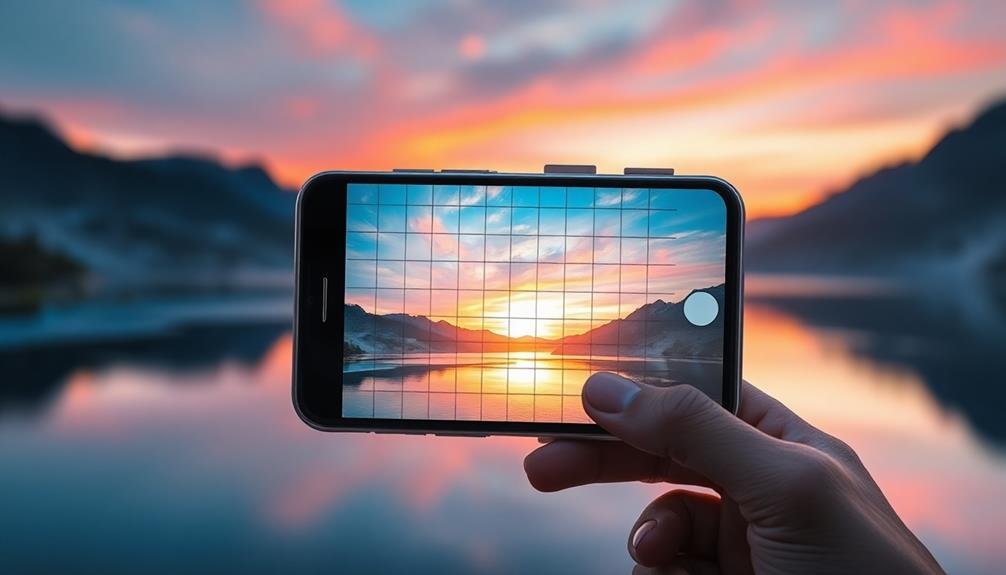
One of the most fundamental composition techniques in mobile photography is the Rule of Thirds. This principle involves dividing your frame into a 3×3 grid and placing key elements along these lines or at their intersections.
It's a simple yet powerful way to create balanced, visually appealing images.
To apply this rule, activate your phone's grid feature in the camera settings. As you frame your shot, position your main subject along one of the vertical lines or at one of the four intersection points. This off-center placement creates a more dynamic composition than centering your subject.
For landscapes, align the horizon with either the top or bottom horizontal line. Choose the top line to emphasize the foreground or the bottom line to highlight the sky.
When photographing people, place their eyes along the upper horizontal line for a natural, engaging portrait.
Leading Lines

Lines are powerful tools in mobile photography composition. They guide the viewer's eye through your image, creating depth and leading to the main subject. When you're taking photos with your smartphone, look for natural or man-made lines in your environment. These can be roads, fences, rivers, or even shadows.
To use leading lines effectively, position them so they draw attention to your focal point. Start the lines at the bottom corners or edges of your frame and let them converge towards your subject. This technique creates a sense of movement and perspective in your photos.
You can also use diagonal lines for a more dynamic effect. They add energy and visual interest to your compositions. Vertical lines convey strength and stability, while horizontal lines suggest calmness and tranquility.
Don't limit yourself to straight lines. Curved or winding lines, like a meandering path or a twisted tree branch, can add a sense of grace and flow to your images.
Experiment with different types of lines to see how they affect the mood and impact of your mobile photos.
Symmetry and Patterns

While leading lines guide your viewer's eye, symmetry and patterns captivate it. These elements create a sense of order and harmony in your mobile photography, drawing attention to the visual rhythm within your frame.
To incorporate symmetry, look for reflections in water, mirrored architecture, or balanced compositions where both sides of the image are nearly identical.
Patterns, on the other hand, are repetitive elements that create visual interest. You'll find them in nature, architecture, and everyday objects. When shooting patterns, experiment with different angles to emphasize their repetitive nature. Fill the frame with the pattern for a bold, abstract look, or include a pattern-breaking element to add tension and focal point.
Use your phone's grid feature to align symmetrical subjects precisely. For patterns, try shooting in burst mode to capture subtle variations.
Don't forget to play with perspective; sometimes, stepping back or getting closer can reveal hidden symmetries or patterns. Finally, consider using editing apps to enhance symmetry or highlight patterns post-capture, but be careful not to overdo it and maintain the natural beauty of your subject.
Foreground Interest
To add depth and context to your mobile photos, consider incorporating interesting foreground elements.
You'll create a more engaging image by including objects in the near field that complement or contrast with your main subject.
Try using natural frames like archways or tree branches to draw the viewer's eye into the scene, effectively creating a frame within a frame.
Adding Depth and Context
Many mobile photographers focus solely on their main subject, overlooking an essential element that can elevate their images: foreground interest. By incorporating elements in the foreground, you'll add depth and context to your photos, creating a more immersive experience for viewers.
To achieve this, look for objects that can frame your main subject or lead the eye into the scene. Natural elements like branches, flowers, or rocks work well. Position yourself to include these elements in the bottom third of your frame, ensuring they don't overpower the main subject.
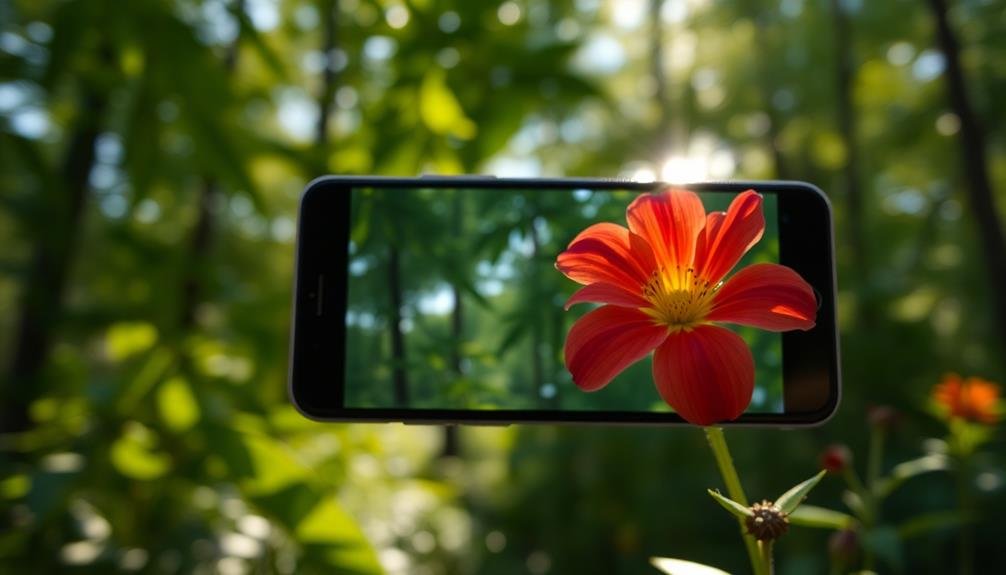
Experiment with different angles and perspectives. Crouch down to capture interesting textures in the foreground, or use a wide-angle lens to emphasize nearby objects. You can also play with focus, keeping the foreground slightly blurred to create a sense of depth.
Remember that foreground elements should complement your subject, not distract from it. Use them to tell a story or provide context about the location.
Frame Within a Frame
A powerful compositional technique in mobile photography is the "frame within a frame." This approach uses foreground elements to create a natural border around your main subject, drawing the viewer's eye and adding depth to your image.
You'll find numerous opportunities to employ this technique in nature photography, from using tree branches to frame a distant mountain to capturing a landscape through a rock formation.
To execute this technique effectively, look for objects in your foreground that can act as a frame. These might include archways, windows, doorways, or natural elements like leaves, trees, or rock formations.
Position yourself so that these elements surround your main subject, creating a secondary frame within your photo's frame.
When composing your shot, guarantee that the framing elements don't overpower your subject. They should complement and enhance the main focus, not distract from it.
Experiment with different angles and distances to find the perfect balance. You can also use this technique to hide distracting elements in your scene, effectively directing the viewer's attention to your intended subject.
Natural Frames

When shooting with your mobile phone, look for natural elements that can frame your main subject.
Trees, archways, windows, and even people can serve as organic borders, drawing the viewer's eye to the focal point of your image.
Finding Organic Borders
Natural frames within your environment can dramatically enhance your mobile photography compositions. Organic borders are elements in your surroundings that naturally outline your subject, drawing the viewer's eye to the focal point. These borders can be found in various forms, from tree branches arching over a path to a window framing a distant landscape.
To effectively use organic borders in your mobile photography:
- Look for natural arches, such as doorways, tree canopies, or rock formations.
- Utilize negative space created by foreground elements to frame your subject.
- Experiment with reflections in water or glass to create unique border effects.
- Seek out patterns in nature that can serve as a frame, like leaves or flowers.
When incorporating organic borders, position your subject within the frame to create balance and visual interest.
Pay attention to the edges of your composition, ensuring the border doesn't overpower the main subject. Adjust your angle and distance to fine-tune the framing effect.
Creating Depth Perception
Depth perception in mobile photography can be considerably enhanced through the strategic use of natural frames. When you're out shooting, look for elements in your environment that can act as frames for your main subject. Trees, archways, windows, and doorways are excellent options to create a sense of depth in your images.
To effectively use natural frames, position yourself so that the frame surrounds your subject on at least two sides. This technique draws the viewer's eye into the scene and creates a three-dimensional feel in a two-dimensional medium.
You'll want to ascertain that the frame doesn't overpower your subject; it should complement rather than compete with it.
Experiment with different aperture settings to control the focus between your frame and subject. A wider aperture (smaller f-number) will blur the frame, emphasizing your subject, while a smaller aperture (larger f-number) will keep both in focus.
Don't forget to take into account the lighting; frames in shadow can create dramatic silhouettes around a well-lit subject. By mastering this technique, you'll add depth and interest to your mobile photography, elevating your images from simple snapshots to compelling compositions.
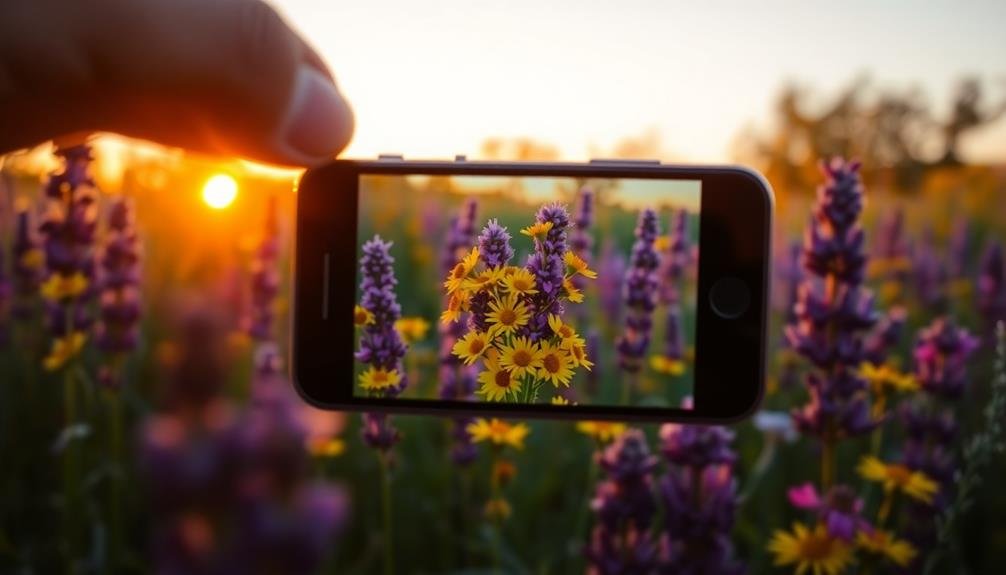
Golden Hour Lighting
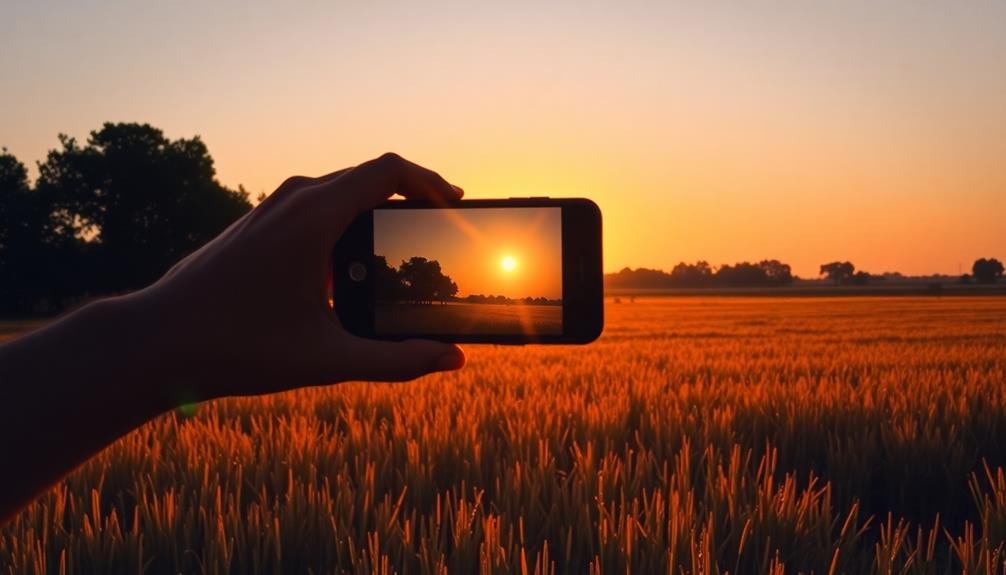
Photography's golden hour offers a magical window of opportunity for capturing stunning images with your mobile device. This brief period occurs twice daily, just after sunrise and before sunset, bathing the world in warm, soft light.
To make the most of golden hour lighting, you'll need to plan ahead and be ready to shoot quickly.
During golden hour, you'll notice:
- Long, dramatic shadows that add depth and texture
- A warm color palette with rich golden tones
- Reduced contrast, allowing for more balanced exposures
- Softer light that's flattering for portraits and landscapes
To capture the essence of golden hour, position your subjects facing the light source for a warm glow.
Experiment with backlighting to create silhouettes or rim lighting effects. Use the HDR mode on your phone to balance bright skies with darker foregrounds.
Don't forget to adjust your white balance to enhance the golden tones or create a cooler contrast.
Negative Space
While golden hour lighting enhances your photos with warm tones, negative space can dramatically improve your composition. Negative space refers to the empty areas surrounding your main subject. It's a powerful tool that draws attention to your focal point and creates a sense of balance in your images.
To effectively use negative space, follow these guidelines:
- Look for clean backgrounds like clear skies, plain walls, or calm water.
- Position your subject off-center to create more empty space.
- Experiment with different angles to maximize the negative space around your subject.
Here's a quick reference guide for using negative space in various scenarios:
| Scenario | Subject Placement | Negative Space Use |
|---|---|---|
| Portraits | Rule of Thirds | Sky or Plain Wall |
| Landscapes | Lower Third | Open Sky or Water |
| Wildlife | Edge of Frame | Natural Environment |
Perspective and Scale

In addition to negative space, perspective and scale play essential roles in mobile photography composition. These elements can dramatically alter the viewer's perception of your subject and create engaging images.
To effectively use perspective and scale, experiment with different angles and distances from your subject.
Consider these techniques to enhance your mobile photography:
- Get low: Shoot from ground level to make subjects appear larger and more imposing
- Climb high: Capture aerial views to showcase patterns and landscapes
- Use forced perspective: Create optical illusions by manipulating the distance between objects
- Include a familiar object: Add scale reference points to convey size relationships
Reflections in Nature

When you're out in nature with your smartphone, keep an eye out for natural mirrors that can add depth to your compositions.
Water bodies like lakes, puddles, and even dew drops can create stunning reflections that double the visual impact of your scene.
Experiment with different angles and perspectives to capture the most compelling reflection shots, paying attention to symmetry and the interplay between the real subject and its mirrored counterpart.
Finding Natural Mirrors
Natural reflections can turn ordinary scenes into enchanting compositions. When seeking out these natural mirrors, keep an eye out for calm bodies of water like lakes, ponds, or even puddles after rain. These surfaces can create stunning symmetry and add depth to your mobile photography.
To find and capture the best reflections, consider these tips:
- Look for still water on windless days for the clearest mirror-like effect.
- Experiment with different angles and perspectives to maximize the reflection.
- Include interesting elements in both the reflection and the actual scene.
- Use HDR mode to capture details in both bright and dark areas of the image.
Don't limit yourself to just water reflections. Windows, polished surfaces, and even wet sand can offer unique mirroring opportunities.
Try shooting during the golden hour for warm, dramatic lighting that enhances reflections. Remember to focus on the actual subject rather than the reflection for sharper images.
When composing your shot, consider using the rule of thirds or symmetry to create a balanced and visually appealing image.
With practice, you'll develop an eye for spotting these natural mirrors and transforming everyday scenes into enthralling mobile photographs.
Capturing Water Reflections
Water reflections offer an enchanting way to enhance your mobile photography. They create symmetry, depth, and a dreamy atmosphere in your images. To capture stunning reflections, look for calm bodies of water like lakes, ponds, or even puddles after rain. Position yourself low to the ground and experiment with different angles to find the perfect composition.
When shooting water reflections, consider these factors:
| Lighting | Timing | Composition |
|---|---|---|
| Golden hour | Early morning | Rule of thirds |
| Blue hour | Late evening | Symmetry |
| Overcast days | After rainfall | Leading lines |
Use your phone's HDR mode to balance the exposure between the sky and water. If you're struggling with ripples, try using a longer exposure app to smooth out the water's surface. Don't forget to focus on the reflection itself, as it's often sharper than the actual subject.
Experiment with partial reflections or abstract compositions by zooming in on specific areas. You can also create unique effects by slightly disturbing the water's surface or incorporating foreground elements. Remember, reflections aren't limited to landscapes; look for opportunities in urban settings with reflective surfaces like glass buildings or wet streets.
Depth of Field
In terms of mobile photography, depth of field refers to the range of distance in an image that appears sharp and in focus. It's a powerful tool that can dramatically alter the look and feel of your photos. By manipulating depth of field, you'll create more engaging and visually appealing images.
To achieve different depths of field on your mobile device:
- Use portrait mode: Many smartphones offer this feature, which simulates a shallow depth of field.
- Adjust aperture: Some advanced camera apps allow you to control aperture settings.
- Move closer to your subject: This naturally creates a shallower depth of field.
- Use focus lock: Tap and hold on your subject to lock focus, then recompose.
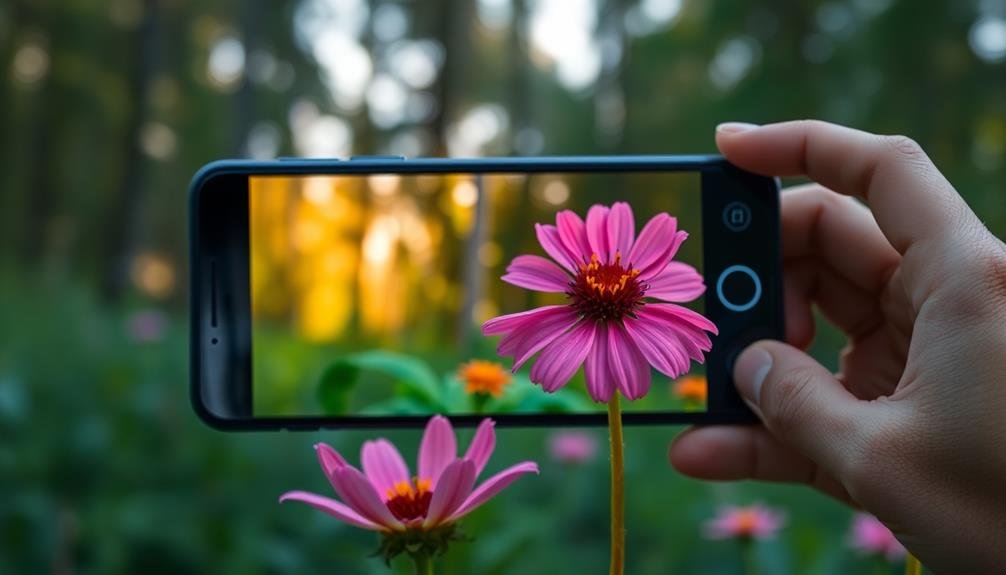
A shallow depth of field, where only a small portion of the image is in focus, is great for isolating subjects and creating a dreamy, blurred background effect. This works well for portraits and close-up nature shots.
Conversely, a deep depth of field keeps most of the image in focus, ideal for landscapes and group photos. Experiment with both techniques to add variety to your mobile photography portfolio.
Color Theory
After mastering depth of field, it's time to explore color theory in mobile photography. Understanding how colors interact can elevate your images from good to stunning. Start by familiarizing yourself with the color wheel and its primary, secondary, and tertiary colors. This knowledge will help you create harmonious compositions or add deliberate tension through contrasting hues.
Use complementary colors, which sit opposite each other on the color wheel, to create vibrant and eye-catching images. For a more subtle approach, try analogous colors that are adjacent on the wheel. These create a sense of harmony and cohesion in your photos.
Don't forget about warm and cool colors; warm tones like reds and yellows can evoke energy and passion, while cool blues and greens often convey calmness and serenity.
Pay attention to how light affects color throughout the day. Golden hour, just after sunrise or before sunset, bathes everything in warm, soft light. Experiment with white balance settings on your phone to capture the true colors of a scene or to add creative color casts.
Minimalism in Landscapes
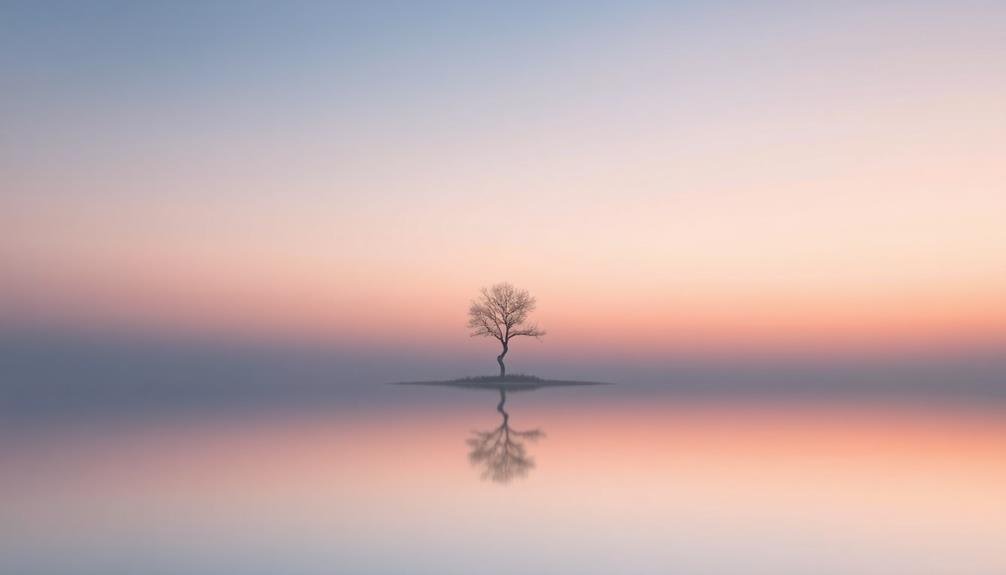
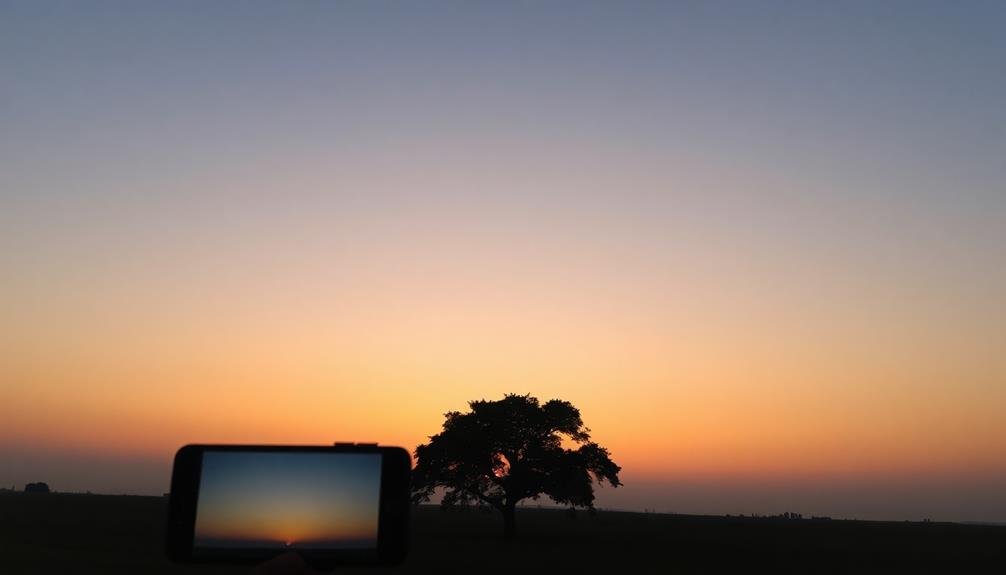
Embracing minimalism in landscape photography can transform your mobile shots into powerful, elegant compositions. This approach strips away clutter, focusing on essential elements to create striking imagery.
When capturing minimalist landscapes, look for scenes with clean lines, simple shapes, and vast negative space.
To achieve minimalist landscapes on your mobile device:
- Use the rule of thirds to place your subject off-center
- Incorporate negative space to draw attention to your focal point
- Seek out lone subjects against expansive backgrounds
- Experiment with monochromatic color schemes
Pay attention to the interplay between light and shadow, as it can enhance the minimalist aesthetic.
Early morning or late afternoon light often provides the best conditions for creating dramatic, simplified landscapes.
Don't be afraid to experiment with unconventional angles or perspectives to emphasize the stark beauty of your subject.
Frequently Asked Questions
How Do I Protect My Smartphone Camera When Shooting in Harsh Weather Conditions?
To protect your smartphone camera in harsh weather, use a waterproof case or bag. Keep it dry and clean with microfiber cloths. Avoid extreme temperatures. Use lens covers and screen protectors. Don't expose it to sand or dust.
What Are the Best Mobile Apps for Advanced Photo Editing in Nature Photography?
You'll find Snapseed, Lightroom Mobile, and VSCO excellent for advanced nature photo editing on your smartphone. They offer powerful tools for adjusting exposure, color, and detail. Don't forget Photoshop Express for more complex edits and filters.
How Can I Capture Wildlife With a Smartphone Without Startling the Animals?
You'll need patience and stealth to capture wildlife with your smartphone. Use a zoom lens attachment, approach slowly, and stay downwind. Keep quiet, avoid sudden movements, and consider using a remote shutter to minimize disturbance.
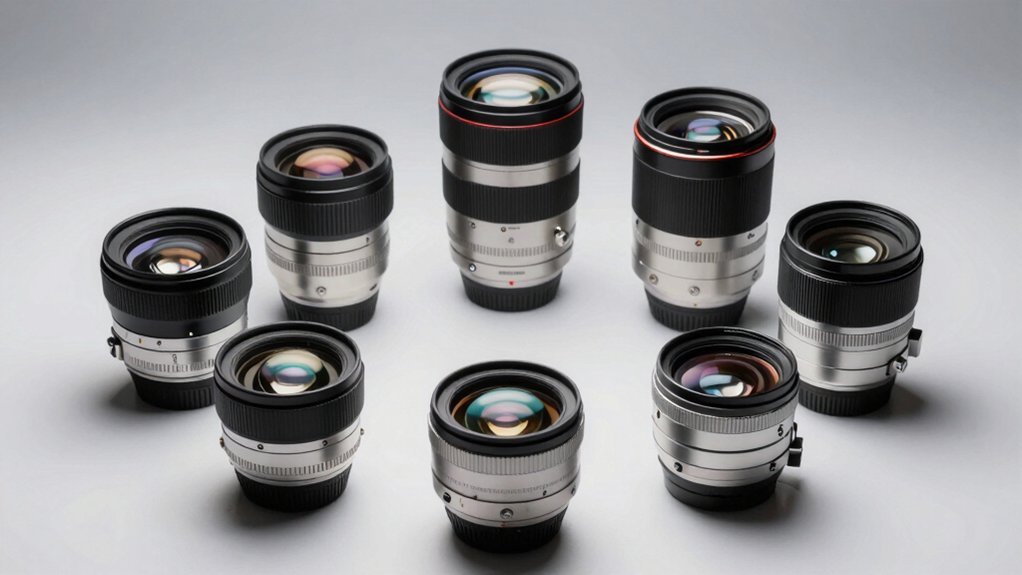
What Accessories Are Essential for Improving Smartphone Nature Photography?
You'll want a tripod for stability, a clip-on lens kit for versatility, and a portable power bank to keep shooting. Don't forget a waterproof case for protection and a remote shutter for hands-free captures.
How Do I Maintain Image Quality When Zooming With a Smartphone Camera?
Avoid digital zoom; it degrades image quality. Instead, move closer to your subject. If you can't, use optical zoom if available. For distant subjects, consider clip-on lenses or investing in a smartphone with better zoom capabilities.
In Summary
You've now got a toolkit of composition techniques to elevate your mobile nature photography. Remember, these rules are guidelines, not strict laws. As you practice, you'll develop an intuitive sense of what works best. Don't be afraid to experiment and break the rules when it feels right. The more you shoot, the better you'll become at framing nature's beauty. So grab your phone and get out there – the perfect shot is waiting for you!


Leave a Reply