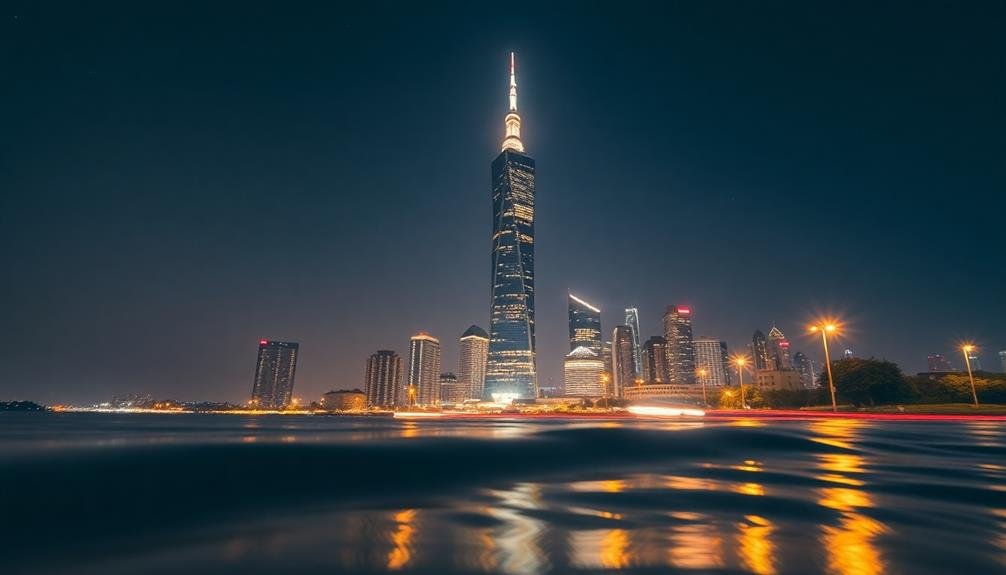
To capture stunning nighttime building shots, start by mastering long exposure techniques. Use a sturdy tripod, set your camera to manual mode with low ISO, and experiment with shutter speeds between 5 to 30 seconds. Next, utilize HDR mode effectively to balance the bright lights and dark shadows often present in nighttime architecture. Finally, play with light sources to enhance your composition. Incorporate existing lights like street lamps or neon signs, and consider introducing your own light sources with colored gels for added creativity. These pro tips will elevate your nighttime building photography, but there's even more to explore in the world of architectural night shots.
Master Long Exposure Techniques

To master long exposure techniques for stunning nighttime building shots, you'll need to familiarize yourself with your camera's manual settings.
Start by setting your camera to manual mode and selecting a low ISO, typically between 100 and 400, to minimize noise. Choose a narrow aperture (high f-number) like f/8 or f/11 to guarantee a wide depth of field and sharp focus throughout the image.
The key to long exposure is adjusting your shutter speed. For nighttime building shots, you'll want to experiment with exposures ranging from 5 to 30 seconds, depending on the available light and desired effect.
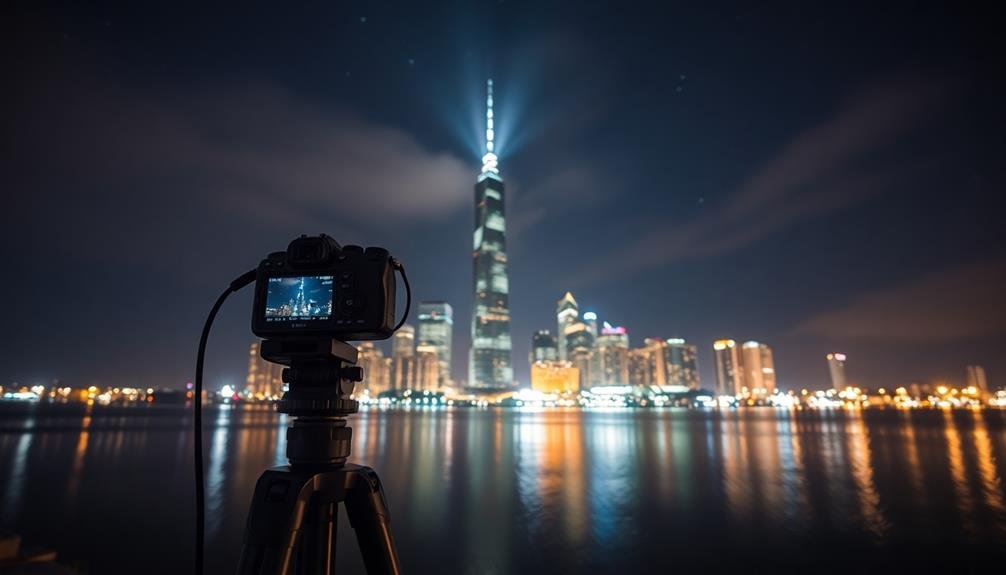
Use a sturdy tripod to eliminate camera shake during these extended exposures. To further reduce vibrations, enable your camera's mirror lock-up feature and use a remote shutter release or timer.
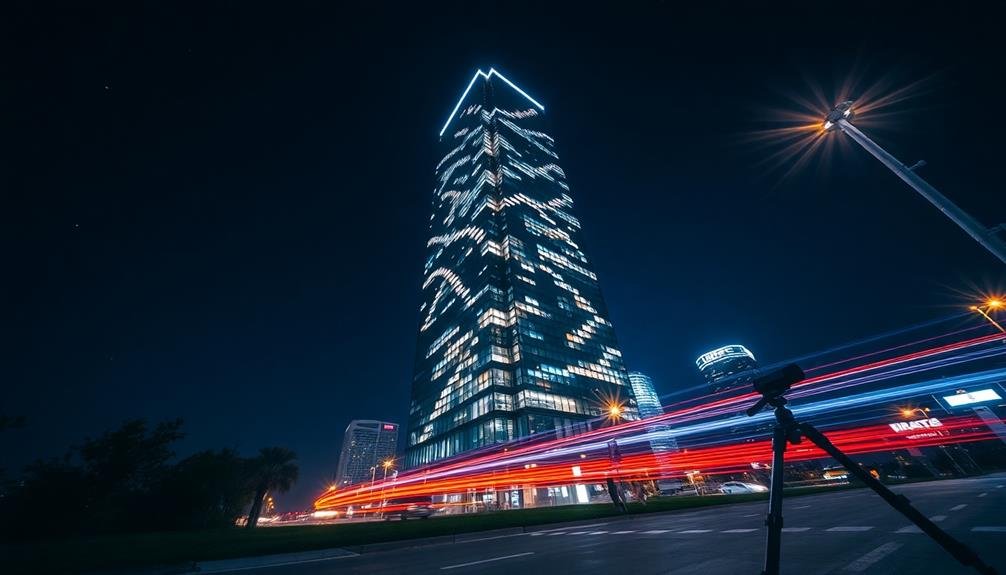
Consider the movement of lights in your composition. Longer exposures can create light trails from passing cars or capture the motion of clouds around a building.
Experiment with different shutter speeds to achieve the desired effect. Remember to shoot in RAW format to give yourself more flexibility in post-processing, allowing you to fine-tune exposure, color, and contrast for truly stunning results.
Utilize HDR Mode Effectively

While long exposure techniques can capture stunning nighttime building shots, HDR mode offers another powerful tool in your photography arsenal. HDR (High Dynamic Range) combines multiple exposures to create a single image with a broader range of tones, perfect for nighttime architecture.
To use HDR effectively, start by enabling it on your camera or smartphone. Set up your shot on a tripod to guarantee stability across multiple exposures. Experiment with different exposure brackets to find the ideal range for your scene. Here's a quick guide to HDR shooting:
| Exposure | Purpose | Typical Settings |
|---|---|---|
| Low | Shadows | -2 EV, f/8, 1/60s |
| Mid | Midtones | 0 EV, f/8, 1/15s |
| High | Highlights | +2 EV, f/8, 1/4s |
When processing your HDR images, aim for a natural look. Avoid over-saturating colors or creating unrealistic contrasts. Instead, use HDR to bring out subtle details in shadows and highlights that a single exposure might miss. Pay attention to the building's architectural features, textures, and surrounding elements like street lights or reflections. With practice, you'll create stunning nighttime building shots that capture the full range of light and detail.
Play With Light Sources

Playing with light sources can transform your nighttime building shots from ordinary to extraordinary. Experiment with different lighting techniques to add depth, drama, and fascination to your images.
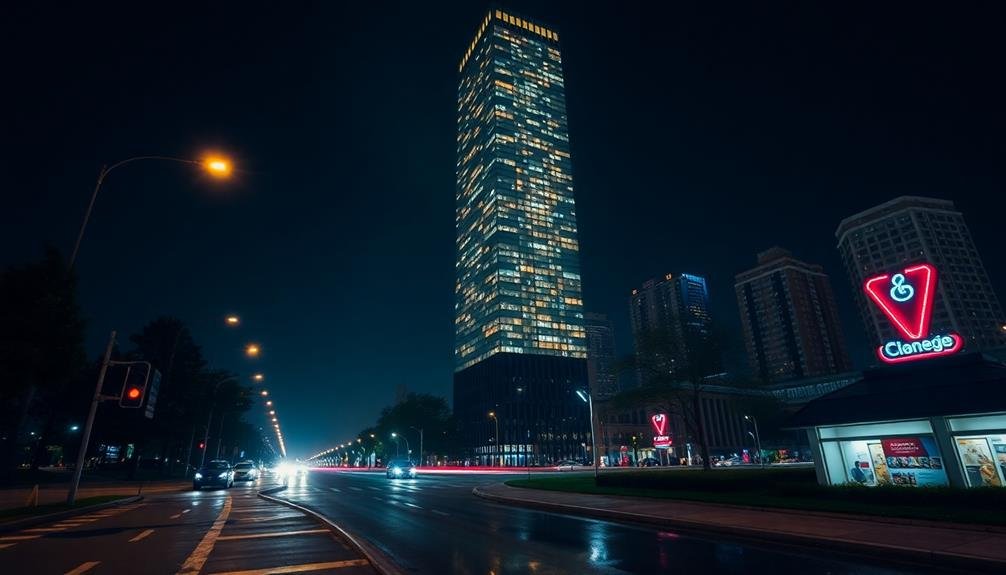
Start by identifying existing light sources around the building, such as street lamps, neon signs, or interior lights. These can create enchanting highlights and shadows that accentuate the architecture.
Don't be afraid to introduce your own light sources. Use a flashlight or LED panel to "paint" light onto specific areas of the building, emphasizing interesting features or textures. You can also place colored gels over your light sources to add a creative touch and alter the mood of your shot.
Consider these techniques to enhance your nighttime building photography:
- Use long exposures to capture light trails from passing cars
- Position yourself to include reflections in nearby water bodies or windows
- Incorporate foreground elements illuminated by artificial light
Remember to adjust your camera settings accordingly when working with different light sources. Experiment with various shutter speeds, apertures, and ISO settings to achieve the desired effect.
Frequently Asked Questions
What Camera Settings Are Best for Capturing the Moon With Buildings?
For capturing the moon with buildings, you'll want to use a low ISO (100-400), narrow aperture (f/8-f/11), and slow shutter speed (1/15-1/60). Don't forget a tripod and remote shutter to avoid camera shake.
How Can I Reduce Lens Flare From Bright City Lights?
To reduce lens flare from bright city lights, you'll want to use a lens hood, avoid pointing directly at light sources, and try using a filter. You can also adjust your position or wait for clouds to diffuse the light.
Is a Tripod Necessary for All Nighttime Building Photography?
While not absolutely necessary for all nighttime building photography, you'll find a tripod incredibly helpful. It allows you to use slower shutter speeds without camera shake, resulting in sharper images and more creative long-exposure effects.
What's the Ideal Time to Shoot Buildings During Blue Hour?
You'll want to shoot during the peak of blue hour, typically 20-30 minutes after sunset. It's when the sky's deep blue contrasts beautifully with illuminated buildings. Don't wait too long, as the magic fades quickly.
How Do I Balance Artificial Lighting With the Natural Night Sky?
You'll want to experiment with exposure settings. Try using a lower ISO and longer shutter speed to capture the night sky. Adjust your aperture to control how much artificial light you're letting in. Don't forget your tripod!
In Summary
You've now got the tools to capture breathtaking nighttime building shots. Remember to experiment with long exposures, making the most of your camera's HDR mode, and getting creative with available light sources. Don't be afraid to try different angles and compositions. With practice, you'll soon be producing stunning architectural images that shine after dark. Keep pushing your limits, and you'll see your nighttime photography skills soar to new heights.


Leave a Reply