Master night mode photography with these seven secrets: First, stabilize your smartphone using both hands or a tripod. Experiment with manual focus for sharper images. Adjust ISO settings to balance light sensitivity and noise. Try long exposure techniques for stunning light trails. Maximize available light sources like streetlamps and neon signs. Use HDR night mode to capture balanced exposures in challenging scenes. Finally, enhance your shots with post-processing techniques to reduce noise and reveal shadow details. By applying these tips, you'll transform your low-light photos from dark and blurry to crisp and enchanting. Discover how to release the full potential of your night photography skills.
Steady Your Smartphone
For crisp night mode photos, stabilizing your smartphone is essential. Even the slightest movement can blur your images in low-light conditions. To combat this, use both hands to grip your phone firmly, keeping your elbows close to your body for added support. If possible, lean against a wall or sturdy object to minimize body sway.
Consider investing in a small, portable tripod designed for smartphones. These compact accessories can make a significant difference in image quality. If you don't have a tripod, improvise by propping your phone against a stable surface like a table, ledge, or even a stack of books.
Many smartphones offer a built-in timer function. Use this to your advantage by setting a 2-3 second delay, allowing any vibrations from touching the screen to subside before the photo is taken. Some devices also feature voice-activated shutter controls, which can be helpful for hands-free operation.
When holding your phone, use the volume buttons to trigger the shutter instead of tapping the screen. This method typically causes less movement and results in sharper images.
Remember to hold your breath momentarily while taking the shot to further reduce motion.
Experiment With Manual Focus
While automatic focus can be convenient, experimenting with manual focus in night mode often yields superior results. In low-light conditions, your camera might struggle to find a focal point, leading to blurry images. By taking control of the focus, you'll guarantee your subject remains sharp and clear.
To use manual focus, locate the focus settings in your camera app. You'll typically find a slider or ring that allows you to adjust the focus point. Start by tapping on your subject on the screen, then fine-tune the focus using the manual controls. Pay attention to the edges of your subject, aiming for crisp, well-defined lines.
Here's a quick guide to manual focus techniques:
| Technique | Best For | Tips |
|---|---|---|
| Focus Peaking | Detailed subjects | Look for highlighted edges |
| Magnification | Distant objects | Zoom in to check sharpness |
| Hyperfocal Distance | Landscapes | Focus 1/3 into the scene |
| Focus Stacking | Macro shots | Take multiple images, blend later |
Adjust ISO Settings
ISO settings play an essential role in low-light photography. They determine your camera's sensitivity to light, allowing you to capture images in darker conditions. Higher ISO values increase sensitivity, but they also introduce more digital noise, potentially reducing image quality.
To find the right balance, start with a moderate ISO setting, like 800 or 1600. Take a test shot and examine the result. If it's too dark, gradually increase the ISO until you achieve proper exposure.
However, be cautious not to push it too high, as excessive noise can ruin your image. Many modern cameras perform well at high ISO settings, so don't be afraid to experiment. Some models offer impressive results even at ISO 3200 or 6400.
If you're using a tripod, you can often keep the ISO lower and compensate with longer exposure times.
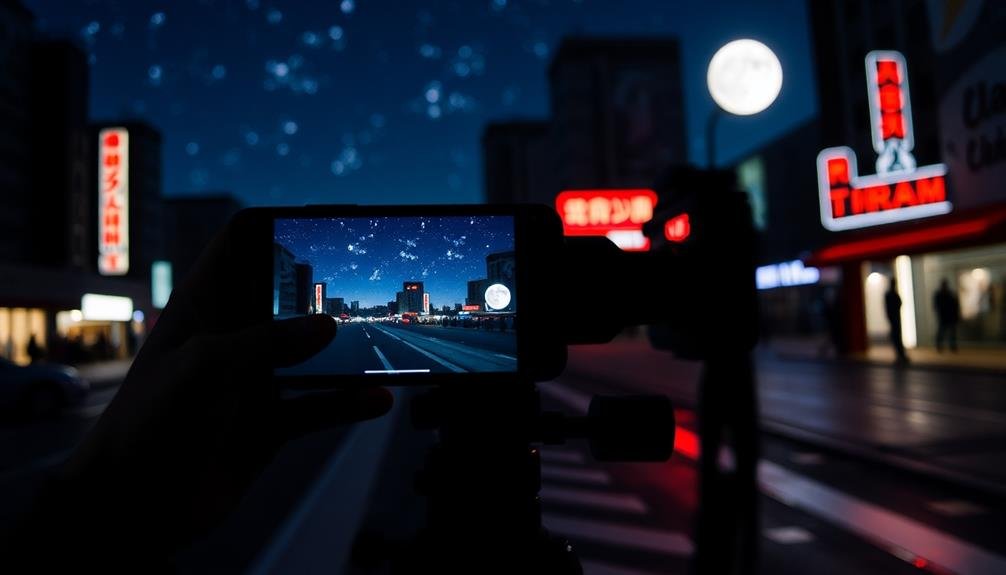
Use Long Exposure Techniques
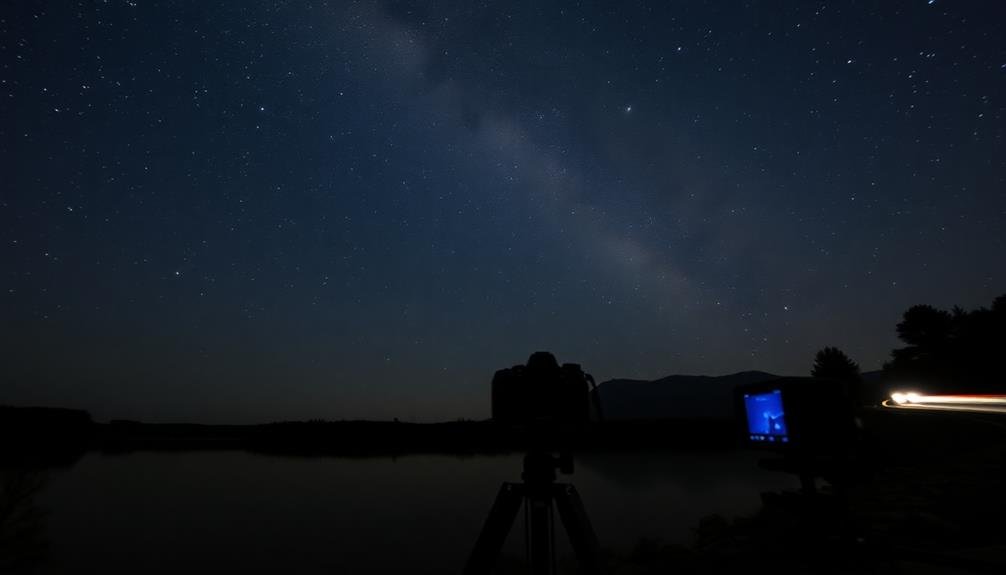
Long exposure techniques can transform your night photography, creating stunning images with light trails, smooth water, and dreamy skyscapes. To use this method effectively, you'll need a sturdy tripod and a camera with manual settings.
Set your camera to a low ISO and a narrow aperture (high f-number) to maintain image quality and depth of field. Start with exposures of 10-30 seconds, adjusting as needed based on your subject and available light. Use your camera's bulb mode for exposures longer than 30 seconds.
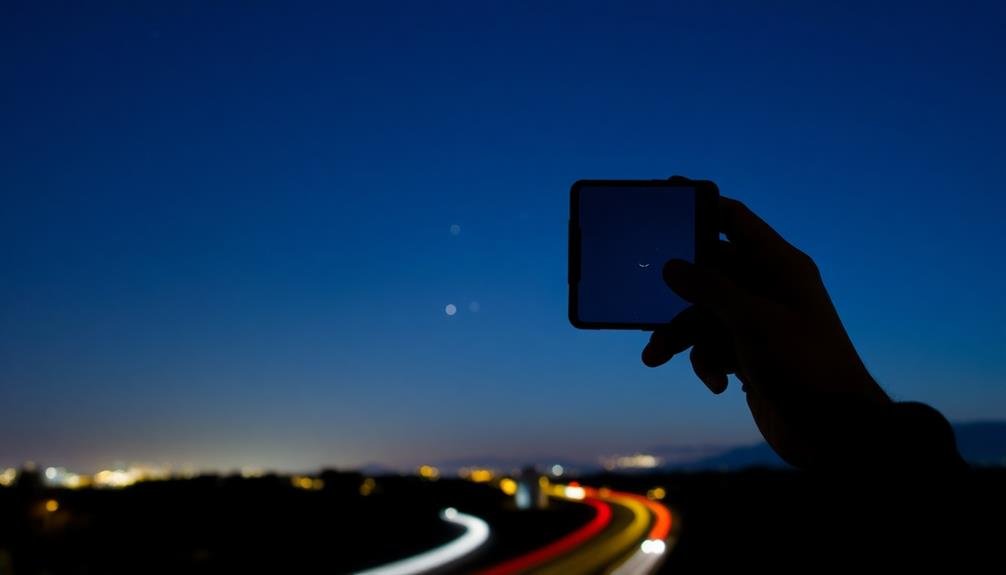
To capture light trails from moving vehicles, position yourself safely near a busy road and experiment with different exposure times. For smooth, silky water effects, find a flowing stream or waterfall and try exposures of 1-5 minutes.
To avoid camera shake, use a remote shutter release or your camera's self-timer. Consider using neutral density filters to reduce light intake, allowing for even longer exposures in brighter conditions.
Don't forget to experiment with different compositions and foreground elements to add depth to your images. With practice, you'll master the art of long exposure night photography, creating enchanting images that stand out from the crowd.
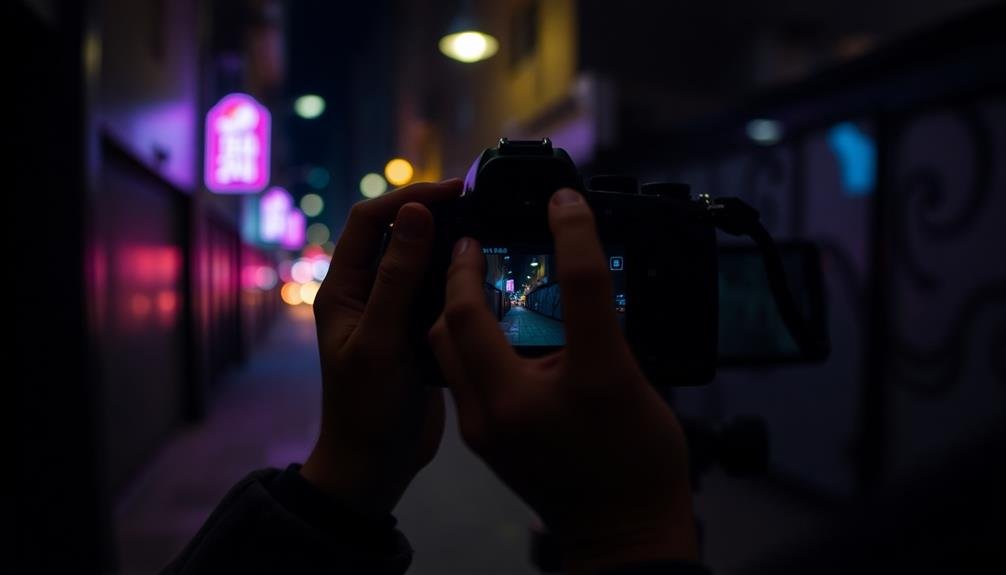
Maximize Available Light Sources
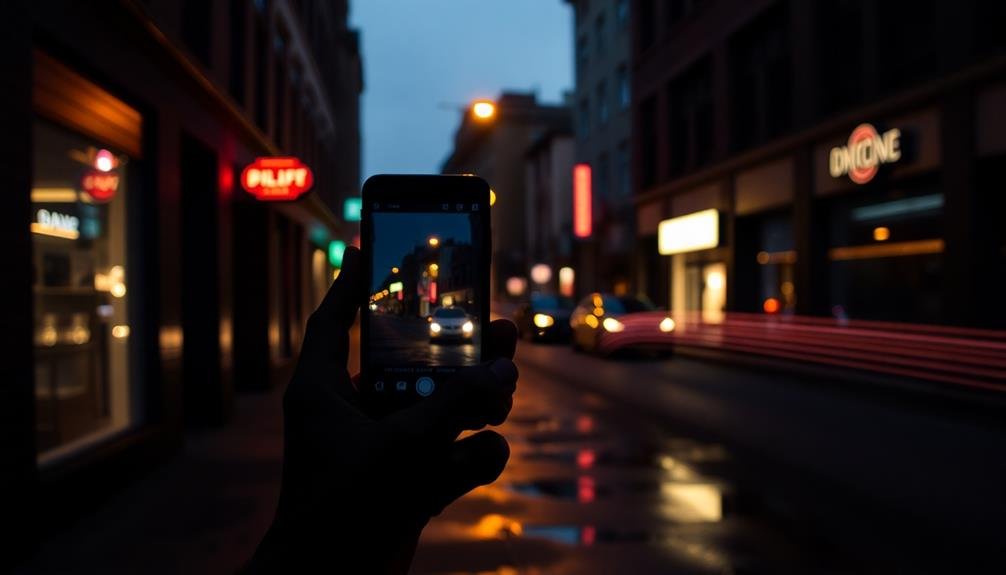
Moving from long exposures to a different approach, maximizing available light sources can dramatically improve your night photography. You'll want to identify and utilize every bit of illumination in your surroundings. Street lamps, neon signs, moonlight, and even passing car headlights can become your allies in creating stunning low-light images.
Position your subject near these light sources to add depth and dimension to your shots. You can also use reflective surfaces like puddles or glass windows to amplify existing light. Don't be afraid to experiment with different angles to capture the most interesting lighting effects.
Consider using the following light sources creatively:
| Light Source | Creative Use |
|---|---|
| Street Lamps | Silhouettes |
| Neon Signs | Color Splashes |
| Moonlight | Soft Shadows |
| Car Lights | Light Trails |
| Reflections | Mirror Effects |
Remember to adjust your camera settings accordingly. Increase your ISO, widen your aperture, and slow down your shutter speed to capture more light. By mastering these techniques, you'll be able to transform ordinary night scenes into extraordinary photographs that capture the essence of low-light environments.
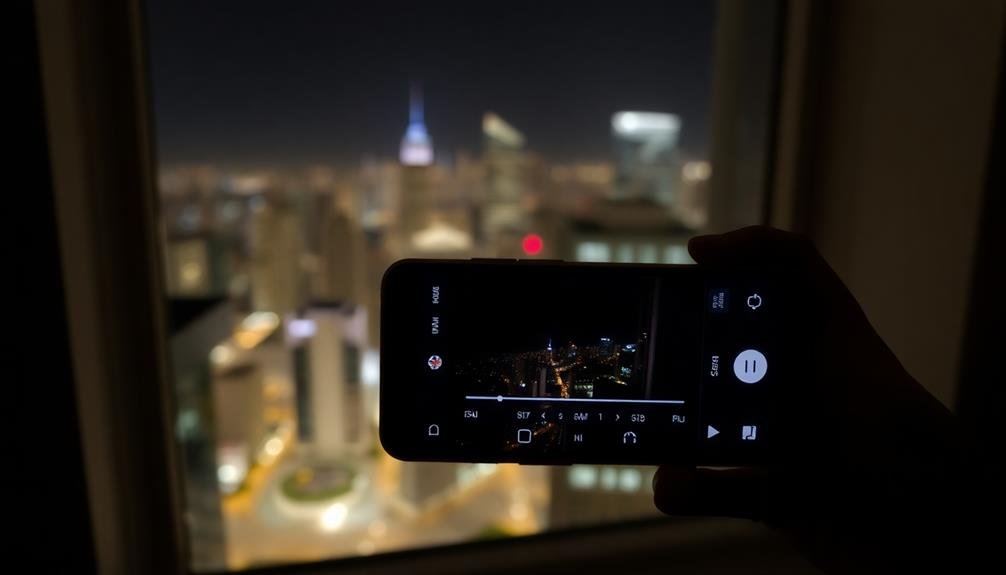
Master HDR Night Mode
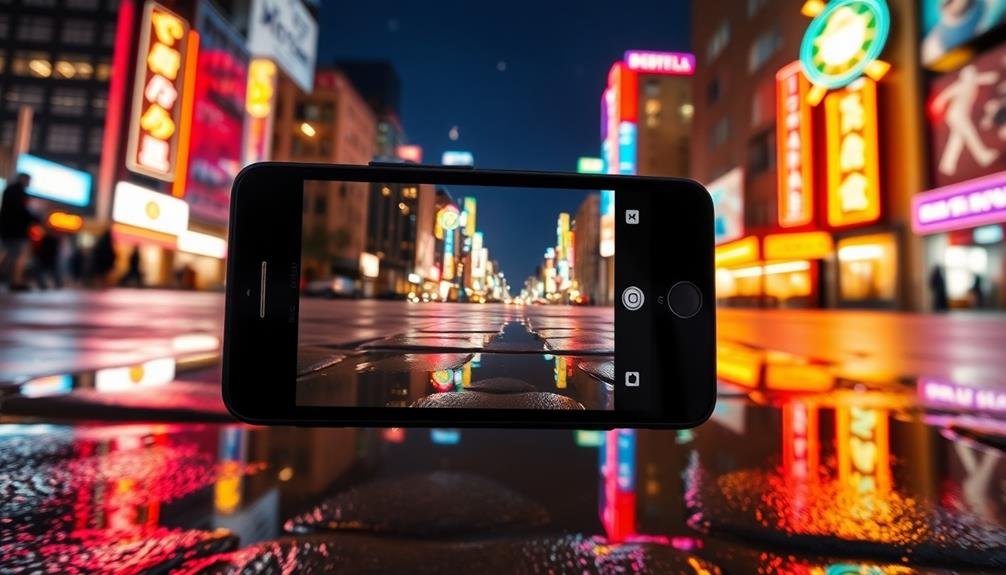
Have you ever wondered how smartphones capture such stunning night photos? The secret lies in HDR (High Dynamic Range) Night Mode. This advanced feature combines multiple exposures to create a single, well-balanced image that captures both bright and dark areas effectively.
To master HDR Night Mode, start by enabling it in your camera settings. When shooting, keep your phone steady or use a tripod for the best results. The camera will take several shots at different exposures, so any movement can cause blurring.
Frame your shot carefully, including both bright and dark elements to showcase the HDR capabilities. Experiment with different scenes to understand how HDR Night Mode performs. It excels in cityscapes, where it can balance bright street lights with darker buildings.
For starry skies, find a location away from light pollution and use a longer exposure time. Don't be afraid to adjust settings like ISO and shutter speed to fine-tune your results.
Post-Processing for Night Photos
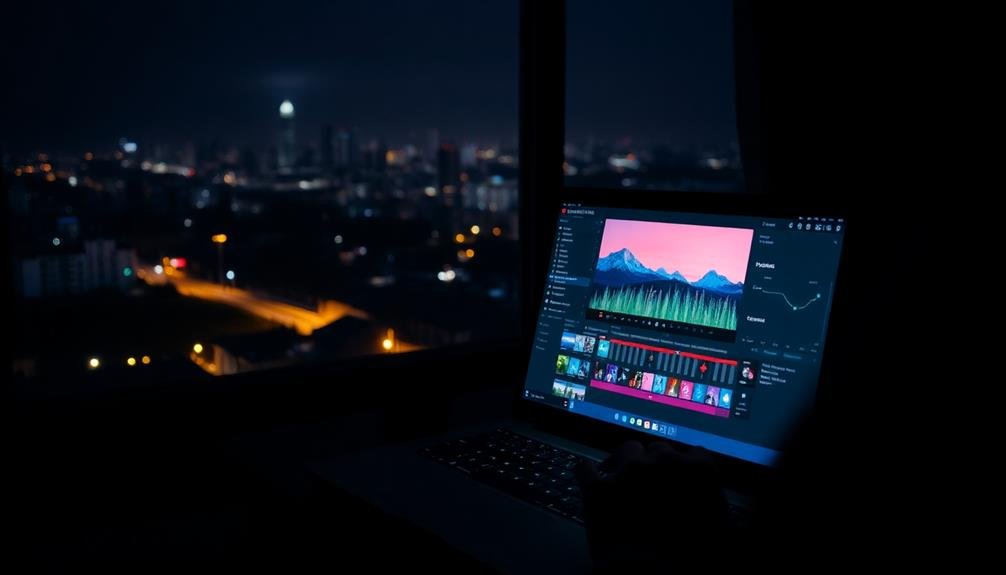
Once you've captured your night photos, you'll need to focus on post-processing to bring out their best qualities.
Start by applying noise reduction techniques to clean up any graininess.
Then work on enhancing shadow details to reveal hidden elements in darker areas.
Noise Reduction Techniques
Despite your best efforts in capturing night photos, you'll often find digital noise creeping into your images. This grainy appearance can detract from the overall quality of your shots. To combat this issue, you'll need to employ effective noise reduction techniques during post-processing.
Start by using your editing software's built-in noise reduction tools. Adjust the luminance and color noise sliders carefully, finding a balance between smoothing out graininess and preserving detail. Don't overdo it, as excessive noise reduction can result in a loss of sharpness and texture.
Consider using specialized noise reduction software like Topaz DeNoise AI or DxO DeepPRIME for more advanced results. These AI-powered tools can intelligently differentiate between noise and image details, producing cleaner images without sacrificing sharpness.
Another effective technique is to selectively apply noise reduction to different areas of your image. Focus on reducing noise in smooth areas like skies or water, while preserving detail in textured regions. You can achieve this by using layer masks or adjustment brushes in your editing software.
Lastly, experiment with blending multiple exposures of the same scene. By combining several shots, you can average out noise and create a cleaner final image.
Enhancing Shadow Details
In the domain of night photography, bringing out shadow details can transform a flat, underexposed image into a dynamic masterpiece. To enhance these dark areas, you'll need to leverage post-processing techniques effectively.
Start by adjusting the shadows slider in your editing software. Gradually increase it to reveal hidden details, but be careful not to overdo it, as this can introduce noise.
Next, fine-tune the blacks to maintain contrast and prevent the image from looking washed out. Utilize the dehaze tool to cut through any atmospheric haze, which can help sharpen shadow areas.
Local adjustments are essential; use brushes or gradient filters to target specific shadowy regions without affecting well-exposed areas. Consider employing luminosity masks to selectively adjust different tonal ranges.
This advanced technique allows for precise control over shadow enhancement. Don't forget to balance your adjustments by slightly boosting highlights to maintain overall contrast.
Adjusting White Balance
While enhancing shadows breathes life into dark areas, perfecting the white balance is key to capturing the true essence of a night scene. Night photography often introduces color casts due to artificial lighting, making white balance adjustment essential. You'll need to counteract these unnatural hues to achieve a more realistic representation of the scene.
Start by identifying the dominant light source in your image. Is it streetlights, neon signs, or moonlight? Each of these has a distinct color temperature that affects your photo's overall tone. Use your camera's white balance presets as a starting point, but don't hesitate to fine-tune manually. The "tungsten" or "incandescent" setting often works well for city scenes, while "daylight" can be suitable for moonlit landscapes.
In post-processing, experiment with temperature and tint sliders. Warming up cool tones or cooling down warm casts can dramatically improve your night shots. Pay attention to neutral elements in the scene, like concrete or white objects, to gauge accuracy.
Frequently Asked Questions
Can Night Mode Be Used for Astrophotography?
Yes, you can use night mode for astrophotography. It'll help capture more light and detail in the night sky. However, you'll need a tripod and may want to adjust settings manually for the best results.
How Does Night Mode Affect Battery Life?
Night mode can drain your battery faster due to longer exposure times and increased processing. You'll notice your device working harder and heating up. It's best to start with a full charge when planning extended night photography sessions.
Are Tripods Necessary for All Night Mode Photos?
No, tripods aren't necessary for all night mode photos. You can often take great low-light shots handheld. However, they're helpful for longer exposures and sharper images, especially in very dark conditions or when using slower shutter speeds.
Do Weather Conditions Impact Night Mode Effectiveness?
Yes, weather conditions can impact night mode effectiveness. You'll find that fog, rain, or snow can affect your camera's ability to focus and capture light. Clear skies often yield better results for night mode photography.
Can Night Mode Be Used for Moving Subjects?
You'll find night mode isn't ideal for moving subjects. It's designed for still scenes, as it uses longer exposure times. For action shots, you're better off using faster shutter speeds or specialized sports modes instead.
In Summary
You've now got the tools to capture stunning night photos with your smartphone. Don't be afraid to experiment and push your device's limits. Remember, practice makes perfect. Keep exploring different settings, angles, and lighting conditions. With time, you'll develop an intuitive feel for night mode photography. So grab your phone, head out after dark, and start creating mesmerizing low-light images that'll wow your friends and followers. Happy shooting!


Leave a Reply