To capture stunning night photos on your mobile, master your phone's Night Mode for enhanced low-light performance. Experiment with manual camera settings, adjusting ISO, shutter speed, and focus for precise control. Use a tripod to eliminate camera shake and enable longer exposures. Try long exposure techniques to create mesmerizing light trails in urban settings. Perfect your nighttime composition by utilizing strong light sources and leading lines. Don't forget to edit your shots, adjusting exposure, contrast, and color to bring out hidden details. With practice, you'll transform your nighttime mobile photography from amateur to pro-level. There's much more to explore in the world of mobile night photography.
Master Your Phone's Night Mode
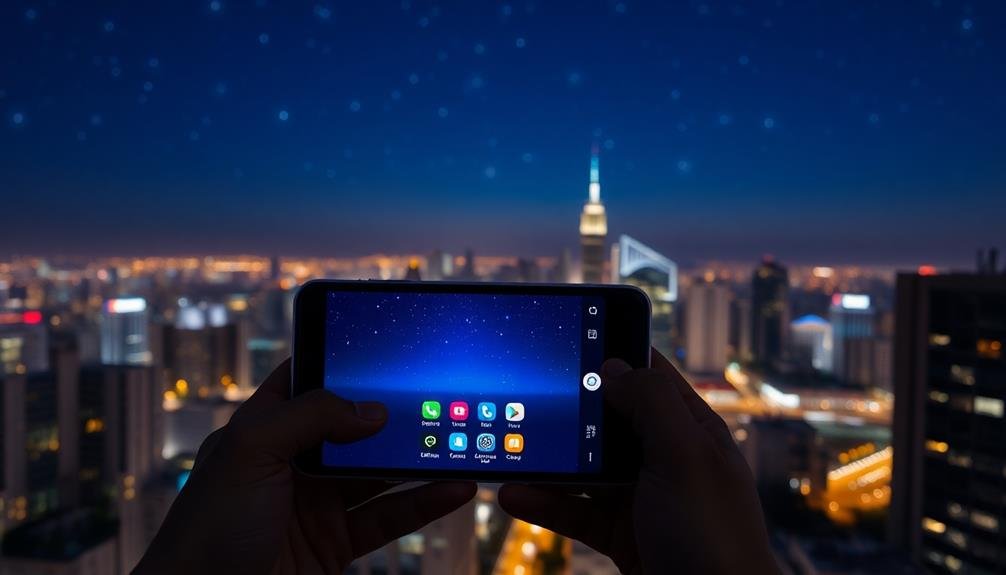
The key to capturing stunning night photos on your mobile device lies in mastering your phone's Night Mode. This feature uses advanced software algorithms to enhance low-light images, reducing noise and improving overall clarity.
To make the most of Night Mode, start by ensuring your phone is running the latest software update, as manufacturers often improve this feature with each iteration.
When shooting, keep your hands steady or use a tripod for sharper results. Night Mode typically requires longer exposure times, so any movement can cause blur.
Experiment with different compositions and focal points, as Night Mode can sometimes struggle with complex scenes. Try tapping on different areas of the screen to adjust focus and exposure.
Don't be afraid to underexpose slightly, as Night Mode tends to brighten images automatically. This can help preserve details in highlights.
Pay attention to light sources in your frame, as they can create interesting effects or unwanted glare.
Use Manual Camera Settings
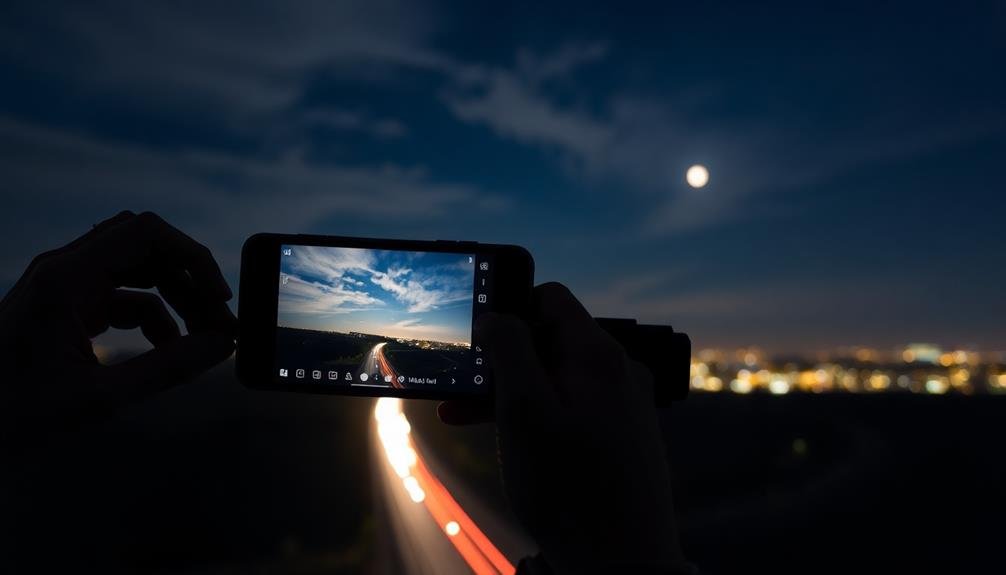
While Night Mode can produce impressive results, mastering manual camera settings on your phone opens up a world of creative possibilities for night photography.
Start by familiarizing yourself with your camera app's manual mode, often called "Pro" or "Expert" mode. This allows you to control ISO, shutter speed, and focus independently.
When shooting at night, begin with these key settings:
- Set a low ISO (100-400) to minimize noise
- Use a slow shutter speed (1-30 seconds) to capture more light
- Set a wide aperture (lowest f-number) for maximum light intake
Experiment with different combinations to achieve your desired effect.
For sharp images, use a tripod or steady surface to avoid camera shake during long exposures. If you're capturing moving subjects, try a faster shutter speed and higher ISO to freeze motion.
Don't forget about white balance – adjust it manually to accurately represent the scene's colors or create a specific mood.
For challenging lighting situations, try bracketing your shots by taking multiple exposures at different settings. This gives you options to choose from or combine in post-processing for the perfect night photo.
Steady Your Shot With Tripods
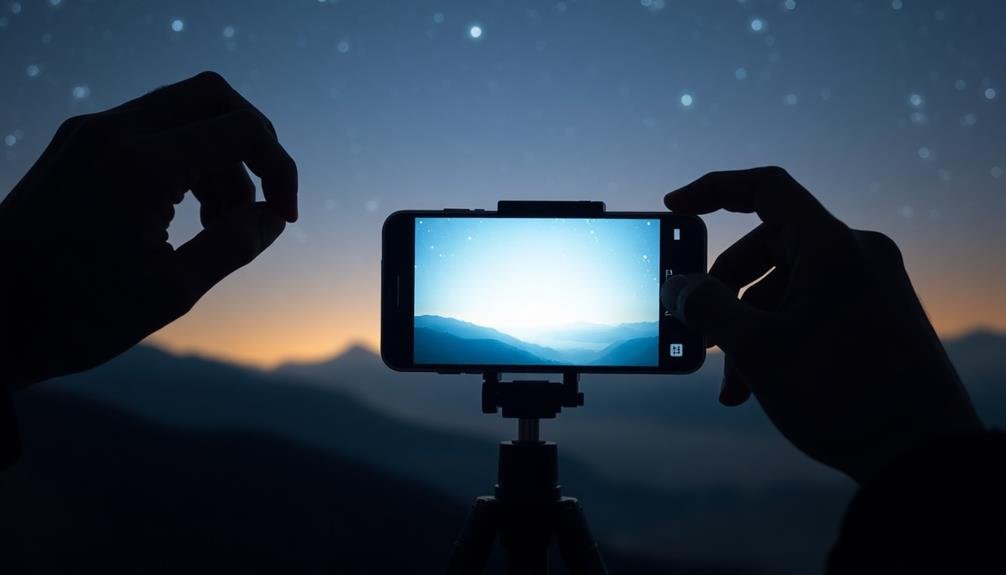
Three essential tools for capturing stunning night photos on your mobile are a steady hand, patience, and a tripod. While the first two are skills you'll develop over time, a tripod is an invaluable piece of equipment you can acquire immediately. It's vital for eliminating camera shake, which is especially noticeable in low-light conditions.
When choosing a tripod for your mobile, opt for a lightweight, portable model that's easy to carry. Look for one with flexible legs that can wrap around objects, giving you more versatility in positioning. Be certain it has a universal smartphone mount that securely holds your device.
To use your tripod effectively, find a stable surface and adjust the legs to guarantee your phone is level. Use your phone's built-in spirit level or download a leveling app for precision.
Once set up, use your phone's timer or a remote shutter release to avoid any movement when taking the photo. This setup allows for longer exposure times, which are often necessary for night photography, without introducing blur from hand-holding the device.
Experiment With Long Exposure Techniques
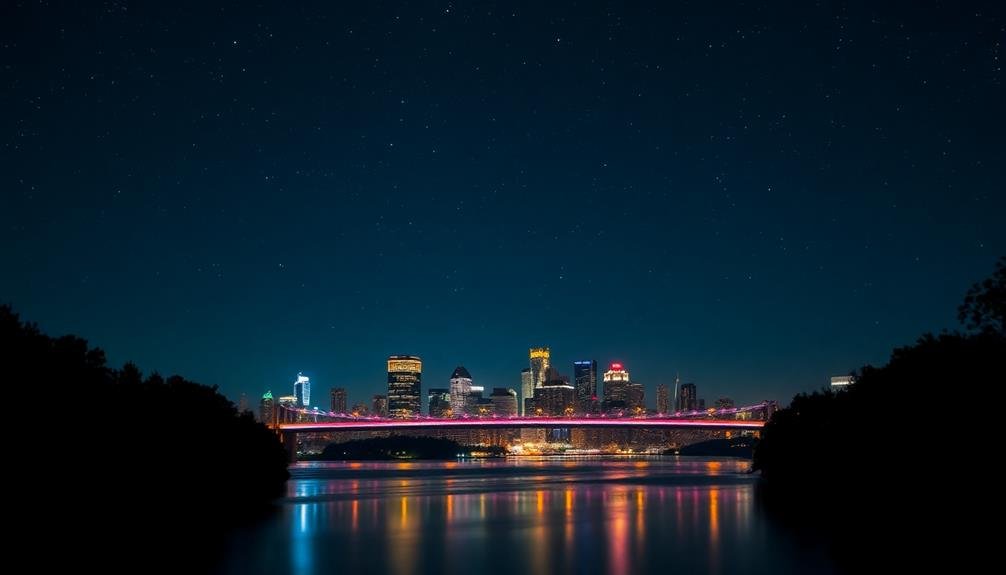
Now that you've mastered using a tripod, it's time to explore long exposure techniques. These methods allow you to capture stunning light trails, smooth water effects, and star trails in your night photography.
To start experimenting with long exposures on your mobile device, you'll need to download a specialized camera app that offers manual controls.
Once you've got your app, follow these steps to create mesmerizing long exposure shots:
- Set your ISO to the lowest possible setting to reduce noise.
- Choose a slow shutter speed, typically between 1-30 seconds.
- Use your tripod to keep the camera perfectly still during the exposure.
When shooting light trails, position yourself near a busy road or intersection. For smooth water effects, find a flowing river or waterfall. To capture star trails, point your camera at the night sky and use an exposure time of 30 seconds or more.
Remember to experiment with different exposure times and compositions. You might need to adjust your camera's settings based on the available light and your desired effect.
With practice, you'll soon be creating professional-looking long exposure night photos using just your mobile device.
Capture Light Trails Effectively
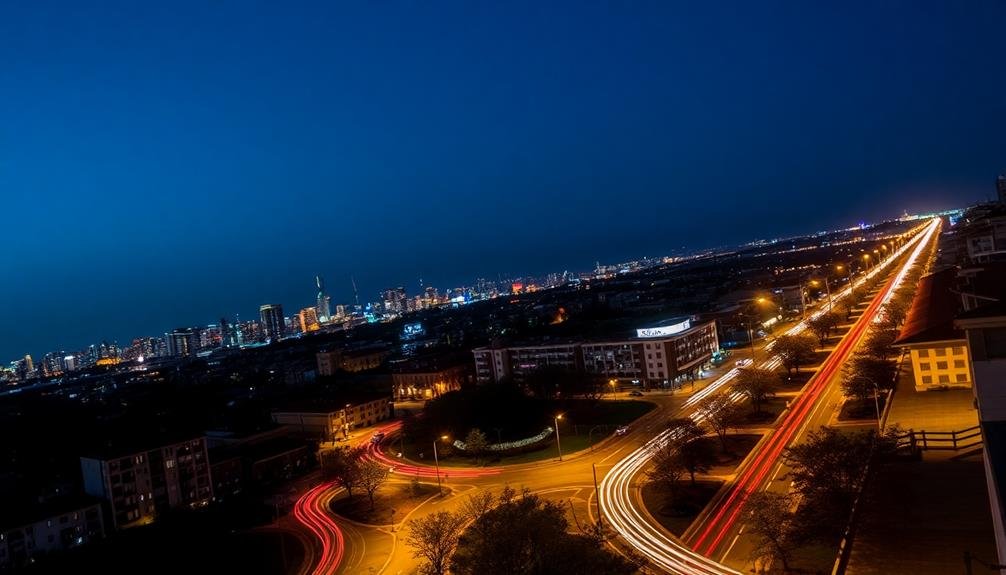
To capture mesmerizing light trails, you'll need to set a long exposure time on your mobile camera.
Find busy traffic areas or locations with moving lights to create stunning streaks across your frame.
Don't forget to use a tripod or stabilizer to keep your phone steady during the extended exposure, ensuring sharp and clear results.
Set Long Exposure Time
Long exposure is the secret weapon for capturing mesmerizing light trails in your night photos. By keeping your camera's shutter open for an extended period, you'll allow more light to enter the sensor, creating stunning streaks of illumination from moving sources like cars, trains, or even stars.
To set a long exposure time on your mobile device, you'll need a dedicated camera app that offers manual controls. Once you've found a suitable app, follow these steps:
- Secure your phone on a tripod or stable surface to eliminate camera shake.
- Adjust your ISO to the lowest possible setting to reduce noise in your image.
- Set your shutter speed to at least 1 second, but experiment with longer durations for more dramatic effects.
Find Busy Traffic Areas
Where can you find the most enchanting light trails for your night photography? Look for busy urban areas with constant traffic flow. Major intersections, highways, and bridges are ideal locations. These spots offer a steady stream of vehicles, creating mesmerizing streaks of light in your long-exposure shots.
Scout your city for elevated vantage points overlooking bustling streets. Pedestrian overpasses, parking garages, or nearby buildings can provide unique perspectives. Don't forget about public transportation hubs, where buses and trains contribute to the light show.
Consider timing your shoot during rush hour for maximum vehicle density. However, be mindful of safety and local regulations when setting up your mobile tripod.
Waterfront areas with boat traffic can offer a different twist on light trails, especially if there's a mix of stationary and moving lights.
Look for curved roads or highway interchanges to add dynamic shapes to your compositions. Combine light trails with illuminated landmarks or cityscapes for added visual interest.
Experiment with different angles and focal lengths to capture the most compelling light trail patterns in your urban nightscape.
Use Tripod or Stabilizer
Once you've found the perfect spot for capturing light trails, you'll need the right equipment to secure sharp, clear images. A tripod or stabilizer is essential for night photography, especially when using slower shutter speeds. These tools eliminate camera shake, guaranteeing your light trails appear crisp and well-defined.
When choosing a tripod or stabilizer for your mobile device, consider these key factors:
- Portability: Opt for a lightweight, compact option that's easy to carry and set up quickly.
- Compatibility: Confirm it fits your specific smartphone model and case.
- Stability: Look for sturdy construction and non-slip feet for various surfaces.
If you don't have a tripod, improvise with nearby objects. Rest your phone on a wall, ledge, or even a bag of rice. Remember to use your phone's self-timer or a remote shutter release to minimize vibrations when taking the shot.
For handheld shots, activate your phone's built-in stabilization features. Many modern smartphones offer optical image stabilization (OIS) or electronic image stabilization (EIS) to reduce blur.
Combine these features with proper hand-holding techniques, such as tucking your elbows into your body, for the best results.
Perfect Your Composition at Night
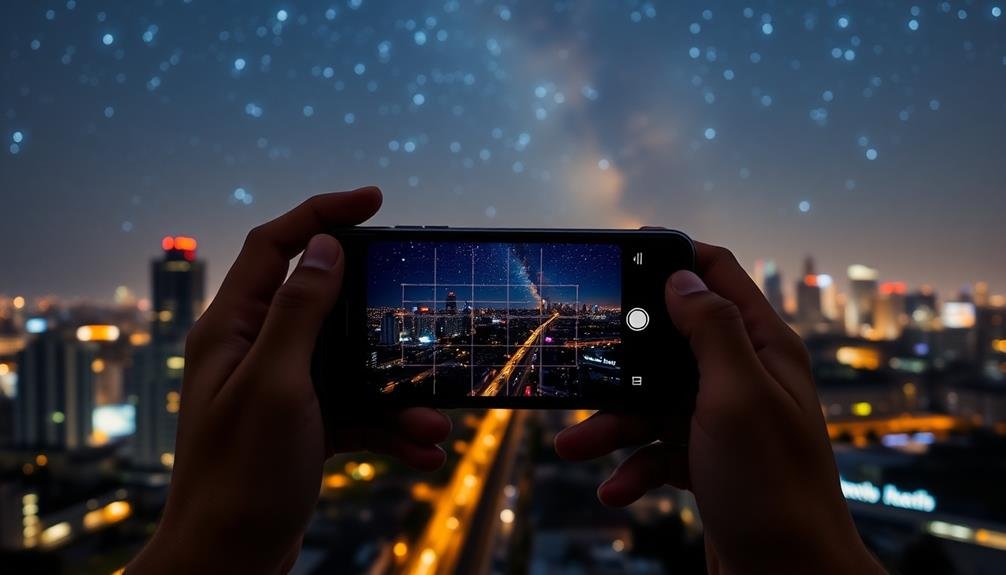
Mastery of composition takes on a new dimension when shooting at night. You'll need to adapt your usual daytime techniques to the unique challenges and opportunities that darkness presents. Start by identifying strong light sources, as these will become focal points in your image. Streetlights, neon signs, and illuminated buildings can serve as compelling subjects or frame your main subject.
Pay attention to leading lines, which are often more pronounced at night due to street lights or car trails. Use these to guide the viewer's eye through your image. Incorporate reflections in puddles, windows, or other surfaces to add depth and interest.
Don't forget about negative space; areas of darkness can create striking contrasts and emphasize your subject. Experiment with silhouettes by placing your subject in front of a bright background. For cityscapes, try to include foreground elements to add depth and scale.
When shooting the night sky, use the rule of thirds to position stars or the moon. Remember, your phone's screen may appear brighter than the final image, so check your histogram to verify proper exposure.
Edit for Enhanced Night Scenes
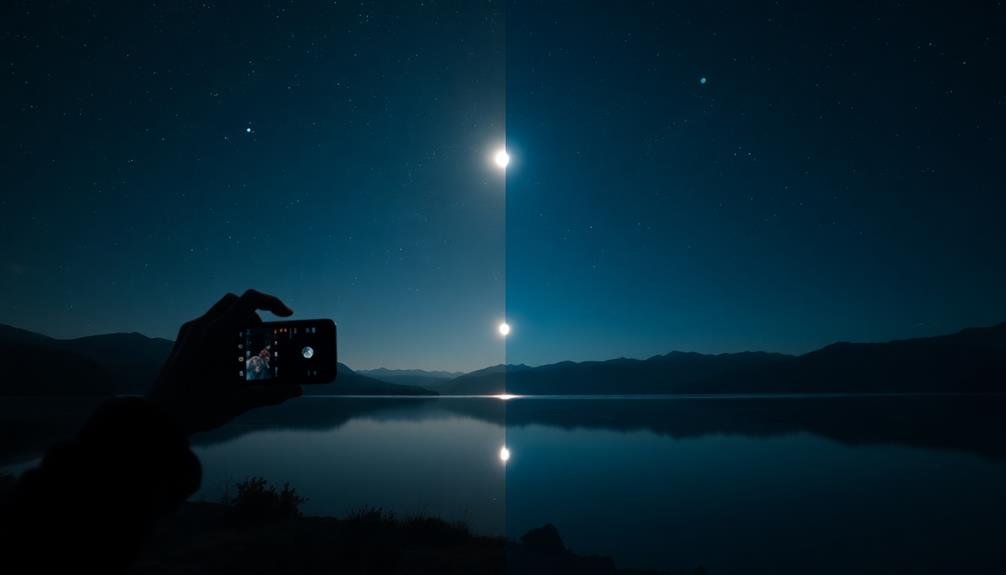
After capturing your nighttime shots, the editing process becomes your secret weapon for transforming good photos into stunning ones.
Start by adjusting the exposure and contrast to bring out hidden details in shadows and highlights. Don't be afraid to boost the shadows slightly, as this can reveal intricate textures often lost in low-light conditions.
Next, focus on color temperature. Night scenes often have a mix of artificial light sources, creating complex color casts. Use the white balance tool to correct any unwanted tints and create a more natural or mood-enhancing atmosphere.
Finally, consider these advanced editing techniques to elevate your night photos:
- Selective adjustments: Use masking tools to enhance specific areas without affecting the entire image.
- Noise reduction: Apply careful noise reduction to smooth out grainy areas while preserving sharp details.
- Vignetting: Add a subtle dark vignette to draw attention to the center of your image and create depth.
Frequently Asked Questions
How Do I Protect My Phone From Moisture During Night Photography?
You can protect your phone from moisture during night photography by using a waterproof case or bag. Keep silica gel packets handy, avoid condensation-prone areas, and wipe your device frequently. Don't forget to shield it from rain or dew.
Can I Use External Lenses With My Smartphone for Night Shots?
Yes, you can use external lenses with your smartphone for night shots. They'll enhance your camera's capabilities, allowing for wider angles or closer zooms. Just make sure the lens is compatible with your phone model before purchasing.
What's the Best Way to Focus on Stars With a Smartphone?
To focus on stars with your smartphone, you'll want to use manual focus. Set it to infinity, then slightly adjust back. Use a tripod and timer to avoid shake. Experiment with different focal points for best results.
How Can I Reduce Noise in Low-Light Photos Without Post-Processing?
To reduce noise in low-light photos without post-processing, you'll want to use your phone's night mode, keep it steady, lower ISO if possible, and increase exposure time. Don't forget to clean your lens before shooting.
Are There Specific Apps Recommended for Advanced Night Photography on Smartphones?
You'll find several great apps for advanced night photography on smartphones. Try ProCam, Camera FV-5, or NightCap Camera. They offer manual controls, long exposure modes, and RAW capture, helping you take stunning low-light shots with ease.
In Summary
You've now got the tools to take your night photography to the next level. Don't be afraid to experiment with these techniques and push your phone's capabilities. Remember, practice makes perfect, so get out there and start shooting! With patience and persistence, you'll soon be capturing stunning night scenes that'll wow your friends and followers. Keep exploring, refining your skills, and most importantly, have fun with your nighttime mobile photography adventures.



Leave a Reply