To master night mode, start by understanding the technology behind it. Use manual settings with ISO between 1600-3200, wide apertures (f/1.8-f/2.8), and slower shutter speeds (1/30-1/60s). Steady your shot with a tripod or stable stance, and experiment with composition techniques like leading lines and reflections. When post-processing, adjust exposure, correct colors, and fine-tune white balance for ideal results. Remember to shoot in RAW format for greater editing flexibility. By applying these pro tips, you'll capture stunning low-light photos that showcase the beauty of nighttime scenes. Explore further to reveal even more secrets of night mode photography.
Understanding Night Mode Technology

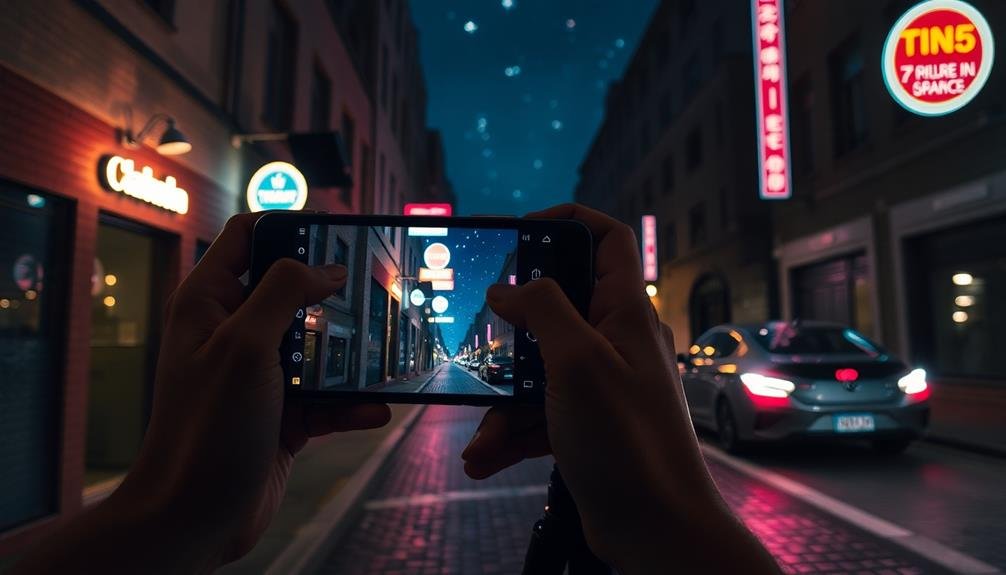
Night mode technology is the secret weapon in your smartphone's camera arsenal. It's designed to capture stunning photos in low-light conditions that would typically result in dark, grainy images. This feature uses advanced software algorithms and hardware capabilities to enhance image quality when natural light is scarce.
When you activate night mode, your camera takes multiple exposures of the same scene over several seconds. It then combines these shots, selecting the best elements from each to create a single, well-exposed image. The software intelligently merges bright areas, reduces noise, and enhances details in shadows.
Modern night mode tech also employs artificial intelligence to recognize scenes and adjust settings accordingly. It can detect when you're shooting stars, cityscapes, or portraits, optimizing the capture process for each scenario. Some smartphones even use dedicated hardware, like larger sensors or special lenses, to improve low-light performance.
To get the most out of night mode, you'll need to hold your phone steady or use a tripod. The longer exposure times mean any movement can result in blur.
Understanding this technology helps you leverage its capabilities for impressive nighttime photography.
Optimal Camera Settings for Darkness

When it comes to capturing stunning low-light images, dialing in the right camera settings is essential. Start by switching your camera to manual mode for full control. Set your ISO between 1600 and 3200, balancing light sensitivity with noise. Opt for a wide aperture (f/1.8 to f/2.8) to let in more light and create a shallow depth of field.
Choose a slower shutter speed, around 1/30 to 1/60 second, to capture more light without introducing motion blur. If you're using a tripod, you can go even slower. Enable your camera's noise reduction feature to minimize graininess in your shots.
For white balance, select the "tungsten" or "fluorescent" preset to match the ambient lighting, or use a custom setting for more accurate colors. Shoot in RAW format to retain more image data for post-processing flexibility.
If your camera has a night mode feature, enable it to optimize these settings automatically.
Don't forget to disable your flash to preserve the natural ambiance of the low-light scene. Experiment with these settings and adjust as needed based on your specific shooting conditions and desired outcome.
Steadying Your Shot at Night
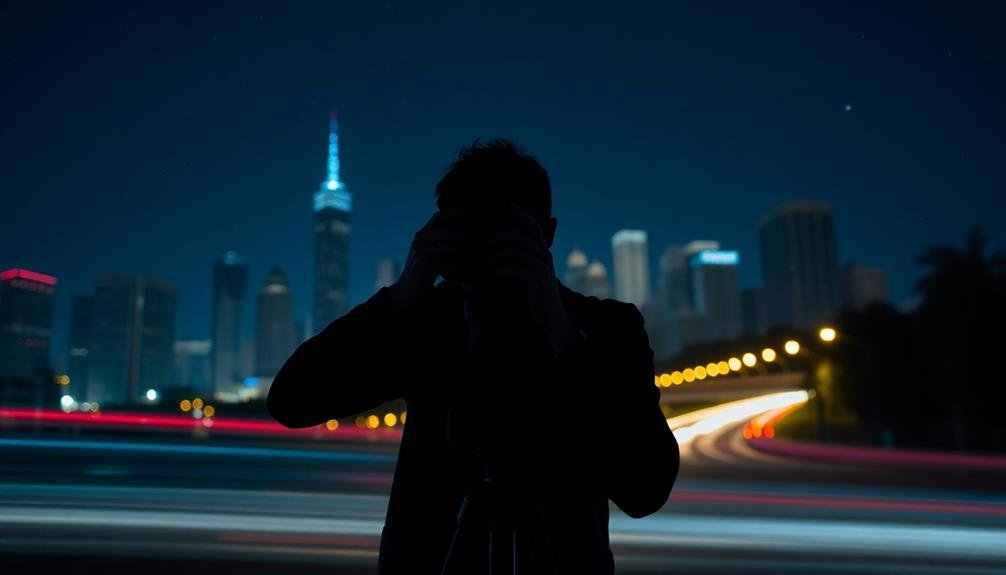
Achieving sharp, blur-free images in low light can be challenging, but it's not impossible. To steady your shot at night, you'll need to minimize camera shake. Start by adopting a stable stance: feet shoulder-width apart, elbows tucked in, and camera pressed against your face. For extra stability, lean against a wall or sturdy object.
Invest in a tripod for the best results. It'll allow you to use slower shutter speeds without introducing blur. If you don't have a tripod, improvise with a flat surface or use your camera's built-in stabilization features.
Here's a quick guide to steadying techniques:
| Technique | Pros | Cons |
|---|---|---|
| Tripod | Ultimate stability | Bulky, less portable |
| Monopod | Portable, versatile | Less stable than tripod |
| Handheld | Always available | Requires practice |
When shooting handheld, use your camera's burst mode to increase your chances of capturing a sharp image. Remember to breathe steadily and gently press the shutter button. If your camera has a remote shutter release or self-timer, use it to further reduce vibrations. With these techniques, you'll be well on your way to capturing stunning low-light photos.
Composition Techniques for Low Light
Now that you've mastered steadying your camera, let's focus on composing enchanting low-light images. In night photography, strong compositional elements become even more essential.
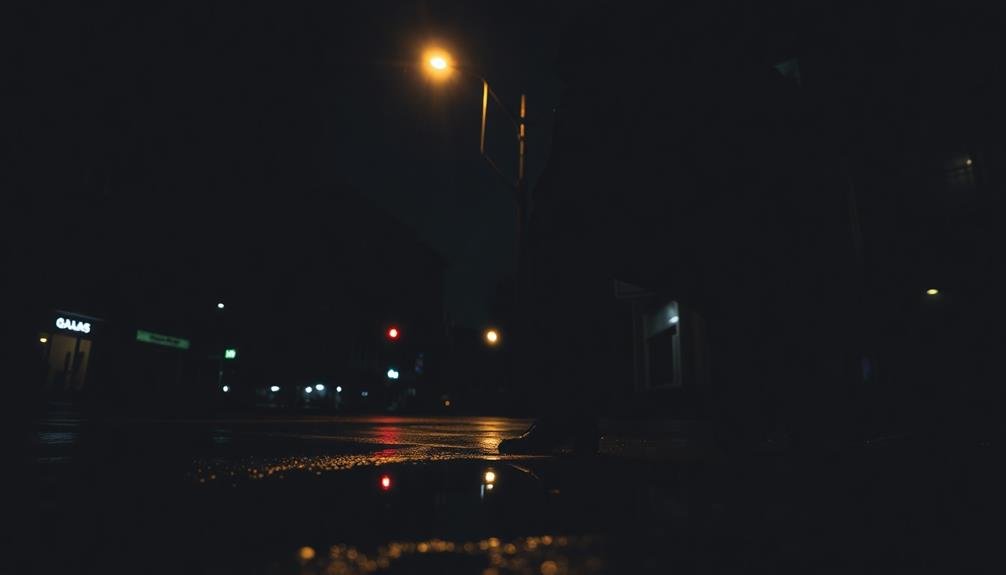
Look for leading lines, such as streetlights or illuminated pathways, to guide the viewer's eye through your frame. Incorporate reflections in water or glass surfaces to add depth and interest.
Use the rule of thirds to position key elements off-center, creating a more dynamic image. Silhouettes can be powerful in low light, so place subjects against brighter backgrounds for striking contrast.
Don't shy away from negative space; dark areas can enhance the mood and draw attention to lit subjects. Consider including a light source within your frame, like a streetlamp or neon sign, to add a focal point and create interesting light patterns.
Experiment with framing techniques using doorways, arches, or tree branches to add context and depth. When shooting cityscapes, look for patterns in building lights or traffic trails to create visual rhythm.
Post-Processing Night Mode Images
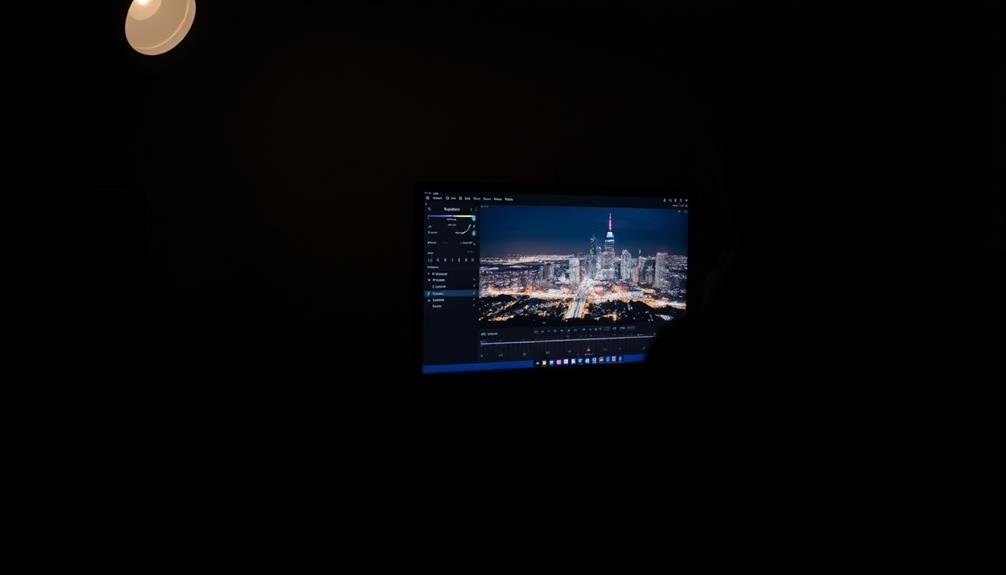
Most Night Mode photos benefit from some post-processing to truly shine. Even with advanced smartphone technology, you'll often find room for improvement.
Start by adjusting the exposure and contrast to bring out hidden details in shadows and highlights. Don't be afraid to boost the shadows slightly, as Night Mode can sometimes leave dark areas a bit too murky.
Next, focus on color correction. Night scenes often have mixed lighting sources, resulting in unnatural color casts. Use white balance tools to neutralize unwanted tints and enhance the mood you're aiming for. Pay special attention to skin tones if your image includes people.
Consider these techniques to add depth and drama to your night shots:
- Selectively increase clarity in key areas like building facades or textured surfaces
- Apply a subtle vignette to draw attention to your main subject
- Use noise reduction sparingly to maintain detail while smoothing out graininess
Frequently Asked Questions
Can Night Mode Be Used for Astrophotography?
Yes, you can use night mode for astrophotography. It'll help capture more light and detail in the night sky. However, for best results, you'll want to use a tripod and experiment with longer exposure times.
How Does Night Mode Affect Battery Life on Smartphones?
Night mode can considerably drain your smartphone's battery. You'll notice faster power consumption as it uses longer exposure times and complex processing algorithms. It's best to have a fully charged device or carry a portable charger when using this feature extensively.
Are There Any Accessories That Enhance Night Mode Performance?
You can enhance night mode performance with accessories like tripods, clip-on lenses, and external lights. Smartphone camera grips provide stability, while portable LED panels offer additional illumination. Consider investing in a night photography app for more control.
Can Night Mode Capture Moving Subjects Effectively?
Night mode can struggle with moving subjects, but you're not out of luck. Try using a faster shutter speed or panning technique. Alternatively, embrace the motion blur for artistic effect. It's all about adapting to the situation.
Does Using Night Mode Increase the File Size of Photos?
Yes, night mode typically increases your photo file size. You'll notice larger files because the camera's capturing multiple exposures and combining them. This process results in more data, leading to bigger file sizes than standard shots.
In Summary
You've now mastered the essentials of night mode photography. Remember, it's all about understanding your camera's capabilities, optimizing settings, and maintaining stability. Don't forget to experiment with composition and post-processing techniques. With practice, you'll capture stunning low-light images that once seemed impossible. Keep pushing your boundaries, and you'll soon find yourself creating breathtaking night shots that truly stand out. So grab your camera and embrace the darkness – your best photos are waiting!

Leave a Reply